 Skip to content
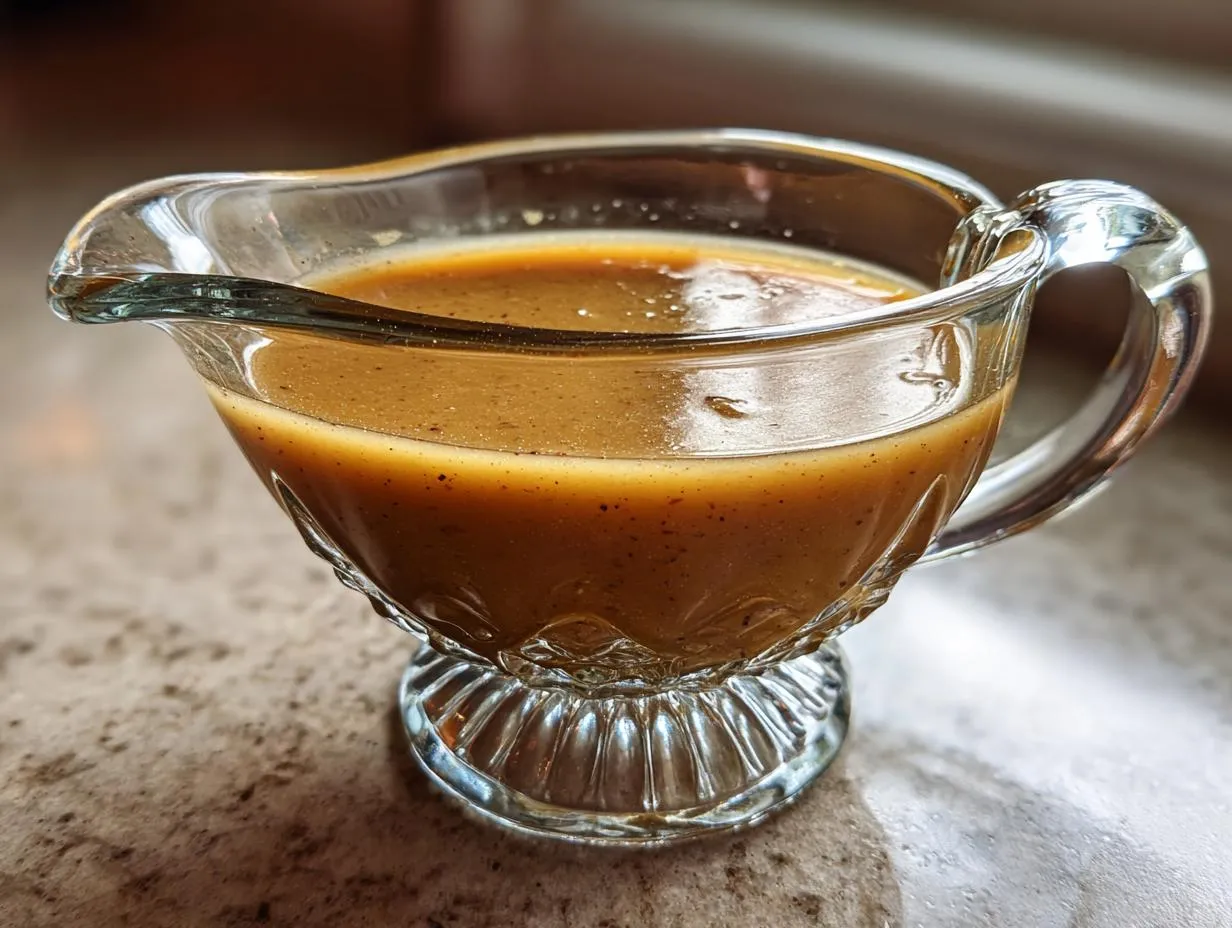

Oh, Thanksgiving! The turkey is roasting, the house smells amazing, but suddenly you realize… you need *great* turkey gravy. Don’t panic! I totally get it. That rich, savory sauce is like the glue that holds the whole feast together, right? My Grandma Carla always said a meal wasn’t complete without her silky gravy made from the honest-to-goodness drippings. It’s seriously the best way to capture all those wonderful flavors. Trust me, making a fantastic homemade turkey gravy from scratch is way easier than you think, and it’ll make your holiday dinner shine.

- Why This Turkey Gravy Recipe is a Thanksgiving Essential
- Gather Your Ingredients for Perfect Turkey Gravy
- How to Make Silky Turkey Gravy from Drippings
- Tips for the Smoothest Turkey Gravy
- Frequently Asked Questions about Gravy from Drippings
- Nutritional Information for Turkey Gravy
- Share Your Silky Turkey Gravy Creation!
Why This Turkey Gravy Recipe is a Thanksgiving Essential
You know, a holiday meal just isn’t the same without a gloriously glossy gravy. This recipe is a total game-changer because:
- It’s super easy to whip up while your turkey rests.
- It uses those delicious pan drippings for max flavor.
- It adds that perfect, savory finish to your turkey, potatoes, and stuffing.
- It makes your whole Thanksgiving spread feel complete and oh-so-cozy!
Gather Your Ingredients for Perfect Turkey Gravy
Alright, let’s get our ducks (or should I say, turkeys?) in a row for this gravy! You really don’t need much for a fantastic homemade sauce. Just grab these simple things:
Here’s what you’ll need:
- About 4 cups of turkey drippings – that’s the good stuff left in the pan after roasting!
- 1/2 cup all-purpose flour – this is our thickening magic!
- Salt, just for tasting
- Freshly ground black pepper, also just for tasting
Remember, like my Grandma always used to say, the best flavors come from the best ingredients. Using those natural turkey drippings means you’re already ahead of the game for a truly savory, homemade taste that store-bought stuff just can’t match. Simple, honest, and delicious – that’s the Carla’s Cooking way!
How to Make Silky Turkey Gravy from Drippings
Okay, deep breaths! Making amazing turkey gravy is totally doable, and it all starts right after your turkey comes out of the oven. This is where the real magic happens, capturing all those delicious roasted flavors. My biggest tip right off the bat is to never rush this part! If you can, let your pan drippings sit for a few minutes before you start – it makes separating the fat so much easier and saves you potential splatters. Trust me, this simple step makes all the difference for a perfect silky turkey gravy.
Separating the Fat from the Drippings
First things first, pour all those lovely drippings from your roasting pan into a heatproof bowl or a fat separator. Give it just a few minutes, and you’ll see the fat naturally rise to the top. We want to skim off about half a cup of that fat – that’s pure flavor! – and set it aside for later. Keep the rest of the liquid drippings; that’s the base of our gorgeous sauce.
Creating the Roux for Your Turkey Gravy
Now, grab a medium saucepan and pop it on the stove over medium heat. Add that reserved half cup of turkey fat you just set aside. Once it’s warm, whisk in your flour – a half cup of plain old all-purpose flour. Keep whisking like crazy for about 1 to 2 minutes until this mixture, called a roux, looks lightly golden and smells a bit nutty. This step toasts the flour and gets rid of that raw flour taste, which is super important for your final turkey gravy. Don’t let it get too dark, though!
Thickening the Gravy with Drippings
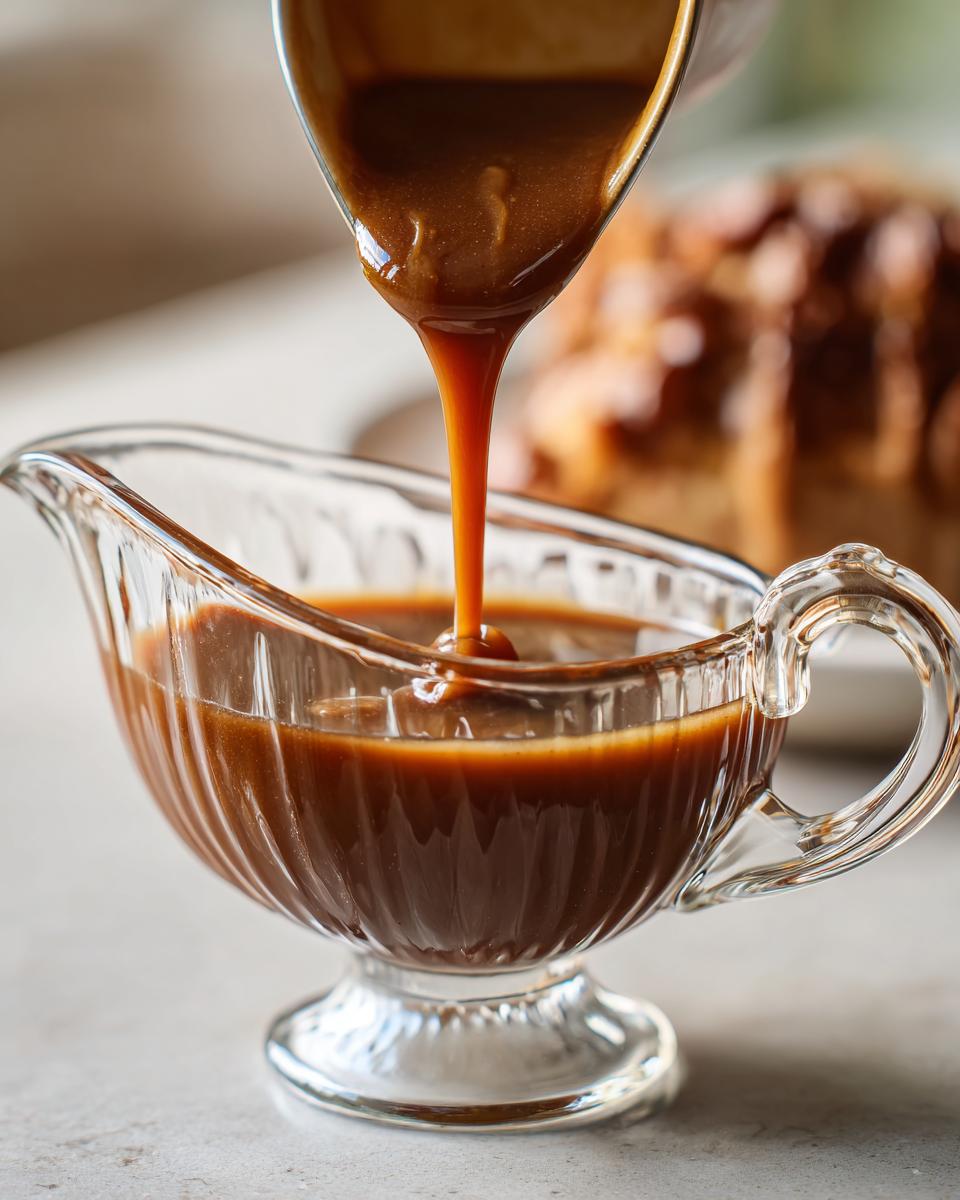
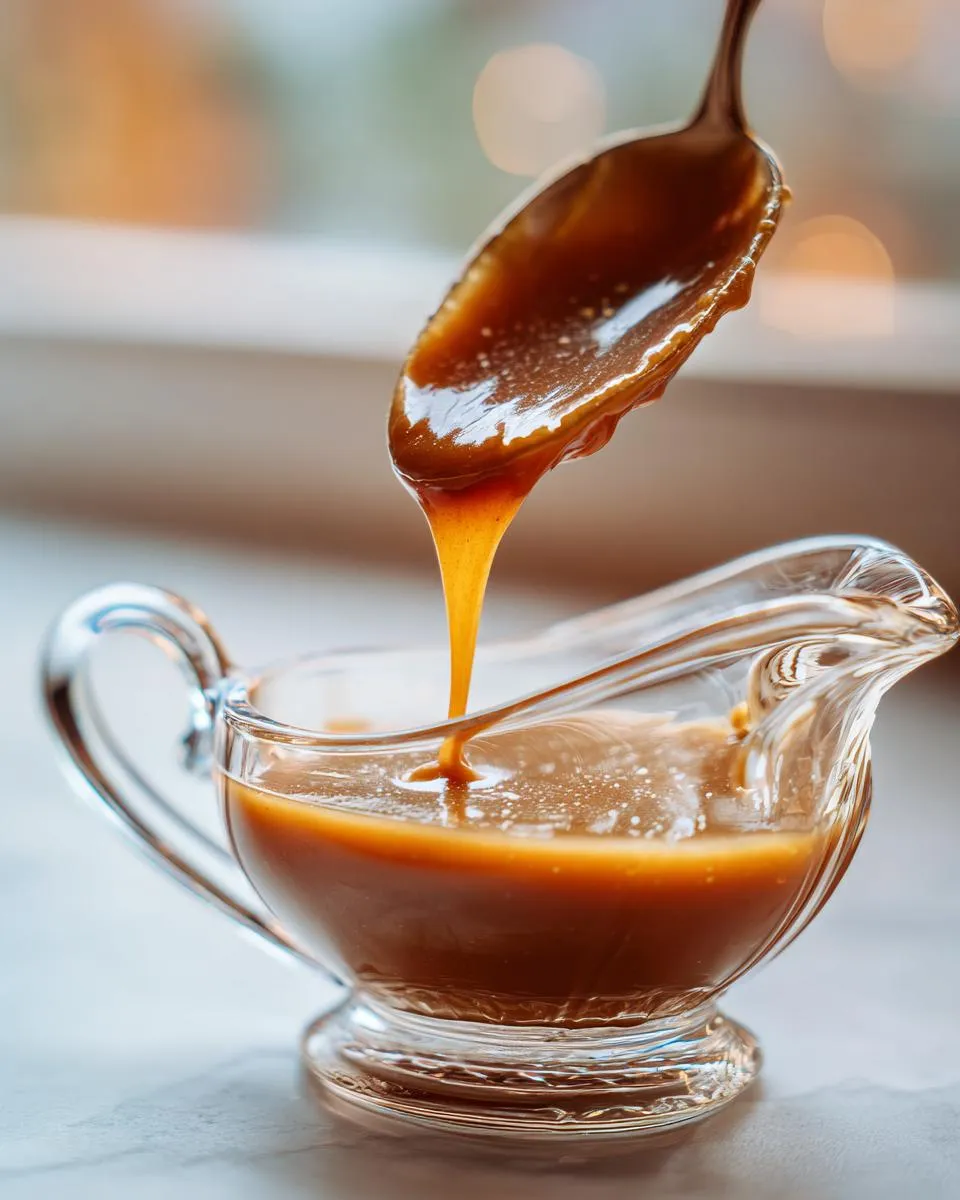
Here comes the exciting part! Slowly, and I mean *slowly*, start whisking in the rest of those defatted turkey drippings (the liquid part, remember?). Keep whisking constantly as you add them. This is key to getting a wonderfully smooth gravy with absolutely no lumps. Once it’s all combined and looking smooth, bring it up to a gentle simmer. Let it bubble away, whisking every so often, for about 5 to 10 minutes. You’ll see it start to thicken up beautifully. You’re looking for a consistency that coats the back of a spoon – not too thin, not too thick!
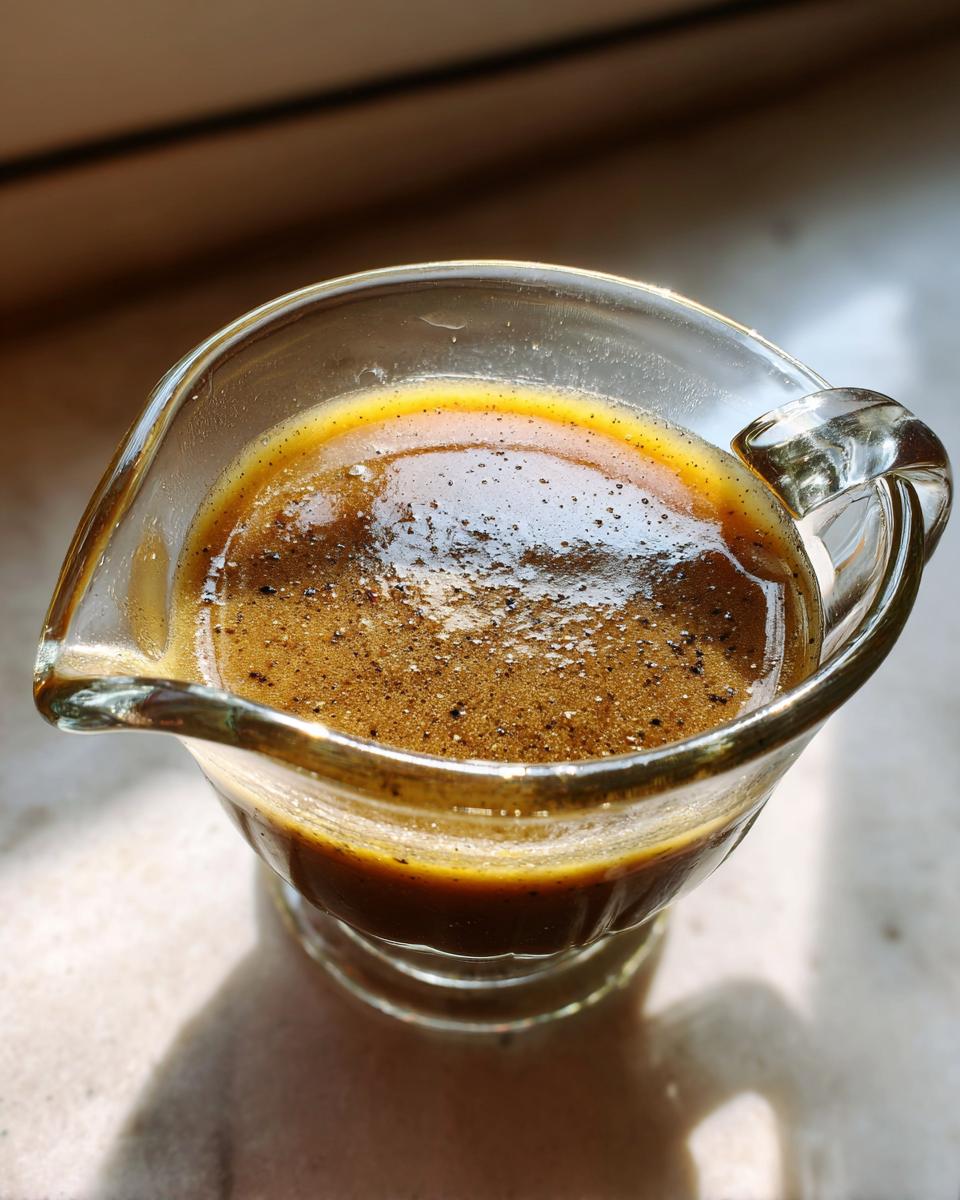
Seasoning Your Homemade Turkey Gravy
Almost there! Now it’s time to make it taste perfect. Add your salt and black pepper, just a little at first. Give it a good stir and taste it. Does it need more salt? A bit more pepper? This is your chance to really make this homemade turkey gravy sing. Keep tasting and adjusting until it’s just right. Remember, it should taste savory and delicious, complementing all those other holiday flavors!
Tips for the Smoothest Turkey Gravy
Okay, so you’ve got this gorgeous, rich base, but how do we make sure it’s that perfect, silky texture everyone loves? I’ve learned a few tricks over the years in my kitchen that really make a difference when you’re aiming for the ultimate turkey gravy. It’s all about treating that roux and liquid right. Getting a truly smooth sauce recipe really comes down to a little patience and knowing what to watch for.
Achieving a Lump-Free Turkey Gravy
Lumps are the enemy of silky gravy, right? My number one defense is *constant whisking*, especially when you first add the drippings to that flour and fat mixture (the roux). If you see even a little speck trying to clump up, whisk it out immediately! Also, adding the liquid slowly, a little at a time, gives it a chance to incorporate smoothly. If, by some chance, a few lumps sneak in, don’t fret! A quick pass through a fine-mesh sieve right at the end will catch them all, leaving you with pure, smooth gravy goodness.
Adjusting Gravy Consistency
Sometimes, things can get a little too thick or stay a bit too thin. It happens! If your gravy is too thick, just whisk in a splash of warm water or some extra turkey broth until it’s exactly how you like it. If it’s too thin, let it simmer a little longer, whisking occasionally, to let it reduce and thicken. You can also make a quick slurry with a tablespoon of flour or cornstarch and a little cold water, then whisk that into the simmering gravy to thicken it up!
Frequently Asked Questions about Gravy from Drippings
Got questions about whipping up that perfect sauce? I’ve got you covered! It’s all about making things easy and delicious.
What if I don’t have enough turkey drippings?
Don’t you sweat it if your drippings are a little sparse! You can absolutely supplement with chicken or turkey broth. Just use what you have in the pan, and then top it off with broth until you have enough liquid to work with. It’ll still be wonderfully flavorful!
Can I make turkey gravy ahead of time?
Yes, you can! I often make my homemade turkey gravy a day ahead. Just let it cool completely, then pop it into an airtight container in the fridge. It’ll firm up a bit, but don’t worry, it’s super easy to bring back to life.
How do I reheat leftover turkey gravy?
Reheating is a breeze! Gently warm your gravy in a saucepan over low heat, whisking constantly. If it’s too thick, just stir in a little bit of water or broth until it’s the right consistency again. You can also pop it in the microwave on a lower power setting, stirring every 30 seconds or so.
Nutritional Information for Turkey Gravy
Just so you know what you’re working with, here’s an idea of the nutritional breakdown for about a half-cup serving of this delicious gravy. Keep in mind these numbers are estimates, they can change a bit depending on the exact ingredients you use and how much fat your turkey rendered!
- Serving Size: 1/2 cup
- Calories: 250
- Fat: 15g
- Saturated Fat: 5g
- Unsaturated Fat: 10g
- Trans Fat: 0g
- Carbohydrates: 15g
- Fiber: 0g
- Protein: 5g
- Cholesterol: 50mg
- Sodium: 300mg
- Sugar: 1g

Share Your Silky Turkey Gravy Creation!
Alright, my friends, you’ve made it! You’ve got that luscious, silky gravy. Now tell me all about it! Did it turn out perfectly? I’d just *love* to hear about your experience in the comments below. And hey, if you snapped a pic, share it on social media and tag me – I love seeing your kitchen triumphs!
PrintSilky Turkey Gravy from Drippings

A smooth and savory turkey gravy made from your roast drippings, perfect for Thanksgiving dinner.
- Prep Time: 5 min
- Cook Time: 15 min
- Total Time: 20 min
- Yield: About 4 cups 1x
- Category: Sauce
- Method: Stovetop
- Cuisine: American
- Diet: Vegetarian
Ingredients
- 4 cups turkey drippings
- 1/2 cup all-purpose flour
- Salt to taste
- Black pepper to taste
Instructions
- Pour the turkey drippings into a heatproof bowl or fat separator. Let it sit for a few minutes to allow the fat to separate from the juices. Skim off about 1/2 cup of the fat and set aside. Reserve the remaining drippings.
- In a medium saucepan, heat the reserved 1/2 cup of turkey fat over medium heat.
- Whisk in the 1/2 cup of all-purpose flour until smooth. Cook, whisking constantly, for 1-2 minutes until the mixture is lightly golden. This is your roux.
- Gradually whisk in the reserved turkey drippings (the liquid part, not the fat) into the roux. Continue whisking until the gravy is smooth and there are no lumps.
- Bring the gravy to a simmer, whisking often. Cook for 5-10 minutes, or until the gravy has thickened to your desired consistency.
- Season with salt and black pepper to taste.
- If the gravy is too thick, whisk in a little water or turkey broth until it reaches your preferred consistency.
Notes
- For a richer flavor, use only the drippings and fat from the turkey pan.
- If you don’t have enough drippings, you can supplement with chicken or turkey broth.
- Ensure you whisk constantly to prevent lumps and scorching.
Nutrition
- Serving Size: 1/2 cup
- Calories: 250
- Sugar: 1g
- Sodium: 300mg
- Fat: 15g
- Saturated Fat: 5g
- Unsaturated Fat: 10g
- Trans Fat: 0g
- Carbohydrates: 15g
- Fiber: 0g
- Protein: 5g
- Cholesterol: 50mg