 Skip to content


Oh, there is just nothing like biting into a truly perfect Southern biscuit, is there? That slight crackle on the outside, followed by layers so light and airy they almost float off your plate. I’m Carla, and believe me when I say that achieving those bakery-style, high-rising, flaky buttermilk biscuits right in your own kitchen is easier than you think. My grandmother in Ohio taught me early on that the best baking is rooted in tradition, and this recipe is the one she trusted for every family gathering. If you’ve been searching for that fail-proof guide for National Buttermilk Biscuit Day or just any dreary Tuesday, you’ve found it!

- Why You Will Master These Flaky Buttermilk Biscuits
- Essential Ingredients for Perfect Flaky Buttermilk Biscuits
- The Folding Technique: How to Get High Layers in Biscuits
- Step-by-Step Instructions for Easy Homemade Biscuits from Scratch
- Baking Tips for Golden Brown Flaky Buttermilk Biscuits
- Serving Your Flaky Buttermilk Biscuits with Honey Butter for Biscuits
- Storing and Reheating Your Flaky Buttermilk Biscuits
- Frequently Asked Questions About Flaky Buttermilk Biscuits
- Celebrate National Buttermilk Biscuit Day with This Recipe
Why You Will Master These Flaky Buttermilk Biscuits
Seriously, you are going to be amazed the first time you pull these out of the oven. I’ve tweaked this method hundreds of times, and I know you’ll end up with the best flaky buttermilk biscuit recipe in your rotation. Forget dense rocks!
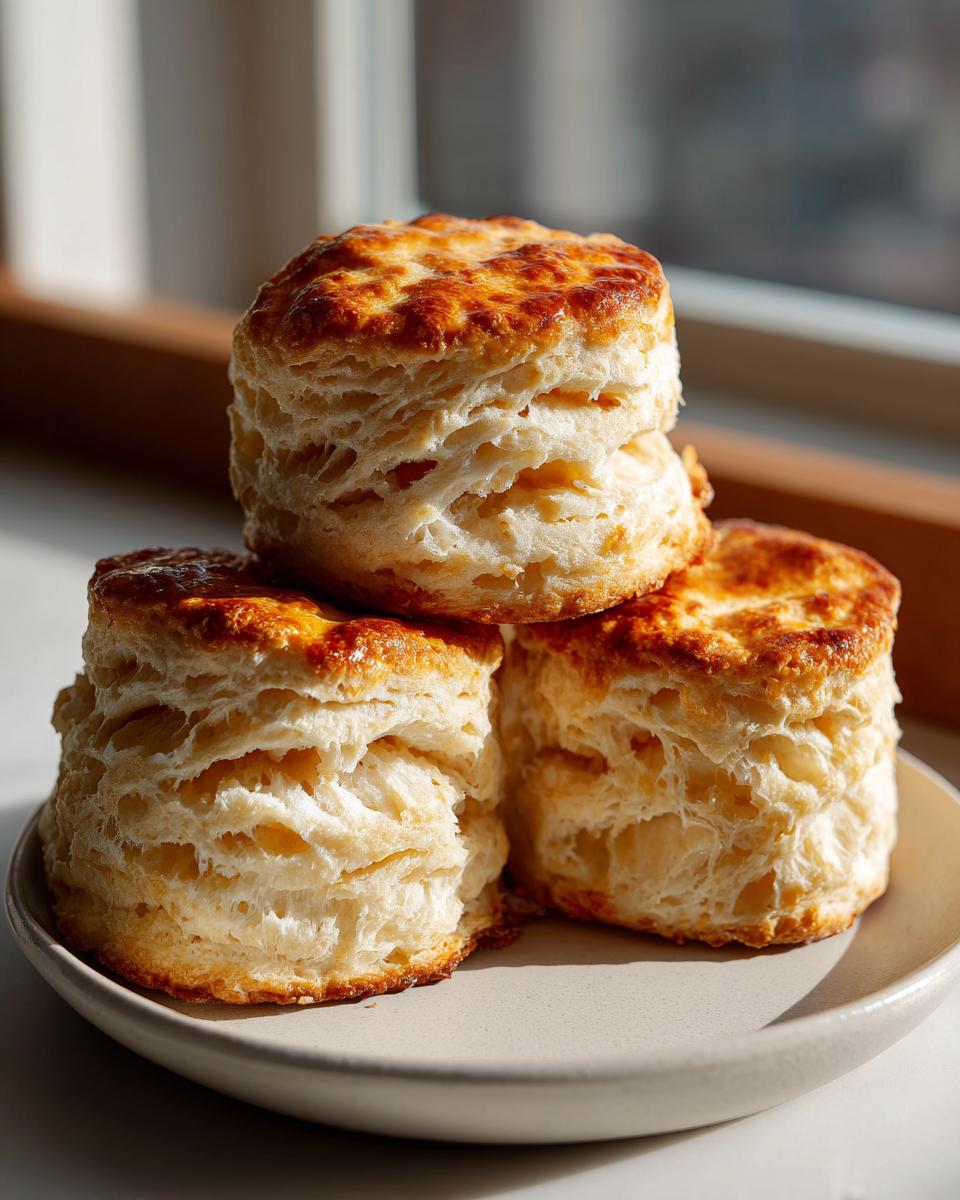
- Amazing Height: You’ll see those beautiful, soaring layers—we talk all about how to get them later on.
- Perfect Texture: They’re tender and light inside, never tough or heavy.
- Simple Mixing: The dough comes together in about five minutes—I promise!
- Versatility: Perfect on their own, or ready for rich gravy or a dollop of homemade biscuits and gravy!
Essential Ingredients for Perfect Flaky Buttermilk Biscuits
When making these, treat your ingredients like delicate little secrets; they need to be respected, especially temperature-wise! We only need a handful of pantry staples to make magic happen here. You’ll need 2 cups of all-purpose flour, 1 tablespoon of baking powder, 1 teaspoon of baking soda, and 1 teaspoon of salt to start. The most important things, though, are the fat and the liquid. Make sure you have exactly 1/2 cup (that’s one standard stick) of unsalted butter cut into small cubes, and 3/4 cup of buttermilk—and I really mean cold buttermilk. If your butter melts before it hits the oven, your layers are doomed!
Ingredient Notes and Substitution Tips
Buttermilk isn’t just for flavor, you know. The acidity in the buttermilk reacts perfectly with the baking soda to give us lift, which equals those high layers we are obsessed with. If you’ve run out, don’t panic! You can make your own quick buttermilk right in your measuring cup. Just take 3/4 cup of regular milk and stir in one tablespoon of white vinegar or fresh lemon juice. Let that sit for about five minutes until it looks slightly curdled. That acidity does the heavy lifting for you!
Also, remember the butter must be ice cold; think freezer for ten minutes cold. Those little frozen chunks are what steam in the oven and force the dough apart to create that signature flakiness. Don’t use softened butter—that’s the difference between a biscuit and a scone!
The Folding Technique: How to Get High Layers in Biscuits
Okay, this is the make-or-break step. We are not just mixing dough here; we are creating layers, kind of like making rough puff pastry without all the fuss! When I was little, my grandma kept stressing that I couldn’t twist the dough or the steam wouldn’t escape. I finally understood what she meant when I kept ending up with gorgeous circles that baked flat as pancakes. Learning this folding method transformed my baking overnight.
Preparing the Dough for Folding
Right after you mix in that cold buttermilk, stop stirring! The dough should look shaggy and messy—that’s exactly what you want. Turn it out onto a countertop dusted lightly with flour. Use your hands to gently pat it all together into a rough rectangle. We’re aiming for about 1 inch thick here. Remember, every time you touch this dough, the butter gets warmer, so move quickly and confidently. We need those cold butter chunks intact for maximum lift!
Executing the Letter Fold (Lamination)
Now for the folding! Take one short end of your rectangle and fold it over to meet the middle, then fold the other side over that, just like folding a business letter. Spin the resulting block 90 degrees so the seam is perpendicular to you. Gently pat it back out to about 1 inch thick. We repeat this fold-and-turn process two more times total. That third fold seals the deal! Each fold multiplies your layers beautifully, creating the incredible height you associate with the best flaky buttermilk biscuit recipe. If you want puffier biscuits, check out how I handle my dinner rolls—the technique is similar!
Step-by-Step Instructions for Easy Homemade Biscuits from Scratch
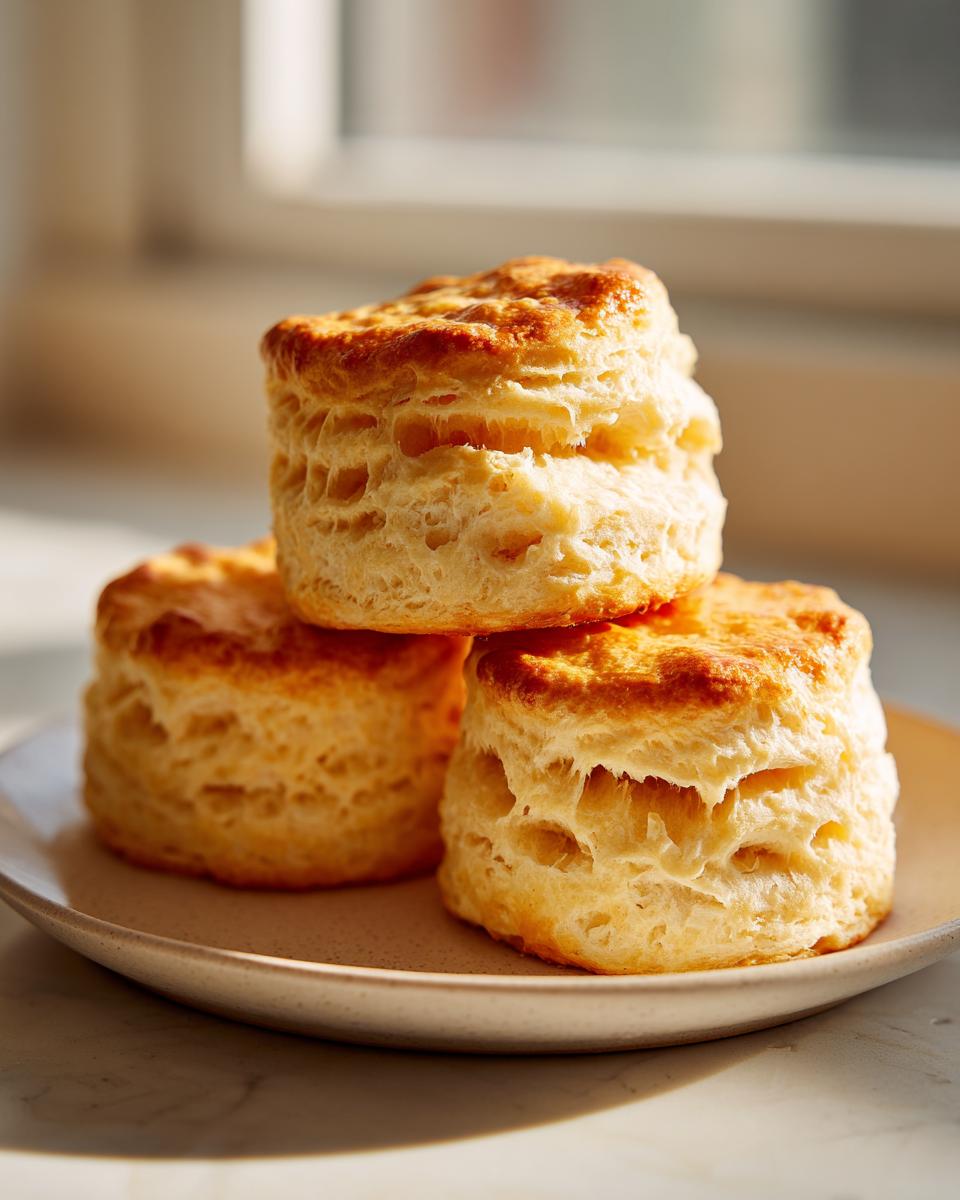
Alright, now that we’ve handled the folding gymnastics, the rest is surprisingly simple. We need to finish shaping these beauties and get them into the heat! After your final fold and patting the dough down to about 3/4 inch thick, it’s cutter time. This part cracks me up because everyone wants to just twist that cutter down, but oh honey, don’t do it!
Use a 2-inch biscuit cutter—or whatever size you love—and press straight down through the dough. Lift the cutter straight up when you’re done. Twisting seals the edges shut, and that seal prevents the steam from lifting those beautiful layers we just worked so hard to build. It’s a clean smash, then lift!
Once they are cut, decide on your texture. If you want softer sides, place them close together on an ungreased baking sheet so they kiss each other while they bake. If you like crispy sides, give them space. Before they hit the oven, brush the tops lightly with a little extra cold buttermilk—this helps them brown up gorgeously. Then bake them at 425°F for about 12 to 15 minutes. You’re looking for that deep, satisfying golden brown color all over. If you’re interested in something similar but slightly denser, my tender scones are next on your baking list!
Baking Tips for Golden Brown Flaky Buttermilk Biscuits
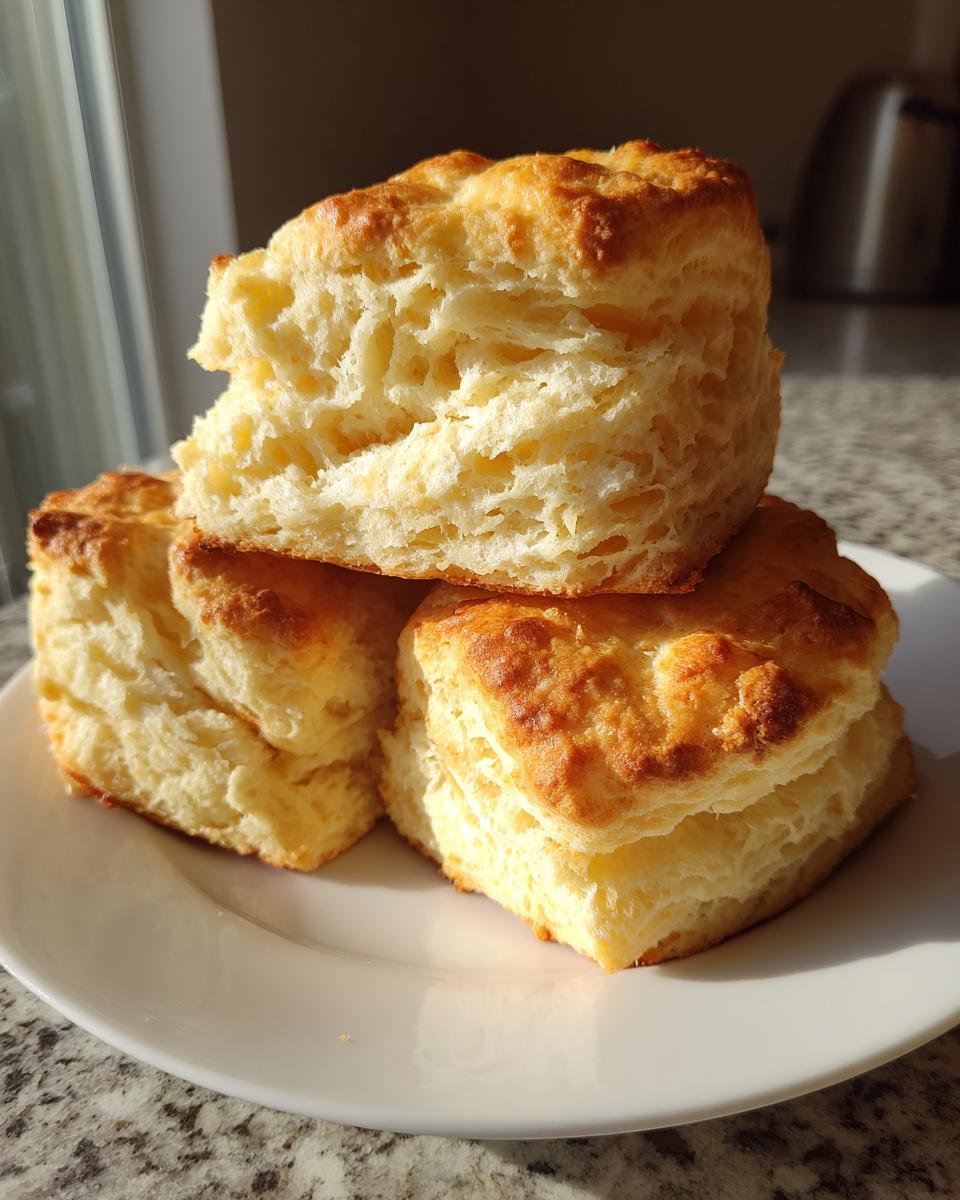
Now that we’ve tucked our layers in just right, we need to make sure the oven treats them kindly. Temperature is everything when you want that big rise! Always, always make sure your oven is fully preheated to 425°F before those biscuits even think about going in. If the oven isn’t hot enough immediately, the butter starts melting before the dough sets, and poof—no height!
You’re going to watch them closely after about 10 minutes. The goal, as I always tell folks, is for them to be perfectly golden brown on top and visibly soaring high above the pan surface. They should look proud! If you are worried they aren’t quite getting that amazing lift, here’s an old trick I learned from my neighbor, Mrs. Henderson. After you cut your rounds but before you put them on the sheet, pop the whole tray into the freezer for just 10 minutes. That extra blast of cold shocks the butter one last time, ensuring a massive steam explosion in the oven, giving you even higher, flakier sides!
Serving Your Flaky Buttermilk Biscuits with Honey Butter for Biscuits
Listen, you have worked hard on achieving those ethereal layers! You cannot, I repeat, *cannot* serve these masterpieces with just anything. We need a topping that complements the flakiness without weighing it down. That means making my ridiculously easy, slightly addictive homemade honey butter.
This doesn’t take any extra effort, but it tastes like you spent hours in a fancy country shop. All you need is softened, high-quality unsalted butter—make sure it’s actually soft, not melted—about 1/2 cup of it will do for a batch of 8 biscuits. Then, drizzle in about 2 or 3 tablespoons of your favorite local honey. Trust me, the better the honey, the better the topping!
Mix those two ingredients together until they are light and creamy. I always throw in just a tiny pinch of fine sea salt. That little bit of salt completely cuts through the sweetness and makes the honey flavor actually *pop*. It’s amazing how something so simple elevates the whole experience. If you’re feeling extra fancy, a tiny dash of cinnamon works wonders, too. Slather that golden goodness on your warm biscuits—I promise you won’t be able to stop eating them!
If you’ve got a sweet tooth after this, you should check out my recipe for classic soft and chewy oatmeal cookies next!
Storing and Reheating Your Flaky Buttermilk Biscuits
You’ve made the perfect batch, and now you’re wondering if you can possibly save some for tomorrow without them turning into sad, dense hockey pucks. I totally get it! Luckily, these flaky buttermilk biscuits store beautifully if you treat them right. You want to avoid the fridge if you can, because that cold air dries them out fast.
The best way to keep them fresh is to store the cooled biscuits in an airtight container right on the counter. They should stay tender for about two days this way. If you made an absolute mountain of them and need them to last longer than that, an airtight freezer bag works well, and they freeze beautifully for up to a month.
Now, for the reheating—this is where we bring back the magic! Microwaving is quick, but it makes them soft all over, and we worked too hard for soft sides. If you want to restore that golden crust and those separated flaky layers, you need dry heat. Pop them into an oven preheated to about 350°F for just 5 to 7 minutes. If you don’t have time for the oven, a toaster oven works like a charm, too. A quick blast wakes them right back up! If you enjoyed this, maybe you’ll want to make my Thanksgiving dinner rolls next.

Frequently Asked Questions About Flaky Buttermilk Biscuits
I get so many questions every time I post these, and honestly, that’s the sign of a recipe worth making! Don’t worry if you run into a snag or two—baking is all about learning. Here are the things I hear most often from folks trying to master easy homemade biscuits from scratch.
Can I use regular milk instead of buttermilk for these flaky buttermilk biscuits?
You absolutely can, but I’m going to be honest: it won’t be the *same*. Buttermilk has that acidic kick that reacts with the baking soda to create the gas bubbles that push those layers up. If you don’t have buttermilk, I already showed you how to whip up a quick substitute using regular milk and vinegar, right? That’s the best way to mimic the real thing! If you use plain milk instead, you are missing out on that essential lift, and your biscuits will likely bake up flatter and denser. That perfect tang is lost, too.
What is the secret to getting tall, flaky layers?
It all comes down to temperature and handling—we reviewed this, but it’s worth repeating because it’s everything! The secret to tall layers is keeping those pieces of fat (the butter) whole and icy cold all the way until they hit the hot oven air. When that cold butter hits the heat, it turns instantly to steam, forcing the dough layers apart. Also, you must do those letter folds a few times before cutting. That is how we build the structure for how to get high layers in biscuits!
How do I know when my biscuits are done baking?
Forget setting a timer and wandering off! You need to be alert when these are in the oven. First, look at the sides. They should be mostly cooked through and showing some separation between the layers. The real sign, though, is the color and feel. They need to be deeply golden brown on top—not pale yellow, but a rich, inviting tan color that says “butter!” If you gently poke the side of one with a clean finger (after carefully taking the tray out, of course), it should spring back slightly. If it feels just set and golden, they are ready to come out and be slathered with that yummy honey butter for biscuits!
Celebrate National Buttermilk Biscuit Day with This Recipe
I truly hope you take the time this year to celebrate National Buttermilk Biscuit Day 2026 by finally mastering these flaky beauties. They are my tribute to my grandmother and the simple joy of honest, good baking. Go ahead, try the folding technique, and let me know how high they rise for you! Tell me in the comments what you’re topping yours with!
You can read a little more about my baking journey on my About Page if you’re curious!
PrintThe Best Flaky Buttermilk Biscuits for High Layers

Learn how to make bakery-style, flaky buttermilk biscuits from scratch. This recipe delivers high, airy layers perfect for any meal.
- Prep Time: 15 min
- Cook Time: 15 min
- Total Time: 30 min
- Yield: 8 biscuits 1x
- Category: Breakfast
- Method: Baking
- Cuisine: American
- Diet: Vegetarian
Ingredients
- 2 cups all-purpose flour
- 1 tablespoon baking powder
- 1 teaspoon baking soda
- 1 teaspoon salt
- 1/2 cup (1 stick) cold unsalted butter, cut into small cubes
- 3/4 cup cold buttermilk, plus extra for brushing
Instructions
- In a large bowl, whisk together the flour, baking powder, baking soda, and salt.
- Add the cold butter cubes to the flour mixture. Use a pastry blender or your fingertips to cut the butter into the flour until the mixture resembles coarse crumbs with some pea-sized pieces of butter remaining.
- Make a well in the center of the dry ingredients and pour in the cold buttermilk. Mix gently with a fork until just combined. Do not overmix; the dough will look shaggy.
- Turn the dough out onto a lightly floured surface. Gently pat the dough into a rough rectangle about 1 inch thick.
- Fold the dough into thirds, like a letter. Turn the dough 90 degrees and gently pat it back into a rectangle about 1 inch thick. Repeat this folding and turning process two more times. This creates your flaky layers.
- Pat or roll the dough to a final thickness of about 3/4 inch. Use a 2-inch biscuit cutter to cut straight down without twisting to keep the layers separate.
- Place the cut biscuits close together on an ungreased baking sheet for softer sides, or farther apart for crispier sides.
- Brush the tops lightly with extra buttermilk.
- Bake in a preheated oven at 425 degrees Fahrenheit for 12 to 15 minutes, or until the biscuits are golden brown and have risen high.
- Serve warm with honey butter for biscuits.
Notes
- Keep your butter and buttermilk as cold as possible for the best rise and flakiness.
- Do not twist the biscuit cutter when cutting; press straight down to prevent sealing the edges, which stops the layers from separating during baking.
- For extra height, you can chill the cut biscuits in the freezer for 10 minutes before baking.
Nutrition
- Serving Size: 1 biscuit
- Calories: 250
- Sugar: 2
- Sodium: 450
- Fat: 13
- Saturated Fat: 8
- Unsaturated Fat: 5
- Trans Fat: 0
- Carbohydrates: 28
- Fiber: 1
- Protein: 5
- Cholesterol: 30