 Skip to content
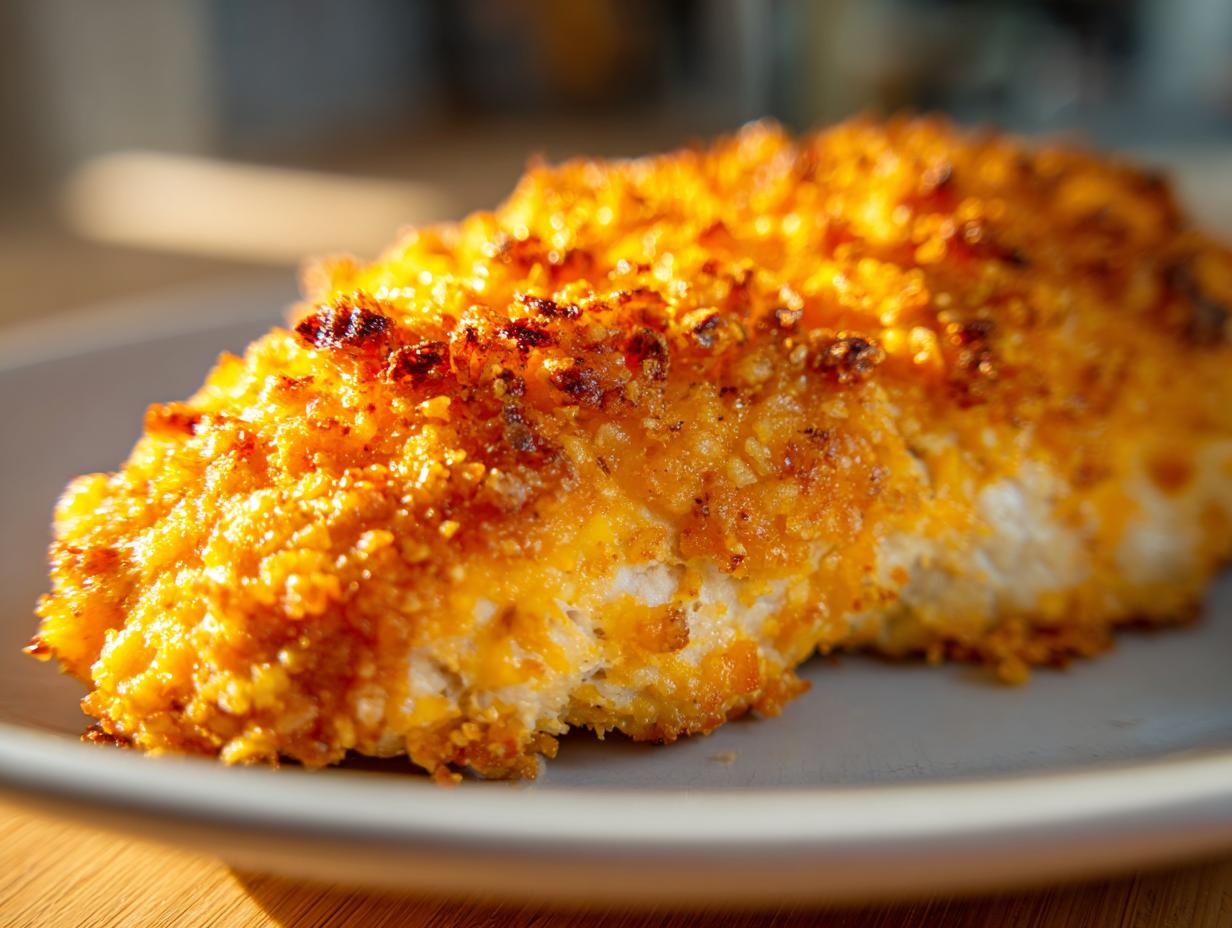

You know how sometimes you just crave that deep-fried crunch, but the thought of the oil splatter and cleanup makes you reach for the phone to order takeout? I totally get it! That’s why I perfected this recipe for crispy cheddar chicken. It’s the answer to getting that amazing, audible crunch and gooey cheese flavor without turning on the deep fryer. When I first started this blog, it wasn’t because I had a culinary degree—it was because I, Carla Davis, needed soulful, simple food for my hectic weeknights. This chicken is the essence of what I do here: taking simple ingredients and baking them until they are unbelievably crispy and cheesy. Trust me, this is comfort food magic! Learn more about my kitchen philosophy over on my About Page.

- Why This Baked Crispy Cheddar Chicken is Your New Family Favorite Chicken Dinner
- Ingredients for the Ultimate Crispy Cheddar Chicken
- How to Prepare Crispy Cheddar Chicken Using Simple Oven Baked Chicken Method
- Tips for Success Making Crispy Cheddar Chicken
- Serving Suggestions for Your Cheesy Chicken Bake
- Storage and Reheating Instructions for Crispy Cheddar Chicken
- Frequently Asked Questions About Crispy Cheddar Chicken
- Making Smart Choices: Meal Planning vs. Quick Cheesy Chicken Meal
- Share Your Crispy Cheddar Chicken Success
Why This Baked Crispy Cheddar Chicken is Your New Family Favorite Chicken Dinner
If you’re searching for a perfect family favorite chicken dinner, this is it! This cheesy chicken bake nails that impossible goal: ultra-crispy on the outside and perfectly tender inside. The sharp cheddar melts right into that crunchy crust, giving you maximum flavor with minimal fuss. It’s truly one of my go-to weeknight dinners!

Achieving Tender Inside Crispy Outside Chicken Every Time
The secret to getting that highly desirable tender inside crispy outside chicken texture without frying is patience with the topping and the butter. When I was adapting our family favorites for busy schedules, I realized the melted butter drizzled over the crumb coating is key. It essentially fries the coating right there on the baking sheet while the oven cooks the chicken gently. It’s total magic!
Simple Dinner Solutions for Busy Weeknights
Look, we don’t always have time for complicated food, right? This recipe is pure gold when you need simple dinner solutions. Prep time is just 15 minutes, and the whole thing is done in under 40 minutes total. That speed is why I love it—it beats relying on heavy food services or trying to stick to complicated meal planning strategies on an unexpectedly chaotic Tuesday.
Ingredients for the Ultimate Crispy Cheddar Chicken
Okay, the flavor of this crispy cheddar chicken relies entirely on what you put in that amazing crunchy coating. Don’t just look at the list and grab any old cheese! For this recipe, we need specific things to make sure that coating stays attached, gets super flavorful, and stays crispy even when baked. Before we get into the method, let’s make sure your pantry is stocked with the right players.
Coating Components for the Crunchy Cheddar Topping
This is where the magic happens! To get that perfect crunchy cheddar topping, you need some elbow grease and sharp flavor. We’re not just using crackers; we’re adding serious flavor boosters here. You absolutely must use shredded sharp cheddar cheese—it melts beautifully but still has a nice, tangy bite that cuts through all that richness. Next, we bring in Parmesan for extra saltiness and depth. And don’t skip the seasonings! Just a touch of garlic powder, salt, and pepper is all you need to wake up those crackers.
- 1 cup crushed Ritz crackers (or Panko breadcrumbs if you want a slightly different crunch texture!)
- 1 cup shredded sharp cheddar cheese
- 1/2 cup grated Parmesan cheese
- 1/2 teaspoon garlic powder
- 1/4 teaspoon black pepper
- 1/4 teaspoon salt
Chicken Preparation Ingredients
Now for the backbone of our meal. Make sure your chicken breasts are pounded down evenly. That’s my little trick for consistency! The dredging station needs the standard trio, but getting the egg coating right is essential so that gorgeous cracker mix sticks tight. Pouring the melted butter over the top later helps seal the deal, making sure everything stays put while baking.
- 4 boneless, skinless chicken breasts
- 6 tablespoons unsalted butter, melted
- 1/4 cup all-purpose flour (for dredging)
- 2 large eggs, lightly beaten
How to Prepare Crispy Cheddar Chicken Using Simple Oven Baked Chicken Method
Getting these crispy, cheesy results in the oven seems like complicated work, but I promise you, it’s just about setting up a great assembly line. This is where we turn those ingredients into the famous crispy cheddar chicken! The whole process takes just about 40 minutes total, which is fantastic for a comfort food chicken recipes night. Make sure your oven is cranked up to 400 degrees Fahrenheit right away, and go ahead and lightly grease whatever baking dish you plan to use.

Setting Up the Crispy Cheddar Chicken Dredging Station
This is the most hands-on part, but it makes all the difference for that coating staying put! You need three shallow dishes. In the first, put your flour. In the second, whisk up those two eggs really well. The third dish is your flavor powerhouse—that’s where you mix your crushed crackers, both cheeses, garlic powder, pepper, and salt. We dredge the chicken first in the flour (this dries the surface), then dip it quick in the egg (this is the glue!), and finally, you press it firmly, really making sure both sides pick up a thick layer of that cheesy crumb mix. Don’t be shy here!
Baking and Finishing the Golden Brown Chicken Dish
Once all your chicken pieces are coated and nestled snugly in that baking dish, grab that melted butter we talked about and drizzle it evenly over the top of every single piece. This is what helps it brown and crisp up so wonderfully in the oven. Pop it in for about 20 to 25 minutes. You’re looking for that internal temperature to hit 165°F, and the topping should look beautifully golden brown. The *most* important final step, which I learned the hard way, is letting it rest for 5 minutes when it comes out. It keeps all those juices locked in, giving you that incredible, tender inside. You can find other great baking tips when you check out my Parmesan Crusted Chicken recipe, too!
Tips for Success Making Crispy Cheddar Chicken
Listen, I know that sometimes things go sideways in the kitchen, even with the simplest recipes. That’s why I want to share a few things I’ve figured out over the years of making this crispy cheddar chicken over and over again for my own family. My goal, just like when I started this blog, is to make sure you succeed on a busy weeknight without stress! Check out my main blog page if you need more quick inspiration.
Ingredient Notes and Sharp Cheddar Recipes Substitutions
Let’s talk cheese first. You really, really want that sharp cheddar. It has a lower moisture content than mild cheddar, so it melts down beautifully but doesn’t turn into oily soup. If you absolutely cannot find sharp, use half mild and half medium, but it won’t have the same punch! As for the crackers, Ritz gives you that classic buttery flavor, but if you crush up Panko breadcrumbs instead, you’ll get a slightly lighter, even airier crunch. Either way, make sure you press that mix onto the chicken firmly—the coating needs to be fully pressed on!
Making This Crispy Cheddar Chicken Ahead of Time
Sometimes dinner prep needs to start earlier than 5 PM, right? You can totally get this ready ahead of time! You can mix up your entire cracker/cheese/seasoning blend and store it in an airtight container for a few days. Even better, you can complete the entire dredging process—flour, egg, crumb coating—and arrange the chicken in your baking dish. Cover and refrigerate it for up to 4 hours. The important thing is this: Don’t add the melted butter until you are ready to put it straight into that hot oven! If you melt the butter over refrigerated chicken, the coating can get soggy before it even bakes.
I also have to mention my general cooking rule, which applies here: make sure your chicken breasts are even! If one is half an inch thick and the other is a full inch, one cooks fast and dries out while the other is still raw. Take an extra minute to place the breasts between plastic wrap or parchment paper and use a meat mallet or even a heavy rolling pin to gently pound them to a uniform 3/4 inch thickness. That little step guarantees that tender inside crispy outside chicken texture we are aiming for!
Serving Suggestions for Your Cheesy Chicken Bake
This crispy cheddar chicken is wonderfully rich because of all that cheese and butter in the crust, so we need sides that are simple, fresh, or maybe just scoopable! You don’t want anything too heavy that will sit on your stomach after a satisfying meal like this. When I make this cheesy chicken bake on a Tuesday night, I usually look for things that take zero effort, like maybe steaming some vegetables while the chicken is in the oven.

Since we want this to remain an easy weeknight chicken meal, sides are key to keeping things quick. A simple side salad dressed with a bright vinaigrette is fantastic—the acidity cuts right through the savoriness of the cheddar. Green beans are another classic winner in my house, either steamed or lightly sautéed with a bit of garlic.
If you need something starchy that can soak up any delicious chicken juices, skip the heavy mashed potatoes and try roasted sweet potatoes or even some quick microwaveable rice. But honestly, my favorite pairing when I need an easy side is often something green and easy to manage, like maybe a large batch of roasted broccoli tossed with just a little olive oil. If you’re looking for a one-pot wonder to cook alongside, you might want to check out my recipe for Easy One-Pot Vegetable Soup; it’s light but super flavorful!
Storage and Reheating Instructions for Crispy Cheddar Chicken
We are making a truly satisfying comfort food here, and leftovers are definitely a thing! Nobody wants to waste this amazing crispy cheddar chicken, but you do have to handle it correctly if you want that coating to return to glory after chilling out in the fridge. The good news is that because we baked it rather than fried it, it holds up pretty well!
First things first: cooling and storing. You must let the chicken cool down completely before you tuck it away, otherwise, you’ll create steam inside your container, and that steam is the enemy of crispiness. Once totally cool, place the pieces in a shallow, airtight container. I try to put a piece of paper towel between the layers if I have more than two pieces, just to absorb any lingering moisture. This chicken is best eaten within three to four days of making it.

Now, for reheating—this is where you make or break the texture. Please, please avoid the microwave if crispiness is your goal! Microwaves heat the moisture in the chicken and make the crust instantly soggy. My absolute favorite way to bring this back to life is using the oven or, even better, your air fryer if you have one.
If you’re using the conventional oven, set it to about 350 degrees Fahrenheit. Place the chicken directly on a wire rack set over a baking sheet. This lets air circulate underneath, which is crucial for crisping up the bottom crust. Heat it for about 8 to 10 minutes. You want it heated all the way through, but you’re primarily trying to dry out that crust again.
If you have an air fryer, you’re in luck! Those things are little miracles for bringing baked coatings back to life. Set it to 325°F and cook for about 5 minutes. Check it halfway through. It should re-crisp beautifully without drying out the interior too much. See? Even leftovers from this simple oven baked chicken recipe deliver on flavor and texture!
Frequently Asked Questions About Crispy Cheddar Chicken
I always get so many great questions after people try my recipes, and I love hearing what works for your families! Since this crispy cheddar chicken is a classic comfort food chicken recipe, people often wonder about tweaking the texture or ingredients. Here are some of the things I hear most often when readers try this out in their own kitchens.
Can I use chicken thighs instead of breasts for this crispy cheddar chicken?
Oh, absolutely! Chicken thighs are packed with more fat because they have a bit more fat, which is never a bad thing, right? The only thing you really need to watch out for is cooking time, since thighs are generally thicker and don’t pound down as easily as breasts. If you use bone-in, skin-on thighs, you’ll need to bump that baking time up quite a bit—maybe closer to 35 or 40 minutes. If you use boneless, skinless thighs, just cook them until they hit that 165°F internal temperature, but give them an extra 5 to 8 minutes compared to the breasts. They usually stay juicier, so that’s a bonus!
How do I prevent the cheese from burning before the chicken cooks?
That’s a fantastic question, especially since we are using cheese right in the crust at a high temperature! The main reason the cheese burns before the chicken is fully cooked is usually because the chicken breasts are too thick, like I talked about earlier. If you make sure to pound them down evenly to about 3/4 of an inch thick, they cook evenly, and the cheese usually follows suit. If you notice your topping browning too fast, especially if your oven runs hot, I suggest covering the baking dish loosely with foil for the first 15 minutes of cooking. Then, pull the foil off for the last 10 minutes so that crust can gorgeous up and get that final crunch. Covering it protects the cheese while the heat penetrates the meat!
Is this a good recipe for kid friendly dinner ideas?
In my opinion? It’s one of the *best* kid friendly dinner ideas out there! Kids absolutely lose their minds over texture, and this recipe delivers the two best textures: crunchy and cheesy. My own kids love telling me how loud their chicken crunches when they bite into it. Plus, cheddar is usually a winner flavor-wise, even for picky little eaters. It’s easy to serve alongside simple things, too, so you don’t have to worry about complicated sauces. If you want to make it *extra* kid-friendly, leave out the black pepper in their portion of the crumb mix, just in case they are sensitive to spice.
If you’ve made this and loved it, tell me about your results! I love seeing your versions of my recipes. You can always leave a comment on my Chicken Caesar Pasta Salad post if you have specific feedback for this one, too!
Making Smart Choices: Meal Planning vs. Quick Cheesy Chicken Meal
We’ve all been there, staring into the abyss of the fridge dreading the nightly question: “What’s for dinner?” For a long time, I thought the only answer was to commit to a rigorous meal planning schedule or rely on costly best meal delivery services to keep me on track. And look, those things work for some people!
But honestly, what I found when I was trying to rebuild my weeknight joy was that sometimes you are just too busy—or too tired—to stick to a rigid plan. That’s exactly why this crispy cheddar chicken is such a game-changer for me. It’s a proper, satisfying, flavorful meal that takes less than an hour from start to finish. You don’t have to pre-order anything, you don’t have to wait for a box to arrive, and you don’t need to follow complex rules.
This recipe proves that you can still have truly delicious, homemade comfort food on the table even when life is absolutely bananas. It’s a fantastic alternative when your carefully laid-out meal planning falls apart mid-week. Instead of panicking and reaching for an expensive option, you can pivot quickly to this amazing quick cheesy chicken meal. It gives you that homemade feel without the major time commitment, allowing you to keep that culinary creativity alive without the stress!
For me, being able to whip up something this impressive so fast means I can focus on other things, like maybe getting ahead on a recipe for a weekend project, or honestly, just sitting down for five minutes before tackling evening cleanup! If you’re looking for another fantastic homemade option that skips the delivery fees, you should totally check out my tips for making an Easy Whole Chicken Recipe!
Share Your Crispy Cheddar Chicken Success
Well, that’s everything you need to know to make the crunchiest, cheesiest, most satisfying crispy cheddar chicken tonight! Now that you’ve made it, I really, really want to know what you think. Don’t run off without telling me!
Please take a moment to leave a rating for the recipe right below this section. Were you as shocked as I was by how crispy it got without any oil? Did your kids ask for seconds right away? I cherish hearing your feedback because it helps me make sure these recipes are perfect for everyone. Drop your thoughts in the comments!
And if you snap a picture of your beautiful, golden-brown dinner—especially if you managed to capture that beautiful crunch on camera—please tag me on social media! Seeing your creations in your kitchen absolutely makes my day. It shows me that the joy of simple, soulful cooking is truly spreading. Happy cooking, friends!
PrintBaked Crispy Cheddar Chicken: Easy Family Favorite

Make this simple, baked Crispy Cheddar Chicken for a weeknight dinner. It features a crunchy, cheesy crust over tender chicken breasts, perfect for a family favorite meal.
- Prep Time: 15 min
- Cook Time: 25 min
- Total Time: 40 min
- Yield: 4 servings 1x
- Category: Dinner
- Method: Baking
- Cuisine: American
- Diet: Vegetarian
Ingredients
- 4 boneless, skinless chicken breasts
- 1 cup crushed Ritz crackers (or panko breadcrumbs)
- 1 cup shredded sharp cheddar cheese
- 1/2 cup grated Parmesan cheese
- 1/2 teaspoon garlic powder
- 1/4 teaspoon black pepper
- 1/4 teaspoon salt
- 6 tablespoons unsalted butter, melted
- 1/4 cup all-purpose flour (for dredging)
- 2 large eggs, lightly beaten
Instructions
- Preheat your oven to 400 degrees Fahrenheit (200 degrees Celsius). Lightly grease a baking dish.
- Prepare the chicken: Pound the chicken breasts to an even thickness, about 3/4 inch thick.
- Set up a dredging station with three shallow dishes. Place flour in the first dish. Whisk the eggs in the second dish. In the third dish, combine the crushed crackers, cheddar cheese, Parmesan cheese, garlic powder, pepper, and salt. Mix well.
- Dredge each chicken breast first in the flour, shaking off any excess.
- Dip the floured chicken into the beaten eggs, letting excess drip off.
- Press the chicken firmly into the cracker and cheese mixture, coating both sides completely.
- Arrange the coated chicken in the prepared baking dish.
- Drizzle the melted butter evenly over the tops of the coated chicken pieces.
- Bake for 20 to 25 minutes, or until the internal temperature reaches 165 degrees Fahrenheit (74 degrees Celsius) and the topping is golden brown and crispy.
- Let the chicken rest for 5 minutes before serving. This recipe is a great alternative to complex meal planning strategies.
Notes
- For extra crispiness, you can briefly broil the chicken for the last 1-2 minutes, watching closely to prevent burning.
- If you are looking for quick weeknight solutions, this recipe is ready fast.
- This dish pairs well with simple sides like steamed green beans or a side salad.
Nutrition
- Serving Size: 1 breast
- Calories: 450
- Sugar: 2
- Sodium: 450
- Fat: 25
- Saturated Fat: 14
- Unsaturated Fat: 8
- Trans Fat: 0.5
- Carbohydrates: 15
- Fiber: 1
- Protein: 40
- Cholesterol: 130