 Skip to content
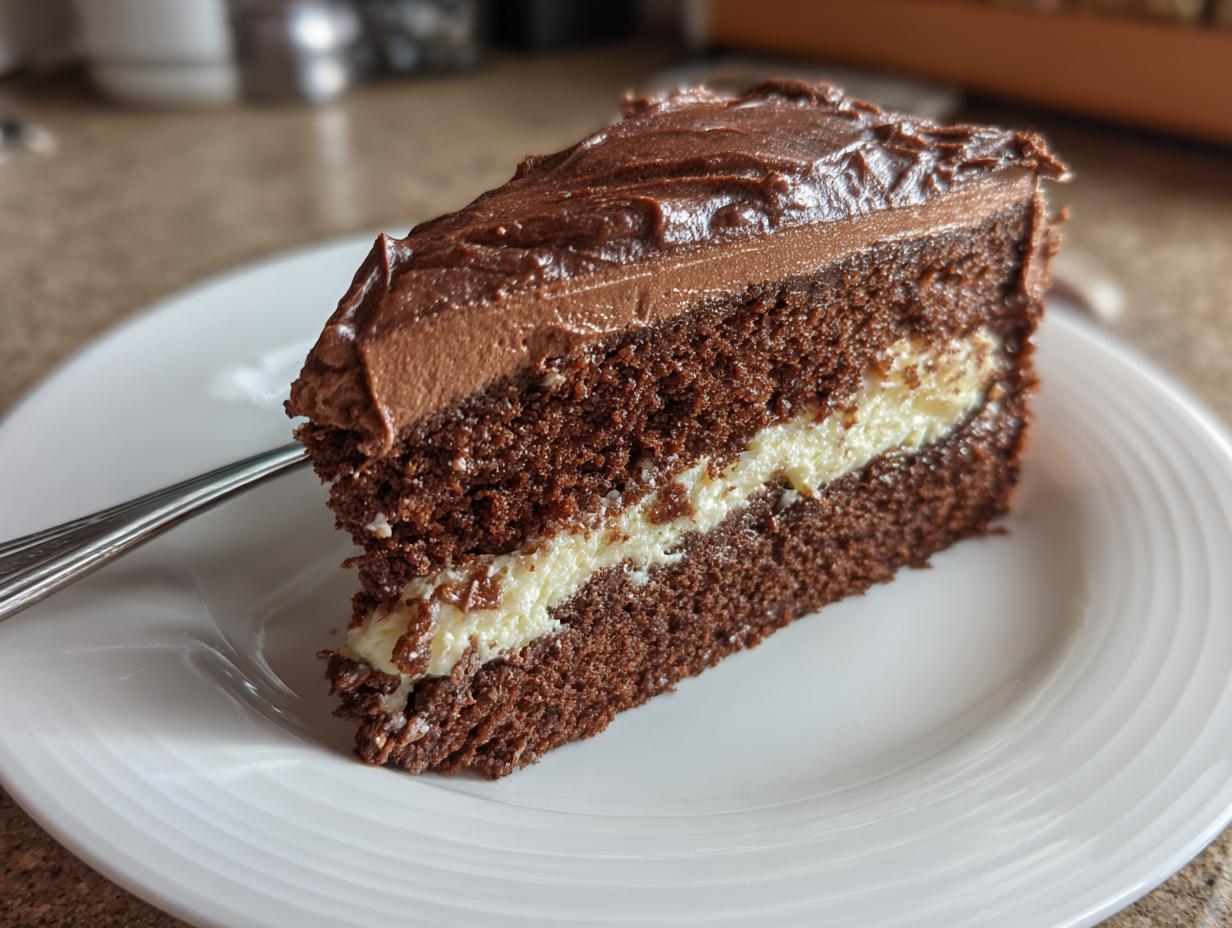

The holidays just aren’t the same without that iconic swirl of chocolatey goodness, right? For me, a perfectly rolled Yule log cake isn’t just dessert; it’s practically synonymous with Christmas magic, right up there with twinkling lights and carols. Growing up, my grandmother always had one on the table, and the memory of that rich, decadent chocolate cake still sparks so much joy. This year, I’m so excited to share her classic French Bûche de Noël recipe with you! It looks super fancy, but trust me, it’s totally doable for us home bakers. You can learn more about my kitchen philosophy over on my About page!

Why You’ll Love This Yule Log Cake Recipe
Okay, so why should this particular Yule log cake be your go-to this holiday season? Well, for starters, it looks absolutely stunning on any festive table! It’s got that classic French charm that just wows your guests. Plus, it’s packed with rich, decadent chocolate flavor that everyone adores. And the best part? Even though it looks super impressive, making this traditional Bûche de Noël is totally achievable right in your own kitchen. It’s a real showstopper that tastes as good as it looks!
Gather Your Ingredients for the Perfect Yule Log Cake
Alright, let’s get our baking game face on! To whip up this show-stopping Yule log cake, you’ll need a few things. Don’t worry, they’re all pretty standard kitchen staples. The real magic comes from using good quality stuff, so if you can, grab the best cocoa powder and fresh eggs you can find – it really makes a difference, trust me! You can find more general baking tips over on my blog.
- 1 cup all-purpose flour
- 1/3 cup unsweetened cocoa powder
- 1 teaspoon baking powder
- 1/4 teaspoon salt
- 4 large eggs, separated
- 1 cup granulated sugar, divided
- 1/4 cup warm water
- 1 teaspoon vanilla extract
- 1/2 cup (1 stick) unsalted butter, softened
- 2 cups powdered sugar
- 1/3 cup unsweetened cocoa powder
- 1/4 cup milk
- Chocolate shavings or sprinkles for decoration
Step-by-Step Guide: How to Make Yule Log Cake
Alright, let’s get this party started! Making a beautiful Yule log cake isn’t as complicated as it looks, I promise. Just follow these steps, and you’ll have a gorgeous, delicious centerpiece in no time. You can check out a more in-depth look at how I made mine here.
Preparing the Chocolate Sponge
First things first, get that oven humming at 350°F (175°C). Grab a 10×15 inch jelly roll pan, give it a good greasing and flouring. Then, line it with parchment paper, and grease and flour that too – we want this cake to slide out like a dream! In a medium bowl, I like to whisk together the flour, 1/3 cup cocoa powder, baking powder, and salt. This just makes sure everything is evenly distributed. Now for the wet stuff: in a big bowl, beat your egg yolks with about half a cup of sugar until it’s nice and pale. Stir in your warm water and vanilla. Then, gently add those dry ingredients to the egg yolk mix, stirring just until they’re *just* combined. Don’t overmix, or your cake might get tough!
Rolling and Cooling the Cake
Okay, this part is super important for getting that lovely log shape without cracks! While the cake bakes for about 12-15 minutes (until a skewer comes out clean), lay a clean kitchen towel on your counter and give it a really generous dusting of powdered sugar. As soon as the cake is out of the oven, flip it right onto that sugary towel. Carefully peel off the parchment paper – be gentle! Now, starting from one of the short ends, roll up the cake *and* the towel together. Let it cool completely like that, rolled up tight. This helps it set into that nice, bendy shape.
Crafting the Chocolate Buttercream Frosting
While our cake is chilling out, let’s whip up that dreamy chocolate frosting! You’ll need about half a cup of softened butter – make sure it’s nice and soft, not melted! Beat it in a big bowl until it’s super creamy. In another bowl, whisk together the powdered sugar and the other 1/3 cup of cocoa powder. Now, add this dry mix to the butter a little at a time, alternating with the milk. Beat it all together until it’s smooth, creamy, and just perfect. If it feels too thick, add a tiny splash more milk. You want it spreadable, not stiff!
Assembling and Decorating Your Yule Log Cake
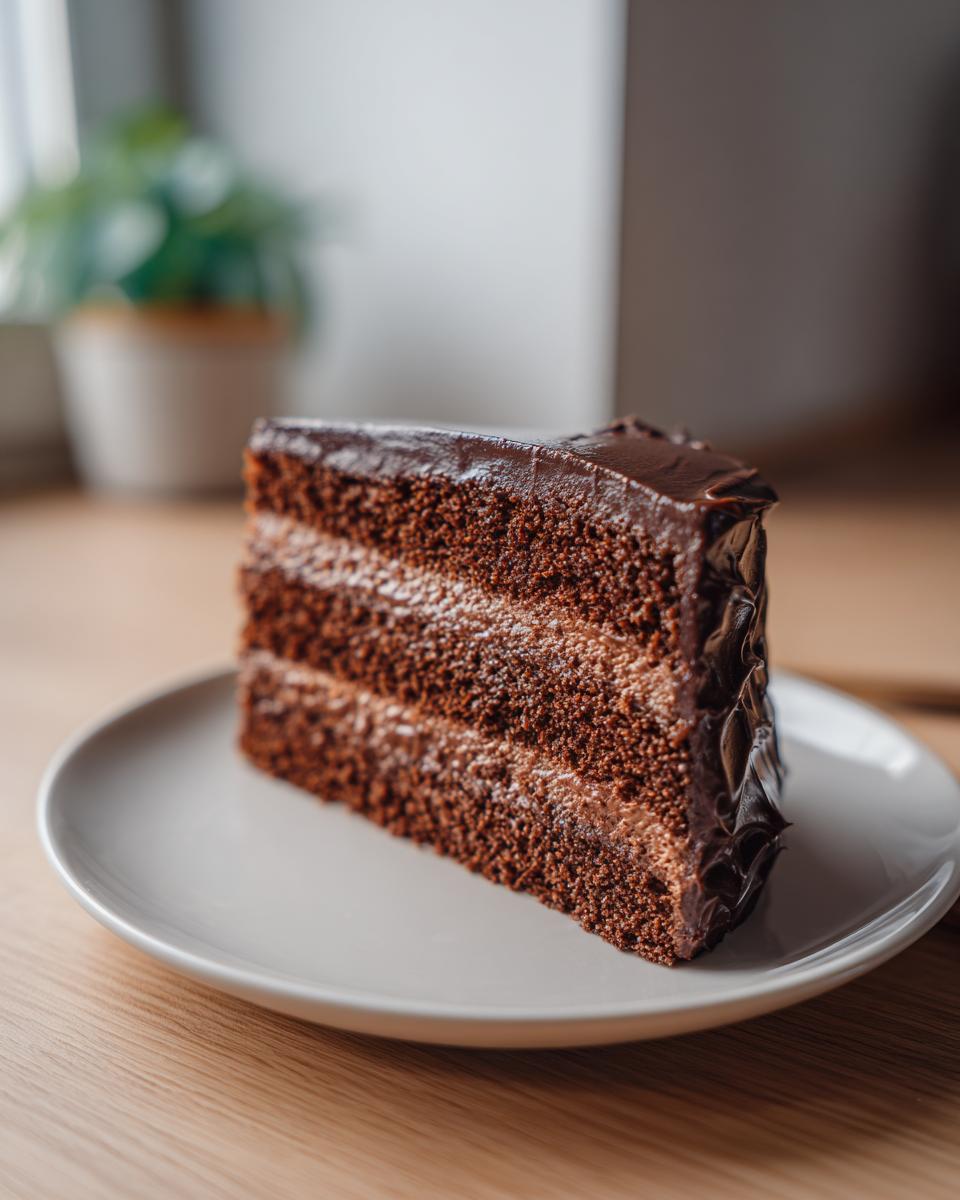
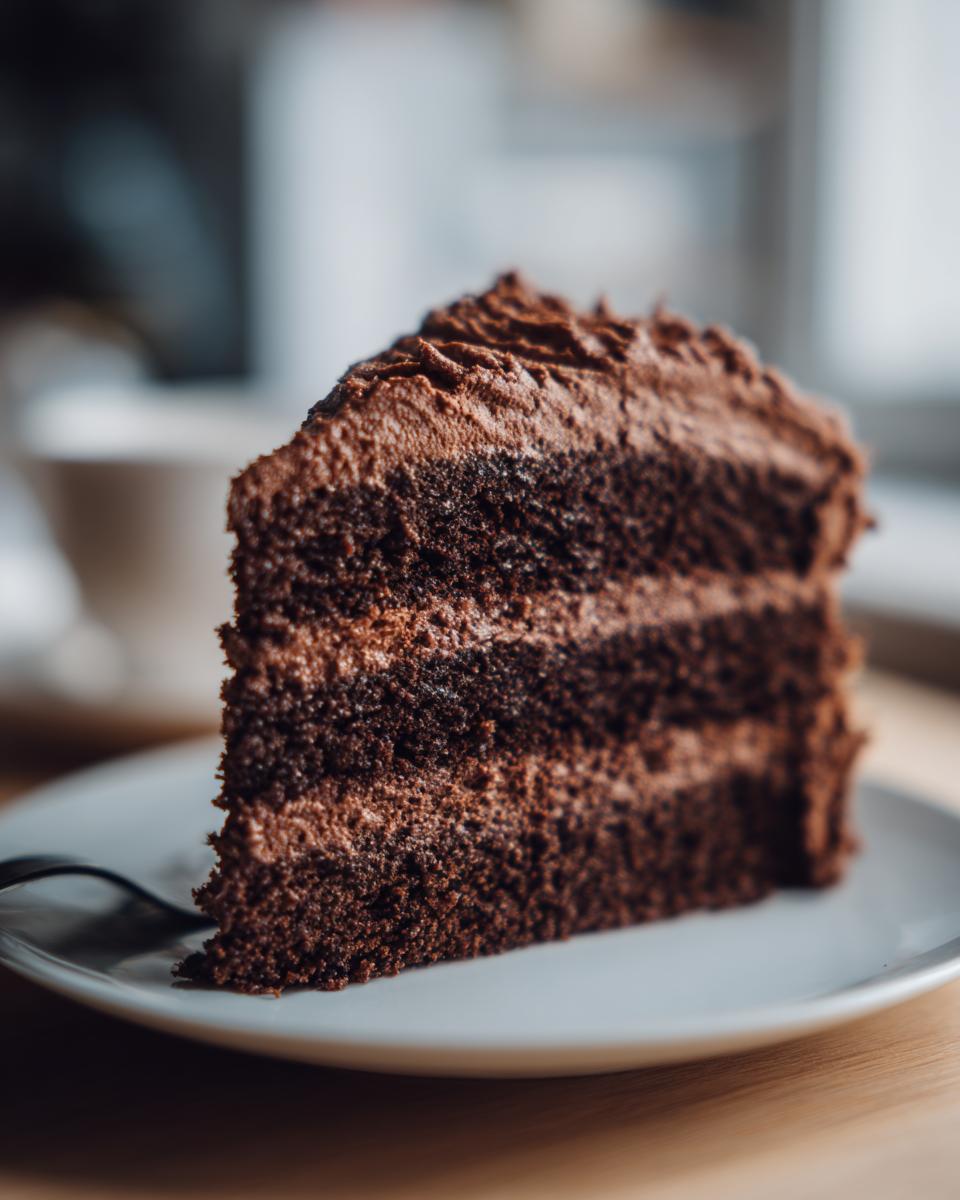
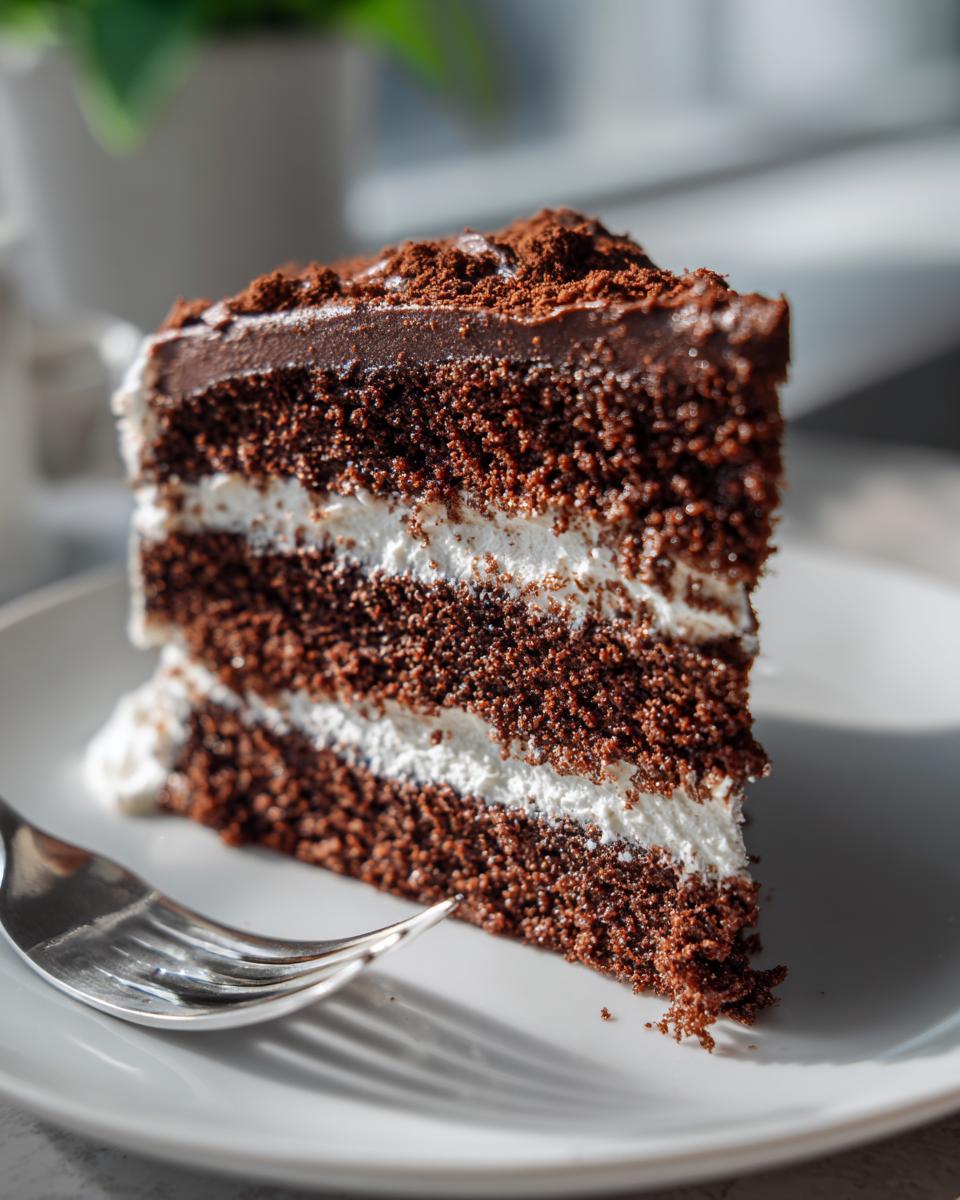
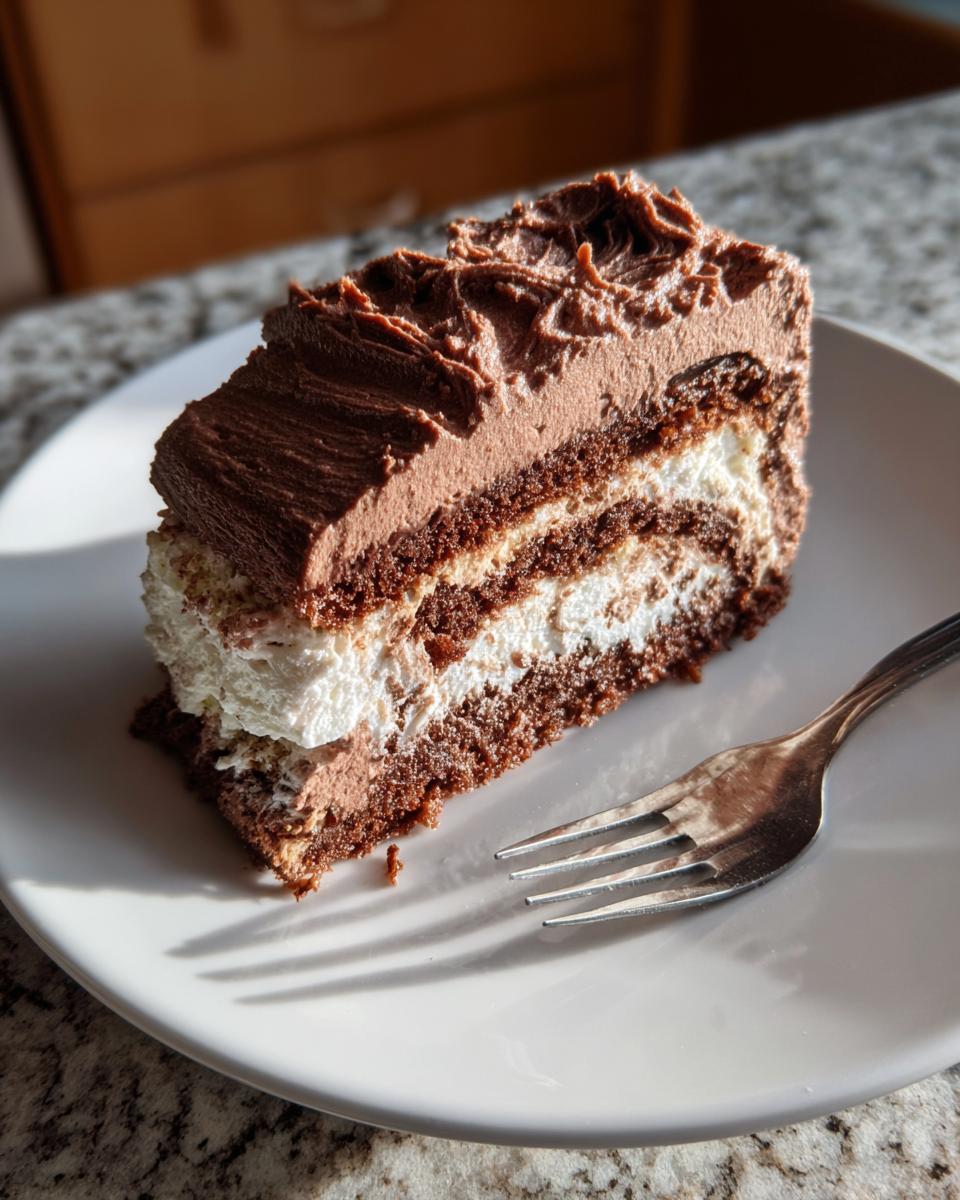
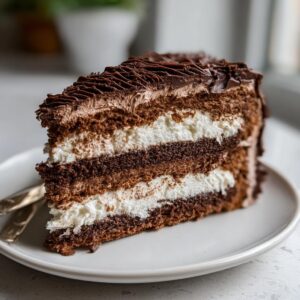
Once the cake is totally cool (and I mean *completely* cool, no peeking!), gently unroll it. Spread about two-thirds of that gorgeous chocolate frosting all over the inside of the cake. Try to get it evenly distributed. Now, re-roll the cake nice and tightly, but this time *without* the towel! Place your beautiful log seam-side down on your serving platter. Use the rest of the frosting to cover the outside of the cake. This is where the fun really begins! I like to use a fork to gently drag through the frosting, making it look like rustic tree bark. You can also add some chocolate shavings or sprinkles if you’re feeling fancy! It’s all about making it look festive and magical!
Tips for Yule Log Cake Success
You know, pulling off a perfect Yule log cake is all about a few little tricks I’ve picked up over the years. These aren’t complicated, but they really make a difference! I always make sure my large eggs are at room temperature before I start whipping them – it makes for much fluffier egg whites, which is key for that light sponge. And seriously, splurge for the good quality cocoa powder; it’s worth every penny for that rich chocolate flavor profile! I also learned the hard way that you *must* let the cake cool completely before frosting, or you’ll just have a melty mess. A little chill time in the fridge before slicing is magic, too. You can find more of my handy baking tips over on my blog!
Frequently Asked Questions about Yule Log Cake
Got questions about making your own Yule log cake? You’ve come to the right place! Home bakers have asked me a few things, and I’m happy to share what I know.
Can I make this Yule log cake recipe gluten-free?
You know, I haven’t personally tested a gluten-free version of this specific Yule log cake recipe yet, but it’s a great question! Gluten-free baking can be tricky, especially with rolled cakes because you need them to be flexible without cracking. You might have luck substituting a good gluten-free all-purpose flour blend that contains xanthan gum. If you want to explore gluten-free baking more, I have some helpful tips on my gluten-free bread recipe page that might give you a good starting point!
What if my Yule log cake cracks when I roll it?
Oh, don’t you worry about that! A little crack happens to the best of us. It’s actually super common with rolled cakes like this beautiful Yule log cake. The trick is to not overbake the cake in the first place – that makes it brittle. Also, make sure you’re rolling it while it’s still warm, but not piping hot. And honestly? The frosting is your best friend here! It hides most minor cracks beautifully. Just keep rolling and frosting; the beauty is in the rustic charm anyway!
How do I store leftovers of my Yule log cake?
Storing your delicious Yule log cake is pretty simple. You’ll want to keep it covered pretty well, so the frosting doesn’t dry out. I usually just pop it into an airtight container once it’s completely cooled. It’s best kept in the refrigerator, especially since it has a buttercream frosting. It should stay yummy in the fridge for about 2-3 days. Just take it out about 20-30 minutes before you want to serve it so the frosting can soften up a bit.
Nutritional Information Estimate
Here’s an estimated nutritional breakdown for one slice of our delightful Yule log cake. Please remember, these numbers can change a bit depending on the exact ingredients and brands you use. It’s just a little guide to help you out!
- Serving Size: 1 slice
- Calories: 350
- Sugar: 45g
- Sodium: 100mg
- Fat: 18g
- Saturated Fat: 11g
- Unsaturated Fat: 7g
- Trans Fat: 0g
- Carbohydrates: 48g
- Fiber: 3g
- Protein: 5g
- Cholesterol: 90mg
Share Your Yule Log Cake Creations!
I just love seeing your baking adventures! If you whip up this Yule log cake, please, please leave a comment below telling me how it turned out! Did you try any fun decorations? I’d be absolutely thrilled if you shared a photo with me over on social media – you can find me via my contact page! Your creations make my day!
PrintClassic Yule Log Cake (Bûche de Noël)
A traditional French Yule log cake recipe, perfect for your holiday celebrations. This rolled chocolate sponge cake with rich chocolate buttercream is a festive centerpiece.
- Prep Time: 30 min
- Cook Time: 15 min
- Total Time: 45 min
- Yield: 10 servings 1x
- Category: Dessert
- Method: Baking
- Cuisine: French
- Diet: Vegetarian
Ingredients
- 1 cup all-purpose flour
- 1/3 cup unsweetened cocoa powder
- 1 teaspoon baking powder
- 1/4 teaspoon salt
- 4 large eggs, separated
- 1 cup granulated sugar, divided
- 1/4 cup warm water
- 1 teaspoon vanilla extract
- 1/2 cup (1 stick) unsalted butter, softened
- 2 cups powdered sugar
- 1/3 cup unsweetened cocoa powder
- 1/4 cup milk
- Chocolate shavings or sprinkles for decoration
Instructions
- Preheat your oven to 350°F (175°C). Grease and flour a 10×15 inch jelly roll pan. Line with parchment paper, then grease and flour the parchment paper.
- In a medium bowl, whisk together the flour, 1/3 cup cocoa powder, baking powder, and salt.
- In a large bowl, beat the egg yolks with 1/2 cup of the granulated sugar until pale and thick. Beat in the warm water and vanilla extract.
- Gradually add the dry ingredients to the egg yolk mixture, mixing until just combined.
- In a separate clean bowl, beat the egg whites until stiff peaks form. Gradually add the remaining 1/2 cup granulated sugar and continue beating until glossy.
- Gently fold the egg whites into the chocolate batter in two additions until no streaks remain.
- Pour the batter into the prepared pan and spread evenly. Bake for 12-15 minutes, or until a wooden skewer inserted into the center comes out clean.
- While the cake is baking, lay a clean kitchen towel on your counter and dust it generously with powdered sugar.
- As soon as the cake comes out of the oven, invert it onto the prepared towel. Carefully peel off the parchment paper. Starting from one of the short ends, roll up the cake and towel together. Let it cool completely on a wire rack.
- To make the frosting, beat the softened butter in a large bowl until creamy.
- In a separate bowl, whisk together the powdered sugar and 1/3 cup cocoa powder.
- Gradually add the powdered sugar mixture to the butter, alternating with the milk, beating until smooth and creamy. Add more milk if needed to reach desired consistency.
- Once the cake is completely cool, carefully unroll it. Spread about 2/3 of the chocolate frosting evenly over the cake.
- Reroll the cake tightly, without the towel. Place the rolled cake seam-side down on a serving platter.
- Frost the outside of the cake with the remaining chocolate frosting. Use a fork to create bark-like lines. Decorate with chocolate shavings or sprinkles.
Notes
- For a richer chocolate flavor, use good quality cocoa powder.
- Ensure your eggs are at room temperature for best results when whipping egg whites.
- You can add a tablespoon of instant coffee to the batter for a mocha flavor.
- Chill the cake for at least 30 minutes before slicing to allow the frosting to set.
Nutrition
- Serving Size: 1 slice
- Calories: 350
- Sugar: 45g
- Sodium: 100mg
- Fat: 18g
- Saturated Fat: 11g
- Unsaturated Fat: 7g
- Trans Fat: 0g
- Carbohydrates: 48g
- Fiber: 3g
- Protein: 5g
- Cholesterol: 90mg