 Skip to content
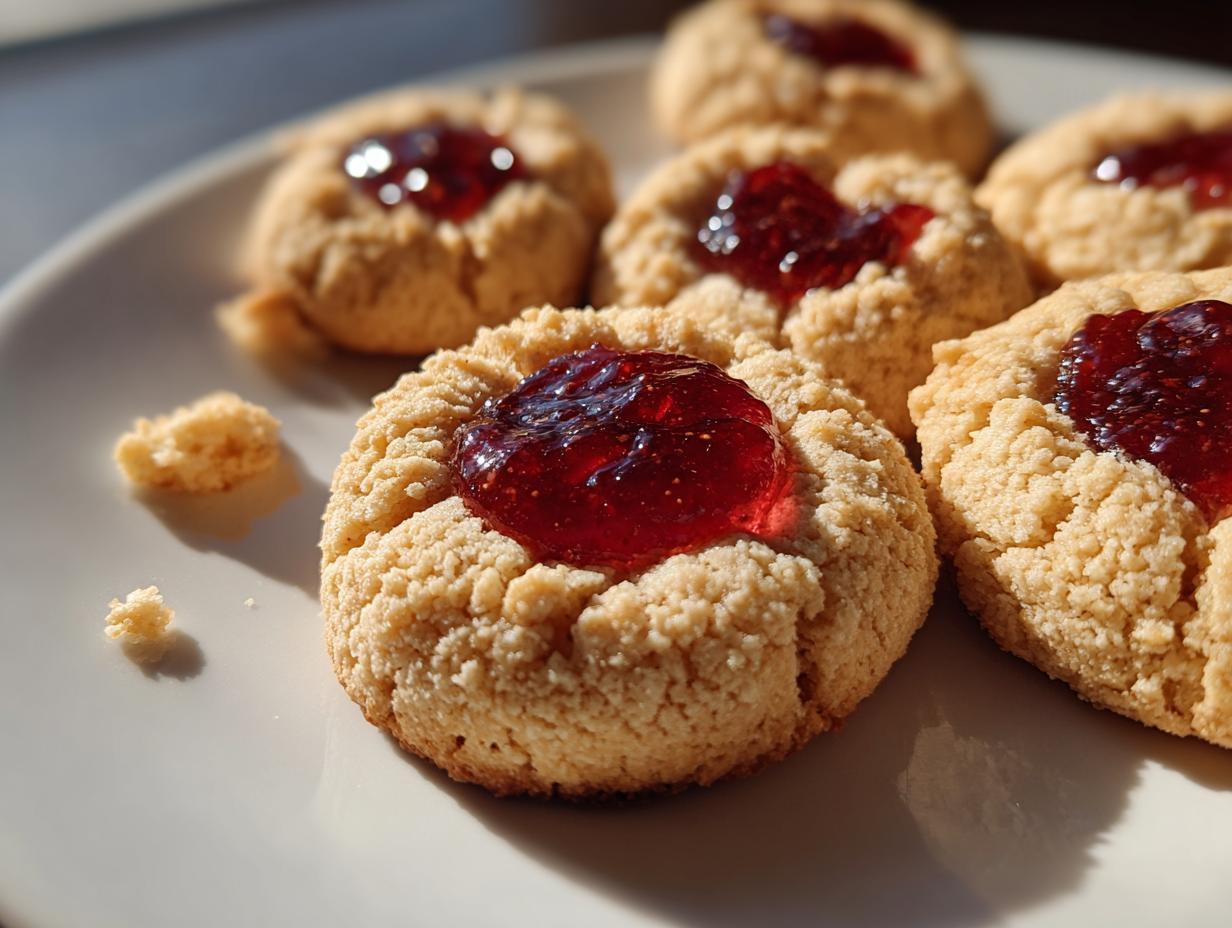

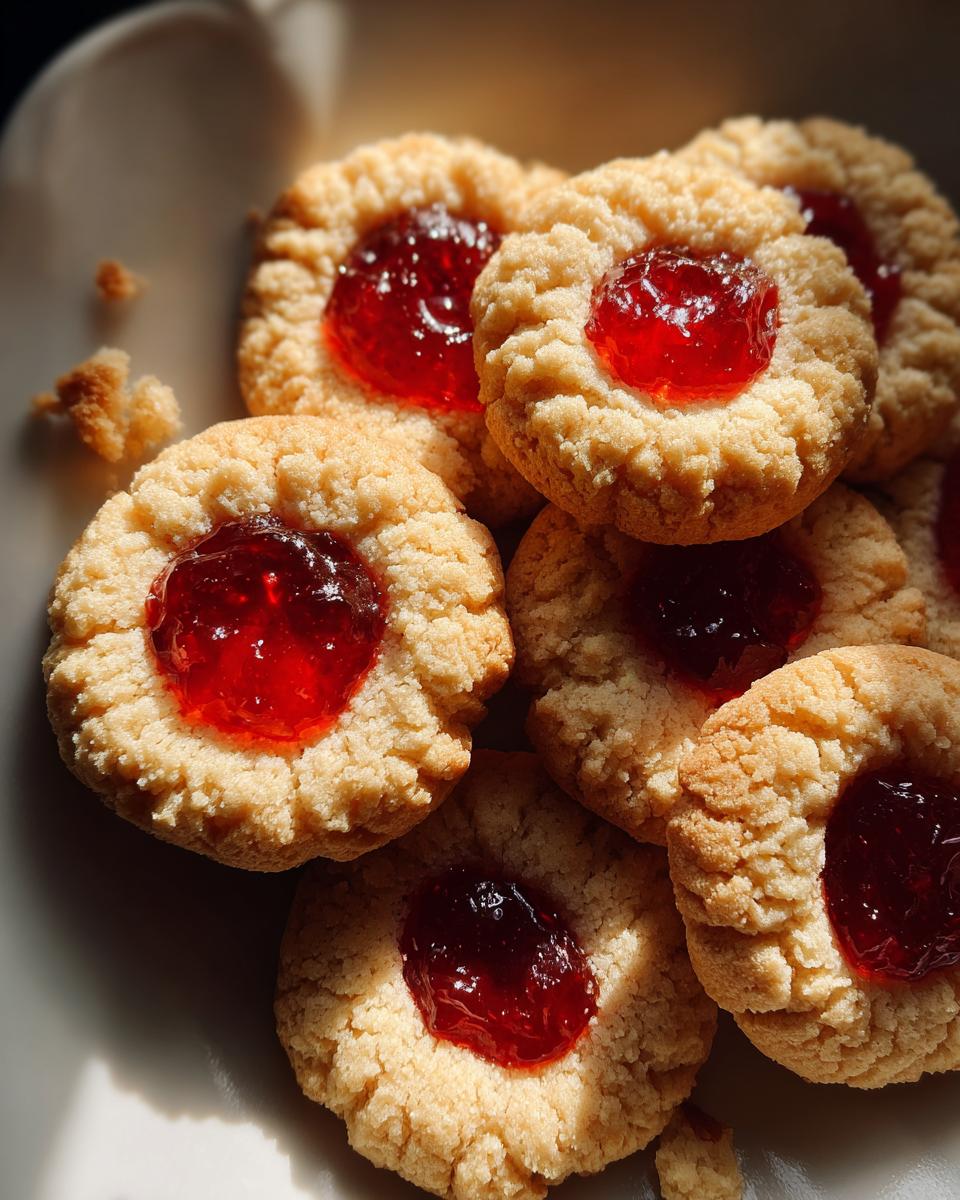
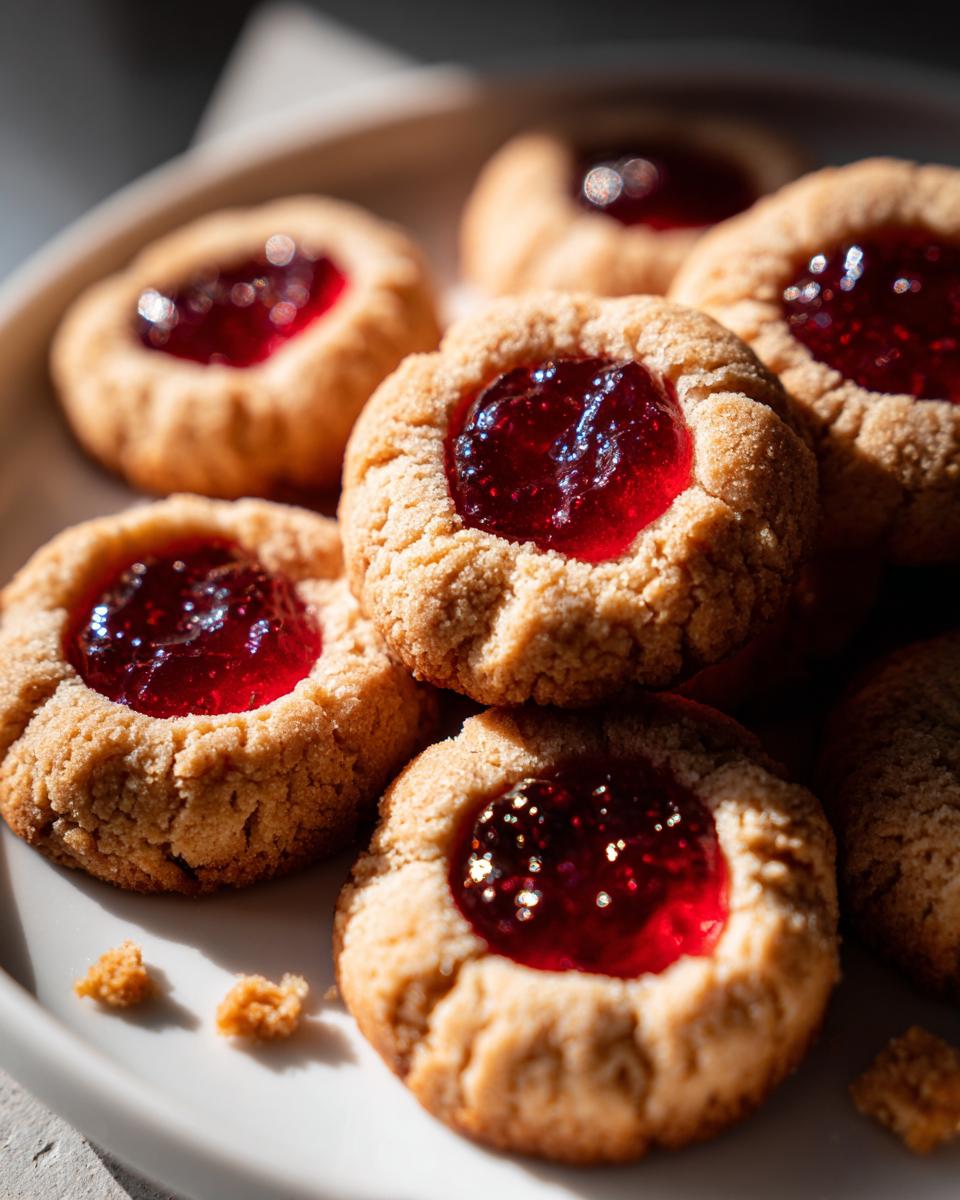
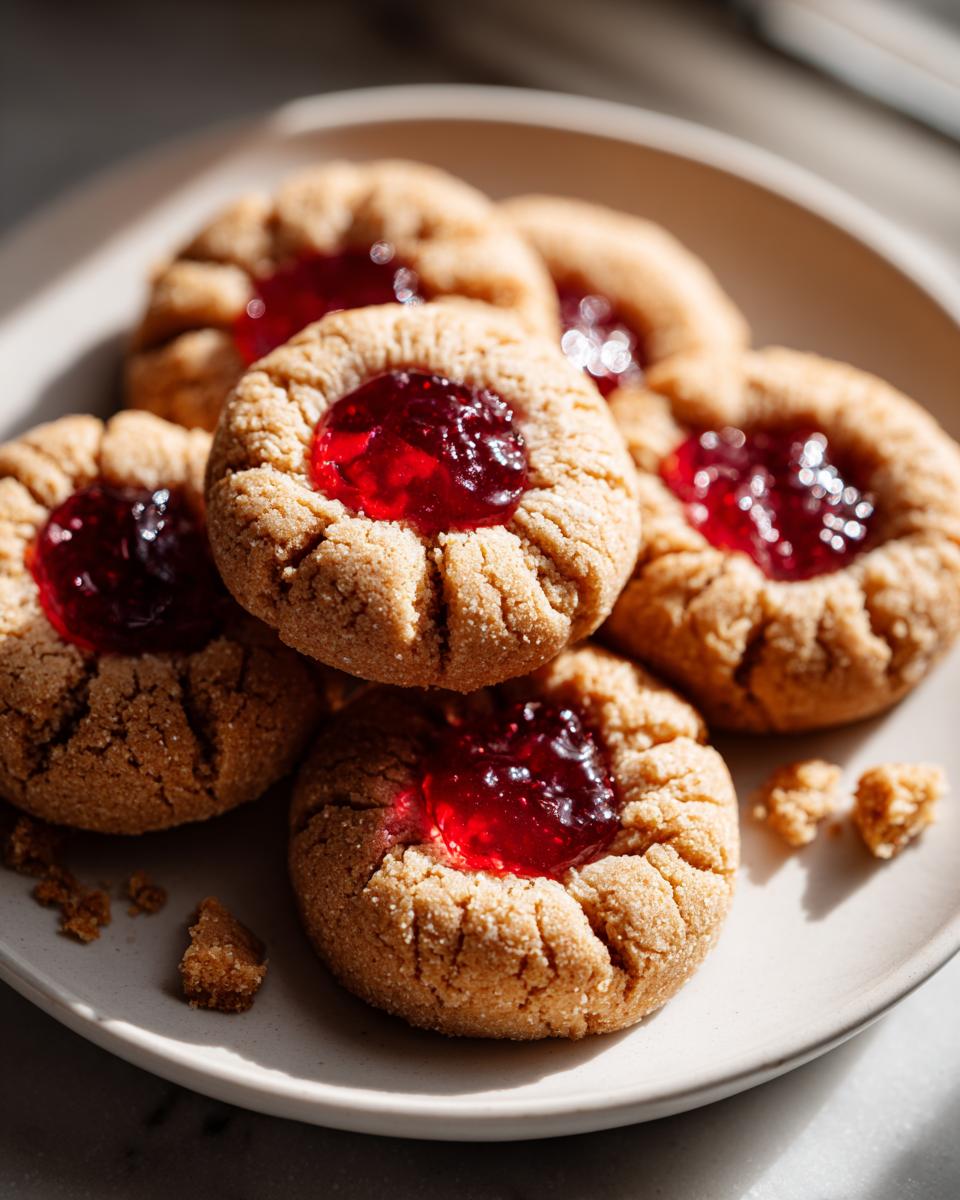
Oh, the holidays! There’s just something magical about this time of year, isn’t there? I always feel this pull to create something special, something that just screams festive joy, and for me, that means a beautiful tray of cookies. And you know what are absolute showstoppers that are surprisingly easy to whip up? My classic thumbprint cookies! There’s just something so charming about these little buttery, shortbread-like gems, especially when they’re filled with a jewel-toned jam. They bring back all those sweet memories from my grandma’s kitchen in Ohio, where simple ingredients always turned into pure magic. Each one is like a tiny treasure, with that perfect mix of tender cookie, a little crunch on the edge, and that sweet, sticky jam center. They truly make any holiday cookie platter feel extra special.


- Why You'll Love These Thumbprint Cookies
- Classic Thumbprint Cookies: Ingredients You'll Need
- Crafting Perfect Thumbprint Cookies: Step-by-Step Instructions
- Tips for Perfect Thumbprint Cookies Every Time
- Variations for Your Holiday Cookie Platter
- Frequently Asked Questions About Thumbprint Cookies
- Nutritional Information (Estimated)
- Share Your Beautiful Thumbprint Cookies!
Why You’ll Love These Thumbprint Cookies
Seriously, these cookies are a game-changer for your holiday baking! Here’s why you’ll be reaching for this recipe again and again:
- Super Easy to Make: Even if you’re new to baking, you can totally nail these. They come together so quickly!
- Pure Buttery Bliss: That shortbread-like texture is just divine. Seriously melts in your mouth.
- Festive & Cheerful: The jam centers add such a beautiful pop of color that looks amazing on any cookie platter.
- So Versatile: You can totally customize them with your favorite jams and coatings. Endless delicious possibilities!
Classic Thumbprint Cookies: Ingredients You’ll Need
Alright, let’s get down to what you’ll need to make these little beauties! Gathering your ingredients is the first step to baking success. For these jam thumbprint cookies, I always like to use the best quality stuff I can find, just like my grandma taught me. Good ingredients really do make a difference, trust me!
Here’s what you’ll need:
- 1 cup (2 sticks) of good quality unsalted butter, softened just right – not melted, but soft enough to cream easily.
- 1/2 cup granulated sugar for that sweetness and nice texture.
- 1 large egg yolk, this is key for that rich, tender crumb.
- 1 teaspoon of pure vanilla extract – the real stuff, not imitation if you can help it!
- 1/4 teaspoon salt to balance everything out.
- 2 1/2 cups all-purpose flour. Spoon it into your measuring cup and level it off; don’t scoop directly from the bag, or you might end up with too much!
- 1/2 cup finely chopped nuts (pecans or walnuts are my faves!) or shredded coconut, if you’re feeling fancy and want that extra crunch. Totally optional, but oh-so-good.
- And of course, 1/2 cup of your absolute favorite jam! Raspberry is classic, apricot is lovely, but honestly, any fruity jam you love will be amazing here.
Crafting Perfect Thumbprint Cookies: Step-by-Step Instructions
Okay, let’s get those hands in the dough and make some magic happen! This is where the real fun begins, turning those simple ingredients into those beautiful, jewel-like cookies we all love. Follow these steps, and you’ll have a batch of perfect thumbprint cookies in no time. Remember, like my grandma always said, a little patience goes a long way in the kitchen!
Preparing the Cookie Dough
First things first, get your oven preheated to 350°F (175°C) and line a couple of baking sheets with parchment paper so our cookies don’t stick. Now, in a nice big bowl, take your softened butter and that granulated sugar and cream them together until it’s light and fluffy. It should look almost like pale yellow whipped cream. Then, beat in the egg yolk and the vanilla extract. You want it all nicely blended. In a separate bowl, give your flour and salt a quick whisk. Now, slowly add those dry ingredients to your butter mixture, mixing until *just* combined. Seriously, don’t overmix here; we want a tender cookie, not a tough one! It’s all about that delicate balance you learn with recipes like these – you can read more about my kitchen philosophy here!
Shaping and Indenting Your Thumbprint Cookies
If you’re using nuts or coconut, now’s the time to spread them out on a little plate. Grab about a tablespoon of dough and roll it into a smooth ball, about one inch in diameter. If you’re coating them, gently roll each ball in the nuts or coconut until it’s nicely coated. Place these little dough balls about 2 inches apart on your prepared baking sheets – they need room to spread out a bit. Now for the famous thumbprint! Use your thumb – or the back of a tiny spoon works great too – to press a nice, deep indentation right into the center of each cookie. Make sure it’s deep enough to hold a spoonful of jam later on. If the dough feels a little soft, you can pop them in the fridge for about 15 minutes before indenting, it can help them keep their shape!
Baking and Filling Your Jam Thumbprint Cookies
Pop those baking sheets into your preheated oven and bake for about 10 to 12 minutes. You’re looking for the edges to be just lightly golden. They shouldn’t be dark brown, just a hint of color. Once they’re out, here’s a little trick: if the indentations look like they’ve spread out a bit too much, now is the time to gently press them down again with the back of a spoon while they’re still warm. This miracle happens right after they come out of the oven! Let the cookies cool on the baking sheets for about 5 minutes – this helps them firm up – before carefully moving them to a wire rack to cool completely. Once they’re totally cool, it’s jam time! Spoon about a teaspoon of your chosen jam right into that beautiful little well in the center of each cookie. Voila! Pure perfection.
Tips for Perfect Thumbprint Cookies Every Time
You know, I’ve made hundreds of batches of these thumbprint cookies over the years, and I’ve picked up a few little tricks to make sure they turn out absolutely perfect every single time. It’s all about those little details that can make a big difference, much like how I approach other recipes I share on my blog – simple, but with that extra something!
One of the biggest challenges some folks have is preventing their cookies from spreading too much. My best advice? Make sure your butter is *softened*, not melted. And if your dough feels a bit too soft when you’re rolling it, don’t be afraid to pop it in the fridge for about 15-20 minutes before you start shaping. Chilling the dough is a cookie baker’s best friend for keeping those shapes crisp. Also, making that thumbprint *before* baking is key, but if it looks like it’s filled in after baking, just gently press it again with the back of a spoon while it’s still warm. It’s like giving it a little hug to make sure that jam has a cozy spot to nestle into!
And for that texture? Don’t overmix the dough once you add the flour. Just mix until it’s *barely* combined. Overmixing can make them tough instead of that lovely tender, shortbread-like texture we’re aiming for with these thumbprint cookies. Just a few turns will do it!
Variations for Your Holiday Cookie Platter
One of the things I adore most about these thumbprint cookies is how easily you can make them your own! They’re already so pretty, but a few fun twists can make them *really* sing on your holiday cookie platter. Think of them as little canvases for your creativity!
Beyond the classic raspberry or apricot jam, have you ever tried a tart cherry jam? It’s divine against the buttery cookie! Or maybe a bright lemon curd for a zesty surprise? For the nut coating, I’ve also experimented with finely chopped almonds or even slivered pistachios for an extra pop of color and crunch. And for that extra sparkle that screams ‘holidays’? A tiny dusting of edible glitter or a delicate drizzle of melted white chocolate over the jam once it’s set can be absolutely show-stopping. These little changes add so much personality and variety, making your cookie assortment truly unique. You can find more inspiration for festive treats on my oatmeal raisin cookie recipe page too!
Frequently Asked Questions About Thumbprint Cookies
Got a few burning questions about these little gems? I get it! Baking is all about knowing those little secrets. Here are some of the most common things people ask me about these buttery jam-filled treats, and I’m happy to spill the beans!
Can I make thumbprint cookies ahead of time?
Oh, absolutely! These are perfect for making ahead, which is a lifesaver during the busy holiday season. You can bake them completely, let them cool, and store them in an airtight container at room temperature for up to 3-4 days. Just add the jam right before serving, or up to a day in advance if you don’t mind the jam softening a little. You can also freeze the un-baked cookie dough balls for a few weeks, just roll them, indent them, bake from frozen (adding a minute or two to the bake time), and then fill once cooled.
Why do my thumbprint cookies spread too much?
This is such a common one! Usually, it’s because the butter was too soft or melted when you started mixing. You want it softened, like playdough, not greasy. Also, if your dough feels really warm or sticky when you’re rolling it, chilling it in the fridge for about 15-20 minutes before you shape and indent can make a world of difference. And don’t forget to give them enough space on the baking sheet!
What jam is best for thumbprint cookies?
Honestly, my favorite part is that there’s no “wrong” jam! Raspberry and apricot are classics for a reason – their tartness balances the sweet, buttery cookie beautifully. But don’t be afraid to get creative! Strawberry, cherry, even a nice plum or fig jam can be absolutely delicious. Just a tip: try to use a jam that isn’t too runny. A thicker jam holds its shape better in the little well. You can find all sorts of yummy dessert ideas on my desserts page!
How do I make sure the indentations stay deep?
This is the trick to those perfect jam-filled cookies! First, make a good, deep thumbprint before baking. If it looks like it’s puffed up or filled in after baking, just gently press it down again with the back of a warm spoon right when they come out of the oven. This little “re-indent” while they’re still soft really helps create that perfect little pool for your jam.
Nutritional Information (Estimated)
Just a little heads-up, these numbers are just an estimate, you know? They can change a bit depending on the exact jam or nuts you use. But generally, for one of these delicious cookies, you’re looking at about:
Per Cookie (approximate):
- Calories: 120
- Fat: 7g
- Protein: 1g
- Carbohydrates: 13g
- Sugar: 8g
Share Your Beautiful Thumbprint Cookies!
I just love seeing your delightful creations! Seriously, scrolling through your photos makes my day. If you make these thumbprint cookies, please tag me on social media – I’d be thrilled to see them! And if you have a moment, I’d be so grateful if you could leave a comment below sharing your favorite jam flavor or maybe even rate the recipe. Your feedback is super helpful, and I can’t wait to hear from you! Need to get in touch? You can always reach out via my contact page!
PrintClassic Thumbprint Cookies

Bake buttery, shortbread-like thumbprint cookies filled with your favorite jam for a festive holiday cookie platter. These easy-to-make cookies offer a delightful mix of tender cookie, crunchy edges, and sweet jam.
- Prep Time: 20 min
- Cook Time: 12 min
- Total Time: 32 min
- Yield: 3 dozen 1x
- Category: Dessert
- Method: Baking
- Cuisine: American
- Diet: Vegetarian
Ingredients
- 1 cup (2 sticks) unsalted butter, softened
- 1/2 cup granulated sugar
- 1 large egg yolk
- 1 teaspoon vanilla extract
- 1/4 teaspoon salt
- 2 1/2 cups all-purpose flour
- 1/2 cup finely chopped nuts (pecans or walnuts) or shredded coconut (optional)
- 1/2 cup jam (raspberry, apricot, or your favorite)
Instructions
- Preheat your oven to 350°F (175°C). Line baking sheets with parchment paper.
- In a large bowl, cream together the softened butter and granulated sugar until light and fluffy.
- Beat in the egg yolk and vanilla extract until well combined.
- In a separate bowl, whisk together the flour and salt. Gradually add the dry ingredients to the wet ingredients, mixing until just combined. Do not overmix.
- If using, spread the chopped nuts or coconut on a small plate.
- Roll the dough into 1-inch balls. If using nuts or coconut, roll each ball in the mixture to coat.
- Place the dough balls about 2 inches apart on the prepared baking sheets.
- Use your thumb or the back of a small spoon to create an indentation in the center of each cookie. Make the indentation deep enough to hold about 1 teaspoon of jam.
- Bake for 10-12 minutes, or until the edges are lightly golden.
- Remove the cookies from the oven. If the indentations have spread, gently press them down again with the back of a spoon while the cookies are still warm.
- Let the cookies cool on the baking sheets for 5 minutes before transferring them to a wire rack to cool completely.
- Once cooled, spoon about 1 teaspoon of jam into the indentation of each cookie.
Notes
- For best results, ensure your butter is softened but not melted.
- If your dough is too sticky, you can chill it in the refrigerator for about 30 minutes before rolling into balls.
- To prevent spreading, you can chill the rolled balls for 15 minutes before making the indentation.
- You can make the indentation twice: once before baking and again after baking, to ensure it stays deep.
- Experiment with different jam flavors and nut coatings for variety.
Nutrition
- Serving Size: 1 cookie
- Calories: 120
- Sugar: 8g
- Sodium: 30mg
- Fat: 7g
- Saturated Fat: 4g
- Unsaturated Fat: 3g
- Trans Fat: 0g
- Carbohydrates: 13g
- Fiber: 0g
- Protein: 1g
- Cholesterol: 20mg