 Skip to content
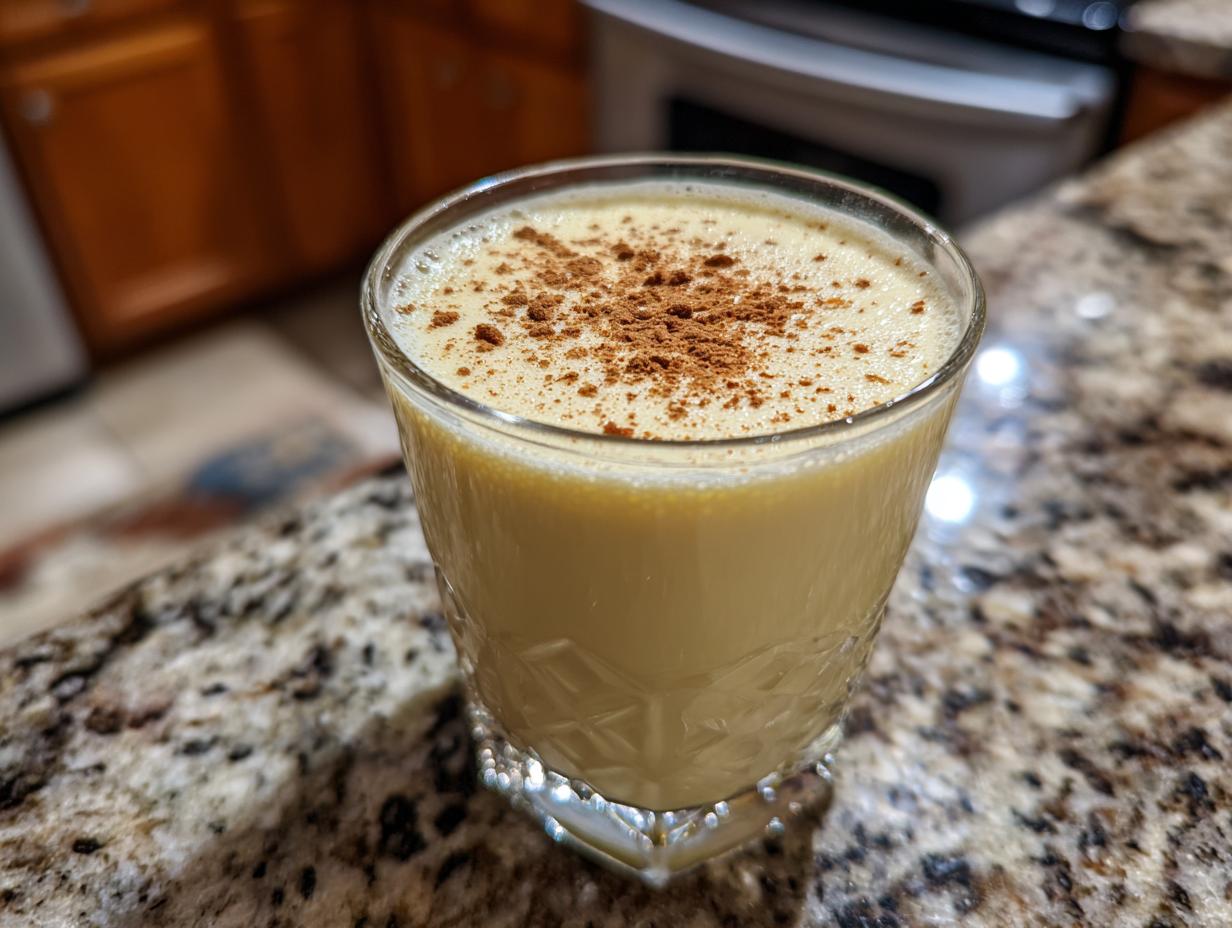

Oh, the holidays! There’s just something magical in the air, isn’t there? The twinkling lights, the scent of pine, and of course, that unmistakable, creamy, spiced hug in a mug – I’m talking about homemade Eggnog! For me, making eggnog from scratch isn’t just about a drink; it’s about bottling up all those cozy, joyful holiday memories. Forget those cartons from the store; this recipe is my go-to, a tried-and-true method I’ve perfected over years in my own kitchen, just like your favorite recipes found over at my About page. It’s unbelievably rich, perfectly smooth, and tastes exactly like the holidays should. You can trust me on this one – it’s a festive favorite that always brings smiles!

- Why You'll Love This Classic Eggnog Recipe
- Ingredients for the Best Eggnog
- How to Make Foolproof Eggnog: Step-by-Step
- Tips for the Perfect Homemade Eggnog
- Serving and Storing Your Festive Eggnog
- Frequently Asked Questions about Eggnog
- Nutritional Information for Homemade Eggnog
- Share Your Holiday Cheer!
Why You’ll Love This Classic Eggnog Recipe
- Rich & Creamy Perfection: Seriously, this eggnog is like velvet. It’s got that wonderfully decadent texture that store-bought stuff just can’t match.
- Foolproof & Easy: Don’t let making eggnog intimidate you! I broke it down step-by-step so even if you’re new to the kitchen, you’ll nail it.
- Pure Holiday Flavor: Packed with warm nutmeg and smooth vanilla (plus your favorite booze, if you like!), it’s the quintessential taste of Christmas cheer.
- Impress Your Guests: Imagine serving this gorgeous, homemade goodness at your next holiday party. They’ll be raving!
Ingredients for the Best Eggnog
Alright, let’s talk about what makes this eggnog recipe so darn good. It really all comes down to using quality ingredients, and thankfully, you probably have most of them right in your pantry! For our classic, creamy eggnog, here’s what you’ll need:
- 6 large eggs, separated – make sure they’re fresh!
- 1 cup granulated sugar, split into two portions (we’ll use 3/4 cup first, then 1/4 cup later)
- 2 cups whole milk
- 1 cup heavy cream – this is key for that luscious richness!
- 1 teaspoon pure vanilla extract – don’t skimp on this!
- 1/4 teaspoon salt – just a pinch to balance everything out.
- 1/2 teaspoon ground nutmeg, plus more for dusting when serving
- And for those who like a little extra holiday spirit: 1.5 cups of your favorite rum, bourbon, or brandy (totally optional, of course!)
How to Make Foolproof Eggnog: Step-by-Step
Alright, let’s dive into making this amazing Eggnog! Promise me you won’t get flustered – I’ve made this so many times, and trust me, it’s way easier than you think. We’ll take it step-by-step, just like I do when I’m whipping up a batch of my famous hot chocolate or some cozy apple cider. The goal is a smooth, luxurious eggnog that tastes like pure holiday magic. It’s all about a few key techniques!
Preparing the Custard Base for Creamy Eggnog
First things first, we need to make this creamy base. Grab a large bowl and whisk together those egg yolks with about 3/4 cup of the sugar. Beat ’em until they’re pale yellow and look nice and thick. Meanwhile, gently warm your milk and heavy cream in a saucepan over medium heat. You just want it to start simmering, no boiling! Now, the important part: tempering the eggs. Slowly, and I mean *slowly*, whisk about half of that warm milk mixture into your egg yolks. This stops the yolks from scrambling. Pour that back into the saucepan with the rest of the milk and cream. Keep stirring constantly over low heat. You’re looking for it to thicken just enough to coat the back of a wooden spoon. This usually takes about 5-8 minutes. If it gets too hot, it’ll curdle, so low and slow is the way to go! Take it off the heat and stir in that lovely vanilla, a pinch of salt, and our 1/2 teaspoon of nutmeg. If you’re adding booze, give it a stir now too.
Whipping Egg Whites for Light Eggnog
Okay, now for the fluffy part! In a separate, super clean bowl (seriously, no grease!), beat your egg whites. You want them to reach soft peaks. Then, gradually add in the remaining 1/4 cup of sugar while you keep beating. Keep going until you have stiff, glossy peaks. You know, when you hold the whisk straight up, the peaks kinda stand at attention? That’s what you’re aiming for. This is what gives our eggnog that slightly lighter, airier lift without making it foamy.
Combining and Chilling Your Eggnog
Time to bring it all together! Gently, and I mean *gently*, fold those beautiful whipped egg whites into your main eggnog mixture. We want to keep all that lovely air we just whipped in, so use a spatula and use folding motions. Don’t overmix! Once it’s just combined, cover it up tight. Now comes the hardest part: waiting! You need to chill this eggnog for at least 2 hours. I usually do at least 4, or even better, overnight. This lets all those flavors meld together and makes the texture even creamier. Trust me, the chill time makes all the difference!
Tips for the Perfect Homemade Eggnog
Okay, so we’ve got the main steps down for this glorious Eggnog, but let me share a few little secrets I’ve picked up over the years to make it truly spectacular. It’s these small things that really elevate it from good to *oh-my-goodness-this-is-amazing*. Think of these as my little kitchen whispers to help you nail it every single time, inspired by my own adventures perfecting recipes like my famous oatmeal muffins!
Egg Safety and Substitutions for Eggnog
I know, I know – the thought of raw eggs can make some folks a little nervous. And that’s totally understandable, right? If you’re worried about that, here’s my easy fix: gently cook that custard base we made! Just keep it over low heat, stirring constantly, until it reaches about 160°F (71°C). A kitchen thermometer is super handy for this. That little bit of cooking pasteurizes the eggs, making them safe to eat while still keeping that velvety smooth texture. It’s a simple step that gives you peace of mind without sacrificing creaminess.
Customizing Your Eggnog Flavor
Now, here’s where you can really play! While nutmeg and vanilla are our classics, don’t be afraid to add your own spin. Feeling extra festive? A little pinch of cinnamon or even a tiny bit of ground clove can add another layer of warmth. You could also try a splash of almond extract if you like that subtle nutty flavor. And of course, the alcohol! While rum and bourbon are traditional, a good brandy is fantastic too. Or, if you’re making a batch for everyone, just skip the alcohol entirely – it’s just as delicious without it!
Serving and Storing Your Festive Eggnog
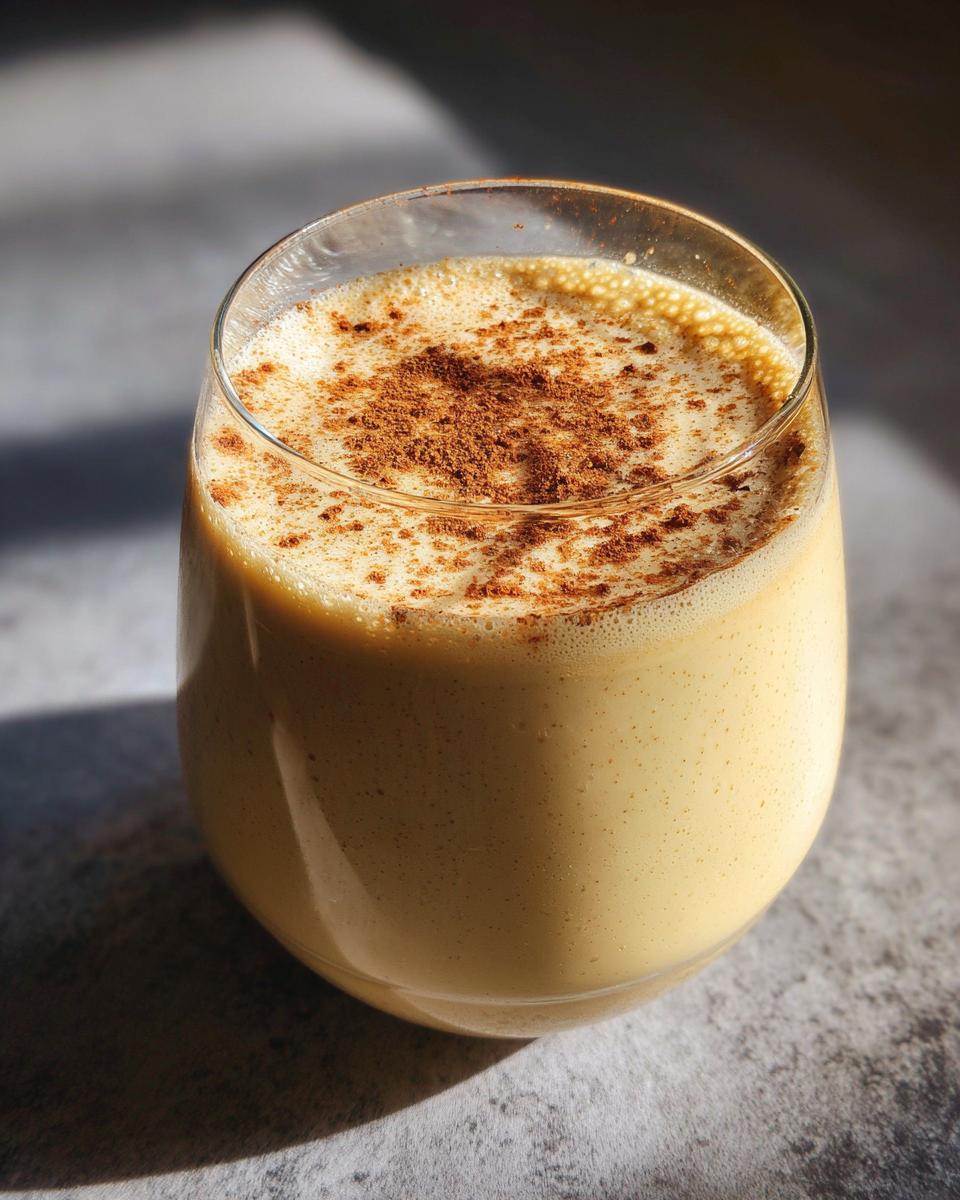
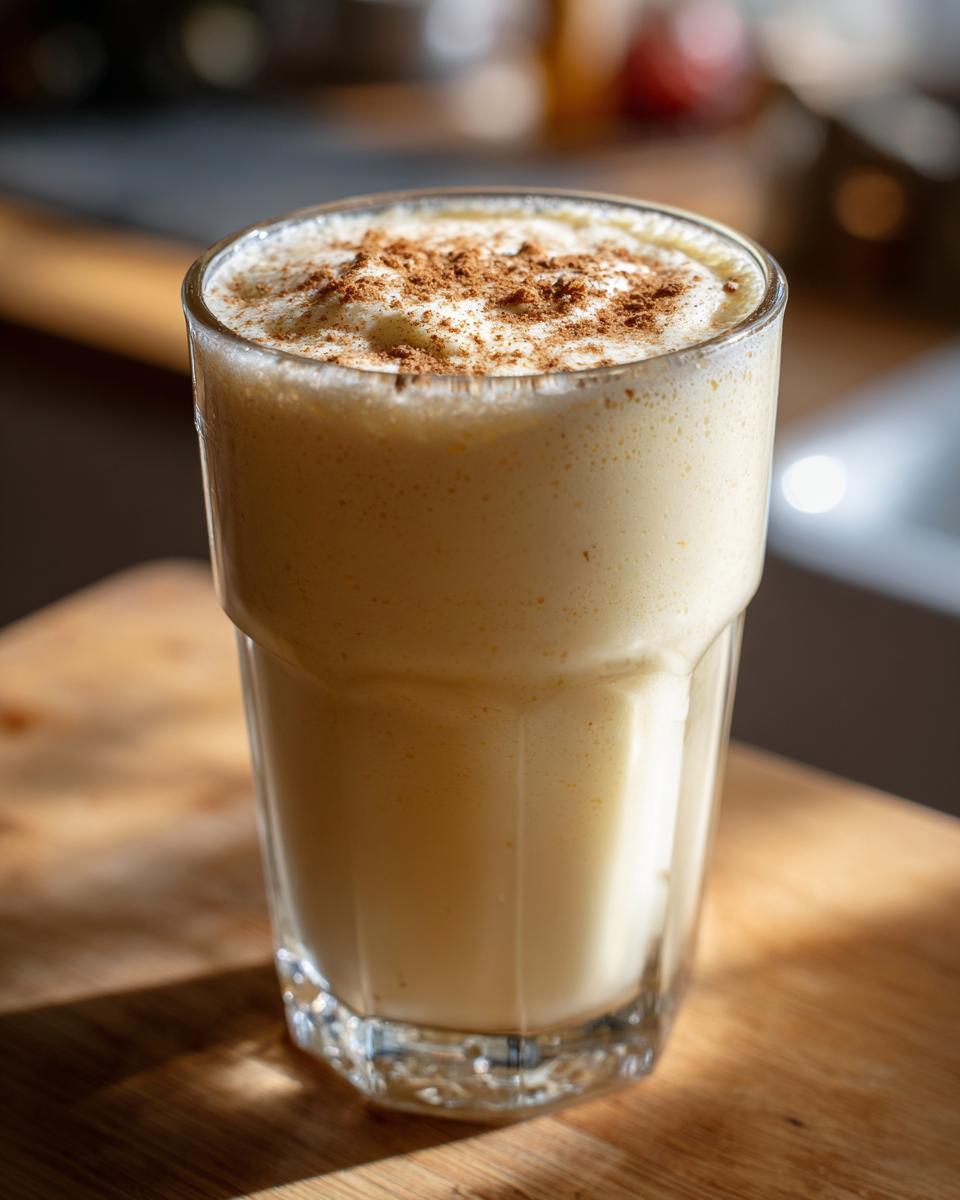
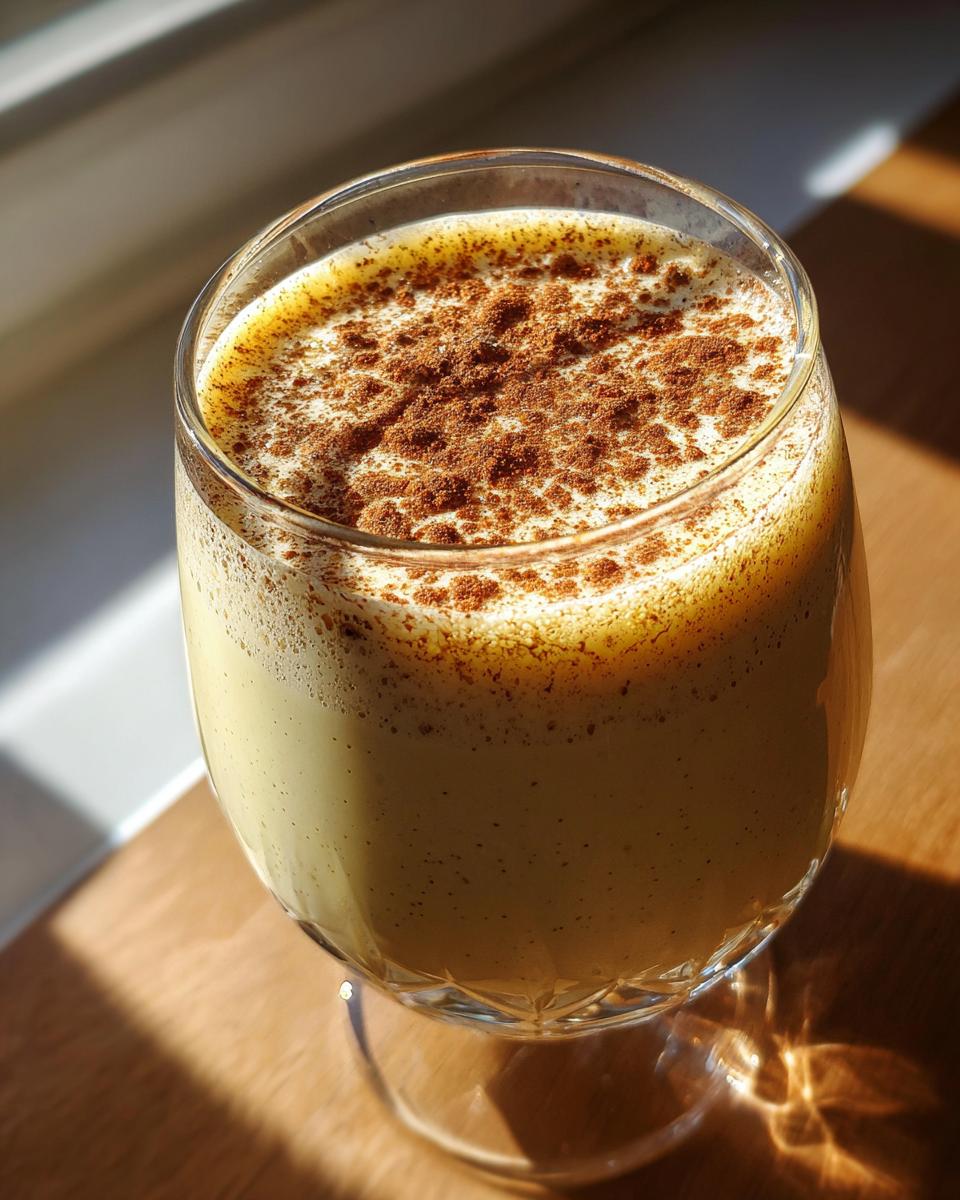
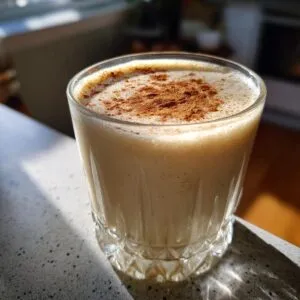
Alright, the hard part is done – your amazing homemade Eggnog is ready! For the best flavor, serve it nice and cold. I like to pour it into a pretty punch bowl or a festive pitcher. A sprinkle of fresh nutmeg right on top is a must – it smells incredible and looks so inviting. You can also add a cinnamon stick for a little extra flair! If you don’t quite polish it all off in one go (which is rare in my house!), just pour any leftovers back into a tightly sealed container or bottle. It’ll keep beautifully in the fridge for about 3 days. Just give it a good stir before serving again. Enjoying this cozy drink reminds me of sipping on my pumpkin spice latte on a chilly day!

Frequently Asked Questions about Eggnog
Got questions about whipping up the best homemade Eggnog? I totally get it! This classic holiday drink can sometimes feel a little intimidating, but it really doesn’t have to be. Here are some of the things people ask me most often:
Can I make this eggnog recipe ahead of time?
Absolutely! This is such a great make-ahead recipe, which is fantastic during the busy holiday season. You can pop it in the fridge for up to 3 days. Just give it a good stir before serving.
What is the best alcohol to use in eggnog?
Oh, the fun part! For that classic kick, rum or bourbon are super popular and delicious choices. Brandy also works wonders and adds a lovely depth. Honestly, you can’t go wrong with any of them, or even a mix! If you’re making a non-alcoholic batch, it’s still amazing.
How do I get my eggnog super creamy?
The secret to that dreamy, velvety texture is all in the ingredients and a little patience! Using whole milk and plenty of heavy cream is a must. Also, making sure you cook the custard base just right – not too hot so it curdles, and until it’s nicely thickened – makes a world of difference for a truly creamy eggnog.
Nutritional Information for Homemade Eggnog
Now, I’m not a nutritionist or anything, but I can give you a pretty good ballpark for what’s in a serving of this delicious Eggnog. Keep in mind that these numbers are just estimates, and they can change a bit depending on the exact brands you use, especially the alcohol content if you add it! Here’s a rough idea for a serving (about 1 cup):
- Serving Size: 1 cup
- Calories: Approx. 350
- Total Fat: Approx. 20g
- Saturated Fat: Approx. 12g
- Cholesterol: Approx. 150mg
- Sodium: Approx. 70mg
- Total Carbohydrates: Approx. 25g
- Sugars: Approx. 30g
- Protein: Approx. 10g
It’s definitely a treat, not an everyday sipper for most of us! But oh, is it worth it for the holidays.
Share Your Holiday Cheer!
Okay, my friends, now it’s your turn! Have you tried making this homemade eggnog? I’d absolutely LOVE to hear all about it. Please leave a comment below and tell me how it turned out, or maybe what special spin you added! And if you snap a pic of your creamy, festive creation, tag me on social media – seeing your holiday magic is the best part of my day! For any questions or to get in touch, don’t hesitate to reach out via my contact page!
PrintClassic Homemade Eggnog
A rich and creamy homemade eggnog recipe, perfect for the holidays. This recipe is designed to be foolproof, yielding a velvety smooth drink with classic spiced flavors.
- Prep Time: 20 min
- Cook Time: 10 min
- Total Time: 30 min
- Yield: 8 servings 1x
- Category: Beverage
- Method: Stovetop
- Cuisine: American
- Diet: Vegetarian
Ingredients
- 6 large eggs, separated
- 1 cup granulated sugar, divided
- 2 cups whole milk
- 1 cup heavy cream
- 1 teaspoon vanilla extract
- 1/4 teaspoon salt
- 1/2 teaspoon ground nutmeg, plus more for garnish
- Optional: 1.5 cups rum, bourbon, or brandy
Instructions
- In a large bowl, whisk the egg yolks with 3/4 cup of the granulated sugar until pale and thick.
- In a medium saucepan, heat the milk and heavy cream over medium heat until just simmering. Do not boil.
- Slowly temper the egg yolks by gradually whisking about half of the hot milk mixture into the yolk mixture.
- Pour the tempered yolk mixture back into the saucepan with the remaining milk mixture.
- Cook over low heat, stirring constantly with a wooden spoon, until the custard thickens enough to coat the back of the spoon. Do not let it boil, or it will curdle. This usually takes about 5-8 minutes.
- Remove from heat and stir in the vanilla extract, salt, and 1/2 teaspoon ground nutmeg.
- If using alcohol, stir it in now.
- In a separate, clean bowl, beat the egg whites until soft peaks form. Gradually add the remaining 1/4 cup of granulated sugar and continue beating until stiff peaks form.
- Gently fold the beaten egg whites into the eggnog mixture until just combined.
- Chill the eggnog thoroughly for at least 2 hours before serving.
- Serve cold, garnished with a sprinkle of fresh nutmeg.
Notes
- For a thicker eggnog, you can increase the heavy cream slightly.
- If you are concerned about using raw eggs, you can cook the custard base to 160°F (71°C) to pasteurize them.
- This recipe can be made ahead of time and stored in the refrigerator for up to 3 days.
- Adjust the amount of nutmeg to your preference.
Nutrition
- Serving Size: 1 cup
- Calories: 350
- Sugar: 30g
- Sodium: 70mg
- Fat: 20g
- Saturated Fat: 12g
- Unsaturated Fat: 8g
- Trans Fat: 0g
- Carbohydrates: 25g
- Fiber: 0g
- Protein: 10g
- Cholesterol: 150mg