 Skip to content
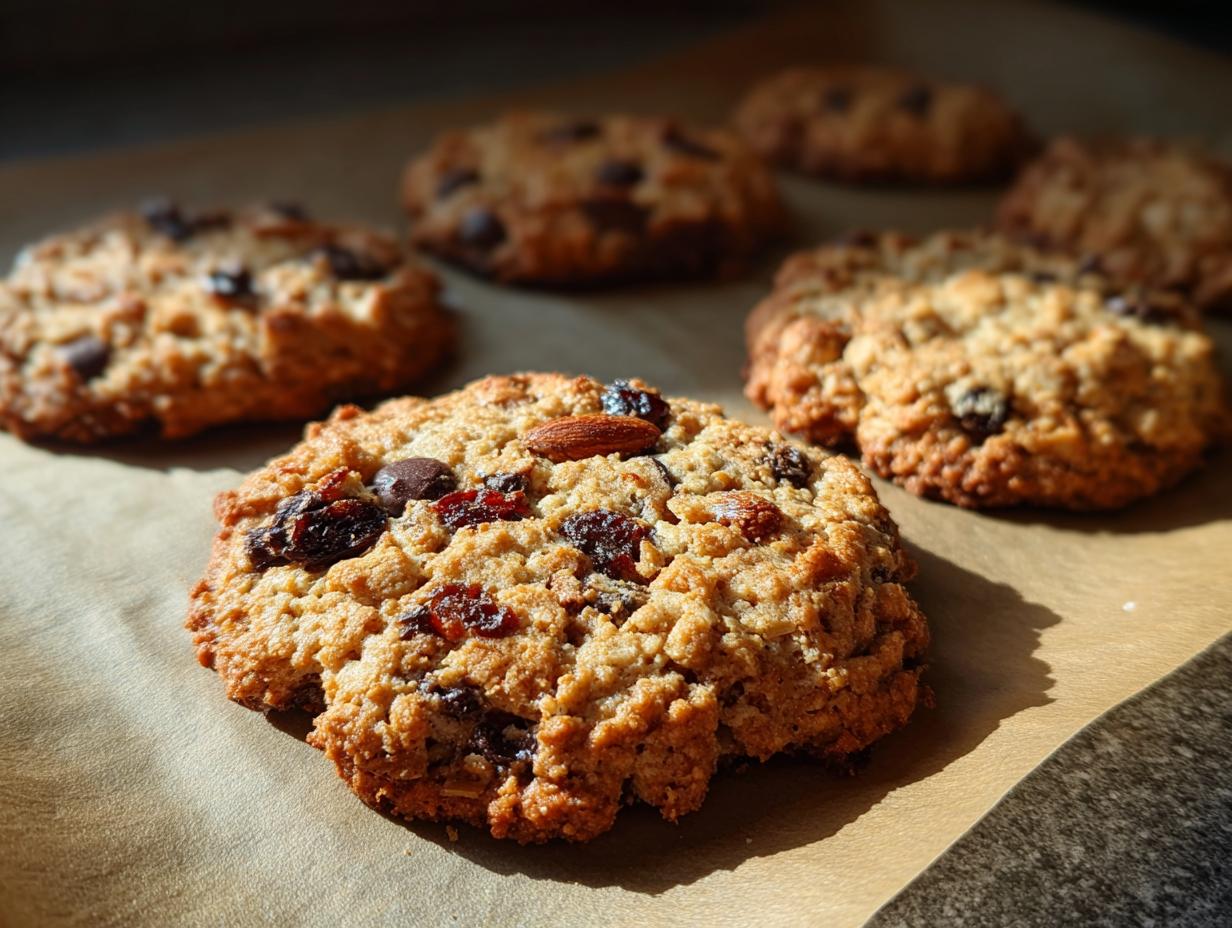

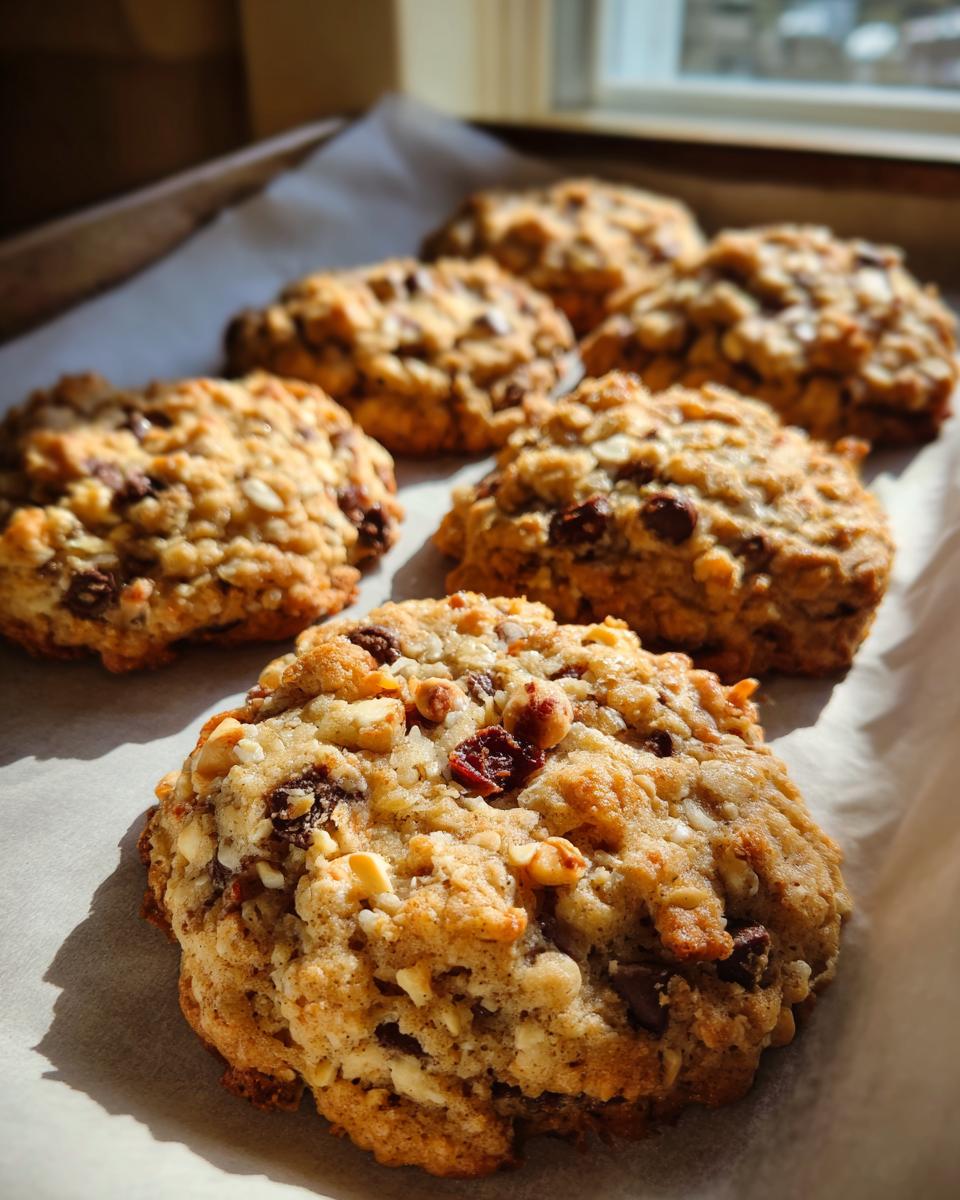
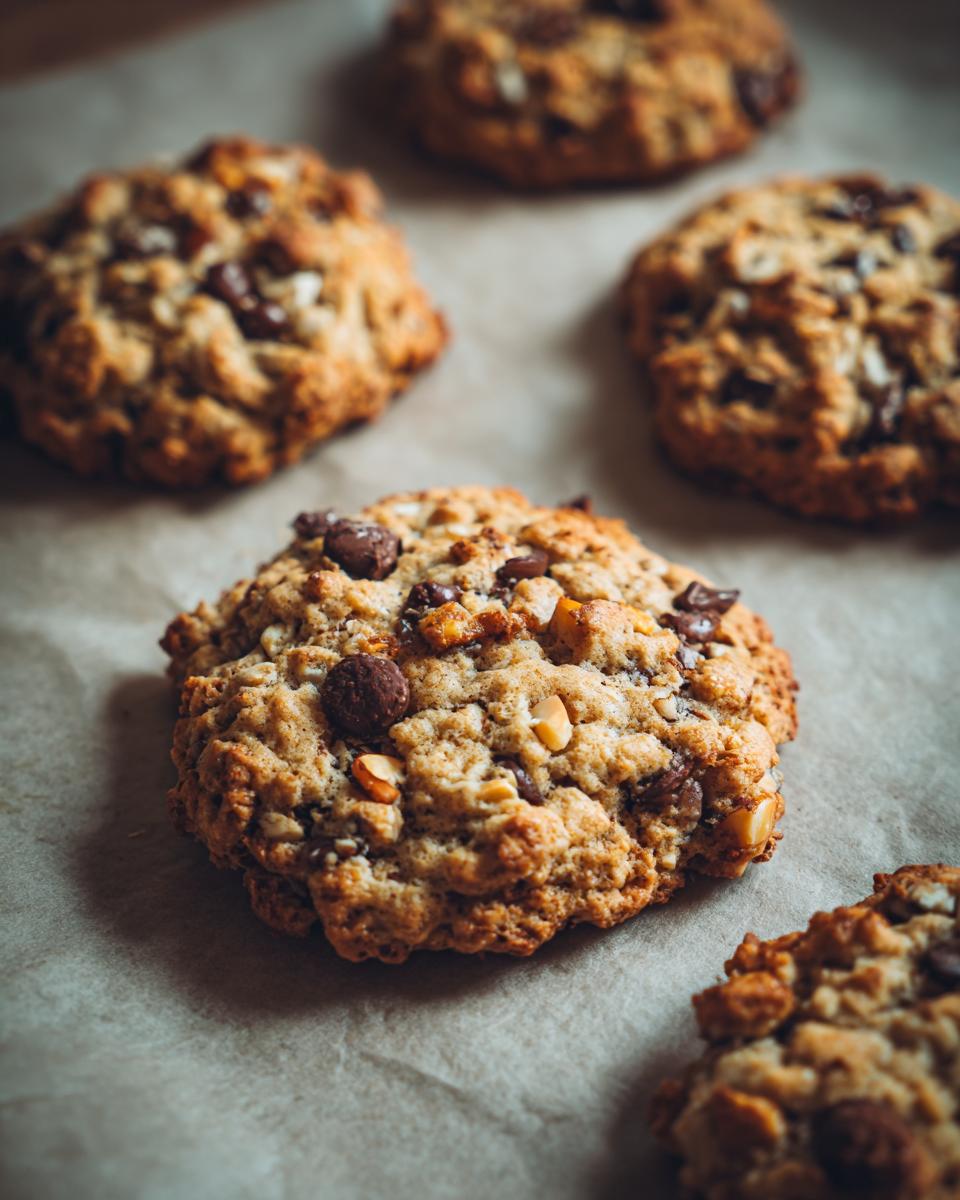
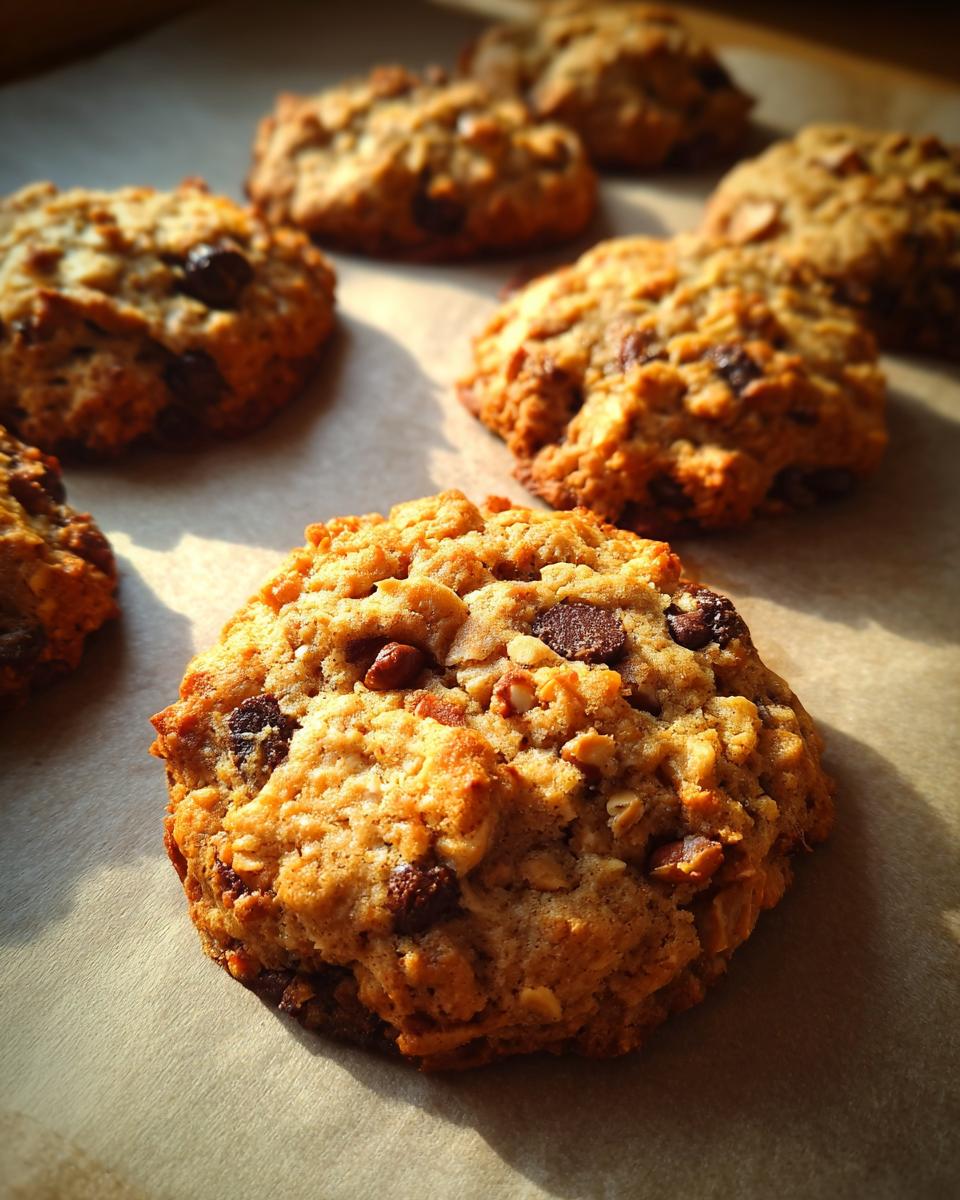
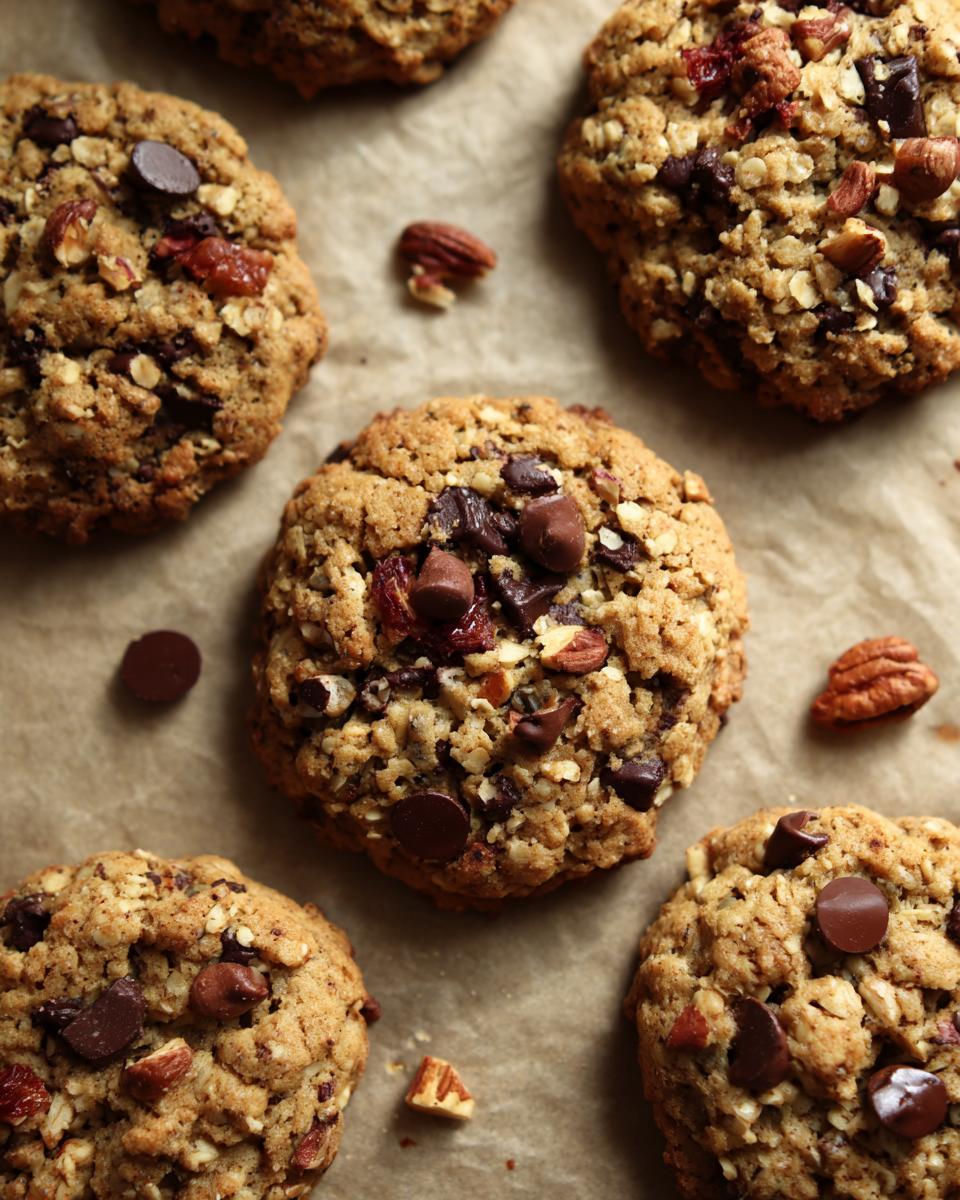
Picture this: I’m halfway up a muddy trail in the Smoky Mountains, rain dripping off my backpack, when my stomach growls loud enough to scare a squirrel. That’s when I remembered the trail mix cookies I’d stashed in my pocket – chewy, packed with oats and nuts, and just sweet enough to power me to the summit. That day, these little heroes became my go-to hiking fuel. Now, my trail mix cookies are a staple for lunch boxes and backpacks alike. They combine the convenience of one-bowl baking with real nutrition, making them perfect for meal planning when life gets chaotic.

Why You’ll Love These Trail Mix Cookies
Listen, I know life gets busy – between work, kids, and trying to remember where I left my car keys, who has time for complicated baking? That’s why these trail mix cookies are my secret weapon. Here’s why they might just become yours too:
- One-bowl wonder: No fancy equipment, no mountain of dishes to wash – just mix everything in a single bowl with a good old wooden spoon
- Gluten-free friendly: Swap in certified GF oats and you’ve got a treat that works for almost any diet (this recipe’s saved many a playdate at my house!)
- Energy-packed: With oats for slow-burning carbs, nuts for protein, and a touch of honey for quick energy, these keep you going better than any store-bought bar
- Meal planning magic: Whip up a batch on Sunday and you’ve got wholesome snacks ready all week – my kids grab them on rushed mornings more often than I’ll admit
The best part? They actually taste like you spent hours baking, when really you just threw everything together between coffee sips. Now that’s my kind of kitchen win!
Trail Mix Cookies Ingredients
Here’s everything you’ll need to make my favorite trail mix cookies – simple, wholesome ingredients that pack a punch of energy and flavor. I’ve grouped them so you can see how easy the mixing process will be!
- Wet Ingredients:
- 1/2 cup creamy almond butter (the drippy kind works best)
- 1/4 cup packed honey (adjust to your sweetness preference)
- 1 tsp pure vanilla extract (the good stuff – it makes a difference!)
- Dry Ingredients:
- 1 cup rolled oats (certified gluten-free if needed)
- 1/2 tsp baking soda (helps them puff up just right)
- 1/4 tsp sea salt (balances all the flavors beautifully)
- Mix-ins:
- 1/4 cup chocolate chips (I prefer dark chocolate for hiking energy)
- 1/4 cup chopped nuts (whatever you have on hand works)
- 1/4 cup dried fruit (my kids love golden raisins)
Ingredient Notes & Swaps
Living in a house with food allergies and picky eaters has taught me flexibility! Here are my tried-and-true substitutions:
For vegan cookies, swap honey with maple syrup – just know they’ll be slightly less chewy. Nut allergies? Sunflower seeds work wonderfully and add the same crunch. When I say “chopped nuts,” I mean about 1/4-inch pieces – big enough for texture but small enough they don’t fall out when you bite.
My neighbor swears by using dried cranberries with white chocolate chips for holidays (totally indulgent but delicious!). Honestly, as long as you keep the wet-to-dry ratio the same, you can play around with almost any mix-ins – that’s the beauty of trail mix cookies!
How to Make Trail Mix Cookies
Alright, let’s get baking! These trail mix cookies are so easy, you’ll probably have the recipe memorized after one batch. The best part? Everything happens in one bowl – because who needs more dishes to wash? Here’s how I do it:
-
- Preheat & Prep: Crank your oven to 350°F (175°C) and line a baking sheet with parchment paper. No liner? A light spray of oil works too – just don’t skip this or you’ll be scraping cookies off the pan!
- Mix the Wet Stuff: Grab your biggest bowl and plop in the almond butter, honey, and vanilla. Stir like crazy until it looks smooth and creamy – about 1 minute of vigorous mixing should do it. Pro tip: If your almond butter is stiff from the fridge, microwave it for 10 seconds first.
- Add the Dry: Dump in the oats, baking soda, and salt all at once. Stir gently at first (unless you enjoy oat dust clouds), then mix thoroughly until no dry spots remain. The dough will be thick – that’s perfect!
- Fold in the Goodies: Now the fun part! Add chocolate chips, nuts, and dried fruit. I like to reserve a handful to press onto the tops later for pretty cookies. Mix just until everything is evenly distributed – don’t overdo it.
- Scoop & Press: Use a tablespoon to drop mounds of dough onto your prepared sheet. Space them about 2 inches apart because they’ll spread. Wet your fingers slightly and press each mound to about 1/2-inch thickness. Thinner means crispier – your call!
- Bake to Perfection: Slide them into the oven for 10-12 minutes. Start checking at 10 – you want golden edges but slightly soft centers. They’ll firm up as they cool on the sheet for 5 minutes before transferring to a rack.
See? From bowl to baking sheet in less time than it takes to find your kid’s missing shoe! Now for some pro tips to take your cookies from good to “can I have the recipe?” status.
Pro Tips for Perfect Trail Mix Cookies
After making approximately eleventy-billion batches (my hiking group is obsessed), here’s what I’ve learned:
- Chill for Thickness: If you prefer thicker cookies, pop the dough in the fridge for 30 minutes before baking. This prevents excess spreading.
- Press in Mix-ins: Gently push any chocolate chips or nuts peeking out into the dough to prevent burning – learned this the hard way after a smokin’ kitchen incident!
- Slightly Underbake: Take them out when centers look just set – they’ll continue cooking on the hot pan for that perfect chewy texture everyone raves about.
Remember, cookies forgive almost everything – even if they spread too much or break, they’ll still taste amazing dunked in coffee on your next hike!
Gluten-Free Trail Mix Cookies Variation
When my cousin was diagnosed with celiac disease, I swore I’d never let her miss out on my trail mix cookies – and guess what? With one simple swap, they became her favorite gluten-free treat! All you need is certified gluten-free oats (regular oats are often cross-contaminated). That’s it! The rest of the ingredients are naturally gluten-free, making this recipe a lifesaver for picnic baskets and hiking trips alike.
For super-busy folks who love the idea of gluten-free hiking snacks but don’t have time to bake, some amazing gluten-free meal delivery services now offer similar cookie options. But trust me – these homemade versions taste way better and cost about a third of what those services charge!
Storing & Freezing Trail Mix Cookies
Want to always have these energy-packed cookies ready for hikes and lunch boxes? Here’s how I keep mine fresh for weeks (don’t worry, they rarely last that long in my house)! Store cooled cookies in an airtight container at room temperature – they’ll stay perfectly chewy for up to 5 days. Pro tip: Tuck a slice of bread in the container to keep them extra soft – the cookies magically absorb just the right amount of moisture from it!
For long-term storage, I scoop the dough into balls before baking and freeze them on a parchment-lined sheet. Once solid, I transfer them to a freezer bag – they’ll keep for 2 months this way. When hunger or last-minute hiking trips strike, just pop however many frozen dough balls you need onto a baking sheet and add 2 minutes to the bake time. No thawing needed! Meal planning has never been so deliciously simple.
Trail Mix Cookies Nutrition
Now, let’s talk numbers—because I know some of you (like me!) are keeping an eye on what fuels your adventures. Nutrition varies by brand, but here’s the sweet spot per cookie: about 120 calories, 3g protein, and 2g fiber to keep you full. They pack enough energy for serious hiking without weighing you down like heavier weight loss programs treats. Remember, these are estimates—your exact counts might dance a bit depending on whether you went heavy-handed with those chocolate chips (no judgment here!).
Trail Mix Cookies FAQs
I get tons of questions about these trail mix cookies (seriously, my hiking group won’t stop texting me!). Here are the answers to the ones that pop up most often:
Can I use peanut butter instead of almond butter?
Absolutely! Just know peanut butter has a stronger flavor that might overpower the other ingredients. I like using natural creamy peanut butter – the kind where oil separates on top. My sister swears by mixing half peanut butter with half sunflower seed butter for a more balanced taste.
How do I make vegan trail mix cookies?
Super easy! Swap honey with maple syrup (about 1/3 cup since it’s less sweet). The texture will be slightly less chewy but still delicious. My vegan neighbor adds 1 tbsp flaxseed meal with 3 tbsp water as an egg substitute – works like a charm!
What are the best nuts for hiking-friendly cookies?
For durability on the trail, almonds are my top pick – they stay crunchy even after days in a backpack. Cashews get too soft, while walnuts can turn bitter if they’re old. Pro tip: Toast chopped almonds for 5 minutes at 350°F before adding to the dough – brings out amazing flavor!
Still have questions? Drop me a comment below – I love helping troubleshoot cookie emergencies (and yes, I consider cookie dilemmas legitimate emergencies!).
More Easy Snacks for Hiking
Once you’ve fallen for these trail mix cookies (trust me, you will!), you’ll want more quick-energy snacks for your adventures. My go-tos? These no-bake peanut butter energy balls – just mix oats, peanut butter, honey, and chocolate chips, roll into balls, and chill. Perfect when you need something even faster than cookies! For crunch lovers, my maple almond granola bars hold together beautifully in backpacks without crumbling. Both recipes share the same one-bowl simplicity that makes outdoor meal planning a breeze.
PrintTrail Mix Cookies

Chewy cookies packed with oats, nuts, and chocolate, perfect for hikers and lunch boxes. Easy one-bowl dough with gluten-free options.
- Prep Time: 10 min
- Cook Time: 12 min
- Total Time: 22 min
- Yield: 12 cookies 1x
- Category: Snacks
- Method: Baking
- Cuisine: American
- Diet: Gluten Free
Ingredients
- 1 cup rolled oats
- 1/2 cup almond butter
- 1/4 cup honey
- 1/4 cup chocolate chips
- 1/4 cup chopped nuts
- 1/4 cup dried fruit
- 1 tsp vanilla extract
- 1/2 tsp baking soda
- 1/4 tsp salt
Instructions
- Preheat your oven to 350°F (175°C). Line a baking sheet with parchment paper.
- In a large bowl, mix almond butter, honey, and vanilla extract until smooth.
- Add oats, baking soda, and salt. Stir until combined.
- Fold in chocolate chips, nuts, and dried fruit.
- Drop spoonfuls of dough onto the baking sheet. Flatten slightly with your fingers.
- Bake for 10-12 minutes until edges are golden. Let cool before serving.
Notes
- For gluten-free cookies, use certified gluten-free oats.
- Swap honey for maple syrup for a vegan option.
- Store in an airtight container for up to 5 days.
Nutrition
- Serving Size: 1 cookie
- Calories: 120
- Sugar: 8g
- Sodium: 80mg
- Fat: 6g
- Saturated Fat: 1g
- Unsaturated Fat: 4g
- Trans Fat: 0g
- Carbohydrates: 14g
- Fiber: 2g
- Protein: 3g
- Cholesterol: 0mg