 Skip to content

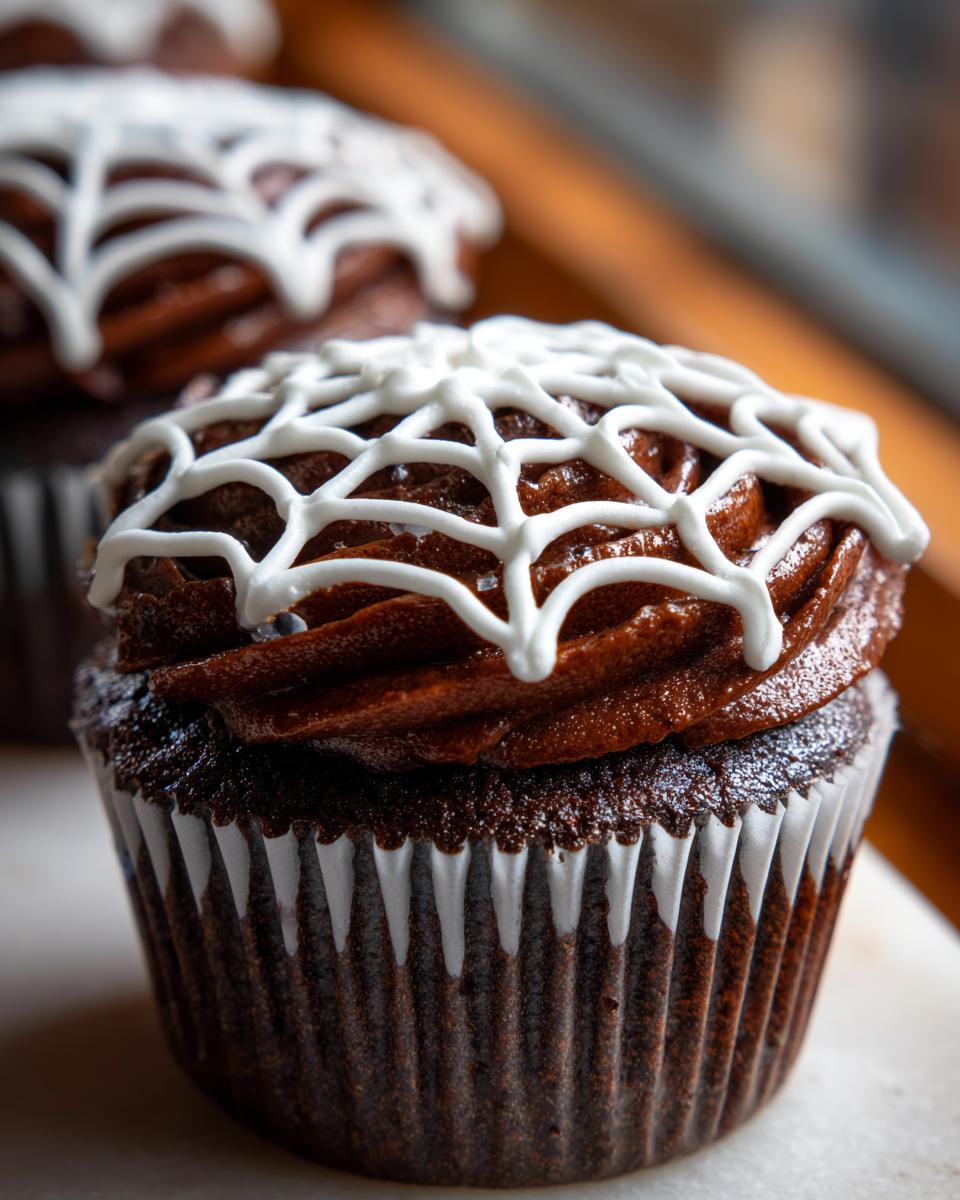
Okay, let’s get spooky! There’s just something magical about Halloween, isn’t there? The crisp air, the costumes, and of course, the treats! My absolute favorite things to whip up for Halloween parties are spider web cupcakes. They always get such a huge reaction, and honestly, they look way more complicated than they really are. I remember when my kids were little, seeing their eyes light up when I’d present a whole platter of these little spooky delights. It felt like I’d conjured pure magic right out of my kitchen! This recipe is perfect because it gives you that impressive, “wow!” factor that everyone loves, but it’s actually super simple, so you can spend less time stressing and more time enjoying the Halloween fun. Trust me, these are going to be a huge hit!

Why You’ll Love These Spider Web Cupcakes
Seriously, if you’re looking for a Halloween treat that wows without a ton of stress, you’ve hit the jackpot with these spider web cupcakes. Here’s why they’re going to be your new favorite spooky go-to:
- Amazingly Easy: You’ll be shocked at how simple this web frosting technique is. Even if piping isn’t your jam, you can totally nail this!
- Big Halloween Impact: They look super impressive, like you spent hours in the kitchen, but they’re surprisingly quick to decorate. Perfect for making a big statement!
- So Spooky & Fun: That dark base with the white web is just pure Halloween magic. They’re instantly festive and always a huge hit with everyone.
- Delicious Combo: Plus, they taste fantastic! You get a rich chocolatey cupcake topped with sweet, creamy frosting that’s just… mwah!
Gather Your Spider Web Cupcakes Ingredients
Alright, let’s get our spooky decorating supplies together! For these awesome spider web cupcakes, you won’t need a ton of fancy stuff. We want to keep it simple, right? Here’s what you’ll need:
- 12 chocolate cupcakes, baked and totally cooled (darker is better for that spooky contrast!)
- About 1 cup of white or a light-colored buttercream frosting – this is for our webs!
- Around 1/4 cup of dark chocolate frosting or ganache. This is our dark canvas!
- A toothpick or a skewer – anything sharp and pointy to drag those webs!
That’s pretty much it! Simple ingredients for a super fun Halloween treat.
Mastering the Spider Web Frosting Technique
Okay, now for the fun part – turning our plain cupcakes into spooky little masterpieces! This is where the magic really happens for our spider web cupcakes. Don’t worry, it looks fancy, but it’s so doable, even if you’re not a pro decorator like my grandma (who honestly, was pretty amazing!).
Step 1: Prepare Your Cupcake Base
First things first, make sure your chocolate cupcakes are completely cool. Like, totally, utterly cool to the touch. If they’re still warm, that dark frosting is just going to slide right off, and that’s not a good look for anyone, especially during Halloween!
Step 2: Apply the Dark Frosting
Now, grab that dark chocolate frosting or ganache. We’re going to frost each cupcake with a nice, smooth layer of this. Think of it as your spooky night sky canvas. Make sure it’s an even coat; that’s going to make our white webs really pop!
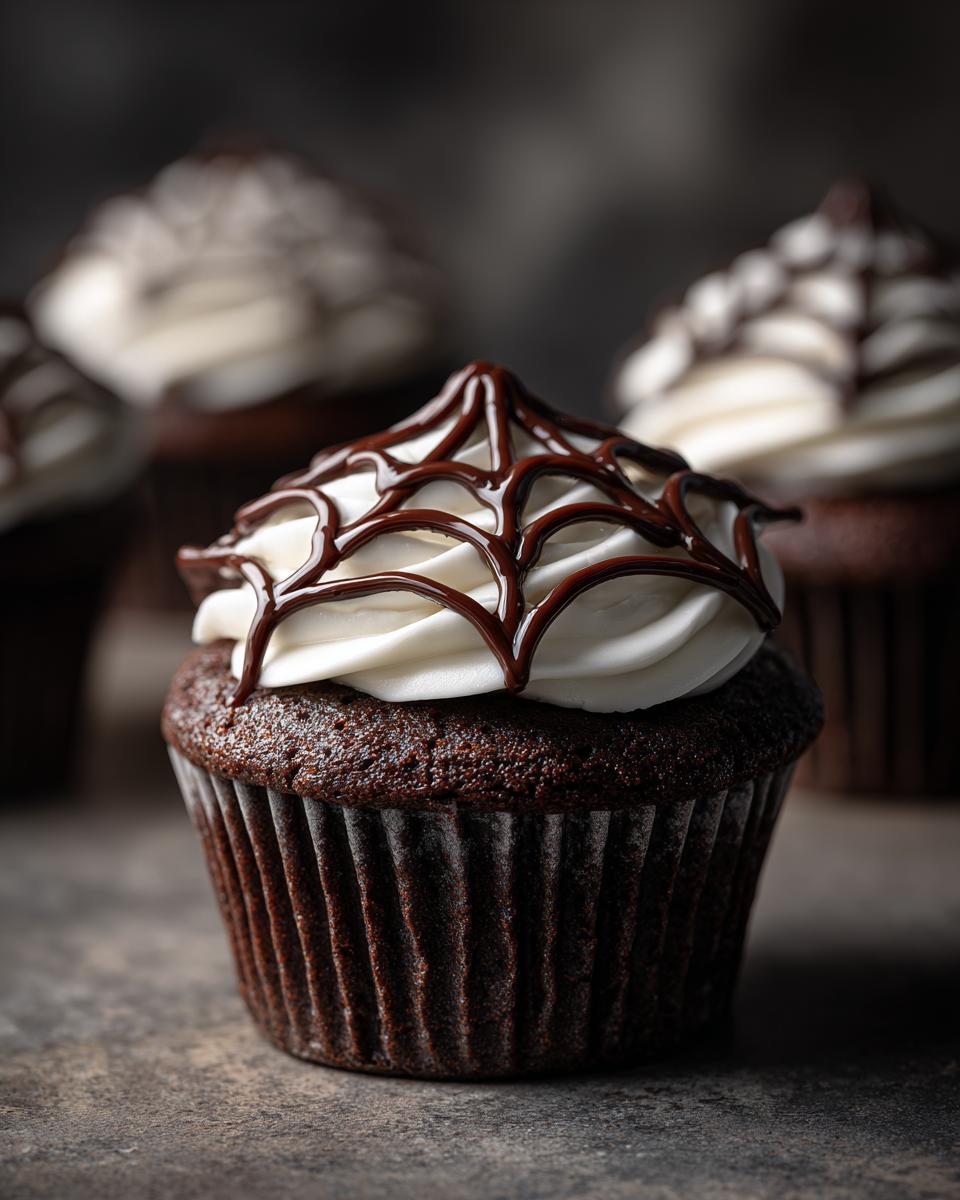
Step 3: Piping the White Circles
Next up, get your white frosting ready. Pop it into a piping bag with a small round tip. No piping bag? No worries! Just snip a tiny corner off a zip-top bag. Or, if you’re really in a pinch, you can spoon little dollops of frosting onto the dark base. Start piping concentric circles, one inside the other, working from the center out. Don’t go too gigantic with the circles; we want to have room to draw our web lines.
Step 4: Creating the Spider Web Design
This is the super cool part! Grab your toothpick or skewer. Right after you pipe those circles, you’ve got to work fast before the frosting dries. Stick your toothpick right in the middle and gently drag it from the center straight out to the edge of the cupcake. It’s like drawing a little slice of web! You’ll want to wipe your toothpick clean after each drag – this makes sure your lines are crisp and not all messy. Keep doing this, pulling from the center outwards, going all around the circles you piped.

Step 5: Finishing Touches for Your Spider Web Cupcakes
Just keep repeating that whole process – piping the circles and then dragging the toothpick – until all your spider web cupcakes look perfectly spooky! If you want to go the extra mile, you can pop a little plastic spider on top of a few of them. It really just seals the deal on the creepy-crawly vibe, doesn’t it?
Tips for Perfect Spider Web Cupcakes
Okay, so you want your spider web cupcakes to look absolutely amazing? Trust me, a few little tricks can make all the difference! First off, make sure your white frosting isn’t too stiff. If it’s a little too firm, it’ll be tough to pipe those nice, smooth circles, and even tougher to drag that toothpick. Just give it a quick stir, or pop it in the microwave for like, 5 seconds. You don’t want it melted, just pliable! Also, don’t be afraid to practice! Grab a piece of parchment paper and just go for it a few times before you hit the actual cupcakes. You’ll get a feel for the speed and pressure needed. Experiment with spacing the circles a bit wider or closer – you can make all sorts of spidery patterns this way!
Frequently Asked Questions about Halloween Cupcake Design
Got questions about whipping up your own spooky treats? I’ve got you covered! Decorating for Halloween should be fun, not frustrating. Here are some common things people ask about making their own amazing Halloween cupcake designs, especially when it comes to our fab spider web cupcakes!
Can I use different frosting colors for the web?
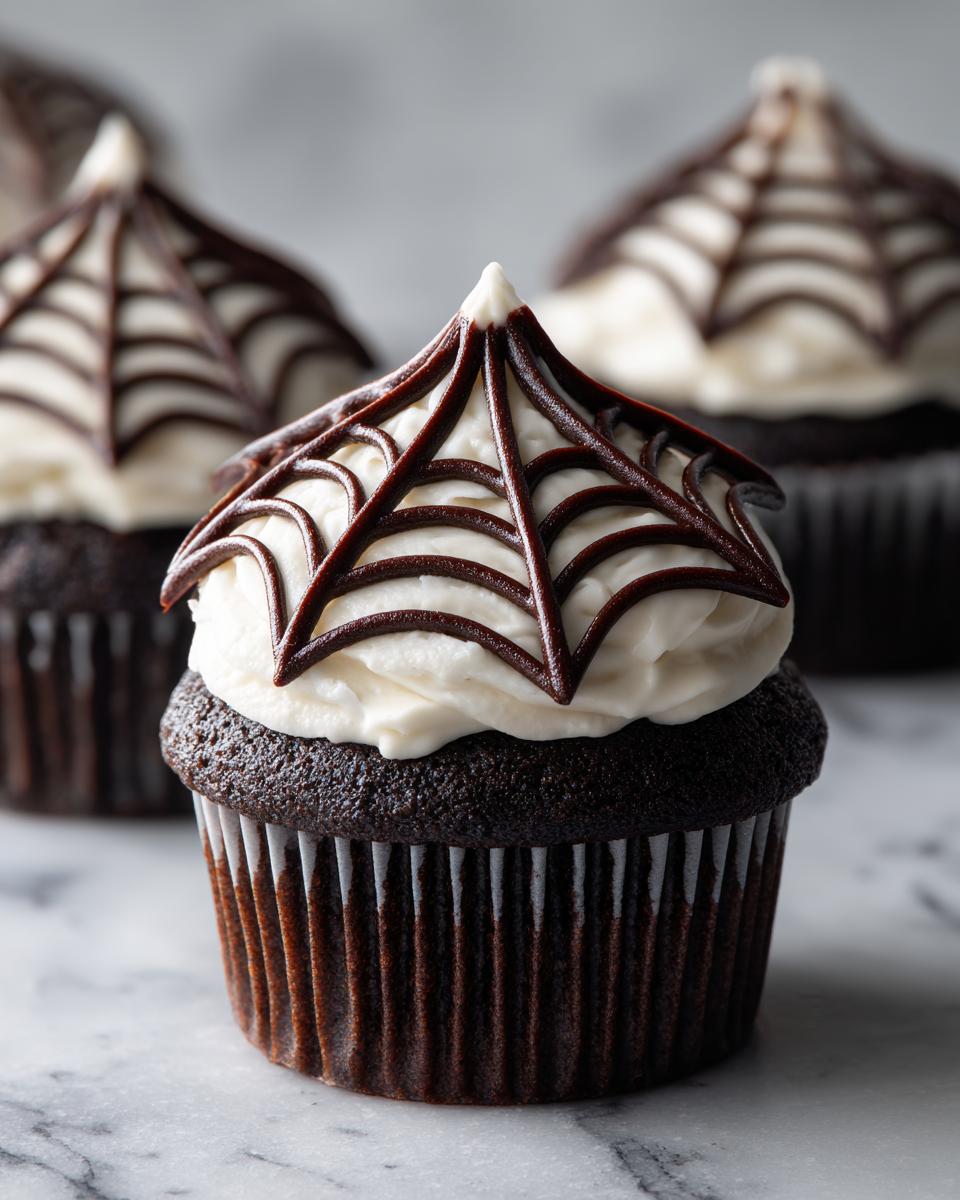
Oh, absolutely! While the classic white web on a dark background is super popular, feel free to get creative. Imagine a neon green web on a black cupcake, or even a spooky purple web on a lighter grey base. Just remember, for the best contrast, you’ll want a lighter color frosting for the web against a darker base frosting.
What kind of cupcakes work best for spider web designs?
Honestly, any sturdy cupcake recipe will work! But for that awesome contrast that makes the spider web frosting pop, I really love using chocolate or Devil’s Food cake. The darker the cake, the more the white web design will stand out. Plus, who doesn’t love a good chocolate cupcake for Halloween? These chocolate chip blondies are also super stable if you ever want something similar!
How do I store decorated spider web cupcakes?
Once your creepy crawly creations are all done, you’ll want to store them properly so they stay looking great! The best way is to put them in an airtight container. If your frosting is pretty stable (like a simple buttercream), they can usually sit on the counter for a day or two. But if it’s really warm out, or you used a cream cheese frosting or ganache that might get melty, popping them in the fridge is a good idea. Just make sure they’re covered so they don’t dry out!
Estimated Nutritional Information
Just a heads-up, these numbers are estimates, okay? They can totally change depending on the exact ingredients you use and how big you make your cupcakes. But, roughly speaking, one of these delicious spider web cupcakes comes in around 350 calories. You’re looking at about 20g of fat, with 12g of that being saturated, 40g of carbs, and around 35g of sugar. They’ve also got about 2g of fiber and 4g of protein. So, enjoy your spooky treat!
PrintSpider Web Cupcakes

Learn how to decorate chocolate cupcakes with a spooky spider web design for Halloween. This easy technique uses frosting to create a festive and impressive treat.
- Prep Time: 20 min
- Cook Time: 0 min
- Total Time: 20 min
- Yield: 12 cupcakes 1x
- Category: Dessert
- Method: Decorating
- Cuisine: American
- Diet: Vegetarian
Ingredients
- 12 chocolate cupcakes, baked and cooled
- 1 cup buttercream frosting (white or light colored)
- 1/4 cup dark chocolate frosting or ganache
- Toothpick or skewer
Instructions
- Prepare your chocolate cupcakes according to your favorite recipe. Ensure they are completely cooled before decorating.
- Frost each cupcake with a layer of dark chocolate frosting or ganache, creating a smooth, dark base.
- Place the white buttercream frosting into a piping bag fitted with a small round tip, or a zip-top bag with a corner snipped off.
- Pipe concentric circles of white frosting onto the dark frosting base, starting from the center and working your way out. Do not make the circles too large.
- Immediately after piping the circles, insert a toothpick or skewer into the center of the cupcake.
- Gently drag the toothpick from the center outwards towards the edge of the cupcake, creating the spider web lines. Wipe the toothpick clean between each drag to ensure clean lines.
- Repeat the dragging motion around the entire circle to complete the web pattern.
- Continue decorating the remaining cupcakes until all are finished.
Notes
- For a darker base, consider using devil’s food cake mix for your cupcakes.
- If you don’t have a piping bag, you can use a spoon to dollop the white frosting and then use the back of the spoon to spread it into circles.
- Experiment with different sizes of circles and dragging techniques to achieve varied web patterns.
- You can add a small plastic spider on top for an extra spooky touch.
Nutrition
- Serving Size: 1 cupcake
- Calories: 350
- Sugar: 35g
- Sodium: 200mg
- Fat: 20g
- Saturated Fat: 12g
- Unsaturated Fat: 8g
- Trans Fat: 0g
- Carbohydrates: 40g
- Fiber: 2g
- Protein: 4g
- Cholesterol: 60mg