 Skip to content
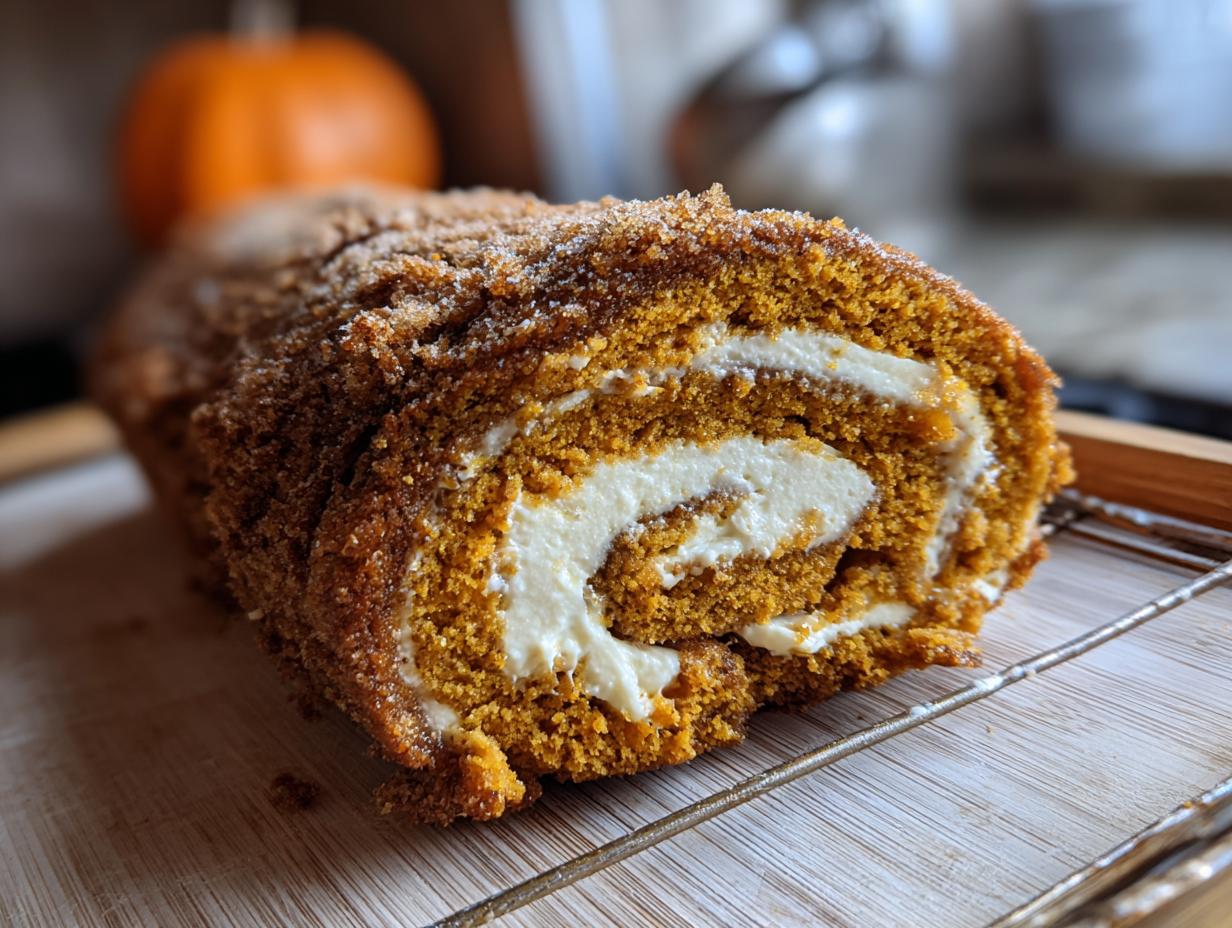

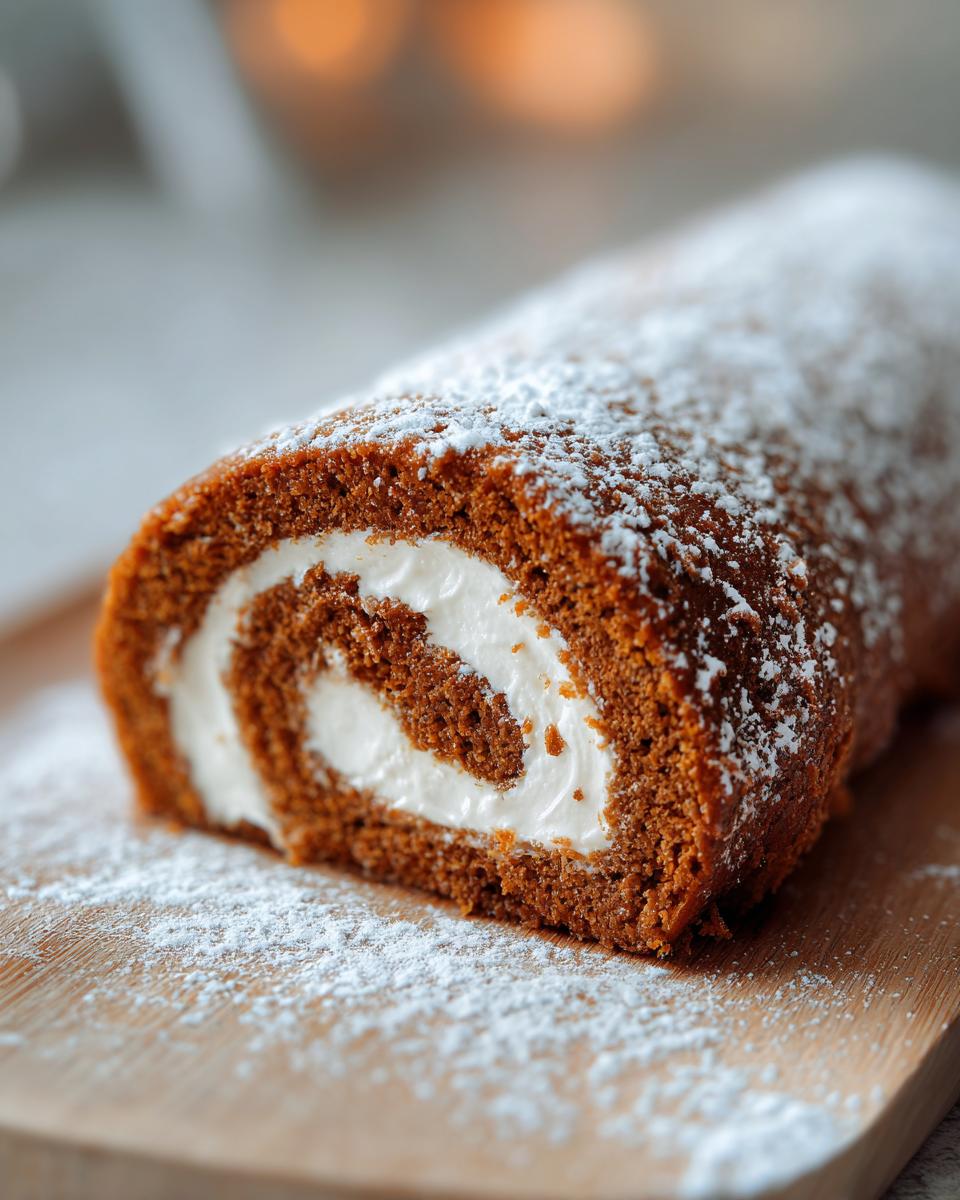
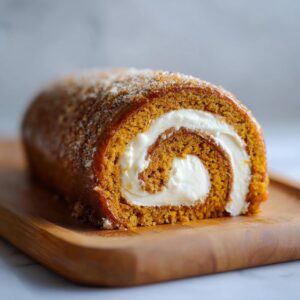
Oh, fall! Is there anything better than that cozy feeling, the crisp air, and all those amazing spices? For me, it always brings me back to my Grandma Carla’s kitchen, and this time of year, there was one dessert that just *screamed* autumn: her classic pumpkin roll cake. It looks so fancy, right? But I promise, it’s totally doable! This recipe is my absolute go-to for a reason. It gives you that perfectly soft, spiced pumpkin cake rolled up with a dreamy cream cheese filling, and I’ve got all the little secrets so yours won’t crack. Whether it’s Thanksgiving dinner or just a cozy weekend treat, this pumpkin roll cake is a winner!

- Why You'll Love This Pumpkin Roll Cake
- Gather Your Ingredients for the Perfect Pumpkin Roll Cake
- Step-by-Step Guide to Making Your Pumpkin Roll Cake
- Tips for a Perfect Pumpkin Roll Cake Every Time
- Storing and Freezing Your Pumpkin Roll
- Frequently Asked Questions about Pumpkin Roll Cake
- Estimated Nutritional Information
- Share Your Pumpkin Roll Cake Creations!
Why You’ll Love This Pumpkin Roll Cake
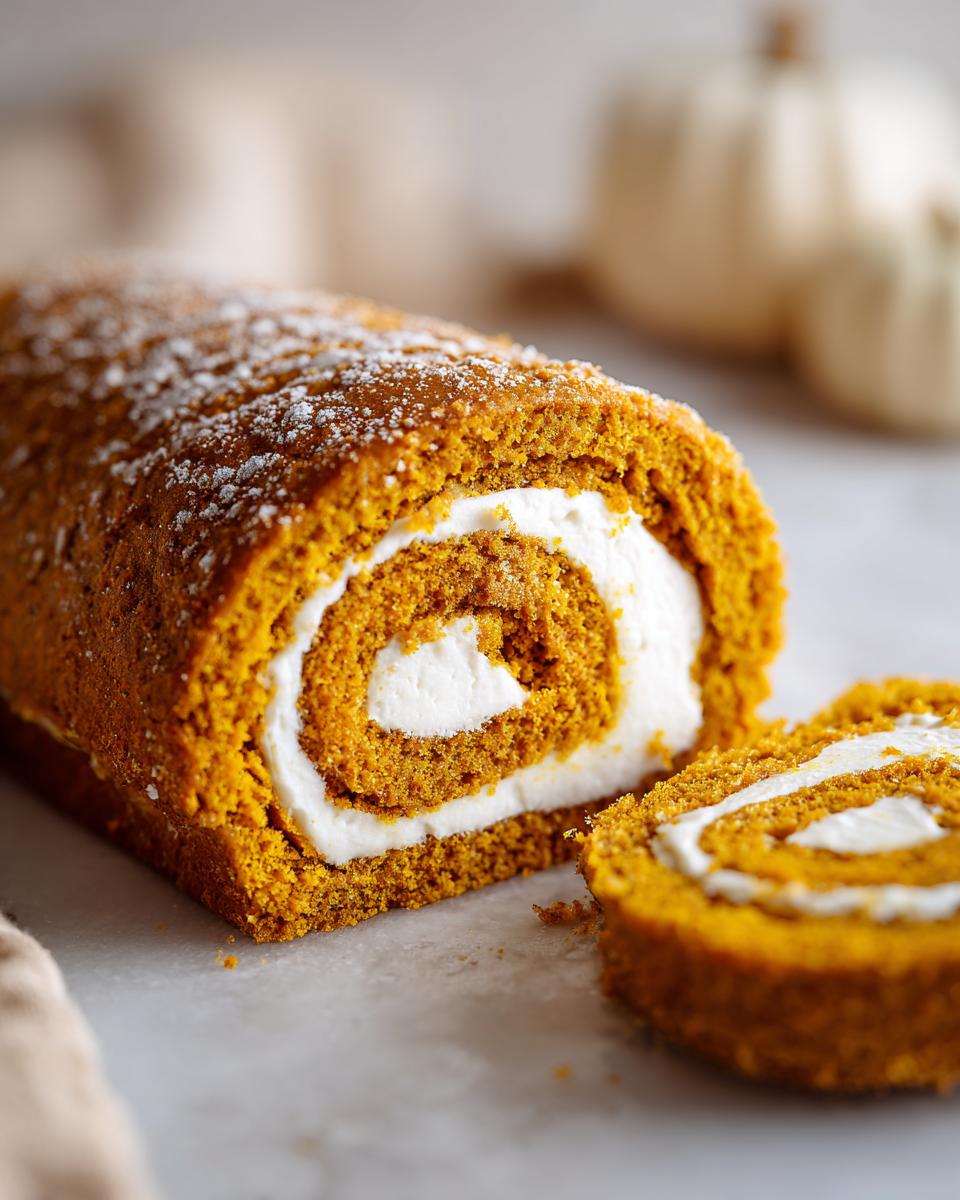
It’s surprisingly easy to make, even if you’ve never rolled a cake before! The perfect balance of warm pumpkin spice and sweet cream cheese filling is just divine. It looks so impressive, but it’s a fantastic make-ahead dessert for holidays. No cracked rolls here – I’ll show you exactly how to avoid that!
Gather Your Ingredients for the Perfect Pumpkin Roll Cake
Okay, let’s talk about what you’ll need to make this magic happen! For the cake itself, you’ll grab some all-purpose flour, all those lovely fall spices like cinnamon, ginger, nutmeg, and cloves. A little baking soda and salt to keep things balanced, plus three large eggs – make sure they’re at room temperature, it really helps! We need sugar, of course, and the star of the show, pure pumpkin puree (not pumpkin pie mix, just the plain stuff!). A splash of vanilla extract is a must. Oh, and a tiny bit of cream of tartar for the egg whites, which gives them that extra lift.
Now for that luscious filling: creamy, softened cream cheese and softened butter are key, so they blend up beautifully. Then, a cup of powdered sugar for sweetness and another bit of vanilla. That’s really it! Simple ingredients that come together to make something truly special. Using good quality pumpkin puree makes a difference, trust me!
Step-by-Step Guide to Making Your Pumpkin Roll Cake
Alright, let’s get down to business! Making this pumpkin roll cake is like a little baking adventure, and I’ll walk you through every step so it’s a total breeze. Don’t worry, even the rolling part isn’t as scary as it sounds! It’s a lot like my tips for a foolproof classic apple pie, just with a different technique.
Preparing the Pumpkin Cake Batter
First things first, get that oven preheated to 350°F (175°C). While it’s warming up, grab yourself a 10×15 inch jelly roll pan – that’s the standard size, perfect for this recipe. Grease it really well, then flour it. Trust me on this, line the bottom with parchment paper, and then grease and flour that parchment, too. It’s your insurance policy against sticking!
In a medium bowl, whisk together all your dry ingredients: that flour, cinnamon, ginger, nutmeg, cloves, baking soda, and salt. Now, in a big bowl, beat your egg yolks with the sugar until they’re nice and fluffy and pale yellow. Then, mix in the pumpkin puree and vanilla until it’s all smooth. Gradually add those dry ingredients to the pumpkin mixture, just mixing until they’re combined – don’t overdo it! In a separate, squeaky-clean bowl, beat your egg whites with that cream of tartar until you have stiff, glossy peaks. Gently, and I mean *gently*, fold those fluffy egg whites into your pumpkin batter in two batches. This is what makes your cake nice and light!
Baking and Cooling Your Pumpkin Roll Cake
Pour that lovely batter evenly into your prepared pan, spreading it right to the edges. Pop it into the oven and bake for about 13 to 15 minutes. You’ll know it’s ready when the cake springs back if you just lightly touch the top. While it’s baking, get a clean kitchen towel ready – or another piece of parchment paper, that works too! Sprinkle it generously with powdered sugar. As soon as the cake comes out, carefully flip it onto that sugared towel or paper. Peel off the parchment paper that was in the pan… and here’s the magic: start rolling! From one of the shorter ends, carefully roll up the cake *with* the towel or parchment paper inside. Place the rolled-up cake seam-down on a wire rack and let it cool completely. This little step is crucial for that crack-free finish!
Creating the Creamy Pumpkin Roll Filling
While your cake is doing its cooling thing, let’s whip up that heavenly cream cheese filling. You’ll want your cream cheese and butter to be nice and soft – I usually leave them out on the counter for about an hour. Pop them into a bowl and beat them together until they’re super smooth and creamy. Then, gradually add the powdered sugar, beating until it’s all blended and fluffy. Stir in that teaspoon of vanilla, and voila! You’ve got the perfect creamy filling.
Assembling and Chilling Your Pumpkin Roll
Once your pumpkin cake is totally cool – and I mean *completely* cool, otherwise the filling will melt – carefully unroll it. Spread that luscious cream cheese filling all over the cake, leaving a little border around the edges so it doesn’t ooze out everywhere. Now, carefully re-roll the cake, but this time, leave the towel or parchment paper behind. Tightly wrap the whole thing in plastic wrap. This helps it hold its shape and makes slicing so much easier. Pop it in the fridge for at least an hour to firm up. That chilling time is super important for clean slices!
Tips for a Perfect Pumpkin Roll Cake Every Time
Okay, let’s talk about the little secrets that make this pumpkin roll cake absolutely foolproof! Rolling a cake can sound intimidating, but trust me, it’s all about timing and a little bit of technique. The trick to getting that perfect, crack-free roll is really in how you handle the cake when it’s still warm. Don’t let it cool down too much before you start rolling it up with the towel – that gentle warmth makes it pliable! You want to roll it snugly, but not so tight that it breaks. I always say to think of it like rolling up a cozy blanket!
Troubleshooting Common Pumpkin Roll Cake Issues
So, what if your cake cracks a little? Don’t panic! It still tastes amazing. Honestly, a bit of cracking just shows it’s homemade and loved. If your cake sticks, though, that’s usually because the pan wasn’t greased and floured well enough, especially the parchment paper. Make sure you’re using the right size pan, too – a 10×15 inch jelly roll pan is really the standard for this. If your filling seems too soft to spread, just pop it in the fridge for 10-15 minutes to firm up a bit. It’s all about these little pumpkin roll troubleshooting tips!
Decorating Your Pumpkin Roll Cake
Once your pumpkin roll is all chilled and firm, it’s fun to make it pretty! The easiest way is just a generous dusting of powdered sugar – it looks so classic and pairs perfectly with the cake. If you’re feeling fancy, maybe a little drizzle of melted chocolate over the top? Or, for a real Pinterest-worthy look, you can pipe a simple leaf pattern with a bit of the cream cheese filling *before* you bake, then carefully spread the batter around it. That gives you a beautiful decorated pumpkin roll that’s perfect for Thanksgiving or any fall get-together!
Storing and Freezing Your Pumpkin Roll
So, you’ve made this glorious pumpkin roll, and maybe you’ve got some leftover – lucky you! To keep it fresh, wrap it up tightly in plastic wrap, right in its rolled-up form. Then pop it into an airtight container in the fridge. It’ll stay delicious for about 3 days. Now, if you want to make ahead for a big holiday spread, you can totally freeze your pumpkin roll!
For best results, wrap it super well in plastic wrap first, then give it a good layer of foil. This helps prevent any freezer burn. You can store it like that for up to a month. When you’re ready to enjoy it, just unwrap it and let it thaw slowly in the refrigerator overnight. These freeze pumpkin roll instructions will ensure it tastes just as amazing as when it was fresh!
Frequently Asked Questions about Pumpkin Roll Cake
Got questions about whipping up this perfect pumpkin roll? I’ve got answers! It’s one of those recipes that people often have a few things they want to double-check, and I get it. Let’s clear things up so your baking is smooth sailing!
What’s the best pan size for a pumpkin roll?
You know, the recipe calls for a 10×15 inch jelly roll pan, and that’s really what you want for the perfect thickness and roll. If you don’t have one, a regular baking sheet *might* work in a pinch, but it can be a bit trickier to get that nice, even roll. The pan size is pretty important for how the cake bakes up!
Can I use a different filling, like mascarpone?
Oh, absolutely! While I adore the classic cream cheese filling in this pumpkin roll cake, you can totally get creative. A mascarpone pumpkin roll would be divine! You could swap out half of the cream cheese for mascarpone, or even use all mascarpone for an extra-rich, decadent flavor. Just make sure the mascarpone isn’t too watery. It’s a fantastic way to vary this make-ahead holiday dessert!
Can I make this pumpkin roll cake completely ahead of time?
Yes! This is one of my favorite make-ahead holiday desserts for a reason. You can bake the cake and have the filling ready, then assemble and chill the roll a day in advance. It actually tastes even better the next day! For longer storage, remember those freezing instructions I mentioned earlier – it holds up really well.
Estimated Nutritional Information
Alright, let’s talk numbers! When it comes to this yummy pumpkin roll cake, here’s a little peek at what you’re looking at, nutrition-wise. Keep in mind these are just estimates, since everything can change depending on exactly what you use and how big a slice you cut. But roughly, one slice usually has about 250 calories, around 12g of fat (with about 7g being saturated fat), maybe 3g of protein, 35g of carbs, and about 25g of sugar. It’s definitely a treat that fits right into a festive meal plan!
Share Your Pumpkin Roll Cake Creations!
I would absolutely LOVE to see your beautiful pumpkin roll cakes! Did it turn out perfectly rolled? Did you try any fun decorations? Please, spill the beans in the comments below. Your feedback helps me SO much, and honestly, it just makes my day to see what you’ve all been baking up. If you have any questions or want to share your own tips, head over to my contact page!
PrintClassic Pumpkin Roll Cake
A classic pumpkin roulade with a creamy cheese filling, perfect for fall gatherings. This recipe guides you on how to achieve a crack-free roll and neat slices.
- Prep Time: 25 min
- Cook Time: 15 min
- Total Time: 40 min
- Yield: 10-12 servings 1x
- Category: Dessert
- Method: Baking
- Cuisine: American
- Diet: Vegetarian
Ingredients
- 1 cup all-purpose flour
- 1 teaspoon ground cinnamon
- 1/2 teaspoon ground ginger
- 1/4 teaspoon ground nutmeg
- 1/4 teaspoon ground cloves
- 1/2 teaspoon baking soda
- 1/4 teaspoon salt
- 3 large eggs, separated
- 1 cup granulated sugar
- 1/2 cup pumpkin puree
- 1 teaspoon vanilla extract
- 1/4 teaspoon cream of tartar
- For the Filling:
- 8 ounces cream cheese, softened
- 1/2 cup unsalted butter, softened
- 1 cup powdered sugar
- 1 teaspoon vanilla extract
Instructions
- Preheat your oven to 350°F (175°C). Grease and flour a 10×15 inch jelly roll pan. Line the bottom with parchment paper, then grease and flour the parchment paper.
- In a medium bowl, whisk together the flour, cinnamon, ginger, nutmeg, cloves, baking soda, and salt.
- In a large bowl, beat the egg yolks and granulated sugar until light and fluffy. Beat in the pumpkin puree and vanilla extract until well combined.
- Gradually add the dry ingredients to the pumpkin mixture, mixing until just combined.
- In a separate clean bowl, beat the egg whites with the cream of tartar until stiff peaks form.
- Gently fold the beaten egg whites into the pumpkin batter in two additions, being careful not to deflate the mixture.
- Pour the batter evenly into the prepared jelly roll pan and spread it to the edges.
- Bake for 13-15 minutes, or until the cake springs back when lightly touched.
- While the cake is baking, lay a clean kitchen towel or a piece of parchment paper on your counter and dust it generously with powdered sugar.
- As soon as the cake comes out of the oven, invert it onto the prepared towel or parchment paper. Carefully peel off the parchment paper that was in the pan.
- Starting from one of the short ends, carefully roll up the cake and the towel/parchment paper together. Let it cool completely on a wire rack.
- While the cake cools, prepare the filling. In a large bowl, beat the softened cream cheese and butter until smooth and creamy.
- Gradually beat in the powdered sugar until well combined. Stir in the vanilla extract.
- Once the cake is completely cool, carefully unroll it. Spread the cream cheese filling evenly over the cake, leaving a small border around the edges.
- Carefully re-roll the cake, this time without the towel or parchment paper.
- Wrap the pumpkin roll tightly in plastic wrap and refrigerate for at least 1 hour before slicing and serving.
Notes
- For a patterned roll, you can pipe a simple pattern onto the parchment paper before adding the cake batter.
- Store the pumpkin roll in an airtight container in the refrigerator for up to 3 days.
- You can freeze the pumpkin roll for up to 1 month. Wrap it tightly in plastic wrap, then in foil. Thaw in the refrigerator overnight before serving.
Nutrition
- Serving Size: 1 slice
- Calories: 250
- Sugar: 25g
- Sodium: 100mg
- Fat: 12g
- Saturated Fat: 7g
- Unsaturated Fat: 5g
- Trans Fat: 0g
- Carbohydrates: 35g
- Fiber: 1g
- Protein: 3g
- Cholesterol: 50mg