 Skip to content

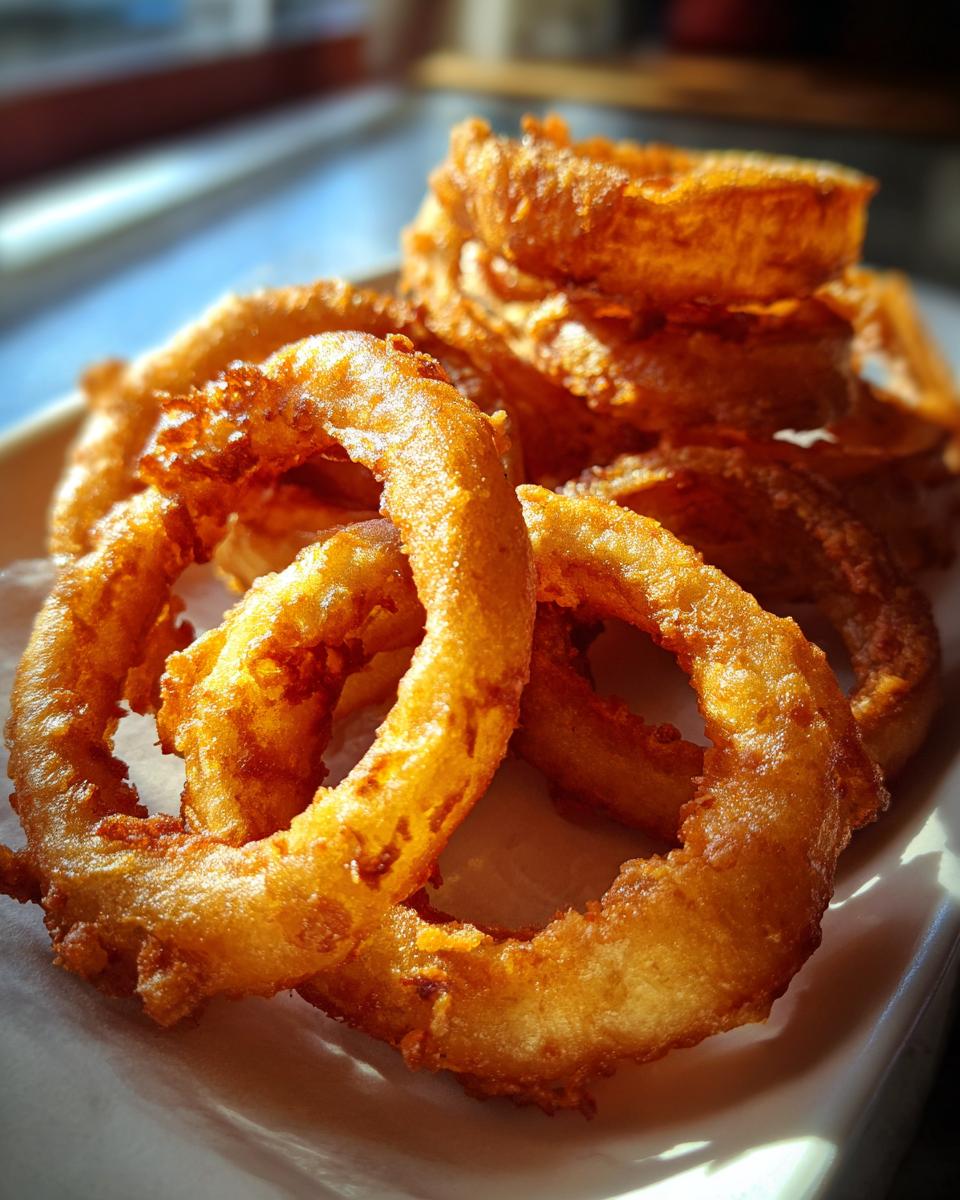
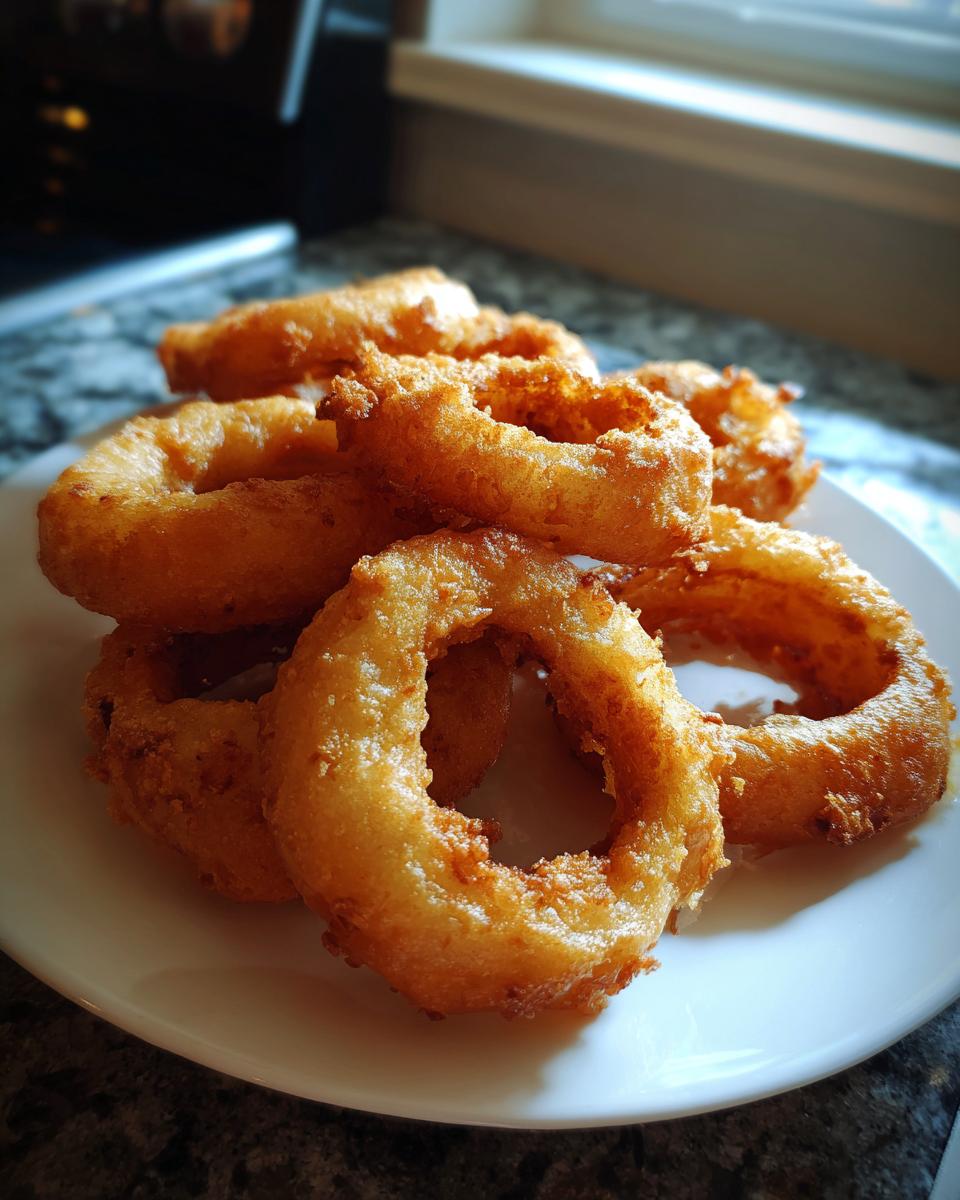
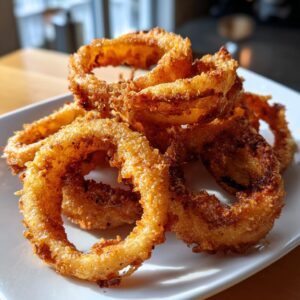
Oh, who doesn’t love that perfect, crispy onion ring? You know the ones – the kind you get at your favorite burger joint, where the outside is golden brown and crunchy, but the inside is sweet and perfectly tender. Well, guess what? You can totally make those amazing onion rings right in your own kitchen! It reminds me so much of standing in my grandma’s kitchen, watching her whip up magic from simple ingredients. She always said food was love, and making these homemade onion rings is definitely her kind of love language. This recipe is such a fun way to add another classic comfort food to your lineup, and trust me, these homemade beauties are way better than anything you can grab on the go!

- Why You'll Love This Onion Rings Recipe
- Crispy Fried Onion Rings: The Essential Ingredients
- Crafting Perfect Beer Battered Rings: Step-by-Step Instructions
- Tips for the Crispiest Onion Rings
- Serving Your Homemade Fast Food Sides
- Frequently Asked Questions About Onion Rings
- Nutritional Information for Crispy Beer Battered Rings
- Elevate Your Meal Prep with These Sides
Why You’ll Love This Onion Rings Recipe
Honestly, making these onion rings myself feels like a real win. Here’s why you’ll totally love this recipe:
- It’s shockingly easy! Even with the beer batter, it comes together super fast.
- You get that amazing crispy, golden-brown crunch every single time.
- The onion inside stays perfectly tender, not mushy or too crunchy.
- It’s way healthier (and cheaper!) than takeout or frozen versions.
- You’re basically making restaurant-quality fried snacks at home!
- It’s the ultimate addition to any comfort food spread or game day spread.
Crispy Fried Onion Rings: The Essential Ingredients
Alright, let’s talk about what you’ll need to get these amazing onion rings from your pan to your plate. Don’t worry, it’s nothing too crazy! You probably have most of it kicking around your pantry already. Here’s the lineup:
- Two big, beautiful yellow onions. These are the stars of the show, so grab some good ones!
- About two cups of all-purpose flour. We’ll use some for dredging and some for the batter.
- One teaspoon of salt. It just makes everything taste better, right?
- One teaspoon of black pepper. A little kick is always good!
- One teaspoon of paprika. This gives us that gorgeous golden color.
- Half a teaspoon of garlic powder. Because, well, garlic makes everything better.
- A tiny pinch – like, a quarter teaspoon – of cayenne pepper, if you like a little heat! Totally optional, though.
- About a cup and a half of ice-cold beer. I like a lager or a pale ale, but use what you have! The colder, the crisper.
- Plenty of vegetable oil for frying. Make sure you have enough to come up about 2-3 inches in your pot!
Crafting Perfect Beer Battered Rings: Step-by-Step Instructions
Okay, get ready to make some magic happen! This is where we turn those humble onions and a few pantry staples into something truly spectacular. It’s honestly not complicated, but there are a few little tricks that make all the difference. So grab your apron, and let’s get frying!
Preparing the Onions for Frying
First things first, let’s get these onions ready. I like to slice them about 1/4-inch thick. This is the sweet spot – thick enough that the onion stays nicely tender inside but not so thick that it won’t cook through in the fryer. Once they’re sliced, just gently pull the rings apart. Easy peasy!
Creating the Flavorful Flour Dredge
Now, in a shallow dish – one of those pie plates works great – we’re going to mix up our dry coating. It’s basically 1 cup of our all-purpose flour combined with salt, pepper, paprika, garlic powder, and that little dash of cayenne if you’re feeling spicy. This seasoned flour is what helps the batter stick and gives us that initial layer of flavor and crispiness.
Mixing the Perfect Beer Batter
Here’s where the “beer” in beer-battered rings comes in! In a separate bowl, whisk together the other cup of flour with the *ice-cold* beer. I can’t stress the cold part enough – it makes a big difference for getting really crispy onion rings. Just whisk it until it’s smooth, not lumpy. You want it to look like pancake batter, nice and pourable but not too thin.
The Art of Frying Onion Rings
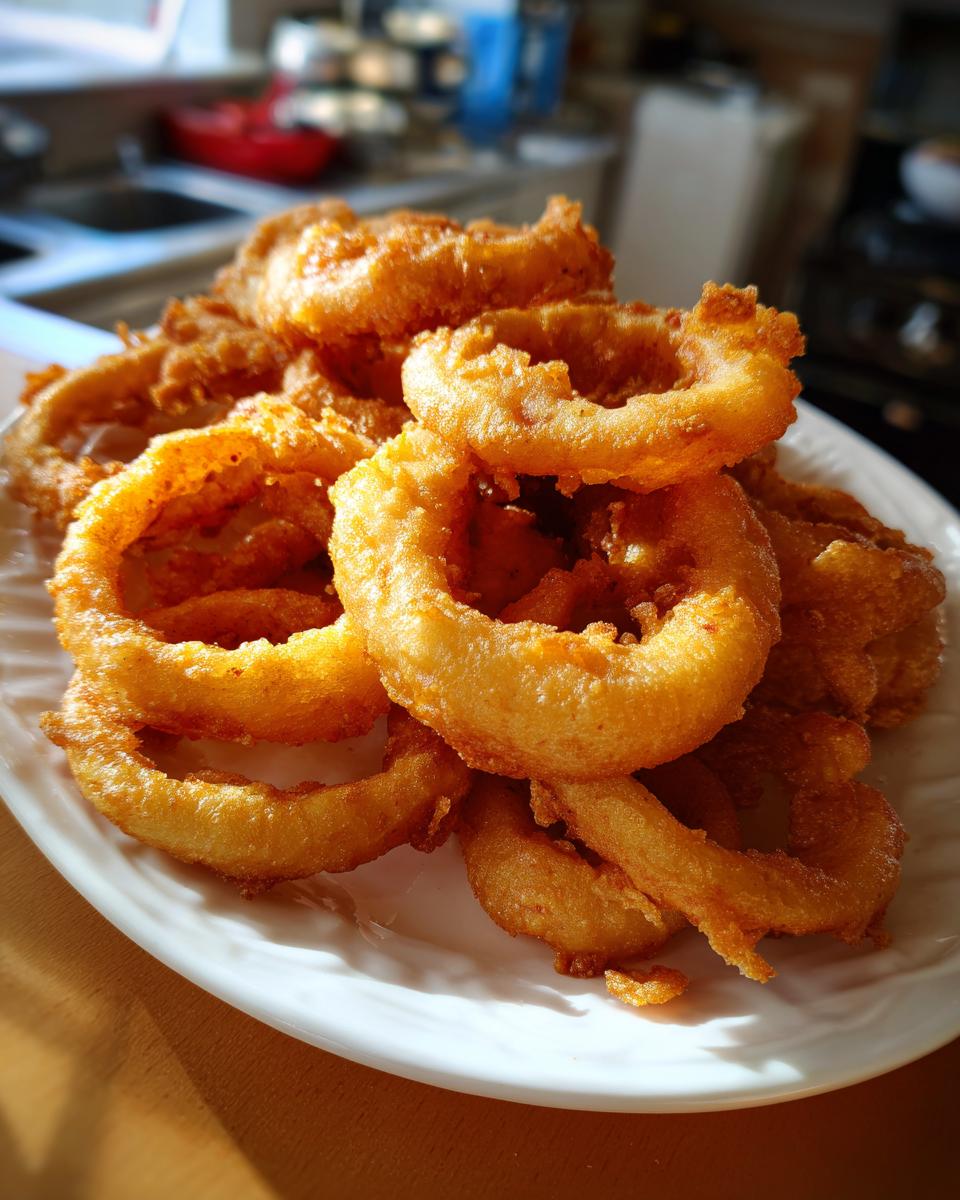
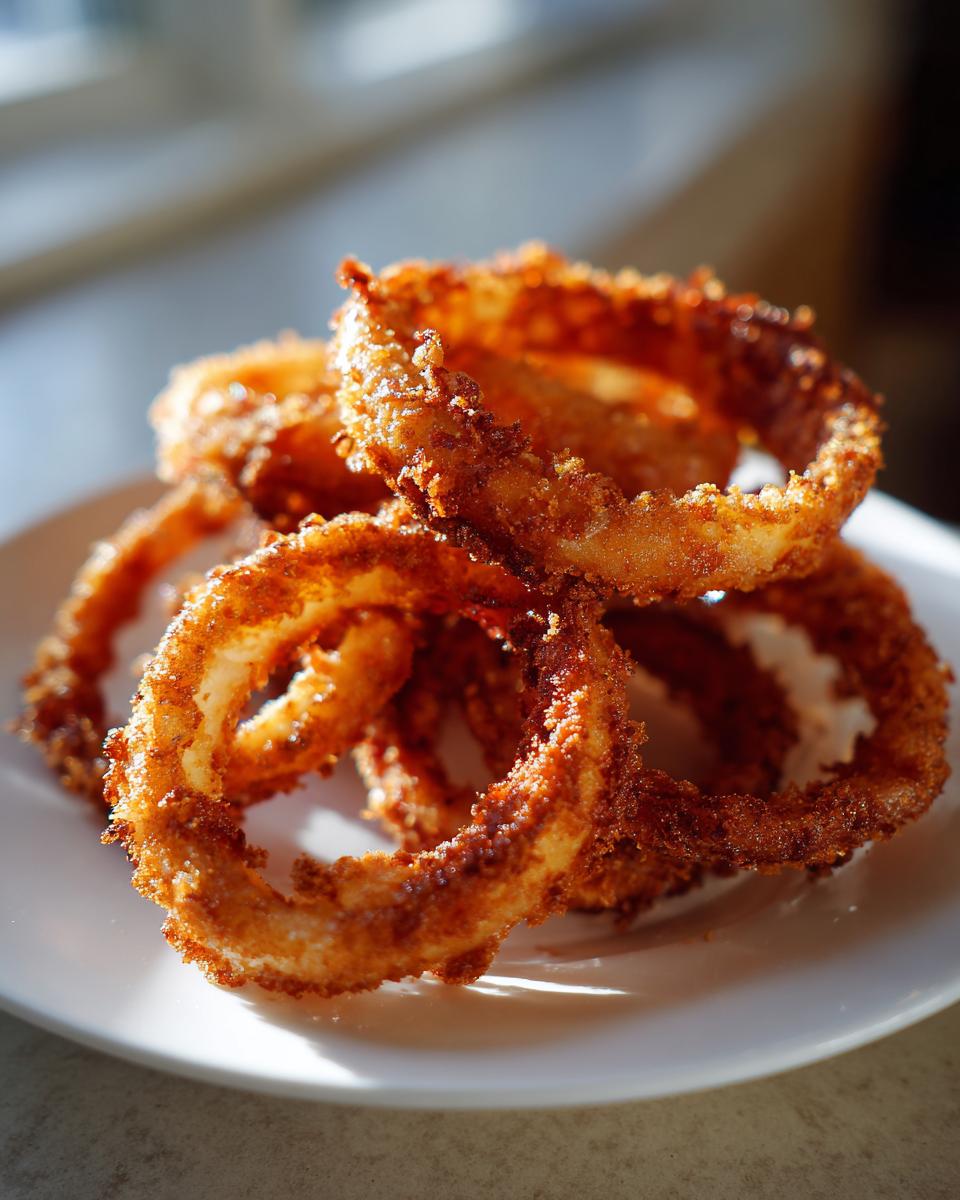
Time for the main event! You need to get about 2-3 inches of vegetable oil heating away in a deep pot or Dutch oven. We’re aiming for a steady 375°F (190°C). This temperature is super important – trust me, after thousands of hours in my own kitchen, I’ve learned that getting the oil *just right* is key! Too cool and your rings soak up grease, too hot and they burn before they’re cooked. Once the oil is ready, we’ll take our flour-dredged onion rings, dip them into that beautiful beer batter, and carefully lower them into the hot oil. Don’t crowd the pot! Fry them in batches so they can bubble up into glorious golden perfection, about 2-4 minutes per side. They’ll be ready when they’re a deep golden brown and smell absolutely amazing. Use a slotted spoon to lift them out and let them drain on a wire rack. You can even dip them in some delicious beer cheese dip once they’re ready!
Tips for the Crispiest Onion Rings
Okay, so you’ve got the recipe, but let’s talk about taking these onion rings from “good” to “absolutely incredible.” I’ve learned a few little secrets over the years that really make a difference. First off, keep everything as cold as possible! That cold beer and even cold flour can help create a super crispier coating. If you want them *extra* crunchy, try double-dipping: flour, then batter, then flour again before they hit the oil. It sounds like a lot, but wow, does it pay off! Make sure your oil is at that perfect 375°F (190°C); it’s really the best way to avoid greasy rings. And remember, don’t just chuck them all in at once – baby them in batches so they can get perfectly golden and don’t stick together!
Serving Your Homemade Fast Food Sides
Now that you’ve got these incredible, crispy onion rings fresh out of the fryer, what do you do? Well, the most obvious answer is to eat them all immediately! But if you *can* manage to share, they are just begging for a few great dipping sauces. Think about a classic ketchup, a tangy barbecue sauce, or even a creamy ranch. These homemade rings are the perfect partner to burgers, sandwiches, or just as a fantastic appetizer on their own. Check out more of my appetizers and snacks for other ideas to complete your comfort food feast!
Frequently Asked Questions About Onion Rings
Got questions about making these amazing onion rings? I totally get it! Here are a few things people often ask?
Can I make these beer battered rings without beer?
Absolutely! If you’re not a beer drinker or just don’t have any on hand, no worries at all. You can easily swap the cold beer for cold milk or even cold buttermilk. It still gives you a great batter that gets nice and crispy. It won’t have that subtle beer flavor, but it’ll still be delicious!
How do I prevent soggy onion rings?
Oh, soggy rings are the worst, aren’t they? The biggest culprit is usually oil that’s not hot enough. Make sure your vegetable oil is at a steady 375°F (190°C). Also, don’t overcrowd the pot! Frying in small batches means the oil temperature stays up and the rings crisp up beautifully instead of steaming. Draining them on a wire rack, not paper towels, also helps keep that bottom nice and crisp.
What’s the best oil for frying onion rings?
For deep frying, you want an oil with a high smoke point. Vegetable oil, canola oil, or peanut oil are all fantastic choices for making these crispy fried onions. They can handle the heat of frying without burning too quickly. Just make sure you have enough in your pot – about 2 to 3 inches deep – so the rings can really swim and get evenly golden.
Nutritional Information for Crispy Beer Battered Rings
Just a heads-up, these numbers are estimates because, let’s be real, every kitchen is a little different! This info is based on the recipe as written, and can change depending on your ingredients and how much the rings might disappear before you even count them. Enjoy them as part of a balanced, happy meal!
- Serving Size: 1 serving
- Calories: 350
- Fat: 20g
- Saturated Fat: 3g
- Unsaturated Fat: 17g
- Trans Fat: 0g
- Carbohydrates: 35g
- Fiber: 3g
- Protein: 5g
- Cholesterol: 5mg
- Sodium: 400mg
- Sugar: 10g
Elevate Your Meal Prep with These Sides
Now that you’ve mastered these incredible onion rings—your new favorite homemade fast food side—why stop there? I love thinking about how to round out a meal, and having some go-to recipes makes all the difference. If you’re into making meal planning easier, you’ve got to check out some of my other favorite simple side dishes. They’re perfect for pulling together that comfort food spread without all the fuss. You’ll find tons of inspiration that makes “what’s for dinner?” a happy question!
PrintCrispy Beer Battered Onion Rings
Learn how to make perfectly crispy, golden-brown beer-battered onion rings at home. These are just like your favorite fast-food side, but better!
- Prep Time: 15 min
- Cook Time: 20 min
- Total Time: 35 min
- Yield: 4 servings 1x
- Category: Side Dish
- Method: Frying
- Cuisine: American
- Diet: Vegetarian
Ingredients
- 2 large yellow onions
- 2 cups all-purpose flour, divided
- 1 teaspoon salt
- 1 teaspoon black pepper
- 1 teaspoon paprika
- 1/2 teaspoon garlic powder
- 1/4 teaspoon cayenne pepper (optional)
- 1 1/2 cups cold beer (lager or pale ale recommended)
- Vegetable oil, for frying
Instructions
- Slice the onions into 1/4-inch thick rings. Separate the rings and set aside.
- In a shallow dish, whisk together 1 cup of flour, salt, pepper, paprika, garlic powder, and cayenne pepper (if using).
- In a medium bowl, whisk together the remaining 1 cup of flour and the cold beer until a smooth batter forms.
- Heat about 2-3 inches of vegetable oil in a deep pot or Dutch oven to 375°F (190°C).
- Dredge each onion ring first in the seasoned flour, shaking off any excess.
- Dip the floured onion ring into the beer batter, ensuring it’s fully coated.
- Carefully place the battered onion rings into the hot oil, being careful not to overcrowd the pot. Fry in batches.
- Fry for 2-4 minutes per side, until golden brown and crispy.
- Remove the onion rings with a slotted spoon and place them on a wire rack set over a baking sheet to drain excess oil.
- Serve immediately.
Notes
- For extra crispy rings, you can double-dip: flour, then batter, then flour again before frying.
- If you don’t want to use beer, you can substitute with milk or buttermilk for a similar effect.
- Ensure your oil is at the correct temperature for the best results. Too low and they’ll be greasy; too high and they’ll burn before cooking through.
Nutrition
- Serving Size: 1 serving
- Calories: 350
- Sugar: 10g
- Sodium: 400mg
- Fat: 20g
- Saturated Fat: 3g
- Unsaturated Fat: 17g
- Trans Fat: 0g
- Carbohydrates: 35g
- Fiber: 3g
- Protein: 5g
- Cholesterol: 5mg