 Skip to content
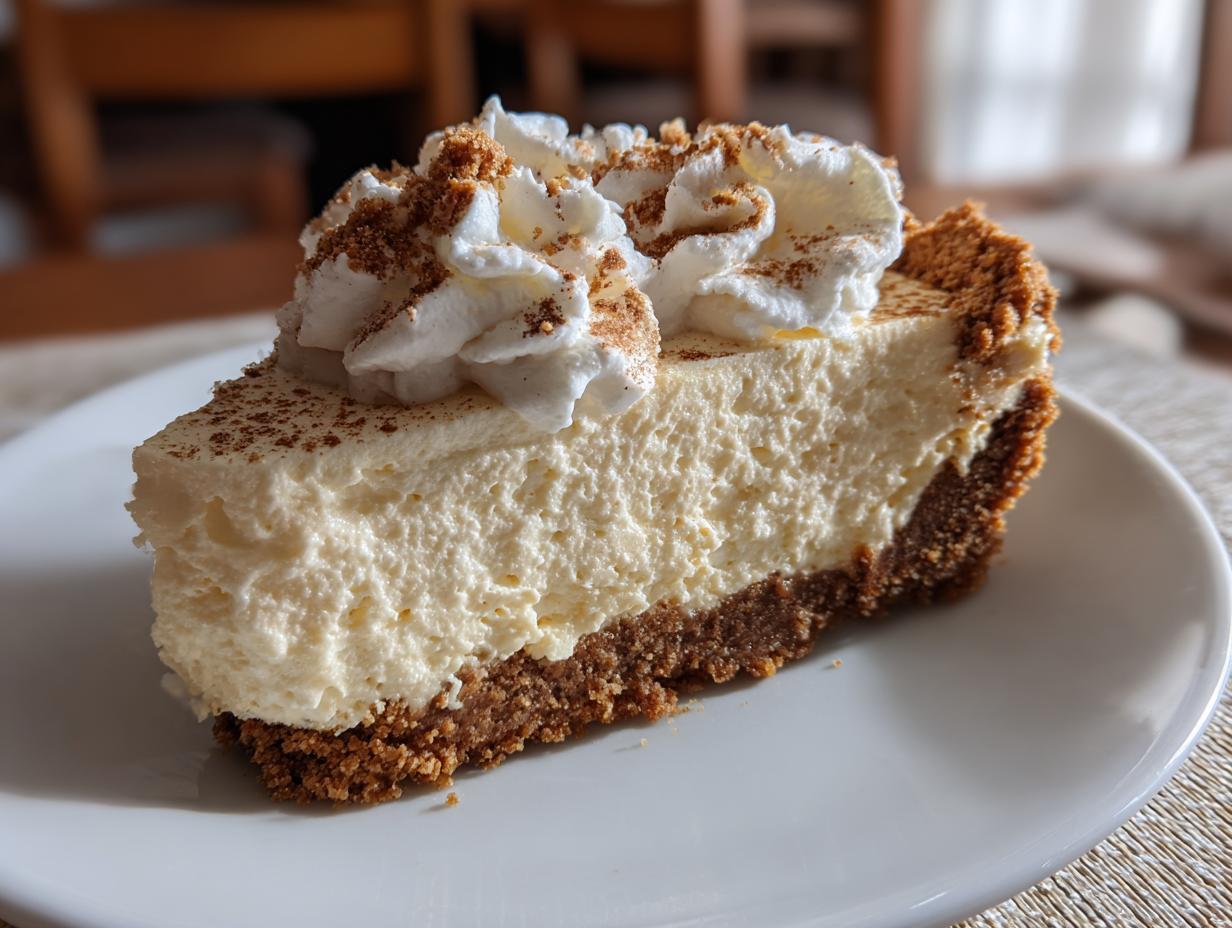

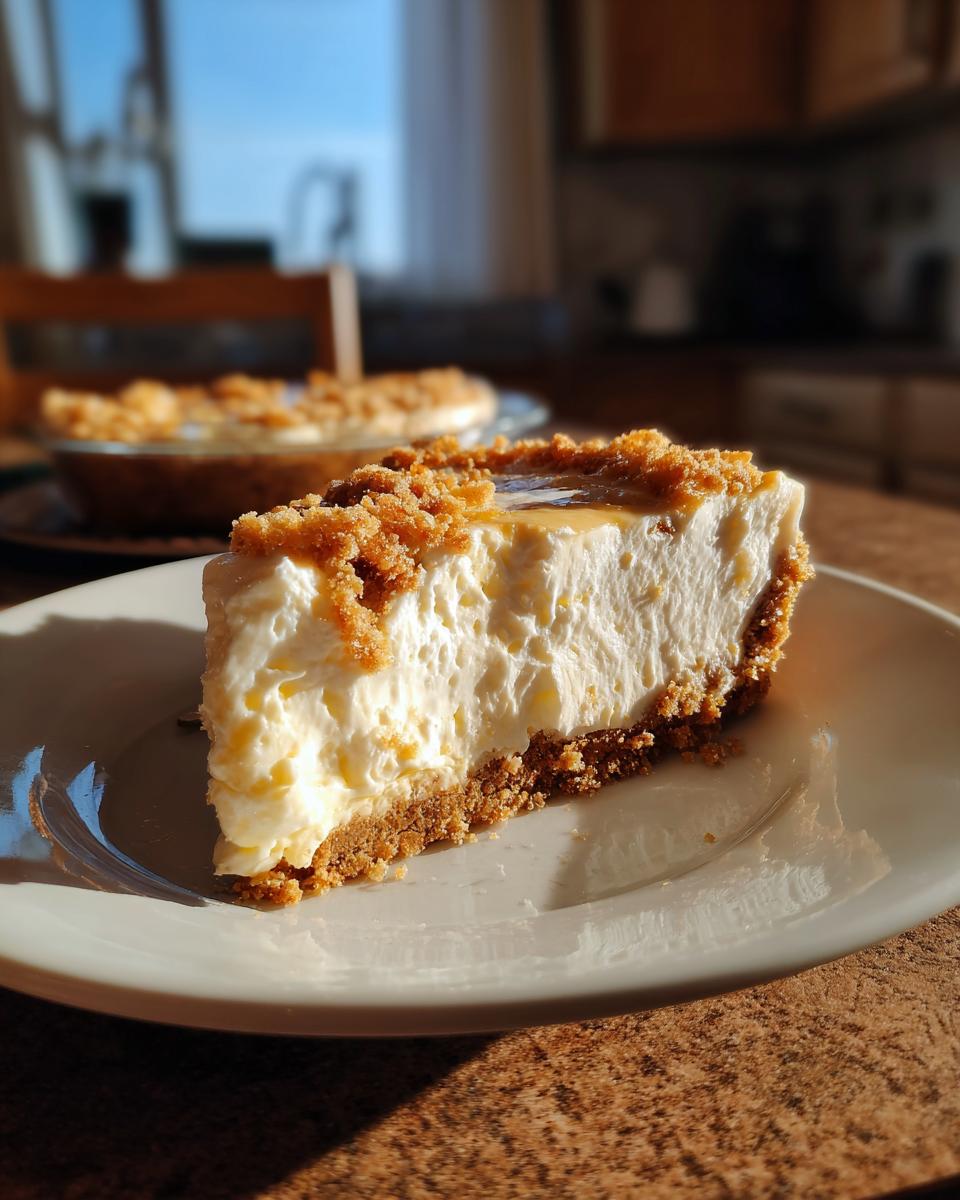
There’s just something magical about a perfectly creamy no bake cheesecake. You know the kind – the one with the buttery graham cracker crust that just melts in your mouth, and a filling so smooth, it feels like a decadent dream? I’ve loved making desserts for ages, ever since I was tiny, probably covered in flour in my grandma’s kitchen. Life gets crazy busy, right? That’s why I’m so excited about this recipe. It’s my go-to because it’s ridiculously easy, totally reliable, and gives you that incredible, no-fuss cheesecake goodness without even turning on the oven. It’s the kind of dessert that feels special but is actually a lifesaver on a busy weeknight. Trust me, this one’s a keeper! You can read more about my kitchen adventures and philosophy here.

- Why You'll Love This No Bake Cheesecake
- Ingredients for the Perfect No Bake Cheesecake
- Crafting Your No Bake Cheesecake Graham Crust
- Creating the Creamy No Bake Cheesecake Filling
- Assembling and Chilling Your No Bake Cheesecake
- Tips for a Perfect No Bake Cheesecake Every Time
- Delicious Variations for Your No Bake Cheesecake
- Serving and Storing Your No Bake Cheesecake
- Frequently Asked Questions about No Bake Cheesecake
- Nutritional Estimate for Your No Bake Cheesecake
- Share Your No Bake Cheesecake Creations!
Why You’ll Love This No Bake Cheesecake
Seriously, this no bake cheesecake is a total game-changer! If you want a dessert that’s a breeze to make but tastes absolutely amazing, this is it:
- Super Easy to Make: No oven needed means less fuss, less mess, and more relaxing!
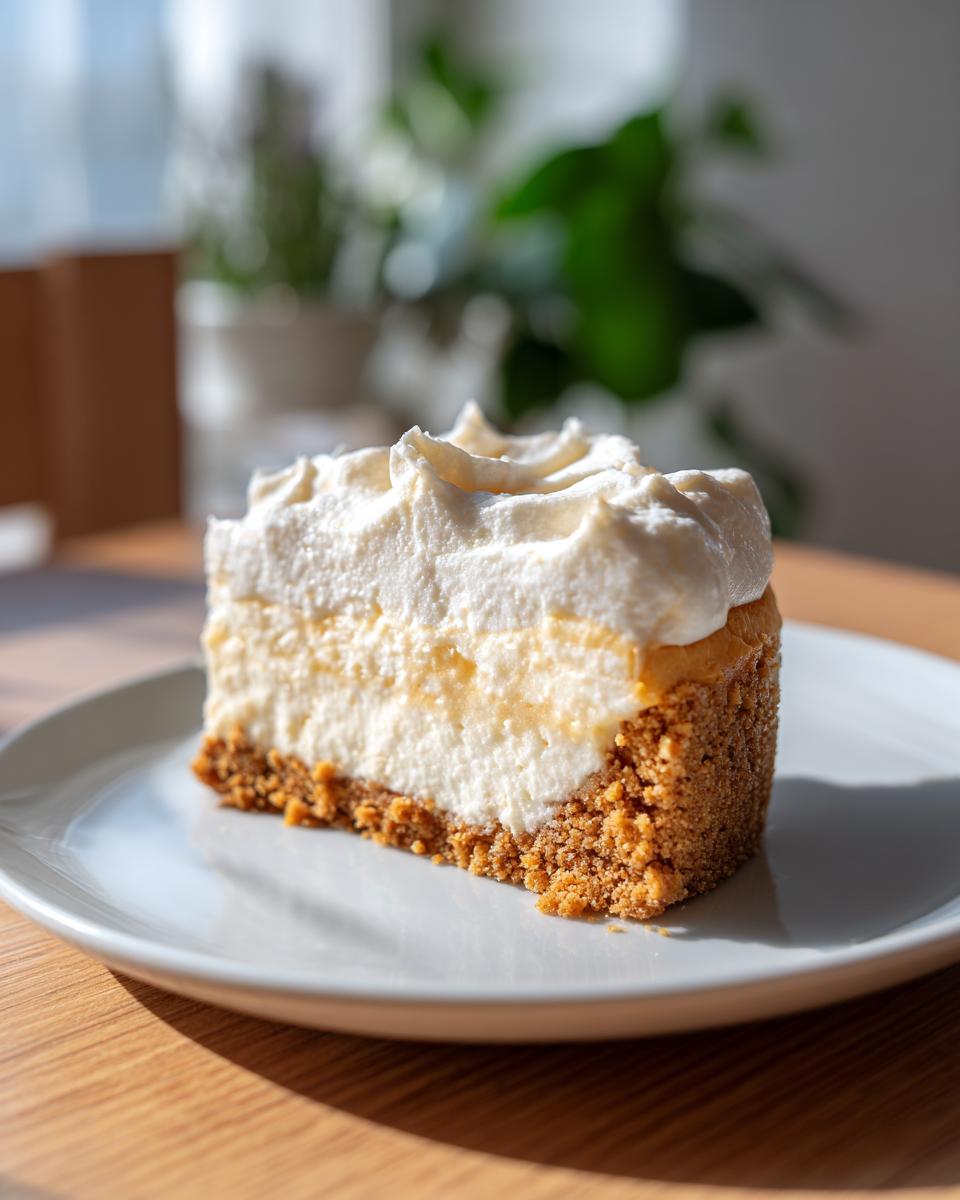
- Perfectly Creamy Texture: It sets up beautifully, giving you that classic, dreamy cheesecake vibe.
- Quick Preparation: You can whip this up in about 20 minutes, and then just let it chill.
- Deliciously Simple Flavor: The classic graham cracker crust and creamy filling are a match made in heaven. It’s a classic for a reason!
- Great for Any Occasion: Whether it’s a summer picnic, a holiday gathering, or just a Tuesday night, this cheesecake always hits the spot.
- No Fuss, No Cracks: Forget worrying about your cheesecake cracking or sinking. This recipe is practically foolproof!
Ingredients for the Perfect No Bake Cheesecake
Okay, so for this amazing no bake cheesecake, we’re keeping it simple with ingredients that work perfectly together to give us that gorgeous creamy texture and sturdy graham cracker crust. You’ll need:
- 1 ½ cups graham cracker crumbs: Make sure they’re really fine! It makes the crust so much nicer.
- ⅓ cup granulated sugar: Just a little sweetness for the crust.
- 6 tablespoons unsalted butter, melted: This is what holds our crust together. Gotta use real butter here!
- 2 (8 ounce) packages cream cheese, softened: This is the heart of our cheesecake! Make SURE it’s full-fat and softened all the way through. It’s super important for getting it nice and smooth without lumps.
- 1 cup powdered sugar: For that delicate sweetness in the filling.
- 1 teaspoon vanilla extract: It just adds that lovely background flavor that makes cheesecake taste like, well, cheesecake!
- 1 cup heavy whipping cream: This is crucial for getting that light, fluffy, creamy texture. Make sure it’s nice and cold so it whips up properly!
Using full-fat cream cheese and heavy whipping cream is like my little secret weapon for getting this cheesecake to set up perfectly and taste so rich and delicious. Trust me on this!
Crafting Your No Bake Cheesecake Graham Crust
Alright, let’s get that foundation ready for our amazing no bake cheesecake! Making the graham cracker crust is super simple. Just grab your graham cracker crumbs, a little granulated sugar, and that melted butter. Mix it all up until it’s like damp sand. Then, press it down firmly into your pie plate or springform pan. I like to use the bottom of a glass to get it really nice and even. This firm press is key so it doesn’t crumble when you slice into it later! Think of it like laying the perfect groundwork, sort of like the first step for some yummy churros!
Now, for a little secret weapon if you want an extra sturdy crust: you can totally bake it! Just pop it into a 350°F (yes, you *might* need to preheat your oven for this bit) oven for about 8-10 minutes. Let it cool completely before adding the filling. It gives it a lovely toasted flavor and makes it extra crisp and stable. It’s not totally necessary for this no bake cheesecake, but I’m a big fan of options!
Creating the Creamy No Bake Cheesecake Filling
Now for the part that makes this no bake cheesecake so dreamy – the filling! It’s really all about getting that cream cheese super smooth first. Pop your softened cream cheese into a big bowl, and give it a good whip with your electric mixer until there are absolutely no lumps. You want it like silky smooth velvet! Then, slowly add in your powdered sugar and that lovely vanilla extract. Mix it just until everything is combined and looks so creamy and delicious. Here’s where we get fancy: in a *separate* bowl, whip up your cold heavy whipping cream until it forms nice, stiff peaks. When you lift the beater, the cream should stand straight up! Gently fold that whipped cream into the cream cheese mixture. Be gentle! We’re just folding it in until there are no white streaks left, trying to keep all that airiness we whipped into the cream. This is what gives our no bake cheesecake that light-as-air texture without any baking involved!
Assembling and Chilling Your No Bake Cheesecake
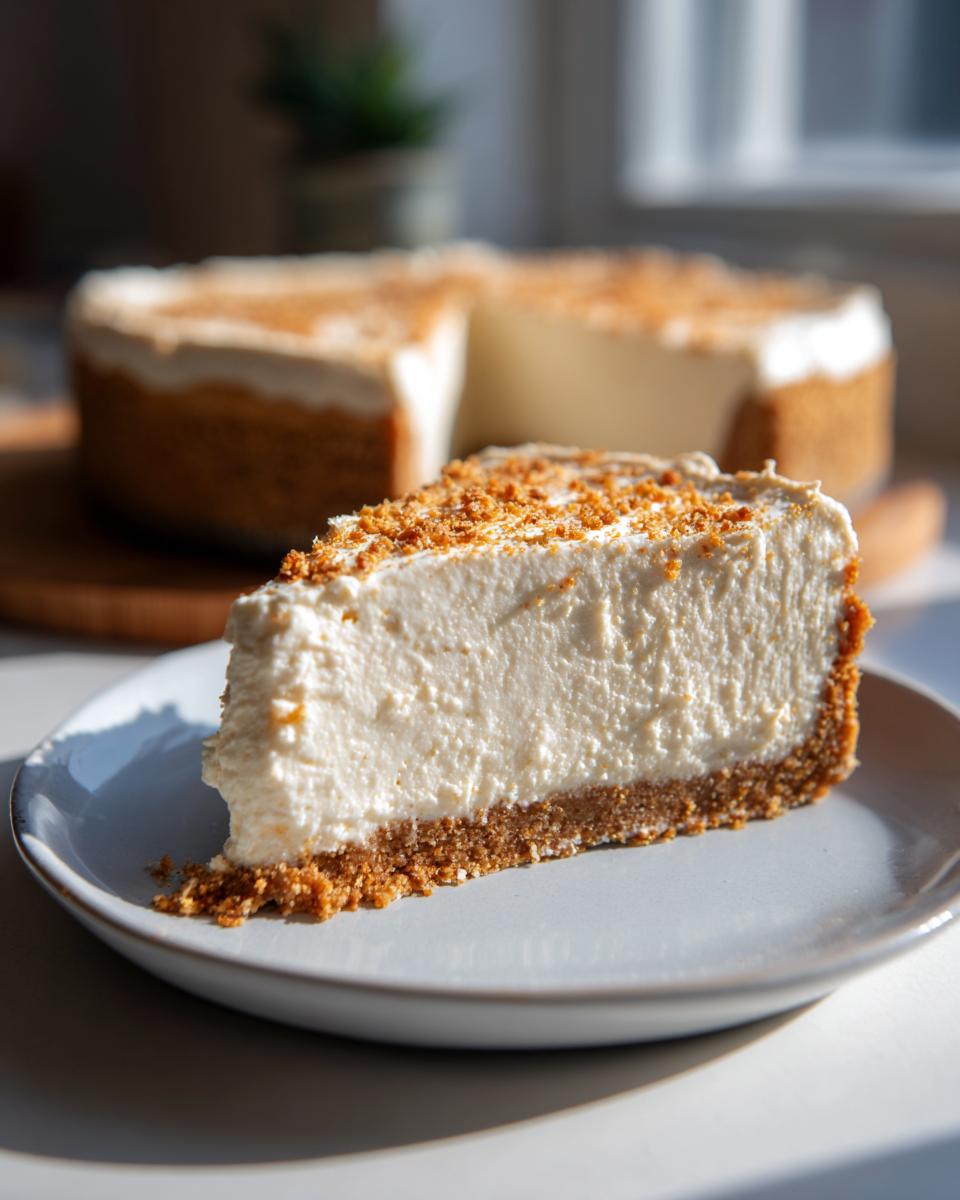
Okay, we’re almost there with this gorgeous no bake cheesecake! Now it’s time to bring everything together. Gently spoon that luscious, creamy filling right into your prepared graham cracker crust. Use a spatula to spread it out evenly, making sure you get it right to the edges. You want a nice, smooth top surface! Then, you’re going to cover it up – a piece of plastic wrap pressed gently onto the surface works great to stop any weird skin from forming. Now, the big moment: into the fridge it goes! You’ll want to let it chill for at least 4 hours. This is our crucial ‘no bake cheesecake set time‘ to make sure it firms up perfectly. Patience here is key for that firm, sliceable texture!
Tips for a Perfect No Bake Cheesecake Every Time
You know, even though this no bake cheesecake is supposed to be easy, sometimes things can go a little sideways. If you’ve ever ended up with a runny filling, trust me, I’ve been there! The biggest thing is really making sure your ingredients are just right. Always, always use full-fat cream cheese and make sure it’s softened perfectly – I’m talking soft enough to leave an imprint when you poke it, but not melty! This is so important for getting that super smooth, lump-free filling. Oh, and the heavy cream? Make sure it’s nice and cold when you whip it. That’s how you get stiff peaks! If you over-whip cream, it can get a little…weird and grainy, which is definitely NOT what we want in our cheesecake.
This recipe is completely a no gelatin cheesecake recipe, so the structure comes from everything chilling and firming up properly. So don’t skip that chilling time! If your mixture feels a bit thin after you’ve folded in the cream, don’t panic! Just give it a bit more time in the fridge. Little things like this make all the difference between a wobbly mess and that perfect, sliceable texture. It reminds me a bit of getting roasted chickpeas just right – you want them crunchy on the outside but still a little chewy inside, it’s all about the timing and the ingredients!
Delicious Variations for Your No Bake Cheesecake
This basic no bake cheesecake recipe is fantastic just as it is, but oh my goodness, can you have fun with it! It’s totally customizable. I love adding a swirl of fruit puree right before chilling – maybe a burst of fresh strawberry for a gorgeous strawberry no bake cheesecake, or some tart raspberry? Yum! Or how about folding in some melted chocolate? You could even crush up some Oreos or graham crackers and mix them right into the filling for a fun twist, like oreo no bake cheesecake bars. A little bit of lemon zest or almond extract can also add a whole new dimension to the flavor. Get creative, and make it your own! You can even find inspiration for some fun bar recipes with these churro recipes or these churro cheesecake bars!
Serving and Storing Your No Bake Cheesecake
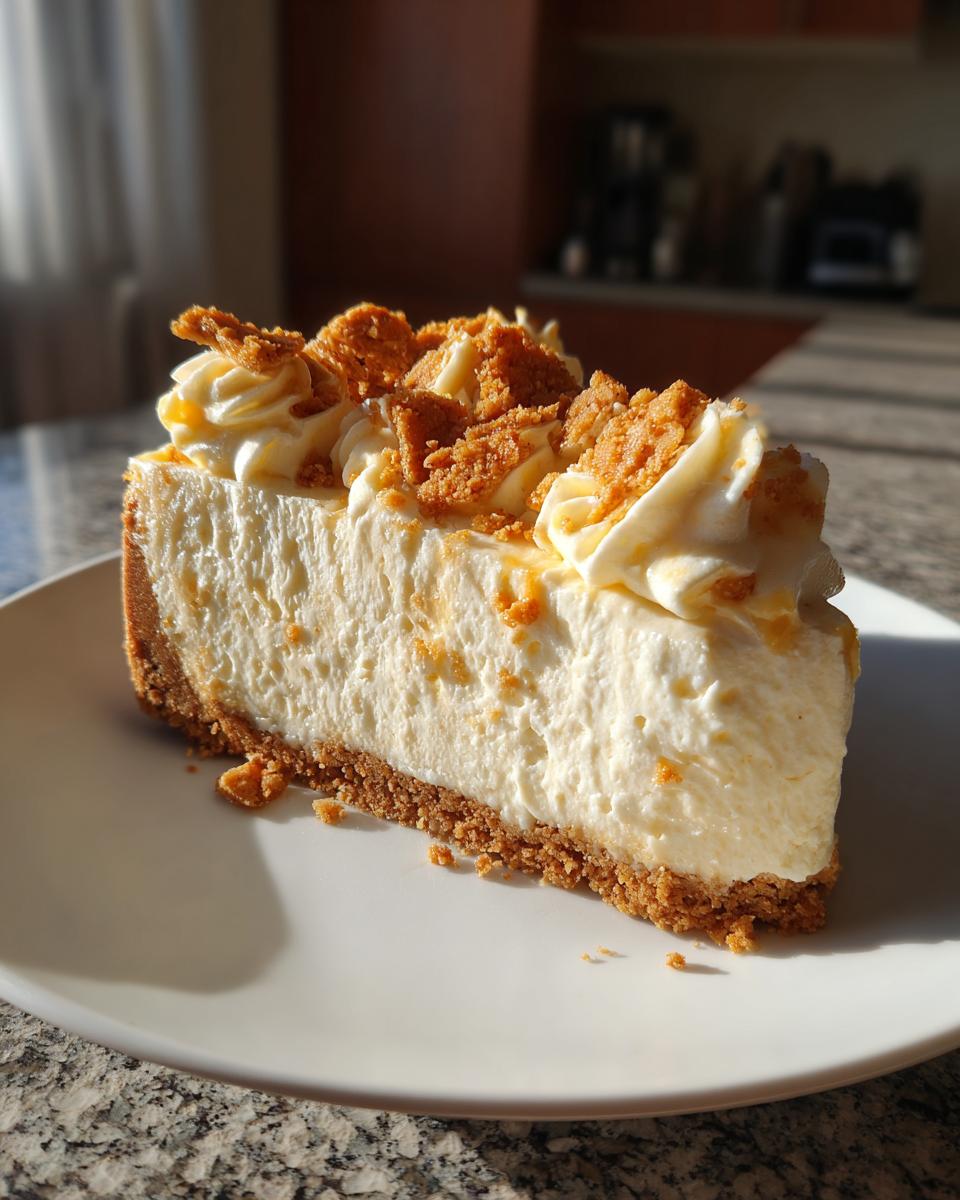
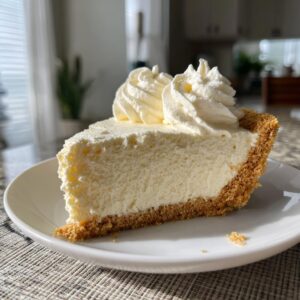
Alright, the moment of truth – serving up your beautiful no bake cheesecake! It’s already perfect as is, but a few simple additions can make it extra special. I love topping mine with fresh berries – strawberries, blueberries, raspberries – they add such a lovely pop of color and flavor. A drizzle of chocolate ganache or some caramel sauce is also divine! Since this is a no-bake recipe, it holds up so well and is perfect for making ahead. Just keep it covered tightly in the fridge, and it’ll stay wonderfully fresh for about 3-4 days. It’s one of my favorite desserts to have on hand for when company pops over!
Frequently Asked Questions about No Bake Cheesecake
Got questions about this glorious no bake cheesecake? I totally get it! It’s always good to have the answers. Here are a few things people often ask:
How do I fix a runny no bake cheesecake?
Oh dear, a runny filling can happen, but don’t worry! Usually, it means your cream cheese wasn’t soft enough, or you didn’t whip the cream stiff enough, or maybe you even over-mixed the filling after adding the whipped cream. Make sure you’re using full-fat cream cheese and *really* let it soften. For the heavy cream, whip it until it holds stiff peaks, don’t stop too soon! If it’s still a bit soft after chilling, just pop it back in the fridge for another hour or two. Sometimes, a little more chill time is all it needs!
Can I use Cool Whip instead of heavy cream?
You totally can use Cool Whip! If you want to swap out the heavy cream, just use about 2 cups of thawed Cool Whip and gently fold it into the cream cheese mixture. It’ll still give you a lovely creamy texture, though I personally think the fresh heavy cream gives it a richer, more classic cheesecake flavor. It’s a great shortcut if you’re in a pinch, though!
How long does a no bake cheesecake need to set?
For the best results, you’ll want to give your no bake cheesecake at least 4 hours in the refrigerator to set. I usually make mine the night before if I can! That gives it plenty of time to get really firm and delicious. The longer it chills, the firmer it will be, making it super easy to slice.
Can I make this as mini jar cheesecakes?
Oh, absolutely! Mini jar cheesecakes are such a cute idea! Just use your regular crust recipe and press a little bit into the bottom of small jars or ramekins, then top with the filling. They’ll still need that 4-hour chill time to set up properly. They’re perfect for parties!
Is this recipe gelatin-free?
Yes, this is a completely no gelatin cheesecake recipe! The cheesecake gets its structure from the cream cheese and the whipped cream chilling and firming up in the fridge. No gelatin needed at all!
Nutritional Estimate for Your No Bake Cheesecake
Just a little heads-up, the nutrition info for my no bake cheesecake is an estimate, you know? It can wiggle around a bit depending on exactly what brands you use and how generous you are with those toppings! But roughly, a slice usually clocks in at around 350 calories, with about 22g of fat (that’s the good creamy stuff!), 30g of carbs, and 4g of protein. It’s a delightful treat!
Share Your No Bake Cheesecake Creations!
Making this no bake cheesecake is such a joy, and I absolutely love seeing what you create with it! Did you try a fun variation, or perhaps top it with something amazing? Please, do share in the comments below! If you enjoyed this recipe, a quick rating would mean the world to me. And if you snap any photos, please tag me on social media – I’d be thrilled to see your gorgeous cheesecakes! You can also drop me a line anytime through my contact page!
PrintPerfect No-Bake Cheesecake with Graham Crust
A simple, creamy no-bake cheesecake recipe with a buttery graham cracker crust. This recipe is easy to make and perfect for any occasion.
- Prep Time: 20 min
- Cook Time: 0 min
- Total Time: 4 hr 20 min
- Yield: 8 servings 1x
- Category: Dessert
- Method: No-Bake
- Cuisine: American
- Diet: Vegetarian
Ingredients
- 1 ½ cups graham cracker crumbs
- ⅓ cup granulated sugar
- 6 tablespoons unsalted butter, melted
- 2 (8 ounce) packages cream cheese, softened
- 1 cup powdered sugar
- 1 teaspoon vanilla extract
- 1 cup heavy whipping cream
Instructions
- Combine graham cracker crumbs and granulated sugar in a medium bowl. Pour in melted butter and stir until crumbs are evenly moistened.
- Press the crumb mixture firmly into the bottom and up the sides of a 9-inch pie plate or springform pan.
- In a large bowl, beat the softened cream cheese with an electric mixer until smooth. Gradually beat in the powdered sugar and vanilla extract until well combined.
- In a separate bowl, whip the heavy cream until stiff peaks form.
- Gently fold the whipped cream into the cream cheese mixture until no streaks remain.
- Spoon the cheesecake filling into the prepared crust and spread evenly.
- Cover the cheesecake and refrigerate for at least 4 hours, or until firm.
Notes
- For a firmer crust, you can bake it at 350°F (175°C) for 8-10 minutes and let it cool completely before filling.
- You can add a tablespoon of lemon juice to the cream cheese mixture for a slight tang.
- Top with fresh fruit, chocolate sauce, or caramel before serving.
- If your cheesecake is runny, ensure you used full-fat cream cheese and that it was properly softened. Over-mixing the whipped cream can also cause it to break down.
- This recipe does not require gelatin to set.
Nutrition
- Serving Size: 1 slice
- Calories: 350
- Sugar: 25g
- Sodium: 200mg
- Fat: 22g
- Saturated Fat: 14g
- Unsaturated Fat: 8g
- Trans Fat: 0g
- Carbohydrates: 30g
- Fiber: 1g
- Protein: 4g
- Cholesterol: 60mg