 Skip to content

Oh, Halloween baking! It just doesn’t feel like fall until I’ve got some spooky treats lined up, and let me tell you, these Mummy brownies are an absolute showstopper! Turning a simple pan of fudgy brownies into an army of adorable mummies is one of my favorite holiday traditions. It’s all about taking something familiar and giving it that fun, festive twist that both kids and adults go gaga for. Seriously, they’re so easy to make, but they look like you spent hours fussing over them. Baking these little guys always brings back such sweet memories of trying new holiday recipes with my own kids, and I just know you’ll get the same joy out of them!

- Why You'll Love These Mummy Brownies
- Gather Your Mummy Brownies Ingredients
- Crafting Your Spooky Icing Decoration
- How to Assemble Your Mummy Brownies
- Tips for Perfect Mummy Brownies
- Variations for Your Halloween Brownie Design
- Serving and Storing Your Mummy Brownies
- Frequently Asked Questions About Mummy Brownies
- Estimated Nutritional Information
Why You’ll Love These Mummy Brownies
These mummy brownies are just the cutest and easiest way to get your spook on! Here’s why you’ll be making them year after year:
- So Easy! Seriously, you don’t need to be an artist for these. Anyone can make them look amazing!
- Super Cute: They’re guaranteed to get “awwws” and “oohs” all around. They’re just irresistibly festive!
- Crowd-Pleaser: Brownies are always a hit, right? Turning them into mummies makes them a total win for parties.
- Speedy Festivity: Need a quick Halloween fix? These go from pan to spooky in a flash.
Gather Your Mummy Brownies Ingredients
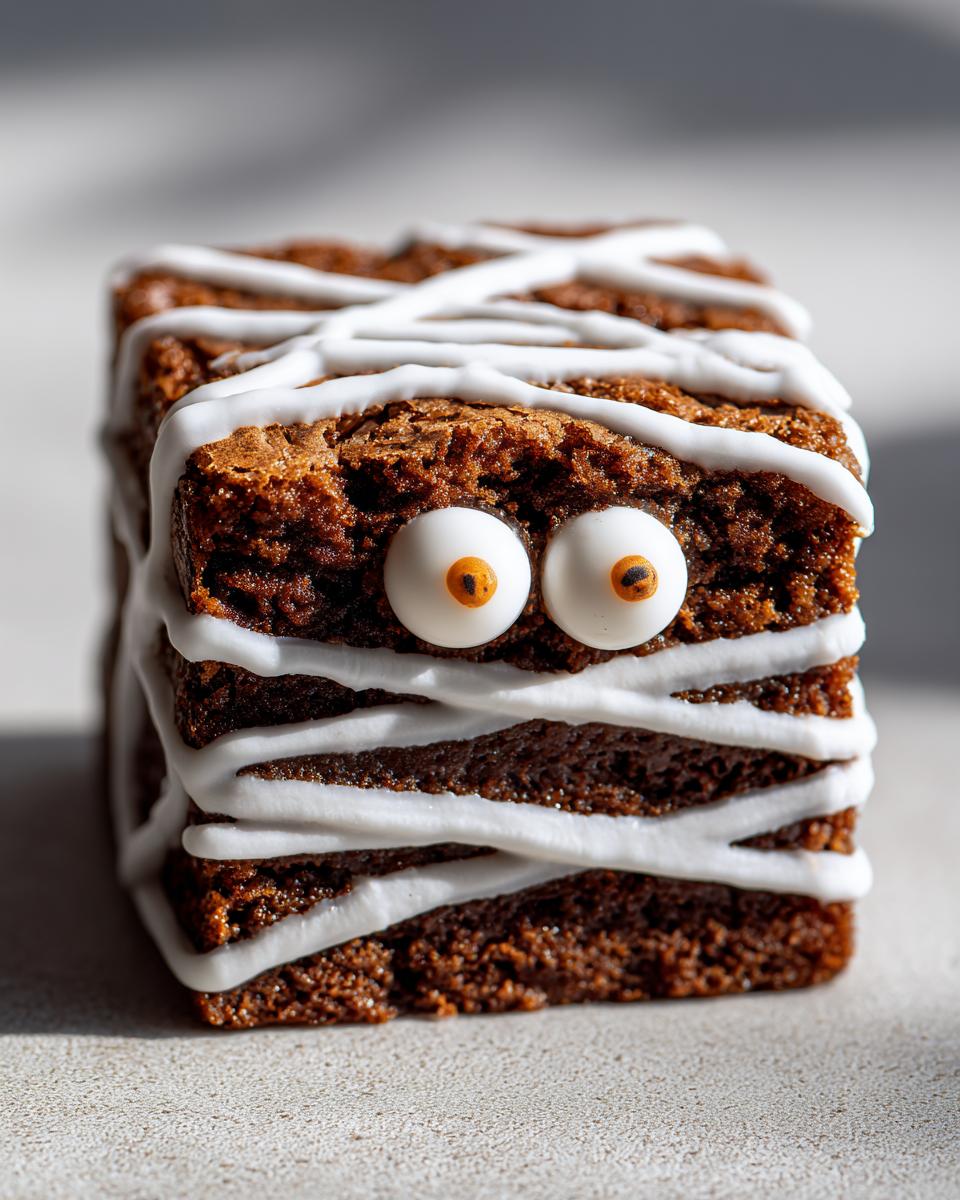
Alright, let’s get our spooky supplies together! The beauty of these mummy brownies is that you probably already have half the stuff in your pantry. You’ll need your favorite pan of already baked and, super important, *cooled* brownies. Seriously, don’t try decorating warm brownies unless you want a melty mess! Then, for our mummy wrappings, we’ve got powdered sugar, a splash of milk, and a little vanilla extract for flavor. Oh, and the ‘eyes’ of our mummies – the super cute candy eyes! You can get those at any grocery store or craft store, usually in the baking aisle.
Crafting Your Spooky Icing Decoration
Now for the fun part – let’s whip up that simple ‘mummy goo’ for our brownies! It’s honestly just a few ingredients and a minute or two of whisking. In a small bowl, grab your powdered sugar, about two tablespoons of milk, and that little splash of vanilla extract. Whisk it all together until it’s nice and smooth. The key here is the consistency – you want it thin enough to drizzle easily from a bag, but not watery. If it’s too thick, just add a teaspoon more milk at a time. Too thin? A little more powdered sugar will do the trick. Trust me, getting this right makes all the difference for those perfectly spooky mummy bandages!

How to Assemble Your Mummy Brownies
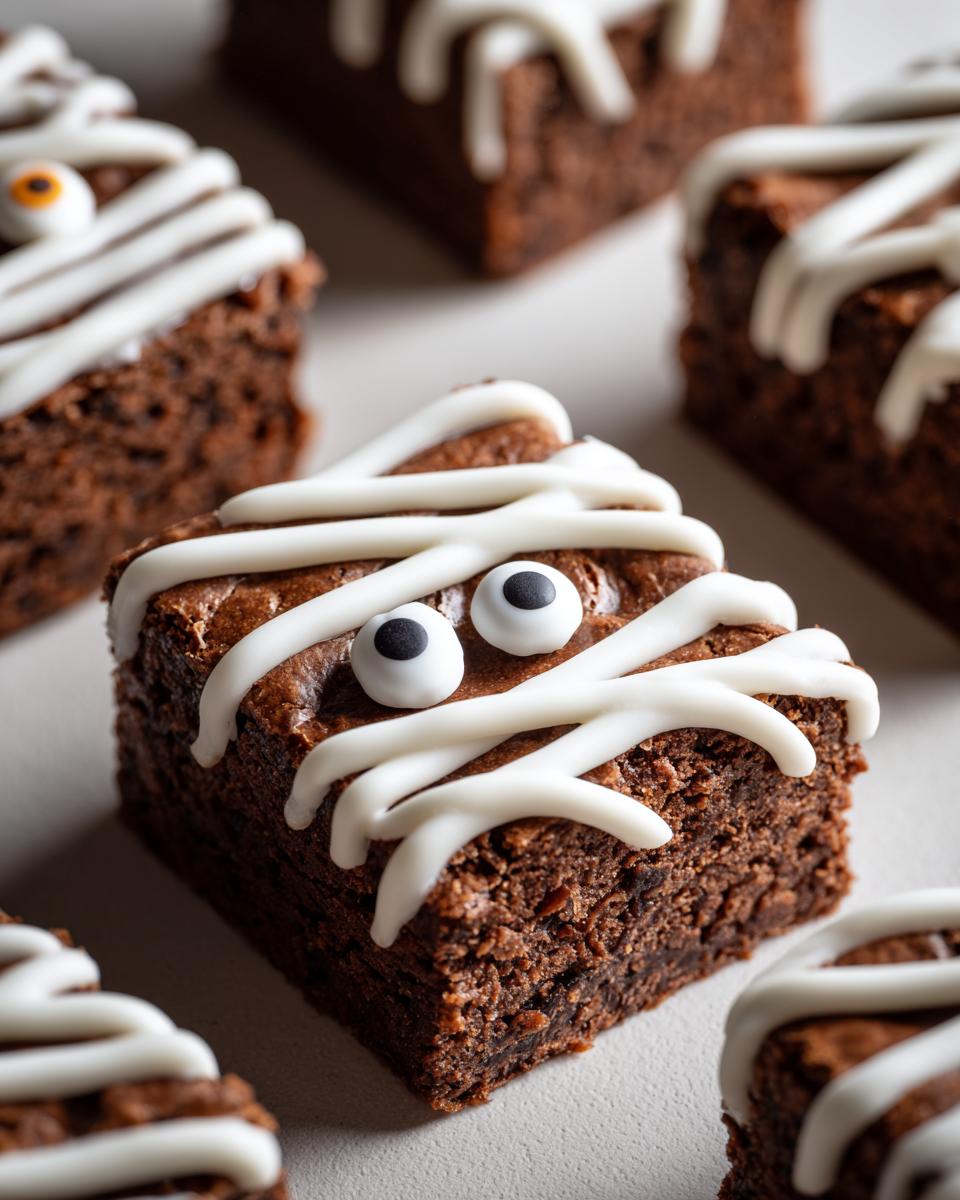
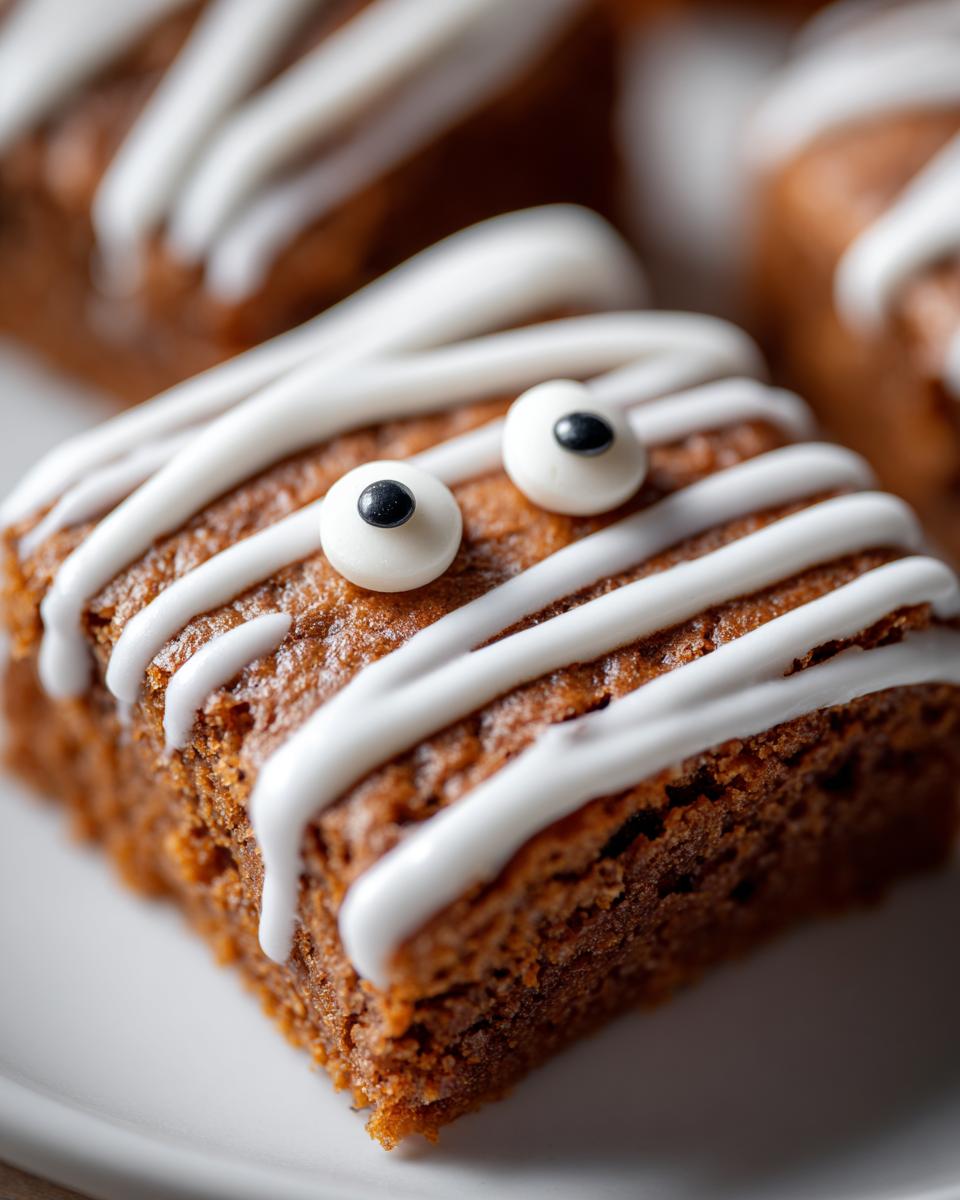
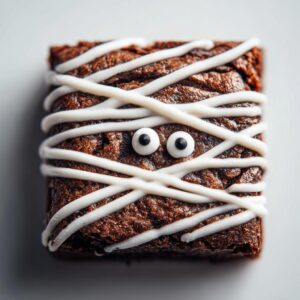
Okay, now for the really fun part – bringing these little mummy brownies to life! Once your brownies are totally cool (that’s important!), grab your icing bag. If you don’t have a piping bag, no worries at all! Just pop that spooky icing into a zip-top bag and snip off just the tiniest corner. Honestly, I usually just eyeball it – you want a small opening so you can get nice, thin lines. Now, hold your bag over one brownie and start piping. I like to go back and forth, making slightly wavy, overlapping lines, like bandages. Don’t worry about making it perfect; the more uneven, the more authentically wrapped they look, right? I always leave a little gap near the top for their eyes to peek through. Then, just pop two candy eyes onto each brownie, right where you left that space. Sometimes, a tiny dab of icing helps them stick if they’re being fussy! Looking for more spooky ideas? Check out my Halloween Candy Bark or my fun Spider-Web Brownies for more festive fun! It’s so satisfying to see them transform right before your eyes!
Tips for Perfect Mummy Brownies
Getting your mummy brownies just right is all about a few little tricks. First off, and I can’t stress this enough, make sure those brownies are COMPLETELY cool before you even think about decorating. Seriously, warm brownies and icing are a sticky disaster waiting to happen! If your icing is being a bit stubborn – too thick or too thin – don’t sweat it! Just add milk a tiny bit at a time if it’s too stiff, or a pinch more powdered sugar if it’s running everywhere. It’s all about that perfect drizzle-able consistency. Also, don’t be afraid to get a little messy with those icing lines; the more “wrapped” they look, the better! If you’re looking for more spooky fun, my Witch Finger Cookies and Halloween Jello Worms are always a hit!
Variations for Your Halloween Brownie Design
You know, the beauty of these mummy brownies is how easy they are to jazz up! Want a different base? Go ahead and use your favorite blondies or even try them on my famous slutty brownies! You can also sneak a little flavor into the icing – a tiny drop of almond extract or even a hint of orange zest works wonders. For extra sparkle, a light dusting of edible glitter over the bandages makes them extra festive! Don’t be afraid to get creative; that’s what makes holiday baking so much fun!
Serving and Storing Your Mummy Brownies
Once your mummy brownies are all ready with their spooky eyes and bandages, it’s time for the best part: serving them up! They’re perfect just as they are for a Halloween party or packed into lunchboxes for a fun surprise. If you happen to have any leftovers (which is rare in my house!), just pop them into an airtight container. They’ll stay fresh and delicious at room temperature for a good 3-4 days. No need to refrigerate them unless your kitchen is unusually warm, and even then, a quick stint in the fridge is all they need!
Frequently Asked Questions About Mummy Brownies
Got questions about these cute little mummy brownies? I’ve got answers! They’re so simple, but sometimes a little clarification can make all the difference. Honestly, my goal is just to help you make the most delicious and fun Halloween treats possible. So, let’s dive into what everyone usually asks! For more sweet ideas, check out my dessert recipes – you might find something else spooky!
Can I use a different type of frosting for my mummy brownies?
Absolutely! While my simple powdered sugar icing is super easy, you could totally use a basic buttercream frosting. Just make sure it’s not too fluffy or stiff; you need it to be smooth for drizzling those mummy bandages! A chocolate fudge frosting could also be fun, but it might make it harder to see the “bandages.”
How long do mummy brownies last?
These spooky little guys are pretty hardy! Once the icing has set, you can store them in an airtight container at room temperature for about 3 to 4 days. They’re best eaten within the first couple of days so the brownies stay nice and fudgy! If you’re looking for other easy recipes, this naan recipe is a favorite for quick meals.
What are the best candy eyes to use for this Halloween brownie design?
You can find candy eyes virtually everywhere during Halloween! Most well-stocked grocery stores and craft stores have them in the baking aisle. You’ll want the smaller ones that are typically used for cookies or cupcakes. Just make sure they’re fresh so they don’t cause any “mummy eye” dramas!
Estimated Nutritional Information
Just a heads-up, the nutritional info below is an estimate, okay? Because everyone’s favorite brownies and icing recipes are a little different, these numbers can change! This is for one mummy brownie, assuming a standard brownie base and the icing as listed. It gives you a general idea, though!
PrintMummy Brownies
Create adorable mummy brownies for a festive Halloween treat. This recipe focuses on decorating your favorite brownies to look like mummies using simple icing and candy eyes.
- Prep Time: 15 min
- Cook Time: 0 min
- Total Time: 15 min
- Yield: 12-16 brownies 1x
- Category: Dessert
- Method: Decorating
- Cuisine: American
- Diet: Vegetarian
Ingredients
- 1 pan of your favorite brownies, baked and cooled
- 1 cup powdered sugar
- 2–3 tablespoons milk
- 1/2 teaspoon vanilla extract
- Candy eyes
Instructions
- Prepare your favorite batch of brownies and let them cool completely.
- In a small bowl, whisk together the powdered sugar, 2 tablespoons of milk, and vanilla extract until smooth. Add more milk, a teaspoon at a time, if needed to reach a drizzling consistency.
- Transfer the icing to a piping bag or a zip-top bag with a small corner snipped off.
- Pipe thin, overlapping lines of icing across the top of each brownie to resemble mummy bandages. Leave a small space for the eyes.
- Place two candy eyes on each brownie, peeking out from the icing bandages.
- Allow the icing to set before serving.
Notes
- You can use store-bought brownie mix for a quick base.
- Adjust the icing consistency by adding more powdered sugar to thicken or more milk to thin.
- For a different flavor, add a drop of almond extract to the icing.
Nutrition
- Serving Size: 1 brownie
- Calories: 250
- Sugar: 30g
- Sodium: 150mg
- Fat: 12g
- Saturated Fat: 4g
- Unsaturated Fat: 8g
- Trans Fat: 0g
- Carbohydrates: 35g
- Fiber: 1g
- Protein: 3g
- Cholesterol: 20mg