 Skip to content
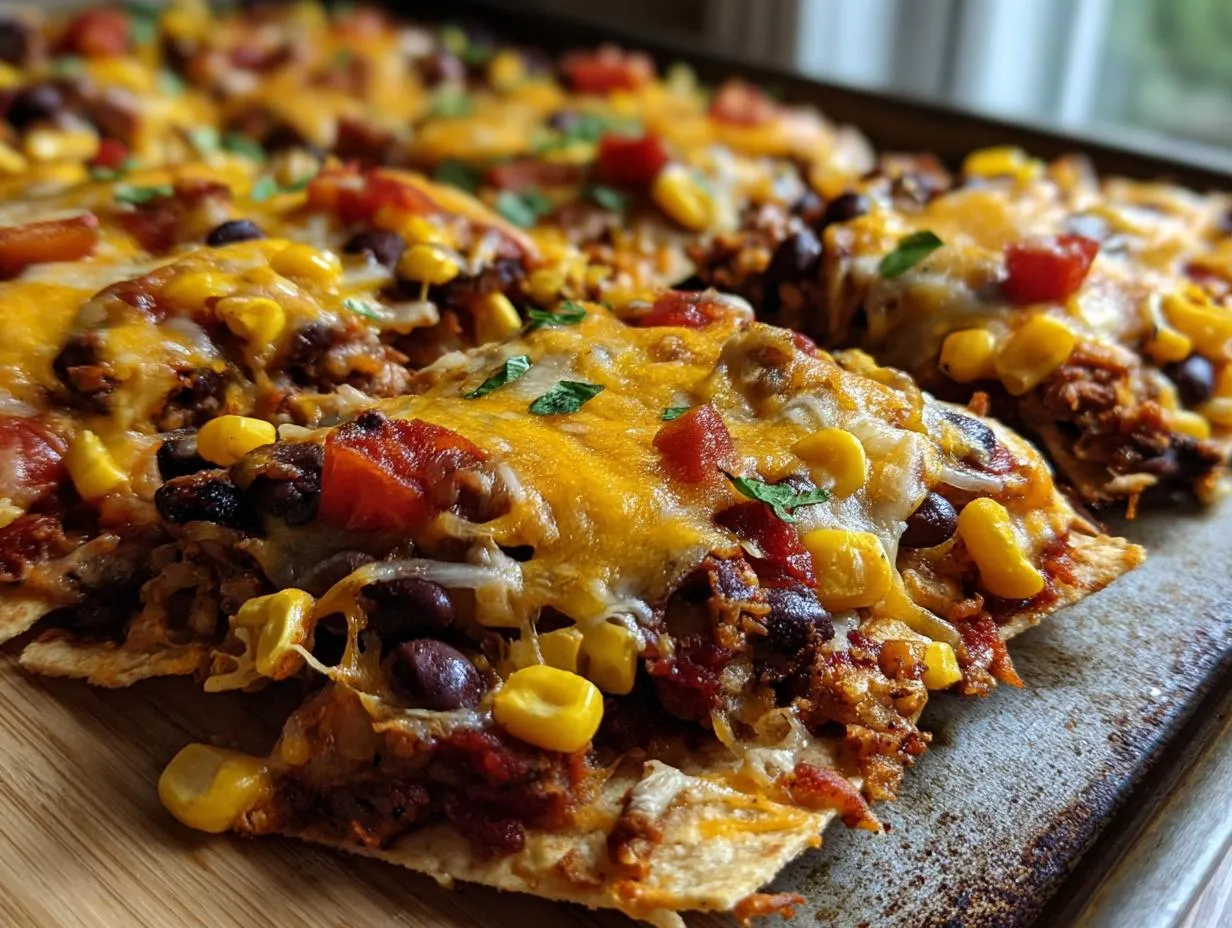

There’s nothing quite like a big game day or a fun get-together with friends, right? For me, those moments are all about connection, laughter, and of course, delicious food that everyone can share. And when it comes to crowd-pleasing appetizers, my loaded nachos are always the star of the show! Seriously, who can resist a mountain of crispy chips piled high with melty cheese and all your favorite fixings? It’s just pure joy on a platter. Just like my grandmother taught me, cooking for the people you love is one of the greatest expressions of care, and these nachos are my way of showing up for my favorite people.

- Why You'll Love These Loaded Nachos
- Gather Your Ingredients for Loaded Nachos
- How to Make the Best Loaded Nachos
- Tips for Perfect Sheet Pan Nachos
- Serving Suggestions for Your Cheesy Baked Chips
- Storage and Reheating Cheesy Baked Chips
- Frequently Asked Questions About Loaded Nachos
- Estimated Nutritional Information
Why You’ll Love These Loaded Nachos
Okay, let me tell you why these loaded nachos are going to become your new best friend:
- So Speedy: Like, seriously fast. You can whip these up in about 25 minutes, perfect for those last-minute cravings or when everyone’s practically banging down the door!
- Crazy Easy: Trust me, if I can make them, *you* can make them. It’s pretty much just layering and baking – no complicated steps here.
- Guaranteed Hit: These aren’t just nachos; they’re a party starter! They always disappear super fast, leaving everyone happy and full.
- Totally Customizable: The best part? You can throw on whatever you love. They’re a fantastic base for your favorite proteins, veggies, or whatever you have hiding in the fridge.
Gather Your Ingredients for Loaded Nachos
Alright, let’s get our game faces on and gather up what we need for these incredible loaded nachos! It’s pretty straightforward, and you probably have most of this stuff already. You’ll want one big bag of tortilla chips – I like the sturdy kind that can handle all the goodness we’re about to pile on. For the cheese, we’re going with a classic combo: about 1.5 cups each of shredded cheddar and Monterey Jack. Melted cheese is key, right?! Then, for that little kick and pop of flavor, grab a can of sliced jalapeños (just the slices, drained!), about half a cup each of rinsed black beans and corn kernels (fresh or frozen work great). Oh, and a quarter cup of finely chopped red onion adds a nice bit of bite. And of course, we’ll need fresh cilantro for that pop of green and amazing flavor at the end!
How to Make the Best Loaded Nachos
Alright, let’s get into the fun part – making these amazing loaded nachos! It’s so straightforward, I promise. You’ll be amazed at how easy it is to get that perfect, craveable result.
Preheating and Chip Layering for Your Loaded Nachos
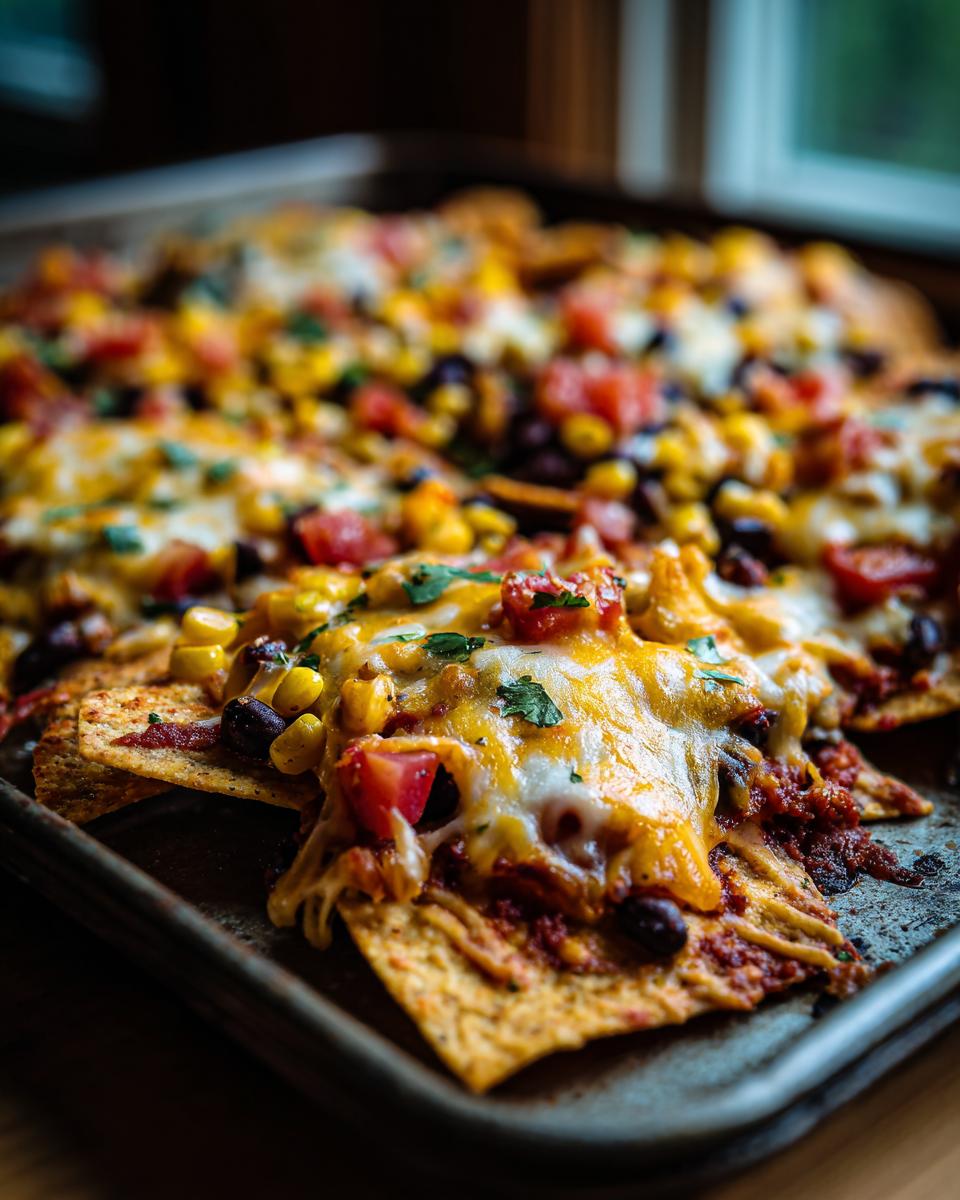
First things first, let’s get that oven fired up to 375°F (190°C). While it’s warming, grab a big baking sheet – I like to use one of those extra-large ones so everything has room. Spread your tortilla chips out in a single, even layer. Trust me, spreading them out is key so every single chip gets happy and melty!
Cheese and Topping Distribution for Loaded Nachos
Now for the best part – the toppings! Sprinkle your shredded cheddar and Monterey Jack cheeses all over those chips. Then, evenly scatter your drained jalapeño slices, those rinsed black beans, yummy corn kernels, and the chopped red onion. My little trick? Try not to pile everything too high in the very center of the pan. This helps the cheese melt all the way to the edges, and you won’t end up with a gooey mess in the middle and sad chips on the sides. We want happy chips everywhere!

Baking and Finishing Your Loaded Nachos
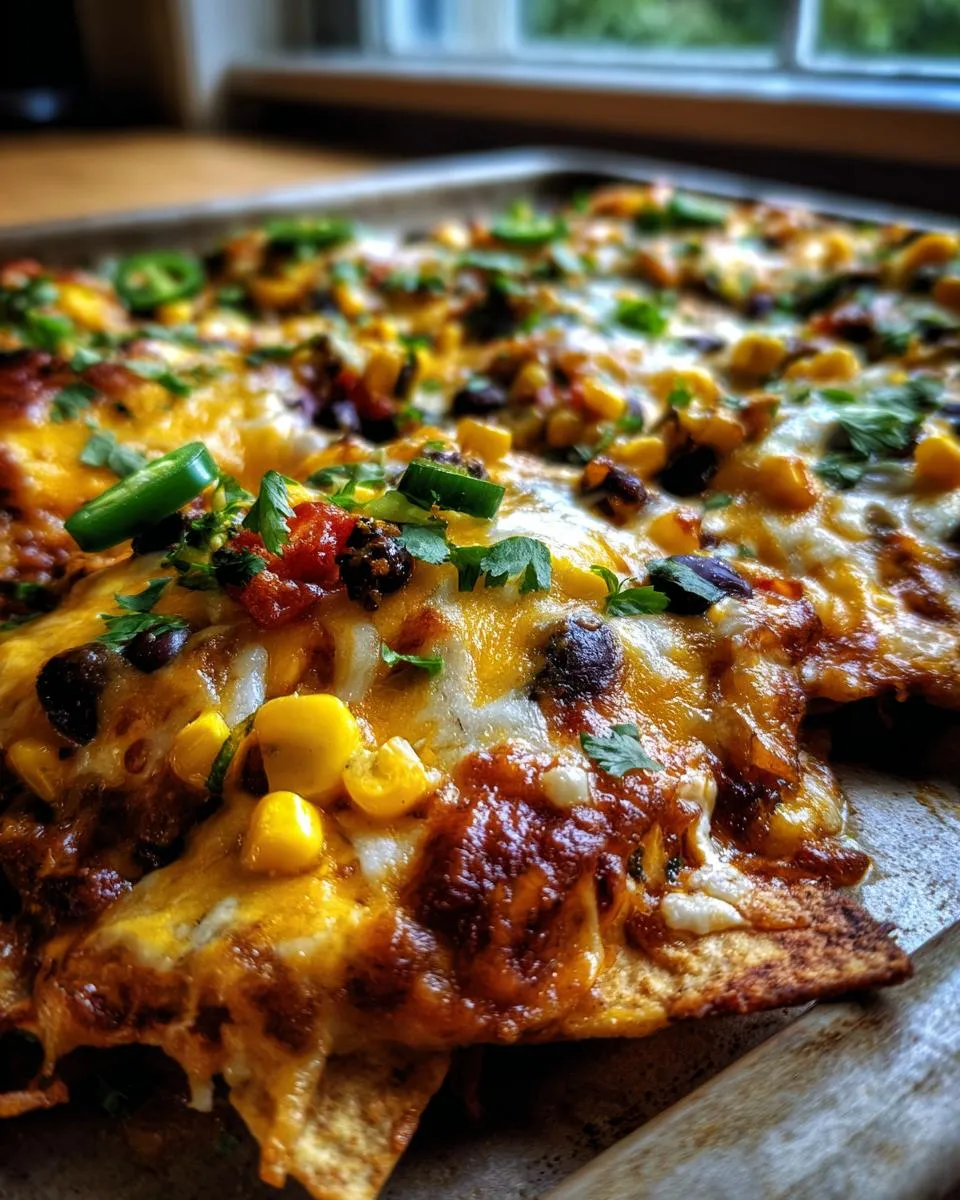
Pop that loaded sheet pan into the hot oven for about 8-10 minutes. You’re looking for that glorious moment when all the cheese is perfectly melted and bubbly. Once they’re out, this is where you can really personalize them! Add any of your favorite optional toppings – maybe some seasoned ground beef or chicken, a dollop of fresh salsa, cool sour cream, or some creamy guacamole. Finish it all off with a generous sprinkle of fresh cilantro. These are best served hot right away, so they stay nice and crisp!

Tips for Perfect Sheet Pan Nachos
Alright, let’s talk about making these sheet pan nachos absolutely foolproof! Over the years, I’ve picked up a few little tricks that make all the difference between just-okay nachos and truly *wow* nachos. It’s all about paying attention to a few key details, and I’m happy to share them with you!
Ingredient Quality for Your Sheet Pan Nachos
You know, the old saying “garbage in, garbage out” really holds true here. Using good quality tortilla chips is a big one – you want chips that are sturdy enough to hold up to all that cheesy goodness without turning into mush. And fresh ingredients just *sing*, don’t they? Fresh jalapeños, vibrant cilantro, good melty cheese… it all adds up to a much better-tasting nacho experience!
Customizing Your Loaded Nachos
The beauty of nachos is they’re like a blank canvas, just begging for your personal touch! If you’re feeling adventurous, try adding some seasoned shredded chicken or ground beef. Some folks love a swirl of sour cream or a dollop of guacamole right on top. Don’t be afraid to experiment with different cheeses too – a pepper jack adds a nice little kick! And if you happen to have some of my Jalapeño Cheddar Cornbread crumbled on top… well, that’s just next-level deliciousness!
Serving Suggestions for Your Cheesy Baked Chips
These cheesy baked chips are pretty much a meal in themselves, but sometimes it’s fun to round out a spread! If you’re doing a whole game-day spread, these pair perfectly with some of my other easy appetizers. How about some quick jalapeno poppers or maybe some spicy chicken wings? For drinks, a cold beer or a refreshing limeade is always a winner! If you’re serving them as part of a larger meal, they make a fantastic starter before your main course.
Storage and Reheating Cheesy Baked Chips
Okay, so if you’re lucky enough to have any of these amazing loaded nachos leftover (which is rare in my house!), you’ll want to store them properly. Let them cool down completely, then pop them into an airtight container. They’re best eaten within a day or two. When you’re ready to reheat, I recommend popping them back onto a baking sheet in a preheated oven (around 300°F or 150°C) for a few minutes. This helps them crisp back up, unlike microwaving which can make them a bit soggy.
Frequently Asked Questions About Loaded Nachos
Got questions about making the ultimate plate of loaded nachos? I’ve got you covered!
Can I make loaded nachos ahead of time?
You can totally prep some components ahead of time, like chopping veggies or cooking any meats. But to keep those chips nice and crispy, I definitely recommend assembling and baking them right before you plan to serve. Nobody likes a soggy nacho!
What are the best chips for loaded nachos?
For the best experience, grab sturdy tortilla chips! Think thicker, heavier chips that won’t break apart under all that delicious weight. A classic restaurant-style or a thicker corn chip works wonders. Avoid flimsy ones if you can!
How do I prevent soggy nachos?
The key is proper layering and not overcooking! Spreading your chips in a single layer and not piling the toppings too high in the center helps. Baking until the cheese is just melted and bubbly, then serving immediately, will give you that perfect crisp-to-topping ratio.
Estimated Nutritional Information
Now, keep in mind these are just estimates, since everyone’s topping game is a little different! But generally, for about 1/8th of this pan of loaded nachos, you’re looking at around 350 calories, 20g of fat (with about 8g saturated), 12g of protein, and 30g of carbohydrates. Sodium will run about 450mg. Like I said, totally varies with what you add, but it’s a good ballpark for this amazing party snack!
PrintLoaded Sheet Pan Nachos

A crowd-pleasing appetizer perfect for game day or parties, featuring layers of tortilla chips, melted cheese, and your favorite toppings.
- Prep Time: 15 min
- Cook Time: 10 min
- Total Time: 25 min
- Yield: 6-8 servings 1x
- Category: Appetizer
- Method: Baking
- Cuisine: Tex-Mex
- Diet: Vegetarian
Ingredients
- 1 bag (10-12 oz) tortilla chips
- 1.5 cups shredded cheddar cheese
- 1.5 cups shredded Monterey Jack cheese
- 1 can (4 oz) sliced jalapeños, drained
- 1/2 cup black beans, rinsed and drained
- 1/2 cup corn kernels (fresh or frozen)
- 1/4 cup chopped red onion
- 1/4 cup chopped fresh cilantro
- Optional toppings: cooked ground beef or chicken, salsa, sour cream, guacamole
Instructions
- Preheat your oven to 375°F (190°C).
- Spread the tortilla chips in an even layer on a large baking sheet.
- Sprinkle the shredded cheddar and Monterey Jack cheeses evenly over the chips.
- Distribute the drained jalapeños, black beans, corn, and red onion over the cheese.
- Bake for 8-10 minutes, or until the cheese is melted and bubbly.
- Remove from the oven and add any optional toppings like cooked meat, salsa, sour cream, or guacamole.
- Garnish with fresh cilantro.
- Serve immediately.
Notes
- For evenly melted cheese, try not to pile the toppings too high in the center.
- You can prepare some toppings, like cooking meat or chopping vegetables, ahead of time to make assembly quicker.
- Consider this recipe as a base; feel free to customize with your preferred Tex-Mex ingredients.
Nutrition
- Serving Size: 1/8 of pan
- Calories: 350
- Sugar: 3g
- Sodium: 450mg
- Fat: 20g
- Saturated Fat: 8g
- Unsaturated Fat: 12g
- Trans Fat: 0g
- Carbohydrates: 30g
- Fiber: 4g
- Protein: 12g
- Cholesterol: 30mg