 Skip to content
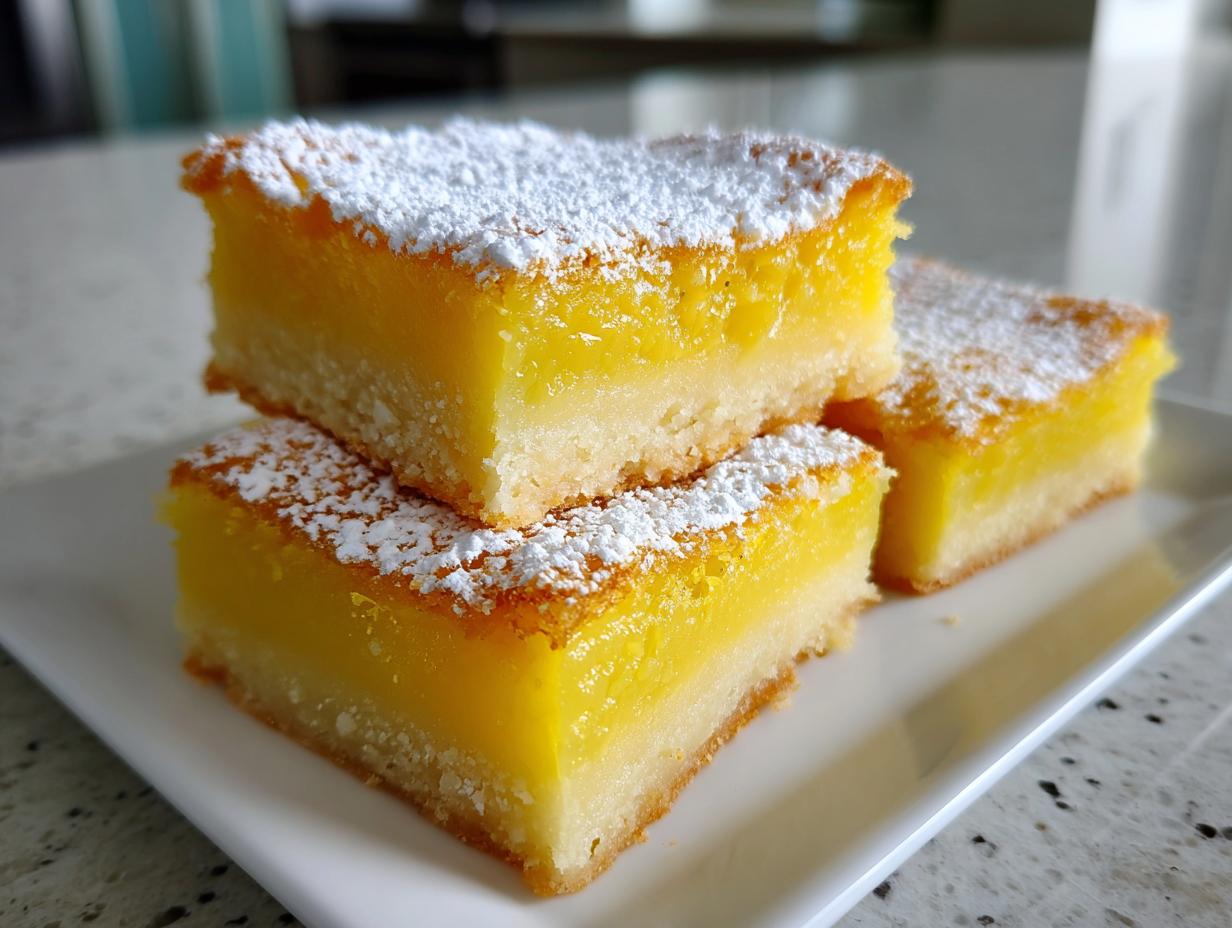

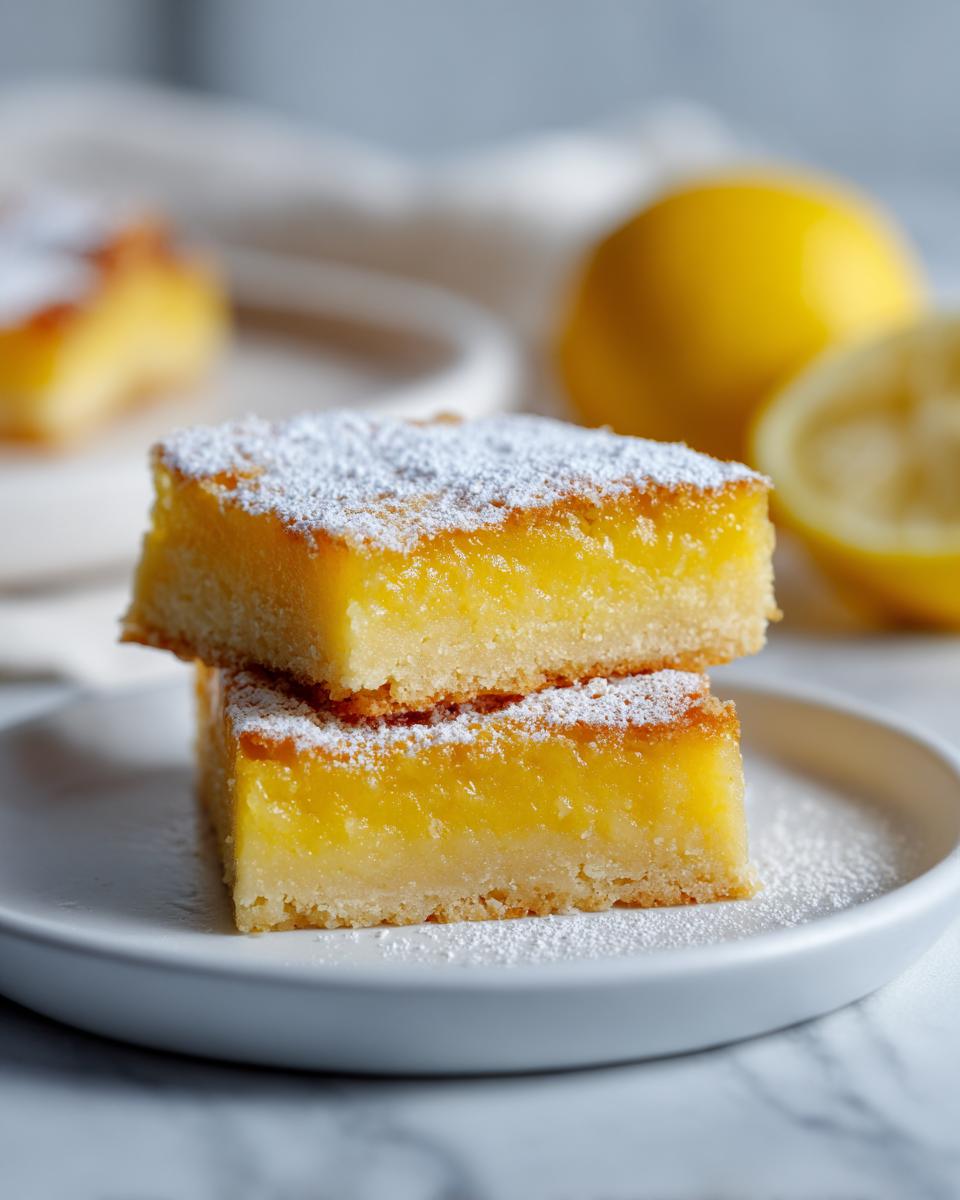
Nothing says sunshine quite like a perfectly baked lemon bar, and let me tell you, these classic lemon bars are pure happiness in every bite! They’ve got that bright, zesty flavor that just wakes up your taste buds, all nestled on a buttery, melt-in-your-mouth shortbread crust. It’s that perfect balance of tangy and sweet, you know? Reminds me so much of my grandmother’s kitchen, where simple ingredients always turned into something magical. She taught me that baking isn’t just about following a recipe; it’s about creating moments. Whether you need a little pick-me-up after a long day, a refreshing treat for a summer picnic, or just something to brighten up your afternoon, these lemon bars are always a winner. They’re so wonderfully refreshing! You can read more about my kitchen philosophy here!

- Why You'll Love These Tangy Lemon Bars
- Gather Your Ingredients for Perfect Lemon Bars
- Crafting the Perfect Shortbread Crust Recipe
- Making the Tangy Lemon Filling
- Assembling and Baking Your Citrus Dessert Squares
- Tips for Perfect Lemon Bars Every Time
- Serving Your Lemon Bars as a Summer Picnic Treat
- Frequently Asked Questions About Lemon Bars
- Estimated Nutritional Information
Why You’ll Love These Tangy Lemon Bars
These lemon bars are just pure happiness, really! You’ll adore them because:
- They nail that perfect balance of tangy and sweet – totally like a little burst of sunshine for your taste buds!
- The contrast between the crumbly, buttery shortbread crust and the incredibly smooth, silky lemon filling is just divine.
- Honestly, they’re surprisingly simple to make. You don’t need to be a pro baker to get amazing results.
- And talk about versatile! They’re fantastic for a summer picnic, a holiday platter, or just when you need a little something cheerful with your afternoon coffee.
Gather Your Ingredients for Perfect Lemon Bars
Alright, let’s get our ducks in a row for the most divine lemon bars you’ve ever made! When I’m whipping these up, I like to have everything ready to go so the magic can happen smoothly. Having your ingredients prepped makes all the difference, trust me. For that irresistible shortbread crust, you’ll need some flour, softened butter (this is key!), a little bit of granulated sugar, and a pinch of salt. Then, for that bright, sunshine-y lemon filling that just screams “happy,” we’ve got eggs, more granulated sugar, a bit more flour to help it set perfectly, and of course, plenty of fresh lemon juice and zest. Don’t forget a good dusting of powdered sugar to finish everything off – it makes these lemon bars look and taste extra special!
Crafting the Perfect Shortbread Crust Recipe
Okay, let’s talk about the foundation of these amazing lemon bars – that glorious shortbread crust! This isn’t just any crust; it’s the buttery, slightly sweet base that holds all that tangy lemon goodness. Making this shortbread crust recipe is really straightforward, but getting it just right makes all the difference. You want it golden, not pale, and firm enough to hold its shape, but still tender. I always like to preheat my oven to 350°F (175°C) while I mix up the simple ingredients: flour, softened butter, a bit of sugar, and that pinch of salt. Mixing it until it’s crumbly is the trick, and then you press it evenly into the bottom of your pan. Don’t skip that step of pressing it down firmly – it helps create a nice, sturdy layer. Then, into the oven it goes for about 15-20 minutes, until it’s just kissed with a light golden brown. That little bit of pre-baking makes sure it doesn’t get soggy when the lemon filling goes on top. You can check it out here for more ideas on how to use simple bases like this!
Prepping the Pan for Your Lemon Bars
Now, before you even think about pressing that crust into the pan, let’s talk about the pan itself. For these lemon bars, I swear by an 8×8 inch baking pan. It gives you that perfect thickness for the crust and filling. The biggest secret to getting these out cleanly, without breaking them, is to line the pan with parchment paper. Make sure you leave an overhang on the sides – kind of like little handles! This makes lifting the whole slab of lemon bars out so super easy once they’re cooled. Trust me, it’s a game-changer and stops you from having to dig them out piece by piece.
Making the Tangy Lemon Filling
Now for the star of the show – that incredibly bright, tangy lemon bar filling! While your crust is doing its thing, get ready to whip up this sunshine in a bowl. It’s so simple, but the result is just pure magic. You’ll want to grab a separate bowl and whisk together your eggs (making sure they’re at room temperature – this really helps everything blend smoothly!) with the granulated sugar until it’s all nicely combined. Then, whisk in the flour until there are no lumps; we’re aiming for super smooth! The real flavor comes next: fresh lemon juice and that lovely lemon zest. Oh, the smell alone is divine! My tip here? Don’t be shy with the zest; it adds such a wonderful punch of lemon. Sometimes, people worry about this filling not setting quite right, but adding that little bit of flour and sticking to room temperature eggs really works wonders. You’ll get a gorgeous, bright yellow filling that bakes up perfectly. It’s amazing how these simple ingredients can create something so dreamy. Find more lemon inspiration here!
Assembling and Baking Your Citrus Dessert Squares
Alright, now that we’ve got our golden crust ready and that beautiful, tangy lemon filling mixed up, it’s time to bring it all together! This is where the magic really happens. Carefully pour that sunny lemon mixture evenly all over the slightly cooled baked crust. Try to spread it gently so you don’t disturb that perfect base too much. Once it’s all covered, back into the oven it goes. You’ll bake these citrus dessert squares for another 20 to 25 minutes. You’re looking for the filling to be mostly set – the edges should be lightly golden, and the center should feel firm when you gently wiggle the pan. It’s important not to overbake it, or it can get a bit rubbery.
The very last, and perhaps most crucial, step before you even think about cutting into these beauties? Let them cool completely in the pan. Seriously, patience here is your best friend! I know it’s tough when they smell this amazing, but letting them cool on a wire rack for at least an hour, or even better, popping them in the fridge for a bit, will help that filling set up perfectly. This makes all the difference for clean cuts later. You can find lots of other wonderful desserts right here!
Tips for Perfect Lemon Bars Every Time
Okay, so you’ve baked these gorgeous lemon bars, and now it’s all about that finishing flair! Getting them perfect every single time really comes down to a few little tricks I’ve picked up over the years. It’s these little moments of care that make all the difference, turning good lemon bars into *great* ones. Trust me, these simple tips will have your friends asking for your secret recipe!
Cooling and Cutting Your Lemon Bars
This is super important, so listen up! You’ve got to let your lemon bars cool completely before you even think about cutting them. I usually let them cool on a wire rack for at least an hour, and then I pop the whole pan (parchment paper and all!) into the fridge for another hour or two. This helps the filling set up nice and firm, so when you cut them, you get those clean, lovely squares. Use a really sharp knife, and wipe it clean with a damp cloth between each cut if you want those super neat edges. It makes such a difference!
Achieving That Perfect Powdered Sugar Finish
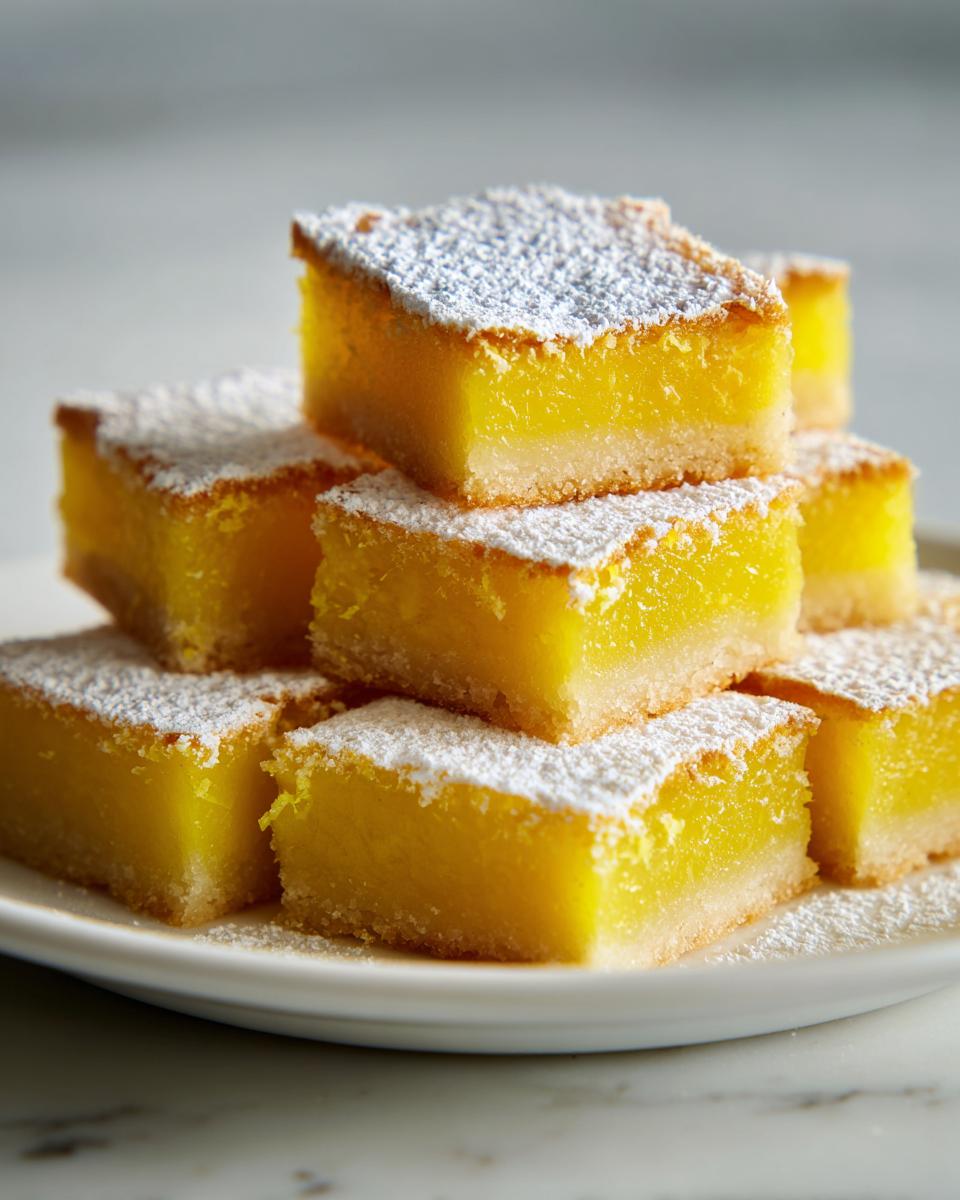
For that classic, pretty look, a dusting of powdered sugar is just *chef’s kiss*! My favorite way to do this is with a fine-mesh sieve. Just fill it up with powdered sugar and gently tap it over the cooled bars. This gives you a light, even coating that looks so professional, without any big clumps. It really makes these citrus dessert squares pop and adds that final touch of sweetness that balances the tart lemon perfectly.
Serving Your Lemon Bars as a Summer Picnic Treat
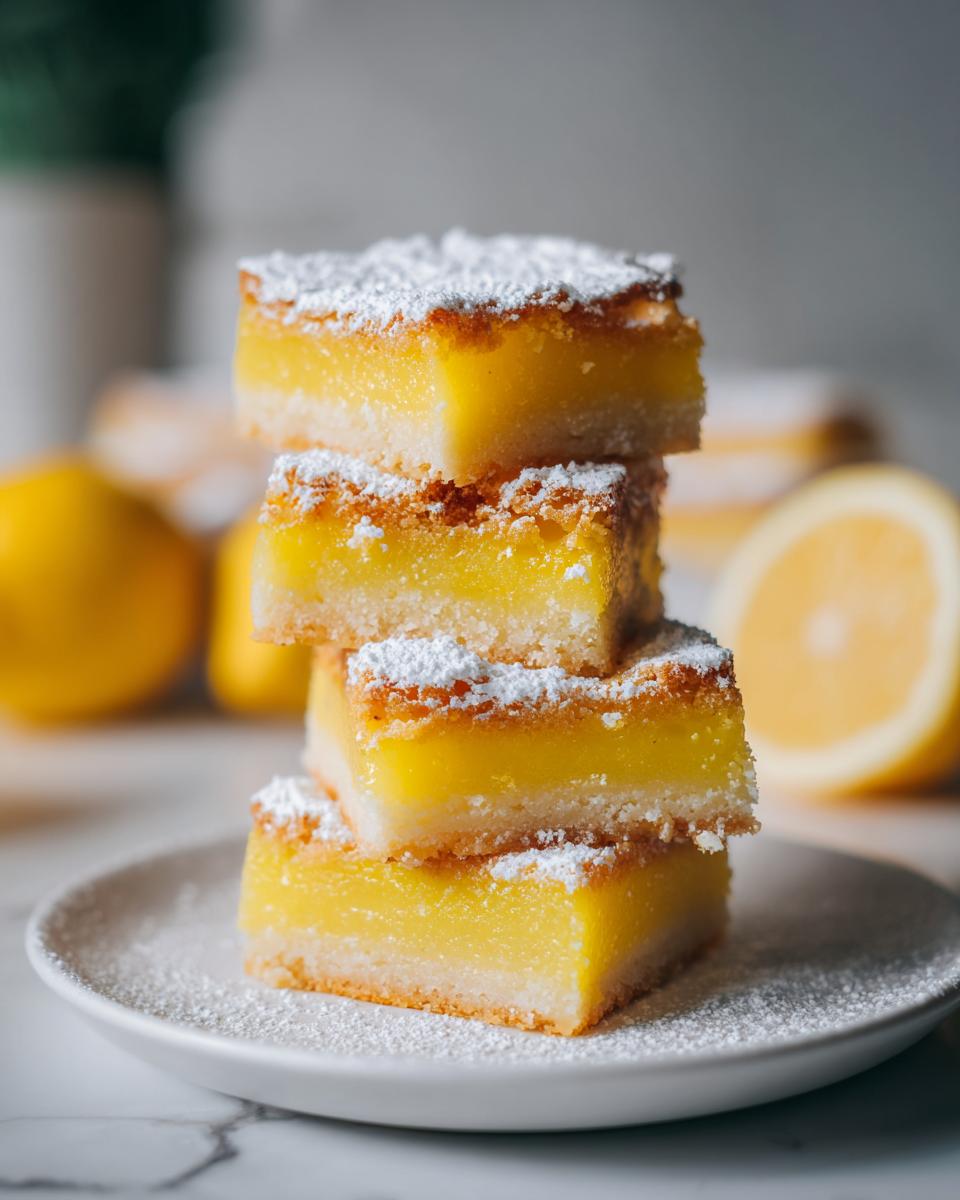
These lemon bars are just the absolute best for so many occasions, but I especially love them as a summer picnic treat. They’re so easy to transport, and that bright, zesty flavor is so refreshing on a warm day. They’re also a fantastic addition to any potluck or buffet table. Honestly, they’re just perfect anytime you need a little burst of sunshine! I often bring them along to backyard barbecues or even just pack a couple for my lunch when I need a little afternoon pick-me-up. They pair wonderfully with a cold glass of iced tea. You can find more snacky ideas here!
Frequently Asked Questions About Lemon Bars
Got questions about these sunny little squares? I totally get it! Baking can have its quirks, but don’t worry, I’m here to help you through it. These lemon bars are usually pretty forgiving, but here are a few things people often ask about that totally make sense.
Can I make these lemon bars ahead of time?
Oh, absolutely! These tangy lemon bars are actually *better* when made ahead. Seriously! The flavors get to meld together and that setting filling firms up even more in the fridge. I usually make them a day in advance. Just keep them covered in the fridge and dust with powdered sugar right before serving so it doesn’t get soggy. They’re perfect for making when you have a little extra time on the weekend for a weekday treat!
Why aren’t my lemon bars setting properly?
Don’t you hate when that happens! Usually, if your lemon bars aren’t setting, it’s one of a few things. Make sure you used enough flour in the filling – it acts as a stabilizer. Also, were your eggs at room temperature? They incorporate much better when they’re not ice cold. And, most importantly, did you let them cool completely? That final cooling time in the fridge is crucial for them to get that perfect, sliceable texture for your citrus dessert squares.
How long do these lemon bars last?
Well, if they last more than a day in your house, I’d be shocked! They are pretty addictive. But realistically, stored in an airtight container in the refrigerator, they’ll stay fresh and delicious for about 3 to 4 days. The shortbread crust will stay nice and firm, and that tangy lemon filling will remain perfectly zippy. They make a great make-ahead dessert for about any occasion!
Estimated Nutritional Information
Now, I’m no dietitian or anything, but I like to give you a general idea of what you’re getting with these lovely lemon bars. Keep in mind these are estimates, and they can change a bit depending on exactly what you use – like the brand of butter or even how big you cut your squares! But ballpark, you’re looking at around 200 calories per bar, with about 10g of fat (most of that good stuff!), a respectable 27g of carbs, and a good dose of that delightful sweetness. Enjoyment is the most important ingredient, right?
PrintClassic Lemon Bars

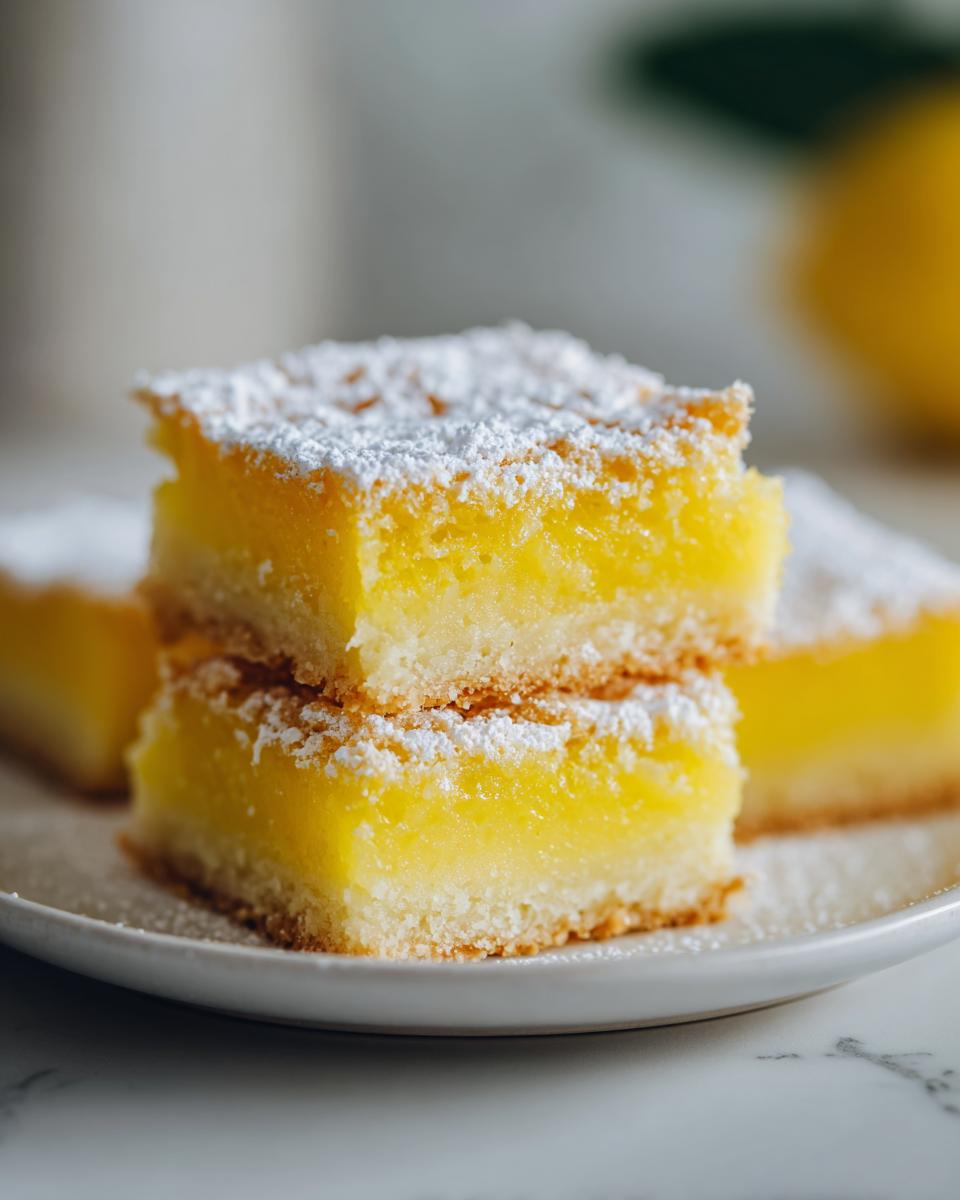
Enjoy these tangy and sweet lemon bars with a buttery shortbread crust and a smooth lemon curd filling, finished with a dusting of powdered sugar.
- Prep Time: 20 min
- Cook Time: 45 min
- Total Time: 65 min
- Yield: 16 bars 1x
- Category: Dessert
- Method: Baking
- Cuisine: American
- Diet: Vegetarian
Ingredients
- 1 cup all-purpose flour
- 1/2 cup unsalted butter, softened
- 1/4 cup granulated sugar
- 1/4 teaspoon salt
- 2 large eggs
- 3/4 cup granulated sugar
- 1/4 cup all-purpose flour
- 1/4 cup fresh lemon juice
- 1 teaspoon lemon zest
- Powdered sugar, for dusting
Instructions
- Preheat your oven to 350°F (175°C). Line an 8×8 inch baking pan with parchment paper, leaving an overhang on the sides.
- In a medium bowl, combine 1 cup flour, softened butter, 1/4 cup sugar, and salt. Mix until crumbly.
- Press the mixture evenly into the bottom of the prepared pan to form the crust.
- Bake the crust for 15-20 minutes, or until lightly golden. Remove from oven and let cool slightly.
- While the crust bakes, prepare the lemon filling. In a separate bowl, whisk together eggs and 3/4 cup sugar until well combined.
- Whisk in 1/4 cup flour until smooth.
- Stir in the lemon juice and lemon zest.
- Pour the lemon filling evenly over the baked crust.
- Bake for another 20-25 minutes, or until the filling is set and the edges are lightly golden.
- Let the bars cool completely in the pan on a wire rack.
- Once cooled, lift the bars out of the pan using the parchment paper overhang.
- Dust generously with powdered sugar before cutting into squares.
Notes
- For a more intense lemon flavor, you can add an extra teaspoon of lemon zest.
- Ensure your eggs are at room temperature for a smoother filling.
- Allow the bars to cool completely before dusting with powdered sugar and cutting to prevent them from crumbling.
Nutrition
- Serving Size: 1 bar
- Calories: 200
- Sugar: 25g
- Sodium: 50mg
- Fat: 10g
- Saturated Fat: 6g
- Unsaturated Fat: 4g
- Trans Fat: 0g
- Carbohydrates: 27g
- Fiber: 1g
- Protein: 2g
- Cholesterol: 40mg