 Skip to content
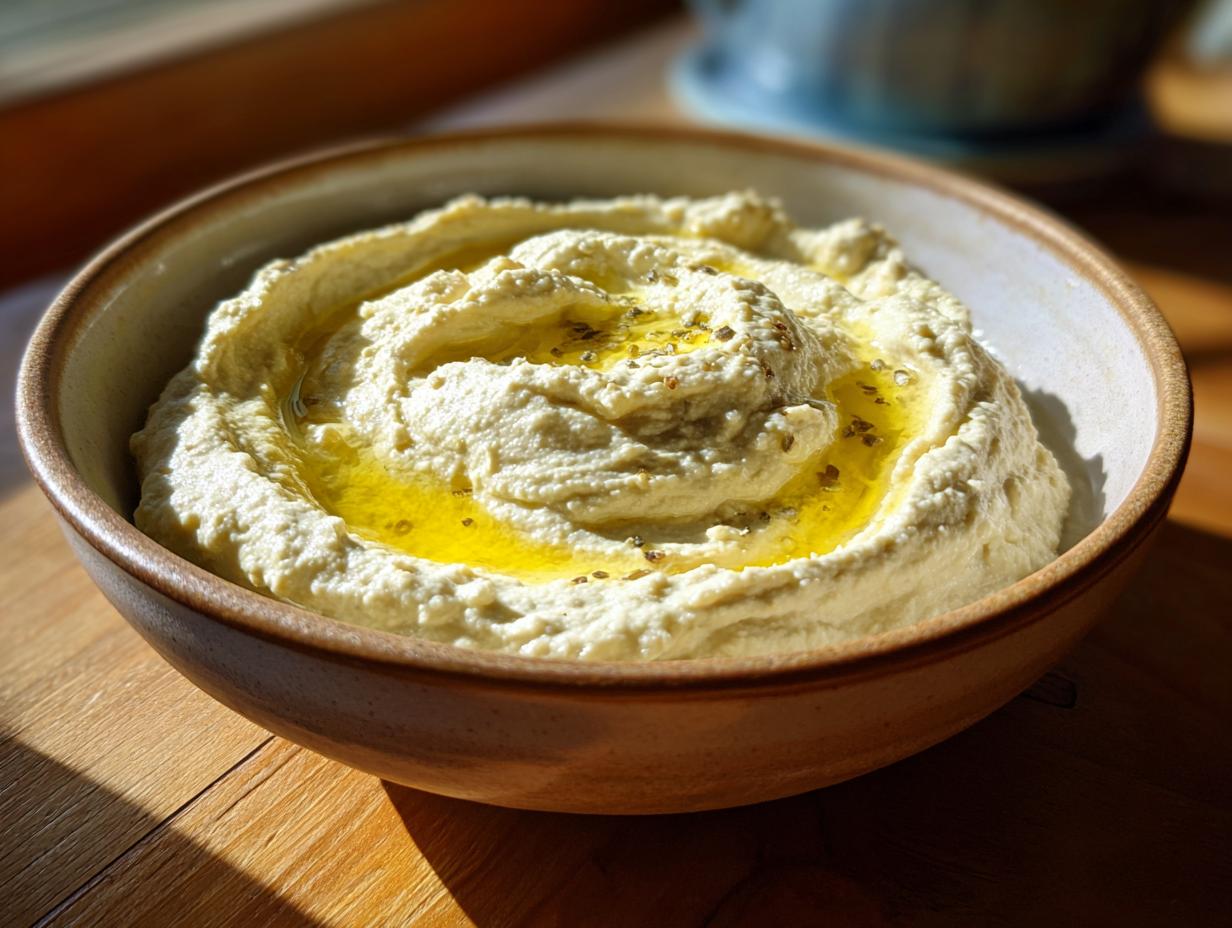

Oh, dips! There’s just something so wonderfully satisfying about a creamy, flavorful dip that you can just scoop up with a crunchy pita or a fresh veggie stick, isn’t there? Forget those store-bought tubs that always taste a little… well, *off*. The real magic happens right in your own kitchen, and today, we’re diving into a total classic: homemade hummus. Trust me, this recipe is your new best friend for whipping up a velvety, incredibly satisfying chickpea tahini dip in minutes. It’s that simple, that good. It reminds me so much of my grandmother’s kitchen, where simple ingredients always turned into something special. After years of juggling a busy marketing career and realizing how much I missed that soulful cooking, I’m all about bringing that comfort back to our everyday tables, and this hummus is a perfect example of how easy and delicious that can be. You can read a little more about my journey here.

- Why You'll Love This Hummus Recipe
- Gather Your Ingredients for Classic Hummus
- Step-by-Step Guide to Making Hummus
- Tips for the Best Hummus
- Serving Suggestions for Your Chickpea Tahini Dip
- Storage and Reheating Instructions
- Frequently Asked Questions about Hummus
- Estimated Nutritional Information
- Share Your Hummus Creations!
Why You’ll Love This Hummus Recipe
Seriously, why you’ll fall head-over-heels for this hummus recipe:
- Super Easy & Quick: We’re talking minutes from start to finish. Perfect for unexpected guests or when that snack attack hits hard!
- Incredible Flavor: So much fresher and tastier than anything from a tub. You control the garlic, the lemon – it’s your perfect bite.
- So Versatile: Dip, spread, appetizer… it does it all! Serve it with anything and everything.
- Healthy & Wholesome: Packed with plant-based protein and healthy fats, it’s a guilt-free way to satisfy cravings.
Gather Your Ingredients for Classic Hummus
Okay, let’s get our game face on and gather everything we need for this amazing homemade hummus. It’s surprisingly simple! You’ll need two cans (that’s about 15 ounces each) of chickpeas, drained really well and given a good rinse. Then, grab your tahini – this is key for that classic flavor – and about a quarter cup of fresh lemon juice; make sure it’s fresh, it makes *all* the difference! We’ll also grab two cloves of garlic, minced up nice and fine, a quarter cup of good quality olive oil (plus a little extra for drizzling later), salt to taste, and maybe a little pinch of cumin if you like that extra warmth. Easy peasy!
Step-by-Step Guide to Making Hummus
Alright, let’s get this deliciousness made! Making your own hummus is honestly one of the most rewarding kitchen wins, and it’s so straightforward. You won’t believe how easy it is; soon you’ll be making it all the time! You can find more tips on achieving that perfect texture in my guide to creamy homemade hummus.
- First things first, grab your food processor. Toss in those drained and rinsed chickpeas, the tahini, that lovely fresh lemon juice, the minced garlic, that quarter cup of olive oil, and your salt. If you’re feeling a little adventurous, now’s the time for that pinch of cumin too!
- Now, let the processor do its thing! You want to let it run until the mixture starts getting nice and smooth and creamy. Don’t forget to scrape down the sides of the bowl with a spatula every once in a while. This makes sure everything gets blended in evenly.
- This is where the magic really happens for that silky texture. With the food processor still running, start slowly adding in your cold water, just a tablespoon at a time. Keep adding it until you get the hummus to the consistency you love. I like mine super smooth and spoonable.
- Give it a little taste test! This is your chance to adjust. Need more salt? A bit more lemon zing? Go for it! Make it perfect for *you*.
- Once it’s tasting just right, transfer your glorious homemade hummus to a serving bowl. And the finishing touch? A generous drizzle of extra olive oil right on top. Serve it up and watch it disappear!

Achieving Creamy Hummus Texture
Getting that super smooth and creamy hummus texture is all about a few simple things. A good food processor is your best friend here, and don’t be shy about letting it run for a good minute or two to really break down those chickpeas. The secret weapon for ultimate creaminess? Cold water! Adding it gradually while the processor is running is what makes all the difference. It emulsifies everything and gives you that luxuriously smooth hummus we all love.

Tips for the Best Hummus
Alright, let’s talk about making this hummus truly spectacular! From my years in the kitchen, I’ve picked up a few tricks that make all the difference. Start with good ingredients – seriously, it matters! And don’t be afraid to play around a little. Remember how I learned to adapt even my grandmother’s recipes for busy weeknights? This hummus is no different. It’s all about making it *your* own perfect, creamy dip. If you love chickpeas, you should totally check out my crispy roasted chickpeas recipe too!
Ingredient Spotlight: Tahini
Tahini is like the soulmate of chickpeas in hummus, it’s that creamy, nutty paste made from ground sesame seeds. For the best results, give your tahini jar a good stir before you measure it out, because the oil can separate. You’re looking for a smooth, pourable consistency. High-quality tahini really shines here, giving your hummus that authentic, luscious richness you can’t get any other way. It’s a game-changer, trust me!
Hummus Variations to Try
Once you’ve mastered the classic, get ready to have some fun! Want to spice things up? Try adding some roasted red peppers to the food processor with the other ingredients – it gives the hummus a gorgeous color and a slightly sweet, smoky flavor. A few fresh herbs like parsley or cilantro blended in can also brighten it up beautifully. Or maybe a pinch of smoked paprika on top? The possibilities are endless for creating your own signature Mediterranean spread! You can even try it in these fun veggie hummus wraps!
Serving Suggestions for Your Chickpea Tahini Dip
Now that you’ve got this glorious, creamy hummus ready to go, let’s talk about all the amazing ways you can enjoy it! This isn’t just a dip, it’s practically a whole meal starter. Of course, you can never go wrong with classic warm pita bread for scooping up every last bit of this delicious chickpea tahini dip. But don’t stop there! Pile it onto a platter with colorful fresh veggies like crunchy bell peppers, crisp cucumber slices, and sweet carrot sticks. It’s perfect for making sandwiches or wraps feel extra special too, adding that wonderful, savory layer. This versatile spread really fits right into my philosophy of making everyday meals feel exciting and comforting. For more ideas on appetizers and snacks, check out my collection here!
Storage and Reheating Instructions
Got leftover hummus? Lucky you! Just pop it into an airtight container and tuck it into the fridge. It stays wonderfully creamy and delicious for about 4 to 5 days. Since we’re all about that fresh, cool dip experience, reheating isn’t really necessary – it’s best served chilled or at room temperature. Just bring it out a little before serving!
Frequently Asked Questions about Hummus
Okay, real talk – sometimes you just have questions when you’re making something amazing, right? I get tons of emails, and I love hearing from you all about your kitchen adventures! If you ever want to reach out directly, feel free to contact me. Here are a few common things folks ask about making this classic hummus:
How do I make my hummus smoother?
Oh, believe me, I’ve been there! For that super-velvety hummus texture, the key is to let your food processor run for a good couple of minutes. Seriously, let it hum! Also, peeling the chickpeas before you blend them makes a HUGE difference. It sounds a little tedious, but it’s totally worth it for that silky-smooth finish. And don’t forget to add that cold water slowly while it’s running – that’s what really emulsifies everything into creamy perfection.
Can I make hummus without tahini?
You know, tahini is really what gives hummus its signature nutty flavor and creamy texture. It’s kind of the secret sauce! If you absolutely can’t find tahini or have an allergy, you *could* try substituting with a similar paste like sunflower seed butter, but it will definitely change the taste quite a bit. It won’t be that classic chickpea tahini dip flavor, but hey, experimentation is part of the fun in the kitchen!
What are the health benefits of hummus?
Hummus is fantastic! It’s packed with plant-based protein and fiber from the chickpeas, which helps keep you feeling full and satisfied. Plus, you’ve got healthy fats from the tahini and olive oil. It makes for a really wonderful, wholesome snack or appetizer. It’s definitely a healthier choice compared to a lot of other dips out there, making it a great part of a balanced diet, and it fits perfectly into that whole foods philosophy we love.
Can I use dried chickpeas instead of canned?
Yes, you absolutely can! If you have the time, cooking dried chickpeas is a great option and can sometimes give an even better texture. You’ll need to soak them overnight and then cook them until they’re very tender. Make sure they’re super soft before you drain them and pop them into the food processor. The cooking time will vary, so just aim for that really soft, mushy texture that makes blending easy. It’s another way to control the quality of your ingredients for the best possible Middle Eastern appetizer!
Estimated Nutritional Information
Now, I always like to give you a little heads-up on what you’re making, nutrition-wise. Keep in mind these numbers are just estimates, because the brands of chickpeas or tahini you use can make a tiny difference! A typical serving of this delicious hummus (about a quarter cup) usually clocks in around 200 calories, with about 12 grams of fat, a good 7 grams of protein, and around 20 grams of carbs. It’s packed with fiber too, which is awesome! So you’re getting a really satisfying, healthy snack.
Share Your Hummus Creations!
I just love hearing from you all and seeing what you create in your own kitchens! Did this hummus recipe hit the spot? Did you try any fun variations or serve it with something unexpected? Please, tell me all about it in the comments below! Sharing our kitchen triumphs, big or small, is what it’s all about, don’t you think? It’s like adding another story to our recipe collection, and I can’t wait to read yours. Check out more appetizer ideas here!
PrintClassic Hummus Recipe
A simple recipe for creamy, homemade hummus using chickpeas, tahini, lemon, garlic, and olive oil. Perfect as a healthy appetizer or spread.
- Prep Time: 10 min
- Cook Time: 0 min
- Total Time: 10 min
- Yield: 4 servings 1x
- Category: Appetizer
- Method: Blending
- Cuisine: Middle Eastern
- Diet: Vegetarian
Ingredients
- 2 cans (15 ounces each) chickpeas, drained and rinsed
- 1/2 cup tahini
- 1/4 cup fresh lemon juice
- 2 cloves garlic, minced
- 1/4 cup olive oil, plus more for serving
- 2–4 tablespoons cold water
- 1/2 teaspoon salt, or to taste
- Pinch of cumin (optional)
Instructions
- Combine drained chickpeas, tahini, lemon juice, minced garlic, 1/4 cup olive oil, salt, and cumin (if using) in a food processor.
- Process until the mixture is smooth and creamy, scraping down the sides of the bowl as needed.
- With the food processor running, gradually add cold water, one tablespoon at a time, until the desired consistency is reached.
- Taste and adjust seasoning if necessary.
- Transfer hummus to a serving bowl. Drizzle with additional olive oil and serve.
Notes
- For an extra smooth hummus, you can peel the chickpeas before processing.
- Serve with pita bread, vegetables, or as a spread on sandwiches.
- Store leftover hummus in an airtight container in the refrigerator for up to 5 days.
Nutrition
- Serving Size: 1/4 cup
- Calories: 200
- Sugar: 2g
- Sodium: 300mg
- Fat: 12g
- Saturated Fat: 2g
- Unsaturated Fat: 10g
- Trans Fat: 0g
- Carbohydrates: 20g
- Fiber: 6g
- Protein: 7g
- Cholesterol: 0mg