 Skip to content
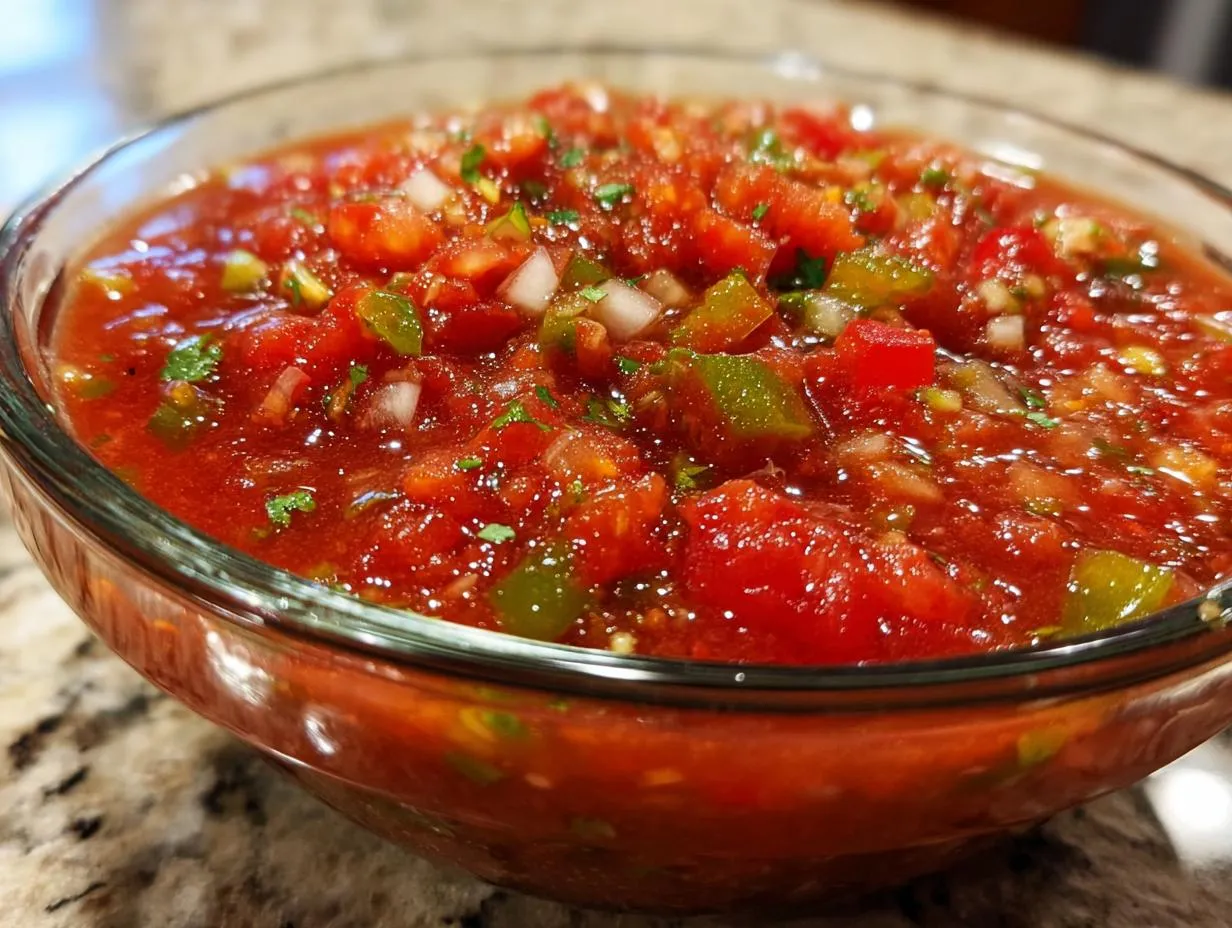

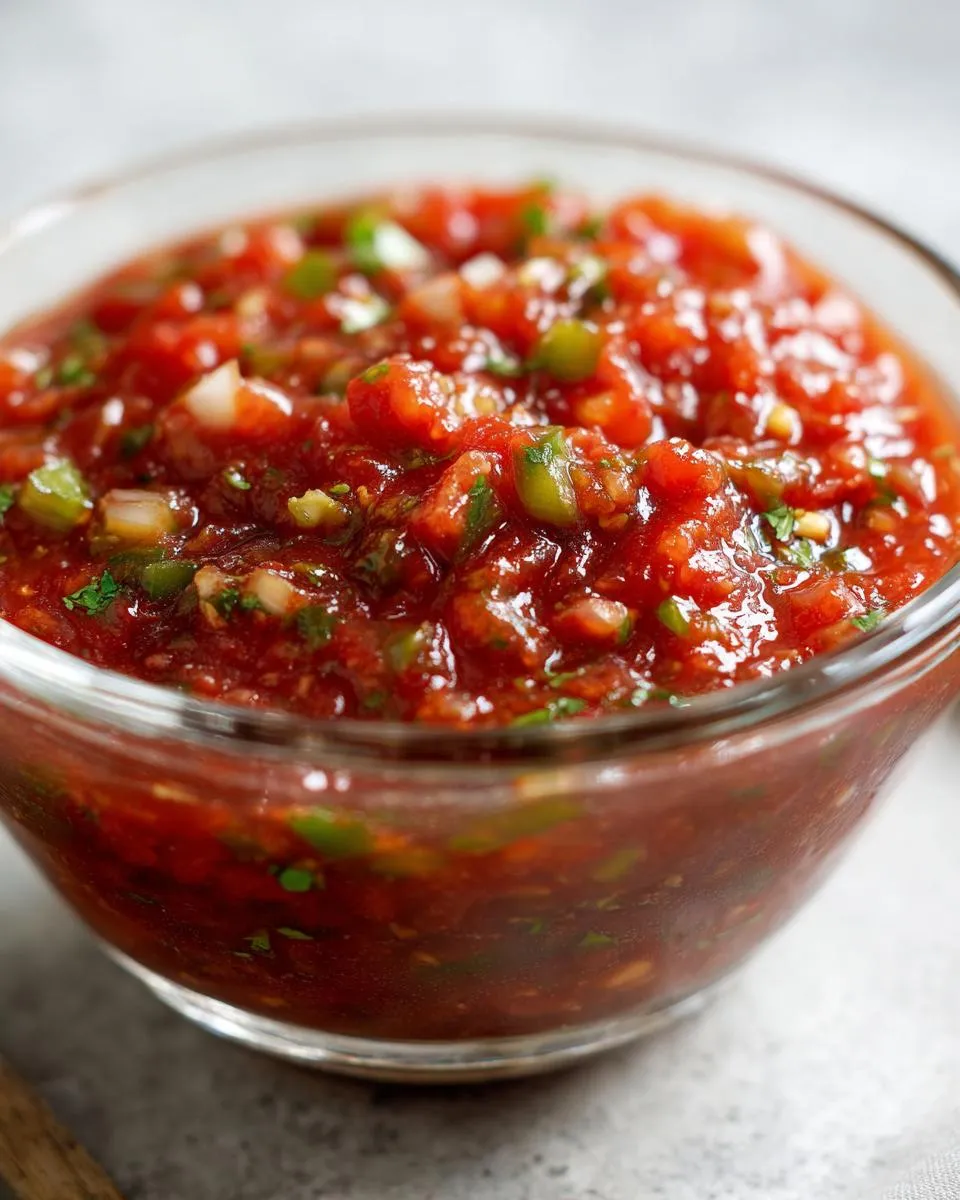
There’s nothing quite like the smell of fresh tomatoes simmering on the stove—especially when they’re plucked straight from your own garden. The first time I made homemade salsa, I was drowning in late-summer tomatoes, just like my neighbor Mrs. Henderson warned me I would be. “You planted six vines, Carla—what did you expect?” she laughed, handing me an extra basket from her own garden. That’s when I knew I had to preserve that bright, tangy flavor somehow. This water-bath method salsa recipe became my go-to—safe, easy, and packed with all the vibrant taste of summer in every jar.

My grandma never canned salsa—she was more of a pickle-and-jam lady—but I’ve tweaked this recipe over the years until it’s foolproof enough for any beginner canner. Nothing beats cracking open a jar in mid-February and getting that first whiff of cilantro and lime. Trust me, homemade salsa tastes like sunshine when you need it most!
Why You’ll Love This Homemade Salsa
This salsa checks all the boxes for my busy kitchen—and it just might become your new favorite too. Here’s why:
- Absolutely safe for canning—I tested the acidity levels obsessively so you don’t have to stress about spoilage
- Spice it your way—leave the jalapeños mild or throw in extra for serious heat (I keep seeds in mine—living dangerously!)
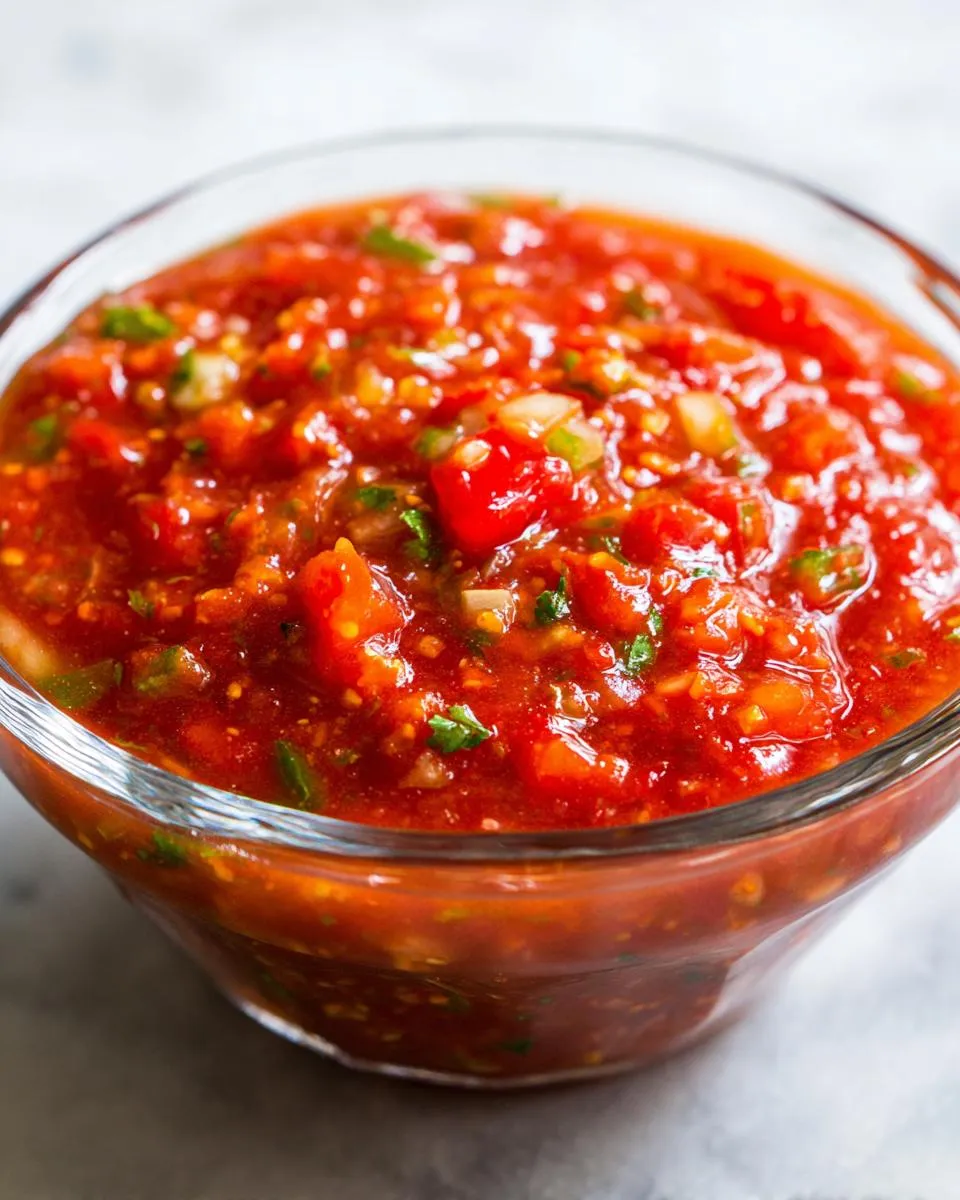
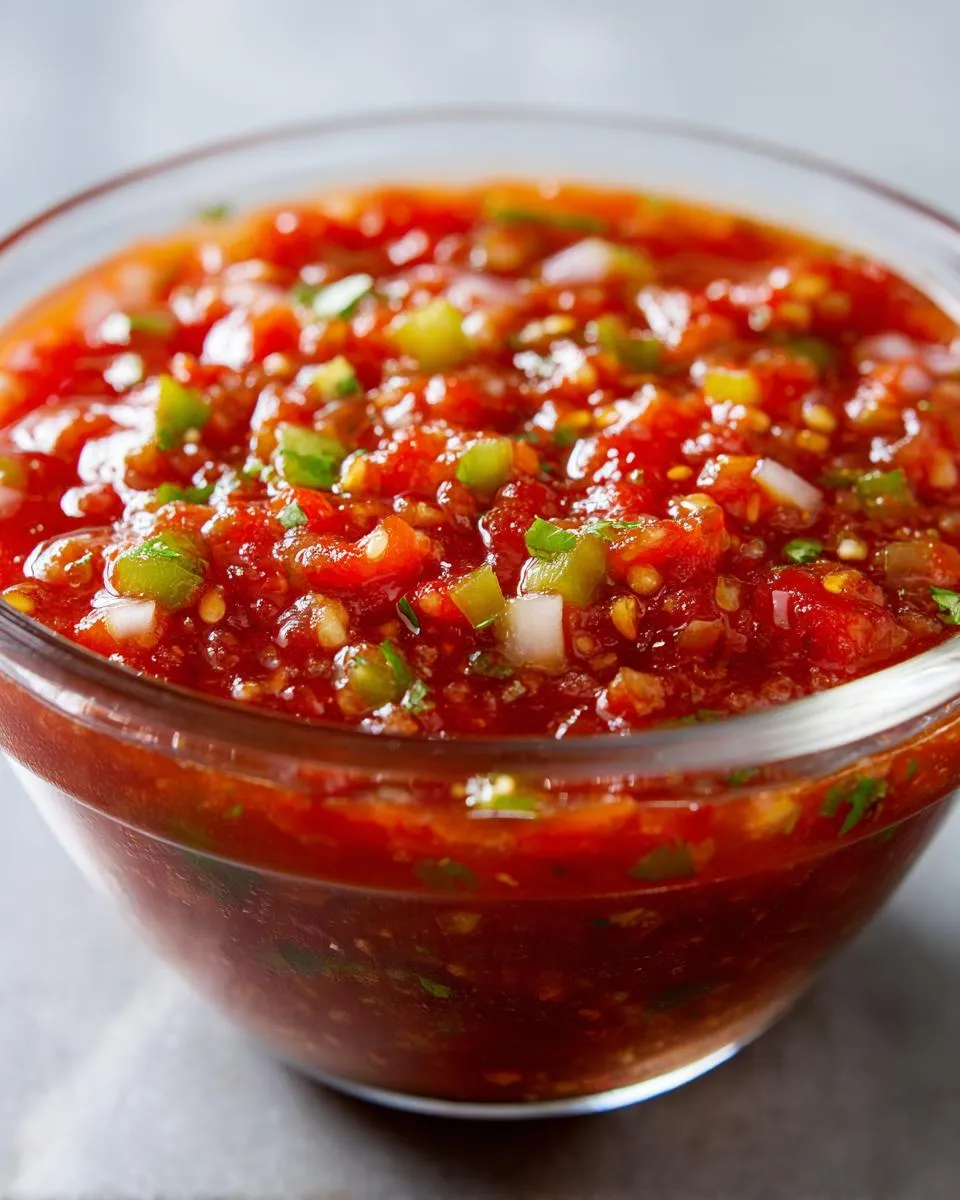
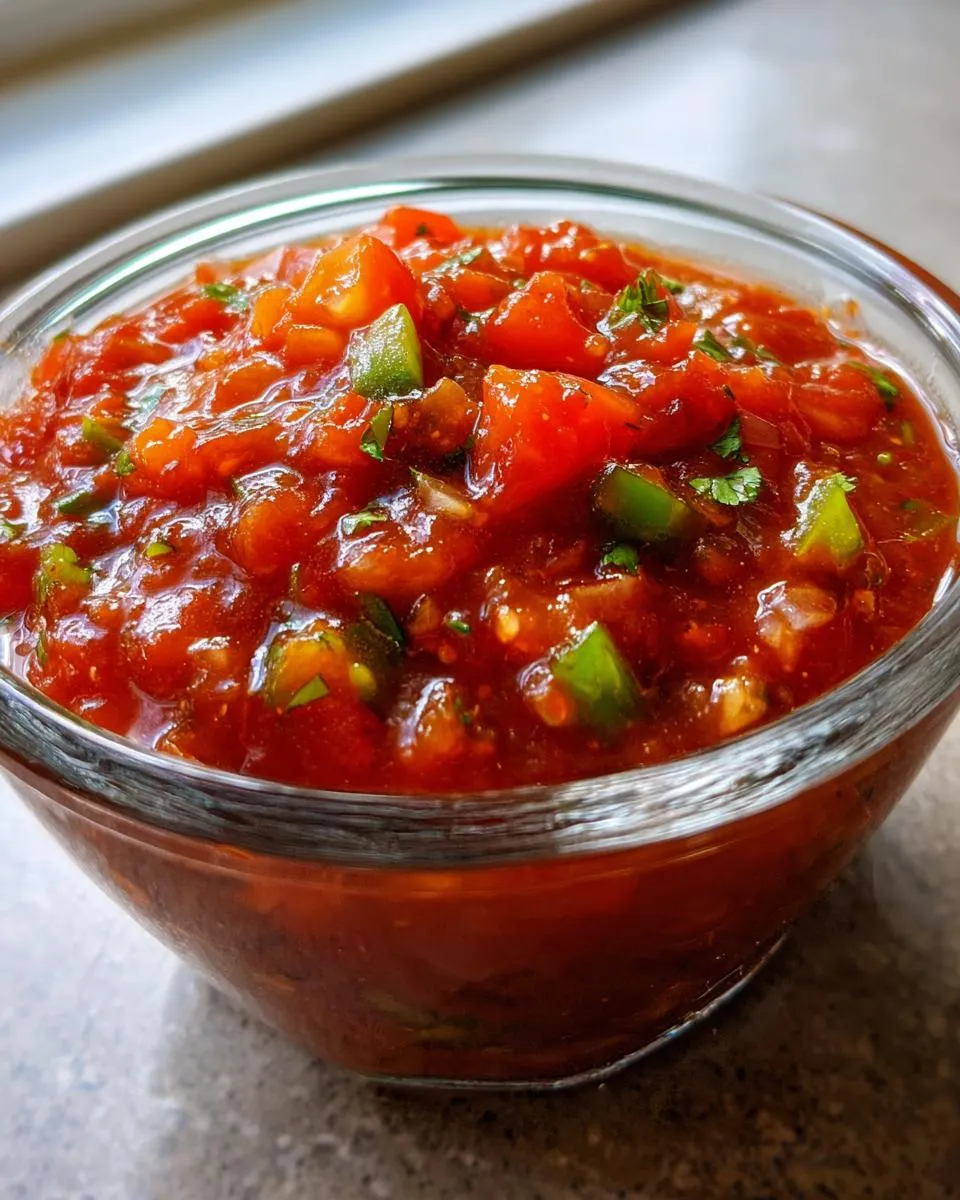
- Texture is your choice—keep it chunky for nachos or blend half for a smoother dip (my kids love it silky)
- Meal planning superstar—double batches freeze beautifully and jazz up everything from scrambled eggs to grilled chicken
The best part? It tastes like summer in a jar—even when there’s snow on the ground.
Ingredients for Homemade Salsa
Here’s exactly what you’ll need—straight from my canning notebook to yours! I’m picky about freshness, so no sad, mealy tomatoes allowed. Grab:
- 6 cups chopped tomatoes – Roma or plum tomatoes work best (less watery!), but use whatever’s ripe and red from your garden
- 2 cups chopped onions – I prefer yellow onions chopped fine enough that you don’t get big stringy bits
- 1 cup chopped green bell peppers – dice these about the same size as your onions
- 1 cup chopped jalapeños – gloves on for this! Leave seeds if you’re brave (I usually do half with seeds)
- 4 cloves minced garlic – fresh is non-negotiable here—none of that jarred stuff
- 1/2 cup chopped cilantro – stems and all, chopped roughly right before adding
- 1/4 cup lime juice – bottled is actually better for consistent acidity (grandma would gasp, but it’s true!)
- 1 tbsp salt – plain ol’ table salt does the job
- 1 tsp black pepper – freshly ground makes all the difference
See that lime juice measurement? That’s your safety buddy—don’t skip or reduce it unless you’re freezing instead of canning. Now let’s get chopping!
Equipment You’ll Need
Gathering the right tools is half the battle when making homemade salsa—especially for canning! Here’s what I always have on hand:
- Large heavy-bottomed pot – mine’s an old enameled cast iron Dutch oven that distributes heat perfectly
- Canning jars with new lids – pint jars are ideal (quart jars take too long to heat through)
- Wide-mouth funnel – trust me, this prevents more spills than I’d like to admit!
- Jar lifter – unless you fancy burned fingers (been there, learned that lesson)
- Water bath canner – or improvise with any deep pot that fits jars with 1-2 inches of water above them
No fancy gadgets needed—just solid basics that’ll last you through salsa season and beyond. The Dutch oven was my mom’s wedding gift, and thirty years later, it’s still going strong for my canning adventures!
How to Make Homemade Salsa
Alright, let’s dive into the fun part—turning those beautiful ingredients into jars of salsa you’ll be proud of! Follow these steps carefully for foolproof results every time. I promise, once you hear that satisfying “pop” of the lids sealing, you’ll be hooked on homemade salsa forever.
- Prep your jars first! Wash jars and lids in hot soapy water, then keep them warm in a 200°F oven until needed—this prevents cracking when you add hot salsa.
- Combine tomatoes, onions, bell peppers, jalapeños, and garlic in your largest pot. Stir gently—you want everything mingling but not turning to mush!
- Bring to a boil over medium heat—you’ll see tiny bubbles first around the edges. That’s your cue to start the timer for 10 minutes of simmering. Stir occasionally to prevent sticking.
- When tomatoes soften (they’ll look slightly translucent at the edges), add cilantro, lime juice, salt, and black pepper. Aroma alert—your kitchen will smell incredible now!
- Simmer 5 more minutes until flavors marry. Taste carefully (it’s hot!) and adjust salt if needed. Now’s when I sometimes blend half the batch for my smooth-salsa-loving niece.
- Ladle into warm jars immediately, leaving ½ inch headspace. Wipe rims with a clean damp cloth—any salsa residue can prevent sealing.
Preparing the Vegetables
Uniform chopping is the secret to perfect salsa texture! I dice tomatoes about ½-inch—small enough to simmer evenly but big enough to stay recognizable. Yellow onions and bell peppers get matched in size—¼-inch pieces work great. Now, jalapeños: gloves on! I learned the hard way when I rubbed my eye mid-chop last summer. Ouch! For extra safety, I mince garlic first so it distributes evenly throughout the salsa.
Canning Your Homemade Salsa
Here’s where safety shines: Process filled jars in a boiling water bath for 15 minutes (start timer when water returns to boil). That lime juice we added ensures proper acidity for safe canning at home—no shortcuts here! After processing, let jars cool undisturbed for 12 hours. Resist the temptation to push on the lids—just listen for that magical “ping” as they seal. Any unsealed jars go right in the fridge (lucky you—instant fresh salsa!). Properly sealed jars? They’ll keep up to a year in your pantry, ready to bring summer back anytime.
Tips for Perfect Homemade Salsa
After making this salsa every summer for nearly a decade, I’ve picked up some tricks that take it from good to “Can I have the recipe?” amazing. First, spice control is everything—start with half the jalapeños, taste after simmering, then add more if needed. My husband likes it fiery, so I usually sneak in an extra chopped habanero just for his jar (shh, don’t tell the kids!). For smoother salsa, pulse half the batch in the blender after cooking—doing it beforehand makes the texture weirdly foamy. And those tomatoes? Use the ugliest ones from your garden—the ones splitting at the seams are always the sweetest! Oh, and my secret weapon? A tablespoon of honey stirred in at the end—it doesn’t make it sweet, just balances all those bright, tangy flavors beautifully.
Variations to Try
Once you’ve mastered this basic homemade salsa, the fun really begins! One batch is never enough in my house—I love playing with different twists to keep our meal planning exciting. Craving something smoky? Toss in a couple of canned chipotle peppers (with that glorious adobo sauce) for deep, complex heat. Got sweet mangoes begging to be used? Swap half the tomatoes for diced mango—it’s incredible with fish tacos. And roasted garlic lovers? Swap fresh cloves for a whole head of caramelized roasted garlic stirred in at the end. Pure magic on burgers! Every variation jars up just as beautifully as the original, so don’t be afraid to get creative. Your future self will thank you when you’re dipping tortilla chips in homemade mango salsa come January!
FAQs About Homemade Salsa
Gosh, I get asked these questions so often—let me save you the frantic Googling mid-canning session! Here’s the real deal from my kitchen (and a few messy trial-and-error moments).
Can I skip the jalapeños if I don’t like spice?
Absolutely! I’ve made mild versions for kids’ parties—just swap in extra bell peppers. The salsa will still taste fresh and vibrant. But if you’re canning, keep the lime juice regardless—that acidity is your safety net!
How long does canned homemade salsa last?
Properly sealed jars? A good 12 months in the pantry (if you can resist eating it that long!). Once opened, fridge it and use within 2 weeks—though mine never lasts more than three days because we’re salsa monsters.
Is bottled lime juice really okay for safe canning?
Yes, and here’s why—fresh limes vary in acidity, but bottled is consistent. My food scientist friend confirmed it’s actually safer for water bath canning. Grandma might side-eye it, but we’re avoiding botulism here!
Can I use this salsa recipe for meal prep without canning?
You bet! It freezes beautifully in airtight containers for 3 months. Thaw overnight in the fridge—perfect for jazzing up quick weeknight meals when you’re too busy to cook.
Still have questions? My kitchen door (and salsa jar) is always open—drop them in the comments below!
Nutritional Information
Just between us, I’m not one to obsess over numbers—but I know some folks like to track things. Keep in mind these values are estimates (especially since my jalapeño-heavy batches probably pack more heat—and vitamin C—than milder versions!). Per 1/4 cup serving:
- Calories: about 25 (mostly from those glorious garden tomatoes!)
- Sodium: 200mg (from our essential canning salt)
- Sugar: 3g (nature’s sweetness from ripe tomatoes)
- Vitamin C: a nice little boost from peppers and lime
Honestly? I’d rather focus on the joy of eating something homemade with love—but if numbers help your meal planning, there you go!
Share Your Homemade Salsa Creations
Nothing makes me happier than seeing your salsa adventures! Did yours turn out extra spicy? Did the kids actually eat their veggies disguised in it? Snap a pic of those beautiful jars—I’d love to see your homemade salsa masterpieces. And if you hit any snags, just ask—we’ve all been there!
PrintHomemade Salsa for Canning
A tested water-bath salsa recipe with safe acidity, perfect for gardeners. Choose between chunky or smooth textures and adjust spice levels to your taste.
- Prep Time: 20 min
- Cook Time: 20 min
- Total Time: 40 min
- Yield: 4 pints 1x
- Category: Condiment
- Method: Canning
- Cuisine: Mexican
- Diet: Vegetarian
Ingredients
- 6 cups chopped tomatoes
- 2 cups chopped onions
- 1 cup chopped green bell peppers
- 1 cup chopped jalapeños
- 4 cloves minced garlic
- 1/2 cup chopped cilantro
- 1/4 cup lime juice
- 1 tbsp salt
- 1 tsp black pepper
Instructions
- Combine tomatoes, onions, bell peppers, jalapeños, and garlic in a large pot.
- Bring to a boil over medium heat, then reduce heat and simmer for 10 minutes.
- Stir in cilantro, lime juice, salt, and black pepper.
- Simmer for another 5 minutes.
- Ladle hot salsa into sterilized jars, leaving 1/2 inch headspace.
- Process jars in a water bath for 15 minutes.
Notes
- For a smoother salsa, blend half of the mixture before adding cilantro.
- Adjust jalapeños for desired spice level.
- Use fresh, ripe tomatoes for best flavor.
Nutrition
- Serving Size: 1/4 cup
- Calories: 25
- Sugar: 3g
- Sodium: 200mg
- Fat: 0g
- Saturated Fat: 0g
- Unsaturated Fat: 0g
- Trans Fat: 0g
- Carbohydrates: 5g
- Fiber: 1g
- Protein: 1g
- Cholesterol: 0mg
Nice recipe very easy and great to eatnee