 Skip to content
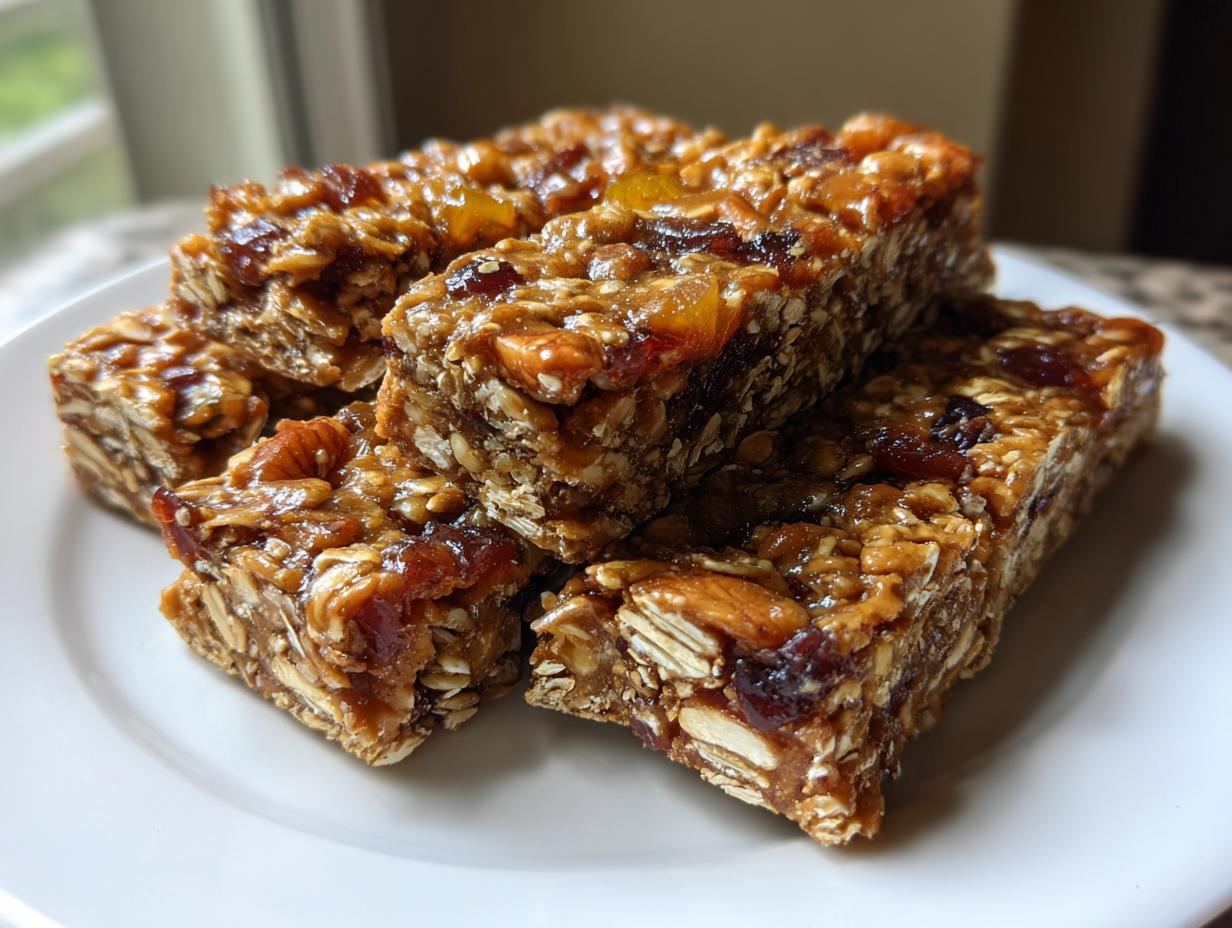

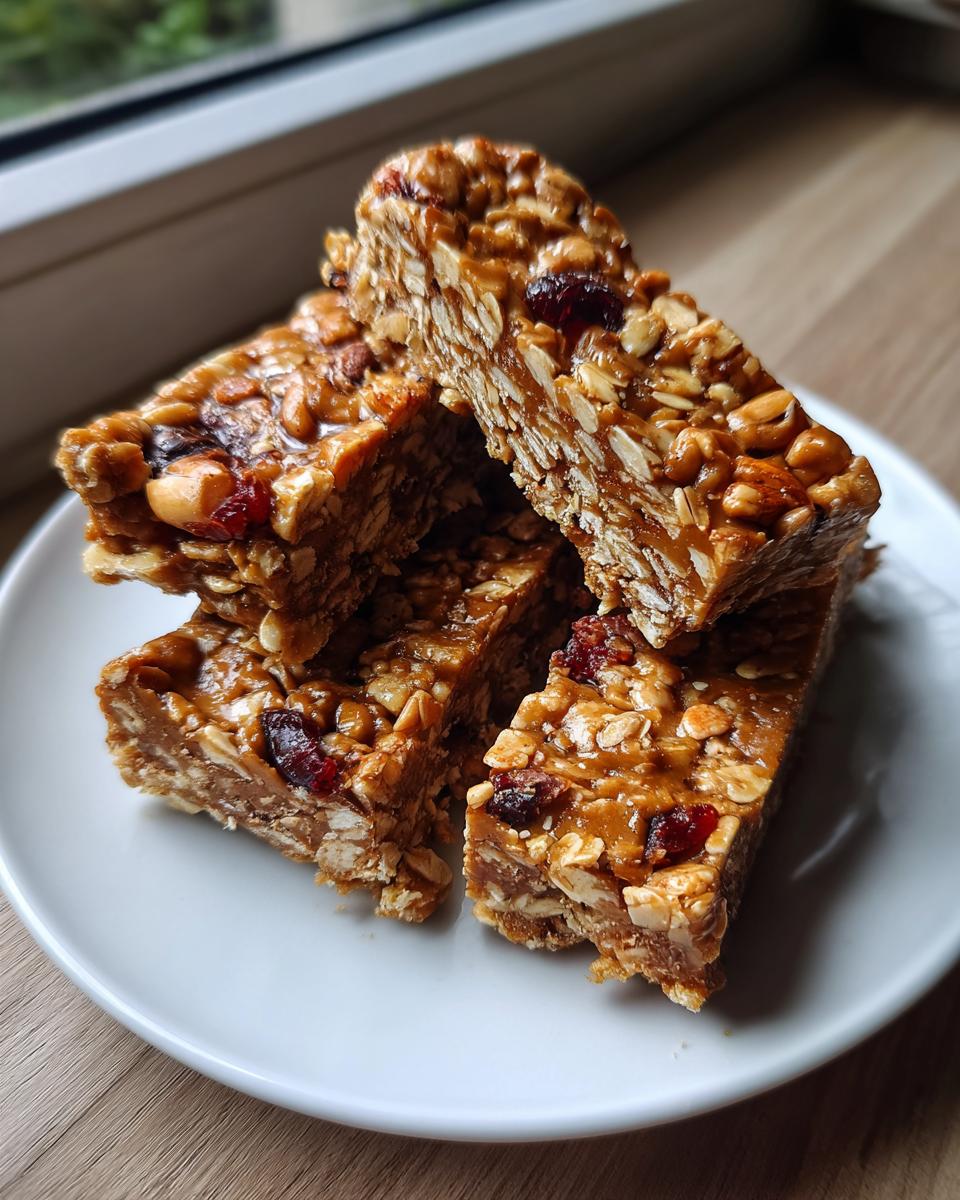
Let me tell you about my secret weapon for crazy weekday mornings—these homemade granola bars! They’re the kind of recipe that makes you feel like a genius parent without any of the stress. I swear by them ever since my daughter started kindergarten last year. Between packing lunches and scrambling out the door, these no-bake wonders became our saving grace.

This recipe actually comes from my grandmother’s old kitchen notebook—she’d make something similar for my dad’s lunchbox back in the 60s. Her version used whatever was in the pantry (even honey from their own beehives!), and that’s exactly what I love about it. Now I keep a batch in the fridge at all times—perfect for breakfast on-the-go, afternoon pick-me-ups, or those “Mom I’m starving!” moments right before soccer practice.
What makes these homemade granola bars so special? You literally stir everything together in one bowl, press it into a pan, and walk away. No oven required! They’re school-safe (easy to make nut-free), use way less sugar than store-bought kinds, and—this is my favorite part—kids can help mix the ingredients. Last weekend, my daughter decorated a batch with chocolate chips in the shape of her initials. Might not win any baking contests, but the pride on her face? Priceless.
- Why You'll Love These Homemade Granola Bars
- Ingredients for Homemade Granola Bars
- How to Make Homemade Granola Bars
- Tips for Perfect Homemade Granola Bars
- Variations for Your Homemade Granola Bars
- Storing and Freezing Homemade Granola Bars
- Nutritional Information for Homemade Granola Bars
- Frequently Asked Questions
- Share Your Homemade Granola Bars Experience
Why You’ll Love These Homemade Granola Bars
Listen, I’ve tried every granola bar under the sun—the crumbly ones, the too-sweet ones, the suspiciously shiny ones that stick to your teeth—and these? These are different. Here’s why you’re going to be obsessed:
- No oven required – Perfect for when your kitchen feels like a sauna or you’re just done with dishes for the day
- Use what you’ve got – That half-empty bag of pecans? Those random dried cranberries? Toss ’em in!
- Just enough sweetness – Only ¼ cup honey for the whole batch (compare that to the 12g sugar PER BAR in most store brands!)
- Meal prep magic – Whip up a double batch Sunday night and you’re set for breakfasts and snacks all week
- Kid-approved – My picky eater actually begs for these (shocking, I know)
The best part? You control what goes in them. No weird preservatives or mystery “natural flavors”—just real ingredients that you can actually pronounce. Trust me, once you taste that peanut butter-honey goodness, those overpriced bars at the checkout aisle won’t stand a chance.
Ingredients for Homemade Granola Bars
Okay, let’s talk ingredients! The beauty of these homemade granola bars lies in their simplicity. I always joke that you probably have 80% of this stuff in your pantry right now. Here’s what you’ll need—and don’t stress, I’ll give you all my favorite swaps too!
Dry Ingredients
- 2 cups rolled oats – Not quick oats! The old-fashioned kind give the best chewy texture
- 1/4 cup chopped nuts – Almonds, walnuts, whatever you fancy (or leave out for nut-free schools)
- 1/4 cup dried fruit – My grandmother always used raisins, but cranberries or chopped apricots work great
- Pinch of salt – Just a tiny bit to balance the flavors
Wet Ingredients
- 1/2 cup peanut butter – Creamy works best, but crunchy adds nice texture
- 1/4 cup honey – Look for the good local stuff if you can find it
- 1 tsp vanilla extract – The real deal, not imitation—it makes a difference!
My go-to substitutions: Out of peanut butter? Almond butter works beautifully. Vegan? Maple syrup swaps in perfectly for honey. Want extra protein? Stir in a scoop of protein powder with the dry ingredients (just add an extra splash of honey).
A quick tip—measure your peanut butter in a glass measuring cup, then use the same one for honey. That way, the honey slides right out!
How to Make Homemade Granola Bars
Alright, let’s get mixing! These homemade granola bars come together so fast, you’ll laugh when you realize how much money you’ve been wasting on store-bought ones. Just follow these simple steps—the only tricky part is waiting those two hours for them to chill (but hey, that’s when I fold laundry. Or, more honestly, scroll Instagram).
Step 1: Mix Dry Ingredients
Grab your biggest mixing bowl (I like to use the one my grandma gave me—it makes me feel fancy) and dump in your rolled oats. Here’s why we’re using old-fashioned rolled oats instead of quick oats: those thick flakes hold their shape better, giving you that perfect chewy texture instead of turning mushy. Toss in your chopped nuts and dried fruit—don’t be shy about mixing up the combinations! I usually let my daughter pour these in because it’s basically foolproof and makes her feel involved.
Step 2: Prepare Wet Mixture
Now for the magic glue! In a small saucepan over low heat, warm the peanut butter and honey together. You just want them warm enough to combine easily—about 30 seconds of stirring does it. Overheating will make your bars oily, so take it slow. Remove from heat and stir in the vanilla and that tiny pinch of salt (this is when my kitchen smells absolutely heavenly). Pro tip: If you forgot to take the peanut butter out of the fridge, just pop the closed jar in warm water for 5 minutes first.
Step 3: Combine and Chill
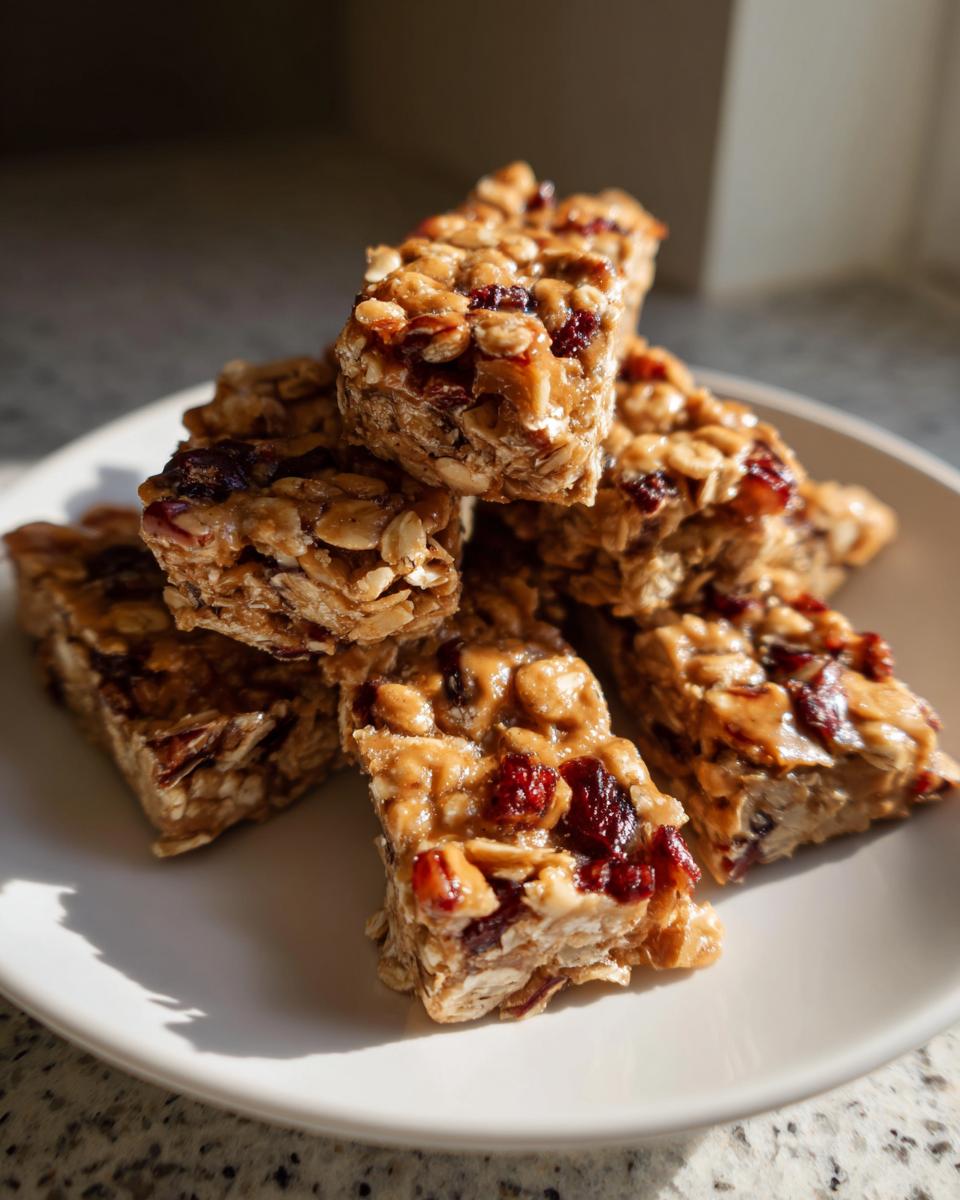
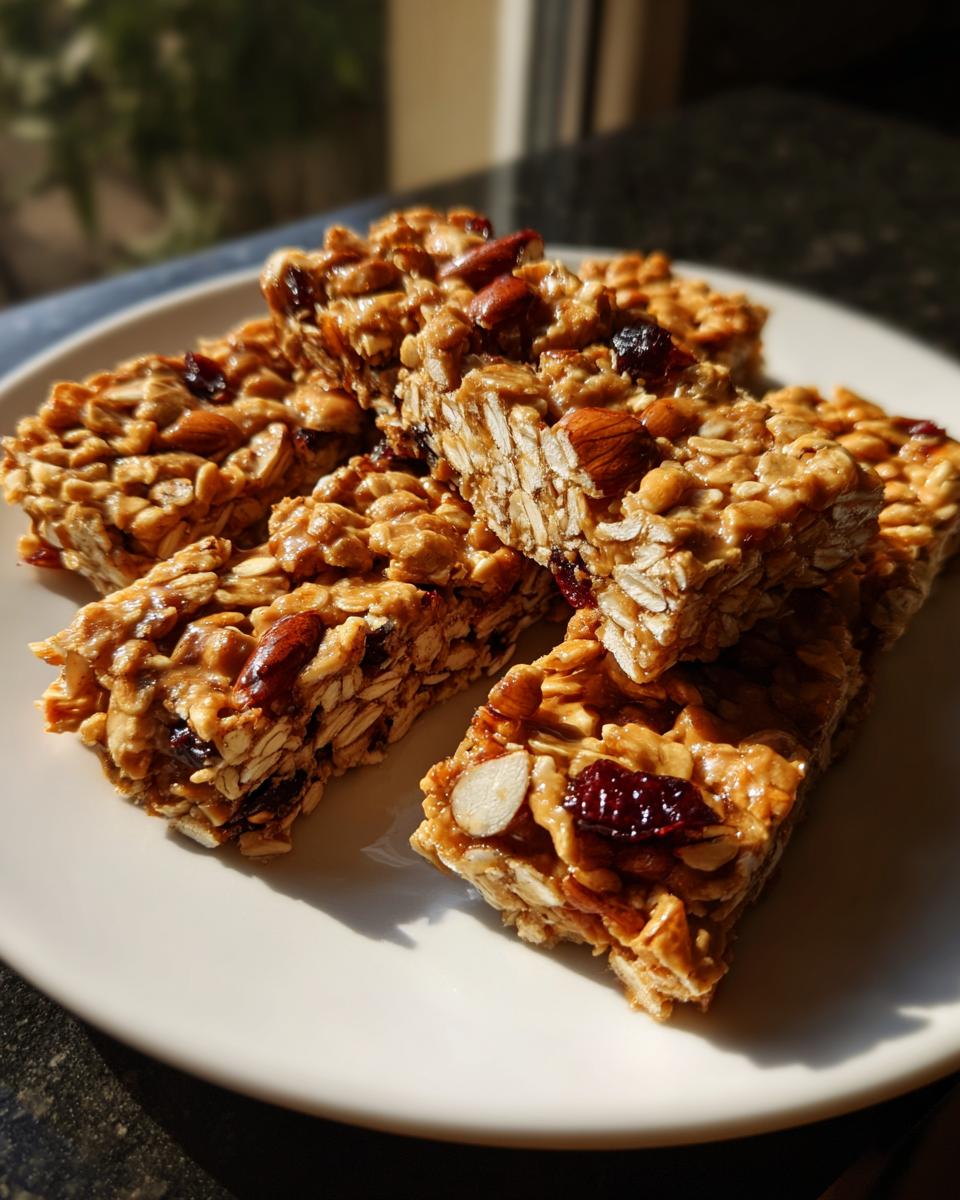
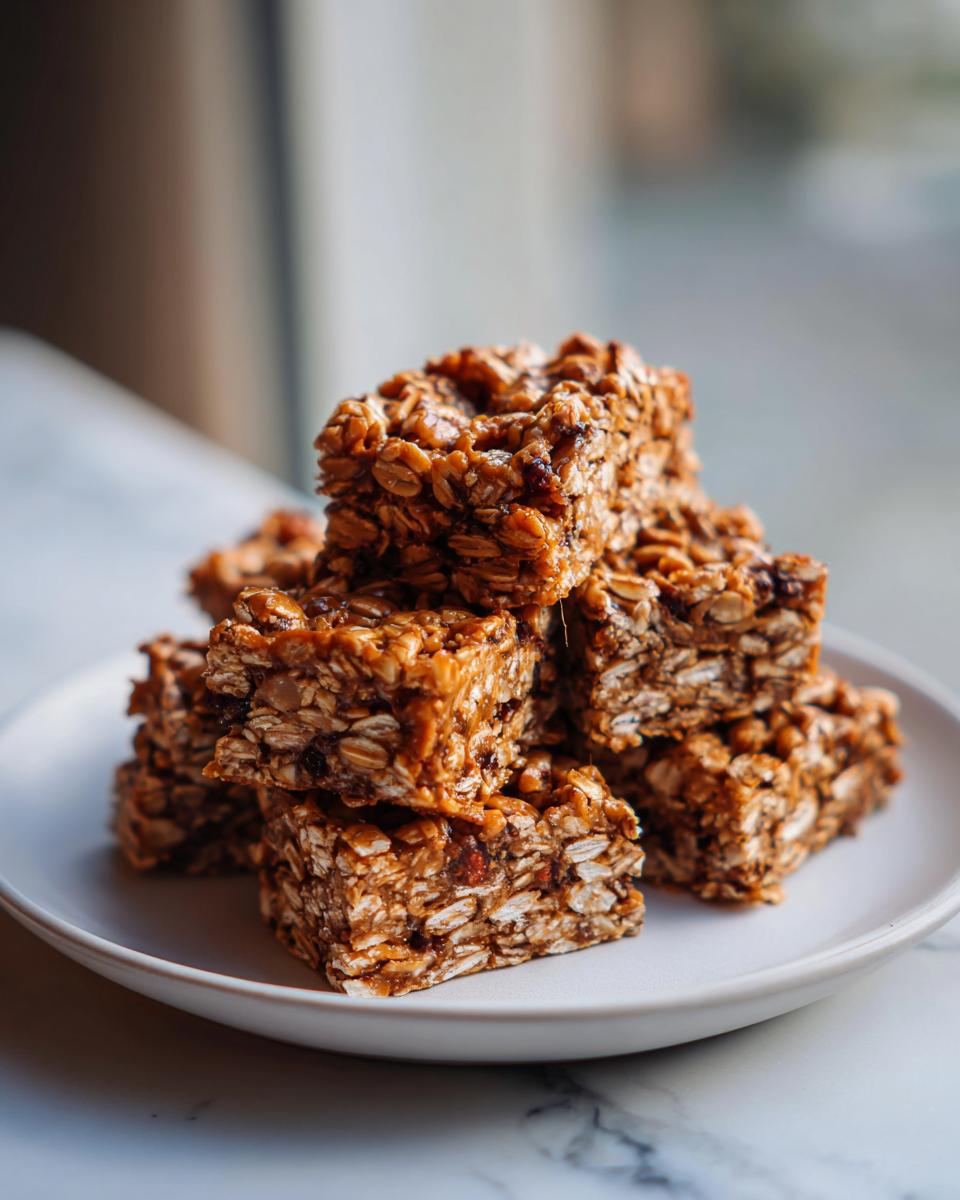
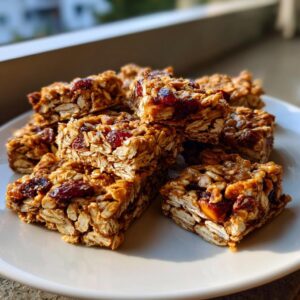
Pour your warm peanut butter mixture over the dry ingredients and stir until every single oat is coated—no dry spots allowed! This is where muscle comes in handy; really work that spoon around. Then, transfer everything to a parchment-lined 8×8 inch pan. Here’s the secret to bars that hold together: press hard with the back of a measuring cup or spatula. I mean, put some elbow grease into it! Then comes the hardest part—refrigerate for at least 2 hours (I knowww, the wait kills me too). This chill time lets the honey and peanut butter set up properly so your bars won’t crumble when you slice them.
When they’re finally ready, lift them out by the parchment paper—it’ll feel like uncovering buried treasure—and cut into bars however big you like. My husband’s “snacking size” is drastically different from my toddler’s, so we go for a mix in our house. Store leftovers (if you have any!) in an airtight container between layers of parchment—they’ll keep for a week… in theory. Ours never last that long!
Tips for Perfect Homemade Granola Bars
Okay, confession time—my first batch of these homemade granola bars turned into granola crumbs. Total disaster! But after lots of trial and error (and a few frustrated snack cravings), I figured out the tricks to keep them perfectly chewy and intact. Here are my hard-won secrets:
Parchment paper is your BFF. Line that pan like your bars’ lives depend on it—because they kind of do! Leave some overhang on the sides, and you’ll lift out the whole slab effortlessly. No more digging chunks out with a butter knife.
Press harder than you think you need to. When I say “press firmly,” I mean put your whole body weight into it! My grandma used to literally stand on a smaller pan (wrapped in plastic, obviously—she was wild but not that wild). You want zero air pockets.
Storage hack: Layer bars between parchment in an airtight container—they’ll stick together otherwise. For school lunches, I wrap them individually like little presents. If your kids are anything like mine, they’ll still manage to smoosh them in their backpacks, but at least you tried!
Sweetness control: For toddlers or sugar-conscious families, reduce the honey to 2 tablespoons and add an extra tablespoon of peanut butter. The dried fruit’s natural sweetness usually makes up the difference. My niece’s daycare requires no added sugar, so I skip the honey entirely and use mashed banana instead—works like a charm!
Variations for Your Homemade Granola Bars
The thing I love most about these homemade granola bars? You can change them up about a million different ways depending on your mood, what’s in your pantry, or who you’re feeding. Here are some of my family’s favorite twists—each one feels like a whole new snack!
- Chocolate chip delight: Stir in ¼ cup mini chocolate chips after mixing (or press them onto the top—kids go crazy for this)
- Tropical vibes: Swap the nuts for shredded coconut and add chopped dried mango
- Seeds galore: Perfect for nut-free schools! Use sunflower seeds and pepitas instead of nuts
- Gluten-free: Just make sure your oats are certified GF (regular oats often get cross-contaminated)
- Protein boost: Mix in 2 tablespoons of chia seeds or ground flax for staying power
- Vegan version: Use maple syrup instead of honey and choose dairy-free chocolate chips
My husband’s current obsession? Peanut butter cup bars—just add chopped dark chocolate to the mixture and sprinkle sea salt on top before chilling. (Yes, he’s basically a grown-up five-year-old.) The possibilities are endless—that’s why I always double the batch and make two different kinds. Happy experimenting!
Storing and Freezing Homemade Granola Bars
Let me tell you about my granola bar survival strategy—because let’s be real, if they’re not stored right, you’ll be left with a sad pile of crumbs (been there!). These babies keep beautifully in an airtight container at room temp for about a week—just tuck a piece of parchment between layers to prevent sticking. But here’s my real secret: they freeze amazingly well!
For school lunches, I wrap individual bars in parchment, then stash them all in a freezer bag. Grab one while packing lunches—it’ll thaw perfectly by noon time (no soggy mess!). They stay fresh frozen for up to 3 months, though between my kids and husband sneaking midnight snacks straight from the freezer, ours never last that long. Bonus? Frozen granola bars make killer “ice cream” sandwiches when you’re feeling fancy!
Nutritional Information for Homemade Granola Bars
Let me be totally upfront with you—I’m not a nutritionist, just a mom who obsessively reads packaging while grocery shopping! But here’s the estimated breakdown per bar (based on cutting the batch into 12):
- Calories: 150
- Fat: 7g (only 1g saturated)
- Carbs: 18g
- Fiber: 2g
- Sugar: 8g (all natural from honey/dried fruit)
- Protein: 4g
Now, full disclosure—your numbers might dance around a bit depending on whether you went wild with chocolate chips or swapped in different nuts. My “everything but the kitchen sink” version with coconut and dark chocolate? Yeah, those clock in closer to 180 calories (worth it!). The beauty of homemade is you control exactly what goes in—perfect whatever your meal planning goals happen to be.
Frequently Asked Questions
Can I use quick oats instead of rolled oats?
I totally get it—sometimes quick oats are all you’ve got! But for the best chewy granola bars, old-fashioned rolled oats are the way to go. Quick oats tend to break down and make your bars more powdery. If you’re in a pinch, you can use them, but add an extra tablespoon of peanut butter to help hold everything together. Trust me, it’s worth digging to the back of the pantry for those hearty rolled oats!
Are these homemade granola bars gluten-free?
They can be! Regular oats are naturally gluten-free, but they’re often processed in facilities with wheat. If you need truly gluten-free bars (for meal planning or dietary needs), just grab certified GF oats. All the other ingredients—peanut butter, honey, dried fruit—are naturally gluten-free too. My cousin with celiac swears by this recipe with GF oats—she keeps a batch in her freezer for emergencies!
How do I make nut-free granola bars for school?
Easy peasy! Just swap the peanut butter for sunflower seed butter (it tastes shockingly similar) and skip the chopped nuts. I use this trick all the time—my daughter’s best friend has a tree nut allergy. Add some toasted sunflower or pumpkin seeds for crunch if you want. These no-bake granola bars pass every school’s allergy policy with flying colors!
Can I add protein powder to make these healthier snack bars?
Absolutely! When my teenage nephew started lifting weights, we tweaked the recipe by adding a scoop of vanilla protein powder to the dry mix. Just reduce the oats by ¼ cup to balance it out, and maybe add an extra drizzle of honey if the batter seems dry. The bars come out slightly denser but pack a protein punch—perfect after workouts!
Why are my homemade granola bars falling apart?
Oh honey, I’ve been there! Two likely culprits: either you didn’t press them firmly enough (remember, pretend you’re squishing a bug—with love!), or they didn’t chill long enough. Warm kitchens require at least 3 hours in the fridge. If they still crumble? Stir in an extra spoon of peanut butter next time—it’s the magical binder that holds your healthy snack bars together!
Share Your Homemade Granola Bars Experience
Alright, it’s your turn now! I want to hear all about your granola bar adventures—did your kids go nuts for the chocolate chip version? Maybe you invented some crazy new combo with pretzels and marshmallows? (Actually…that sounds amazing—I might steal that idea!) Snap a pic next time you whip up a batch and tag me—nothing makes me happier than seeing your creative twists on this recipe. And seriously, tell me about YOUR secret ingredient—I’m always looking for new flavor combis to try during my weekly meal planning sessions!
PrintHomemade Granola Bars
Easy no-bake granola bars with pantry staples, minimal sugar, and school-safe ingredients.
- Prep Time: 10 min
- Cook Time: 0 min
- Total Time: 2 hours 10 min
- Yield: 12 bars 1x
- Category: Snack
- Method: No-Bake
- Cuisine: American
- Diet: Vegetarian
Ingredients
- 2 cups rolled oats
- 1/2 cup peanut butter
- 1/4 cup honey
- 1/4 cup chopped nuts
- 1/4 cup dried fruit
- 1 tsp vanilla extract
- Pinch of salt
Instructions
- Mix oats, nuts, and dried fruit in a bowl.
- Warm peanut butter and honey in a saucepan until smooth.
- Stir in vanilla and salt.
- Pour the wet mixture over the dry ingredients and mix well.
- Press firmly into a lined pan and refrigerate for 2 hours.
- Cut into bars and store in an airtight container.
Notes
- Swap peanut butter for almond butter if needed.
- Use maple syrup instead of honey for a vegan option.
- Add chocolate chips for extra sweetness.
Nutrition
- Serving Size: 1 bar
- Calories: 150
- Sugar: 8g
- Sodium: 50mg
- Fat: 7g
- Saturated Fat: 1g
- Unsaturated Fat: 4g
- Trans Fat: 0g
- Carbohydrates: 18g
- Fiber: 2g
- Protein: 4g
- Cholesterol: 0mg