 Skip to content
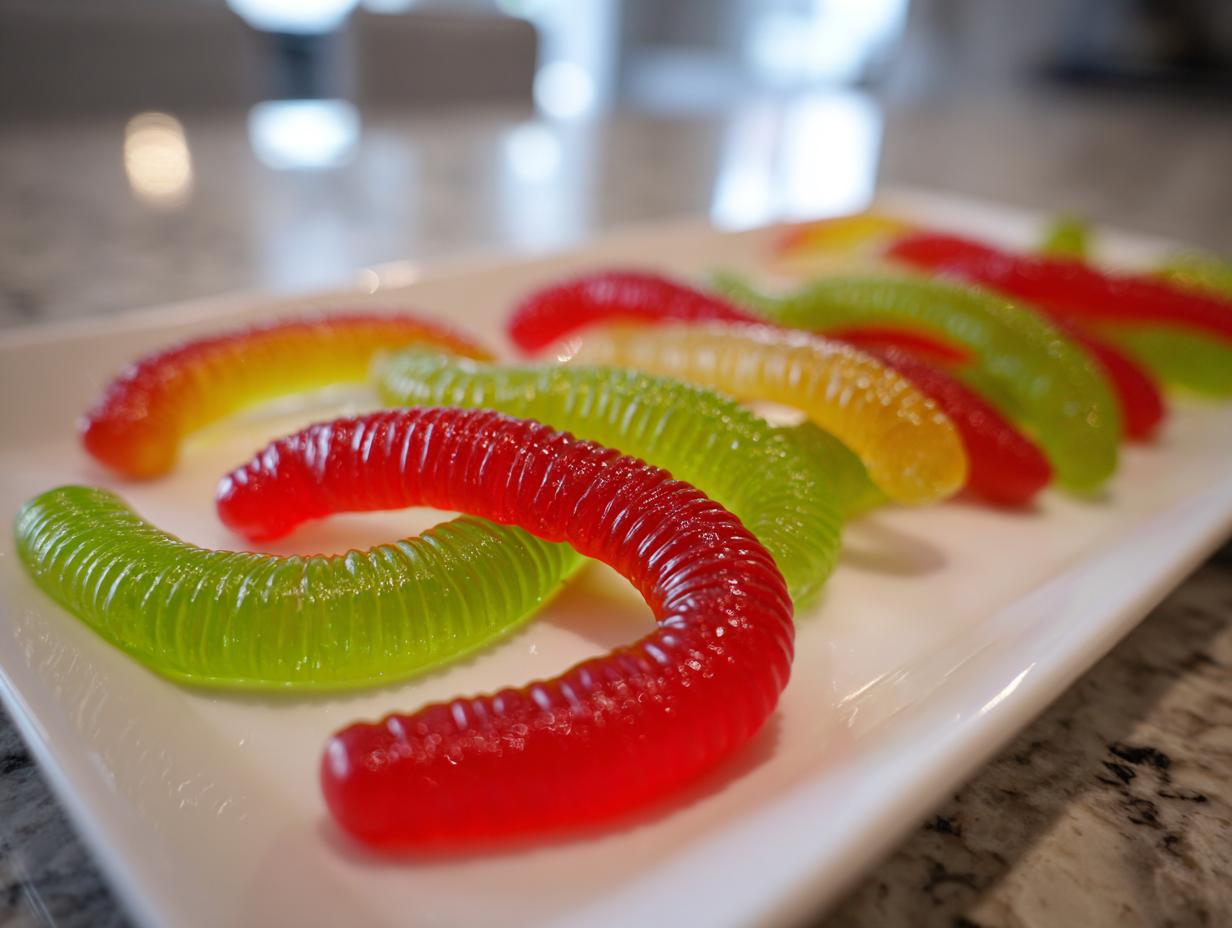

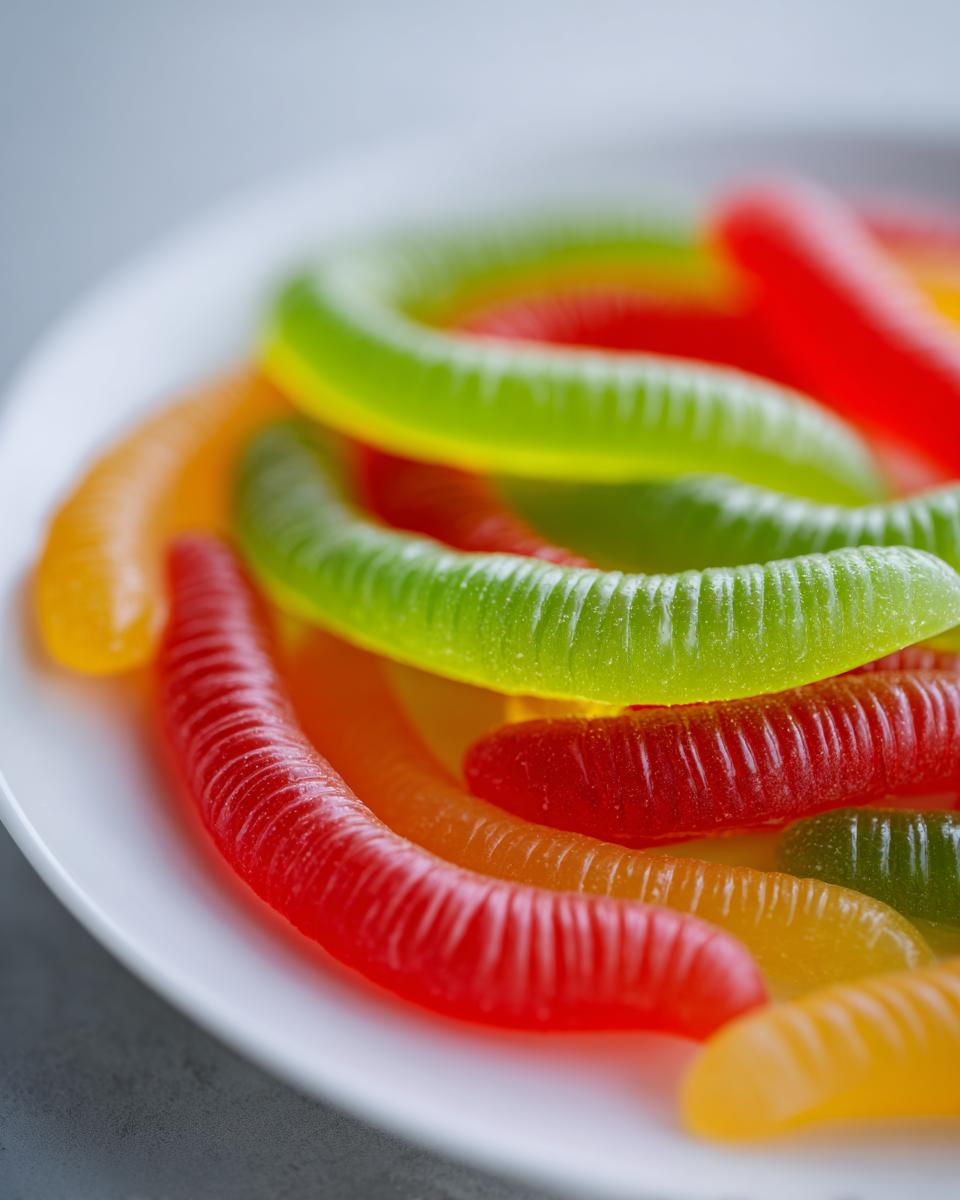
Oh, Halloween! It’s one of my absolute favorite times of year, and you know what that means – creepy, crawly, totally fun treats! My kids *live* for Halloween, and nothing gets them more excited than these wiggly, jiggly Halloween Jello Worms. They look so deliciously gross, right? Like they just slithered out of some spooky swamp! It’s always chaos in the kitchen when we make these, with giggles and shrieks, but trust me, they’re super simple and turn out looking SO cool. Making memorable holiday treats like these Halloween Jello Worms is what Carla’s Cooking is all about, and these little guys definitely deliver!

- Why You'll Love These Halloween Jello Worms
- Ingredients for Spooky Halloween Jello Worms
- How to Make Halloween Jello Worms: Step-by-Step
- Tips for Perfect Halloween Jello Worms
- Serving Your Gross but Tasty Halloween Food
- Frequently Asked Questions About Halloween Jello Worms
- Nutritional Information
- Share Your Spooky Creations!
Why You’ll Love These Halloween Jello Worms
Honestly, these little guys are a total win for so many reasons!
- They’re SO easy to make: Seriously, if you can boil water and stir, you can make these. Perfect for little helpers in the kitchen!
- Super spooky visual appeal: They just look so gross and fun, don’t they? The wiggly texture and creepy colors are perfect for any Halloween party, and they’ll get tons of reactions.
- Surprisingly delicious: Don’t let their looks fool you! The combination of fruity jello and that touch of creamy sweetness is a hit with kids and adults alike.
- Completely customizable: Want different colors? Different flavors? Go for it! You can totally tweak these to match your party theme.
- Make-ahead magic: These are wonderful for getting a head start. Just pop them in the fridge and you’re good to go for the party!
Ingredients for Spooky Halloween Jello Worms
Alright, gathering your ingredients is the first fun step! You don’t need anything too fancy for these wiggly wonders. Here’s exactly what you’ll want to have on hand:
- 1 package (3 oz) lime flavored gelatin: This gives us that classic bright green, perfectly spooky color!
- 1 package (3 oz) strawberry flavored gelatin: For that second color and a yummy fruity flavor contrast.
- 2 cups boiling water, divided: You’ll split this between the two jello flavors.
- 1 cup cold water, divided: Same here, split for each flavor.
- 1/2 cup evaporated milk: This is our secret weapon for making that creamy, opaque layer that looks so much like a real worm!
- 1/4 cup granulated sugar: Just a touch to sweeten up that creamy milk mixture.
- 1 teaspoon vanilla extract: For a little extra flavor boost in the creamy part.
- Plastic drinking straws: These are what give our worms their shape! Make sure they’re clean and ready to go.
- Cooking spray or a little oil: You’ll need a tiny bit to lightly grease the inside of the straws so the jello slides right out.
How to Make Halloween Jello Worms: Step-by-Step
Alright, get ready for some fun in the kitchen! Making these spooky little critters is easier than you think. Just follow these steps, and you’ll have a whole bunch of wiggly, jiggly worms ready to freak out your party guests! These are perfect by themselves or when you make your spooky Halloween Dirt Cups!
Preparing the Jello Bases
First things first, let’s get our jello ready. You’ll need two bowls for this! In one bowl, dump your lime jello and pour in 1 cup of boiling water. Stir it all up until every bit of that powder dissolves – you don’t want any grainy bits! Then, stir in 1/2 cup of cold water. Repeat this exact same process in the second bowl with your strawberry jello. Easy peasy!
Creating the Creamy Jello Mixture
Now for the magic creamy layer! Grab a small saucepan and pour in your evaporated milk. Add the sugar and vanilla extract. Heat it all up gently over low heat, just stirring until the sugar is completely dissolved. Promise me you won’t let it boil, okay? Just warm and smooth. Take it off the heat and let it cool for just a few minutes so it’s not crazy hot when it meets the jello.
Filling the Straws for Halloween Jello Worms
This is where they really start looking like worms! Lightly spray the inside of your plastic straws with cooking spray or a little oil. This is super important so they slide right out later! Stand your straws upright in a tall glass or a jar. Now, carefully pour about half of your opaque lime jello mixture into the straws – you know, the one you mixed with the creamy stuff earlier. Then, top that off with your clear strawberry jello, filling the straws almost to the top. You want to get a nice layered look!
Chilling and Demolding Your Jello Worms
Okay, the hardest part: waiting! Pop that glass with the filled straws right into the fridge. You need to let them chill for at least 4 to 6 hours, but honestly, overnight is even better. That ensures they’re super firm and ready to pop out without breaking. Once they’re totally set, gently squeeze the jello out of the straws. Sometimes they slide right out, other times I use a little skewer or even a toothpick to gently push them out. If you have trouble, check out these demold jello worms tips!
Tips for Perfect Halloween Jello Worms
Okay, so you’ve got the basic idea down, but let’s talk about how to make these Halloween Jello Worms absolutely PERFECT! I’ve learned a few tricks over the years that really make them shine, making them look super creepy but taste totally delicious. It’s all about those little details that make a big difference, you know? These tips will definitely help make your spooky treats a huge hit, just like my Halloween Deviled Eggs are!
Color and Flavor Variations for Halloween Jello Worms
Don’t feel like you HAVE to stick to lime and strawberry! Get creative! Think grape for a deep purple worm, or lemon for a pale yellow. Cherry can give you a nice reddish-pink. You can even mix a few colors together for a swirly effect. If you want a really vibrant, almost neon look, a tiny drop of food coloring (make sure it’s food-safe!) can really amp up the spookiness. Just a little bit goes a long way!
Achieving Thicker Worms
Want your worms to be a little more substantial, more… *wormy*? Here’s a little secret: let your jello mixtures (both the clear and opaque ones) sit at room temperature for like 10-15 minutes, or even pop them in the fridge for just a few minutes to get them *slightly* thickened before you fill your straws. This makes them a bit less runny and gives you a fatter, wonderfully creepy worm!
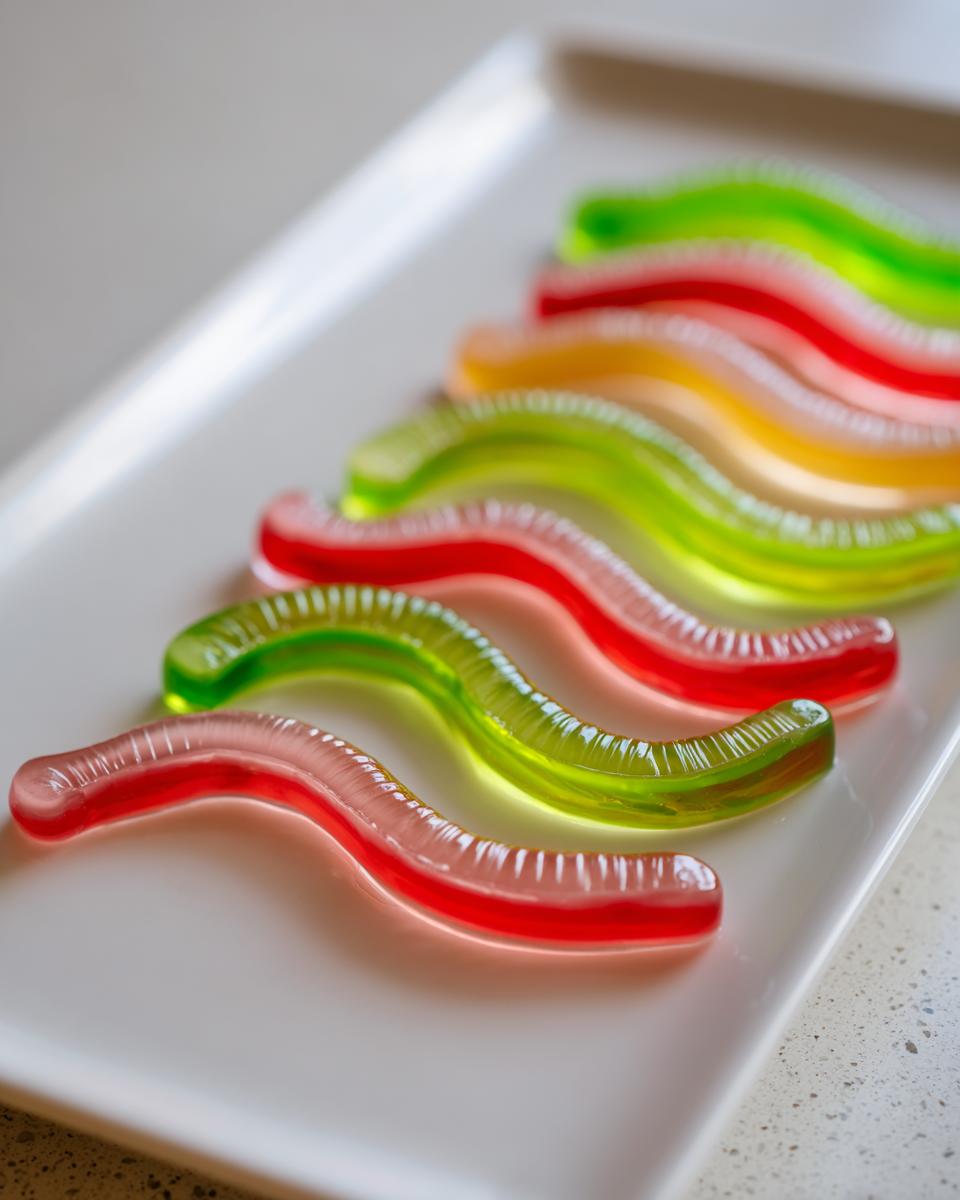
Serving Your Gross but Tasty Halloween Food
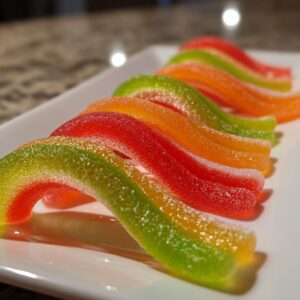
Okay, so you’ve made these amazing Halloween Jello Worms, and now it’s time to show them off! They look fantastic just piled on a platter, but if you want to really up the creepy factor, try serving them in “dirt cups.” That’s just crushed chocolate cookies (like Oreos!) mixed with some pudding – it makes a perfect muddy base for your worms to slither out of. You can also arrange them around other fun treats like my pancake art monsters or spooky Oreo truffles. Seriously, anything that looks a little messy and dark makes a great backdrop for these gross but tasty guys!
Frequently Asked Questions About Halloween Jello Worms
Got questions? I’ve got answers! Making these creepy crawly treats is usually a breeze, but sometimes a little extra tip can make all the difference. Here are some common things people ask about these spooky guys:
Can I make Halloween Jello Worms ahead of time?
Oh yes, absolutely! These are perfect make ahead Halloween treats. Once they’re fully chilled and out of the straws, you can store them in an airtight container in the fridge for a couple of days. They might get a *tiny* bit sticky, but they’ll still be just as delicious and creepy!
What are the best food-safe colors for Halloween Jello Worms?
The jello itself gives you great colors like green and red, but if you want even more vibrant, Halloween-y shades, just add a tiny bit of food coloring *after* you’ve dissolved the jello powder. Make sure you use food-safe liquid or gel colors! For a more natural route, beet juice can give you a pinkish-red, and spinach juice (though it sounds weird, it works!) can help with green. Just remember a little goes a long way!
How do I ensure my Halloween Jello Worms come out of the straws cleanly?
The trick is to lightly grease the inside of those straws *before* you fill them. A quick spray of cooking oil or even a tiny bit of vegetable oil works wonders. Also, make sure your jello is completely firm – chilled overnight is best! Once they’re set, try gently squeezing the flexible straw, or use a thin skewer or toothpick to very carefully ease them out. Sometimes a quick dip in warm (not hot!) water for the outside of the straw can help too!
Nutritional Information
Alright, so these spooky little worms are pretty light on calories, which is always a win when you’re loading up on Halloween treats! Keep in mind that these numbers are just estimates, of course. Depending on the specific brands of jello and other ingredients you use, your totals might be a little different. Each worm has roughly:
- Calories: Around 50
- Sugar: About 12g
- Fat: Around 1g
- Carbohydrates: About 10g
Share Your Spooky Creations!
Alright, spooky bakers, I’ve shared all my secrets for making these creepy-crawly Halloween Jello Worms! Now it’s YOUR turn! Did you make them? How’d they turn out? I absolutely LOVE seeing your creations and hearing your stories! Please, leave a comment below and let me know how your worms slithered into existence. And if you have any other brilliant Halloween treat ideas, don’t be shy – you can always reach out!
PrintHalloween Jello Worms
Create spooky, wiggly jello worms for your Halloween party using a simple straw technique. These are a fun and gross-tasting treat for kids.
- Prep Time: 20 min
- Cook Time: 10 min
- Total Time: 6 hours 30 min
- Yield: Approximately 20-30 worms 1x
- Category: Dessert
- Method: Chilling
- Cuisine: American
- Diet: Vegetarian
Ingredients
- 1 package (3 oz) lime flavored gelatin
- 1 package (3 oz) strawberry flavored gelatin
- 2 cups boiling water, divided
- 1 cup cold water, divided
- 1/2 cup evaporated milk
- 1/4 cup granulated sugar
- 1 teaspoon vanilla extract
- Plastic drinking straws
- Cooking spray
Instructions
- Prepare the lime jello: In a bowl, dissolve the lime gelatin in 1 cup of boiling water. Stir in 1/2 cup of cold water.
- Prepare the strawberry jello: In a separate bowl, dissolve the strawberry gelatin in 1 cup of boiling water. Stir in 1/2 cup of cold water.
- Prepare the creamy mixture: In a saucepan, combine evaporated milk, sugar, and vanilla extract. Heat gently until sugar dissolves. Do not boil. Let cool slightly.
- Combine creamy mixture with jello: Pour half of the lime jello mixture into the creamy mixture. Stir to combine. This will be your opaque lime jello.
- Fill straws: Lightly spray the inside of your plastic straws with cooking spray. Place the straws upright in a tall glass or jar.
- Add jello to straws: Carefully pour the opaque lime jello into the straws, filling them about halfway. Then, pour the clear strawberry jello into the straws, filling them almost to the top.
- Chill: Place the straws in the refrigerator and chill for at least 4-6 hours, or until firm. For best results, chill overnight.
- Demold the worms: Once firm, gently squeeze the jello out of the straws. You can also use a skewer or toothpick to help push them out.
- Serve: Arrange the jello worms on a platter or in dirt cups (crushed chocolate cookies with pudding) for a spooky effect.
Notes
- For best results, ensure your jello is fully set before attempting to demold.
- You can use other gelatin flavors and colors for different worm effects.
- Chill the jello mixture before filling the straws for thicker worms.
- Consider using a meal planning service to organize your Halloween party treats.
Nutrition
- Serving Size: 1 worm
- Calories: 50
- Sugar: 12g
- Sodium: 10mg
- Fat: 1g
- Saturated Fat: 1g
- Unsaturated Fat: 0g
- Trans Fat: 0g
- Carbohydrates: 10g
- Fiber: 0g
- Protein: 1g
- Cholesterol: 0mg