 Skip to content
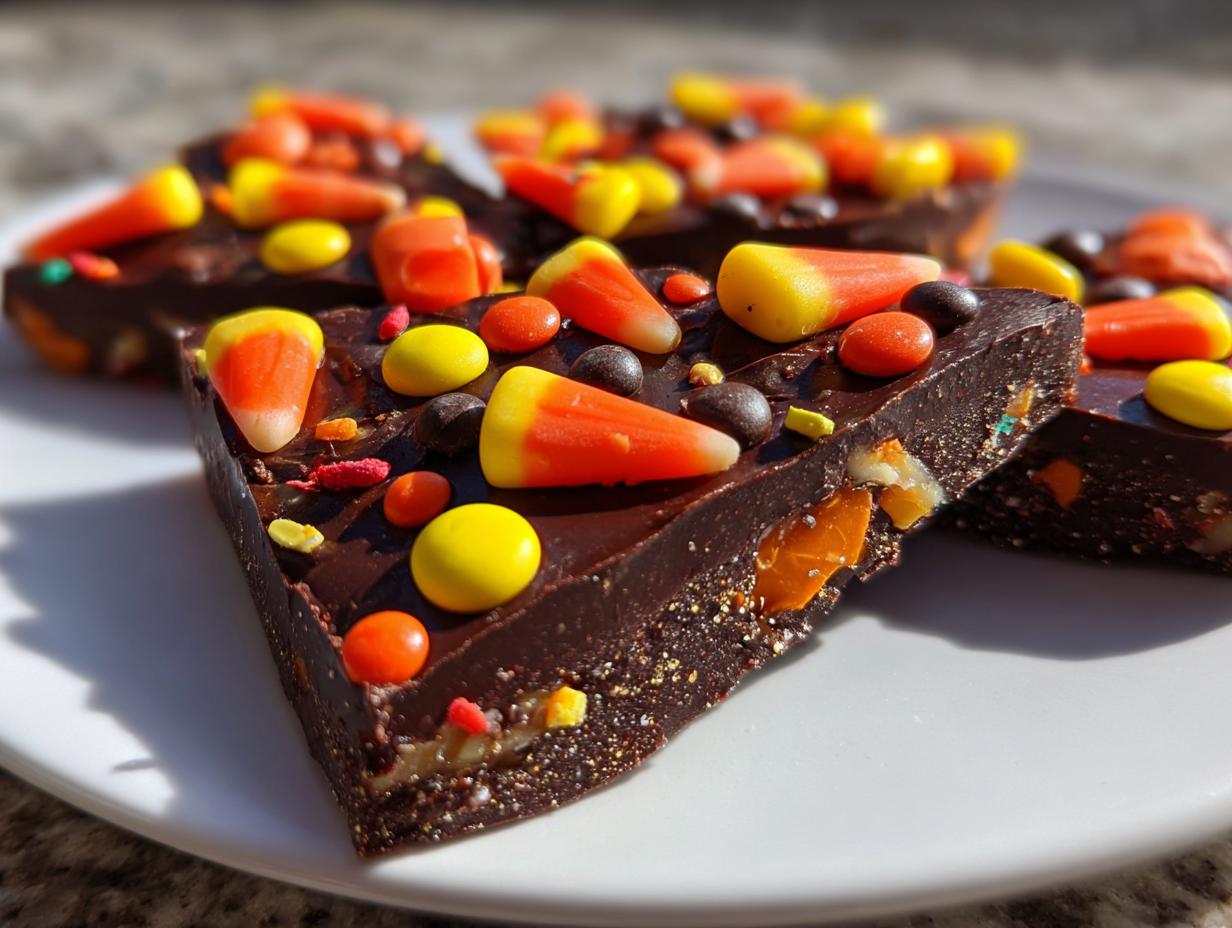

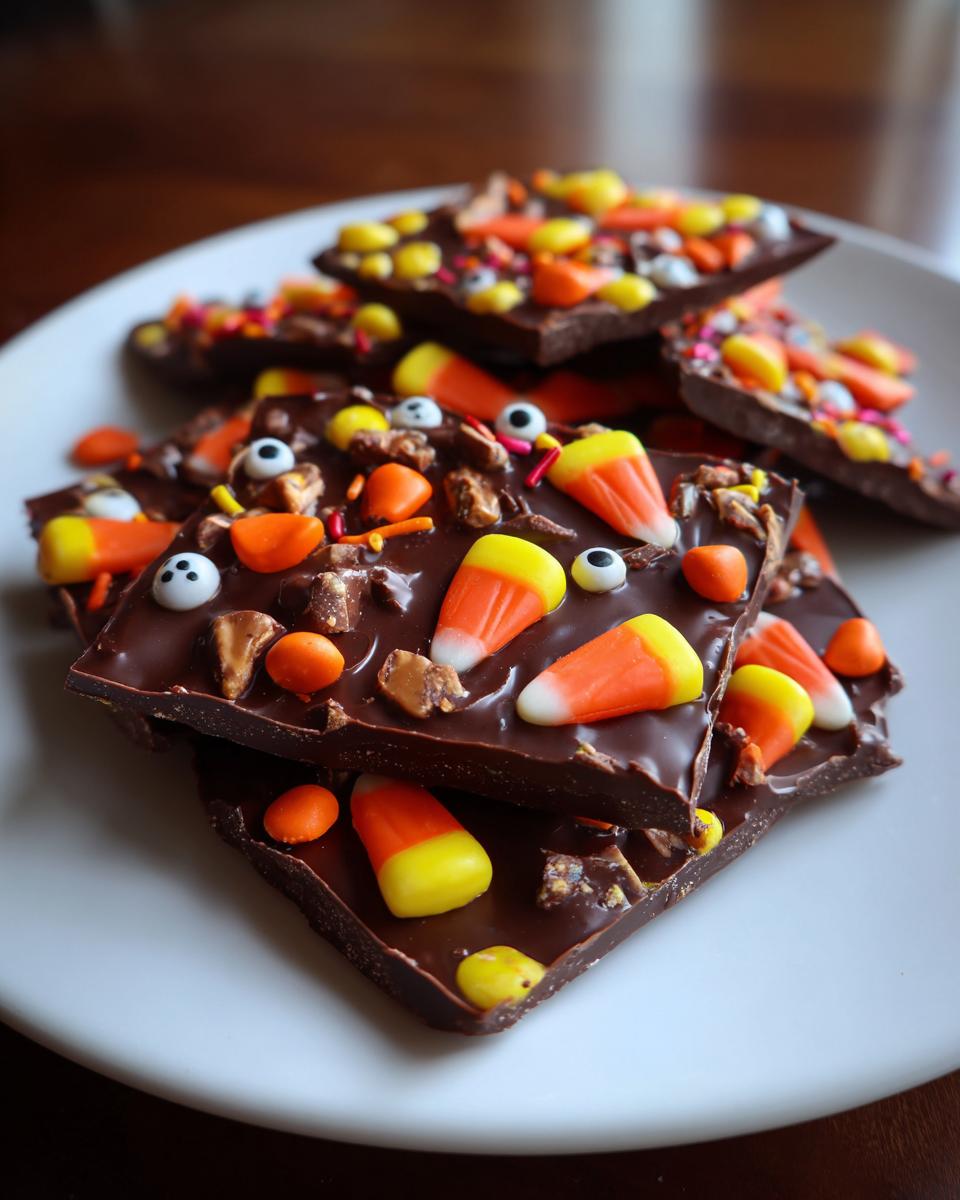
Oh my gosh, you guys, Halloween is just around the corner and you NEED to make this easy Halloween chocolate bark! Seriously, it’s SO much fun and ridiculously simple. Anyone who knows me knows I grew up watching my Grandma Carla turn her kitchen into a magical place. She taught me that cooking for people is the best way to show love, and this bark totally captures that spirit. It’s the perfect way to add some spooky-fun sweetness to any Halloween party, or even just for a fun afternoon with the kids. You’ll be amazed at how quickly this comes together!

- Why This Halloween Chocolate Bark Recipe is a Must-Try
- Gather Your Ingredients for Perfect Halloween Chocolate Bark
- How to Make Spooky Halloween Chocolate Bark
- Tips for the Best Halloween Chocolate Bark
- Storing Your Spooky Halloween Chocolate Bark
- Frequently Asked Questions about Halloween Chocolate Bark
- Estimated Nutritional Information
- Share Your Festive Creations!
Why This Halloween Chocolate Bark Recipe is a Must-Try
Okay, let me tell you why this recipe is my absolute go-to for Halloween. First off, it’s ridiculously easy. Like, if you can melt chocolate, you can make this! And it’s FAST – definitely a no-bake wonder. It looks super festive, like you spent hours on it, but nope! The kids absolutely adore helping with the toppings, and honestly, so do I. It’s one of those treats that just brings instant smiles and takes the stress right out of holiday baking. Plus, it’s perfect for setting out at parties or even for those little goodie bags!
Gather Your Ingredients for Perfect Halloween Chocolate Bark
Alright, let’s get our spooky ingredients together! You really don’t need much for this, which I love. You’ll want about 12 ounces of good quality melting chocolate – and don’t worry, we’ll talk about the best kinds in a sec! Then grab about half a cup of your favorite Halloween candies. Think candy corn, those cute little candy eyes, fun sprinkles, or even some broken-up cookies. It’s like a candy buffet for your chocolate! Having everything ready to go makes this a total breeze, trust me. You can find more amazing dessert ideas on my blog too!
Choosing the Best Chocolate for Candy Bark
This is where the magic really starts. When I say “good quality melting chocolate,” I mean it! You can totally use milk, dark, or white chocolate – whatever your heart desires. But here’s a little secret from my kitchen: using chocolate specifically made for melting or candy making makes a HUGE difference. It means your chocolate will melt super smooth, set up nicely without getting all weird and spotty (that’s called blooming, and we don’t want that!), and it just tastes so much better. Regular baking chips can sometimes be tricky and seize up on you, which is super frustrating when you’re trying to get your festive toppings on! Stick with the good stuff, and your bark will thank you.
How to Make Spooky Halloween Chocolate Bark
Okay, let’s get this amazing Halloween chocolate bark made! It’s honestly so simple, you’ll be whipping this up every year. First things first, line a baking sheet with parchment paper. This is like the invisible shield that makes sure your beautiful bark doesn’t stick! Then, grab your chocolate. You’re going to melt it down. Make sure your bowl and any tools you use (like spatulas or spoons) are totally dry. Trust me, even a tiny bit of water can make chocolate seize up, and that’s a mess nobody wants on Halloween! Once it’s melted and smooth, pour it right onto that prepared baking sheet. Use a spatula to spread it out into a nice, even layer. Work quickly, because this is where the really fun part comes in – the toppings! Think about making mummy hot dogs or these adorable Halloween mummy hot dogs too!
Melting Chocolate Safely for Halloween Chocolate Bark
Melting chocolate can feel a little intimidating, but it’s totally doable! My favorite, easiest way is in the microwave. Pop your chocolate in a microwave-safe bowl, and heat it on 50% power for about 30-second intervals, stirring in between each one. Keep going until it’s mostly melted, then just stir it smooth. If you’re more of a double boiler person, that works great too! Just put your chocolate in a heatproof bowl over a pot of gently simmering water (make sure the water doesn’t touch the bottom of the bowl!), stirring until it’s smooth. The key is *low and slow* to avoid burning or causing it to seize. A smooth, glossy finish is what you’re aiming for!
Creative Topping Ideas for Your Halloween Chocolate Bark
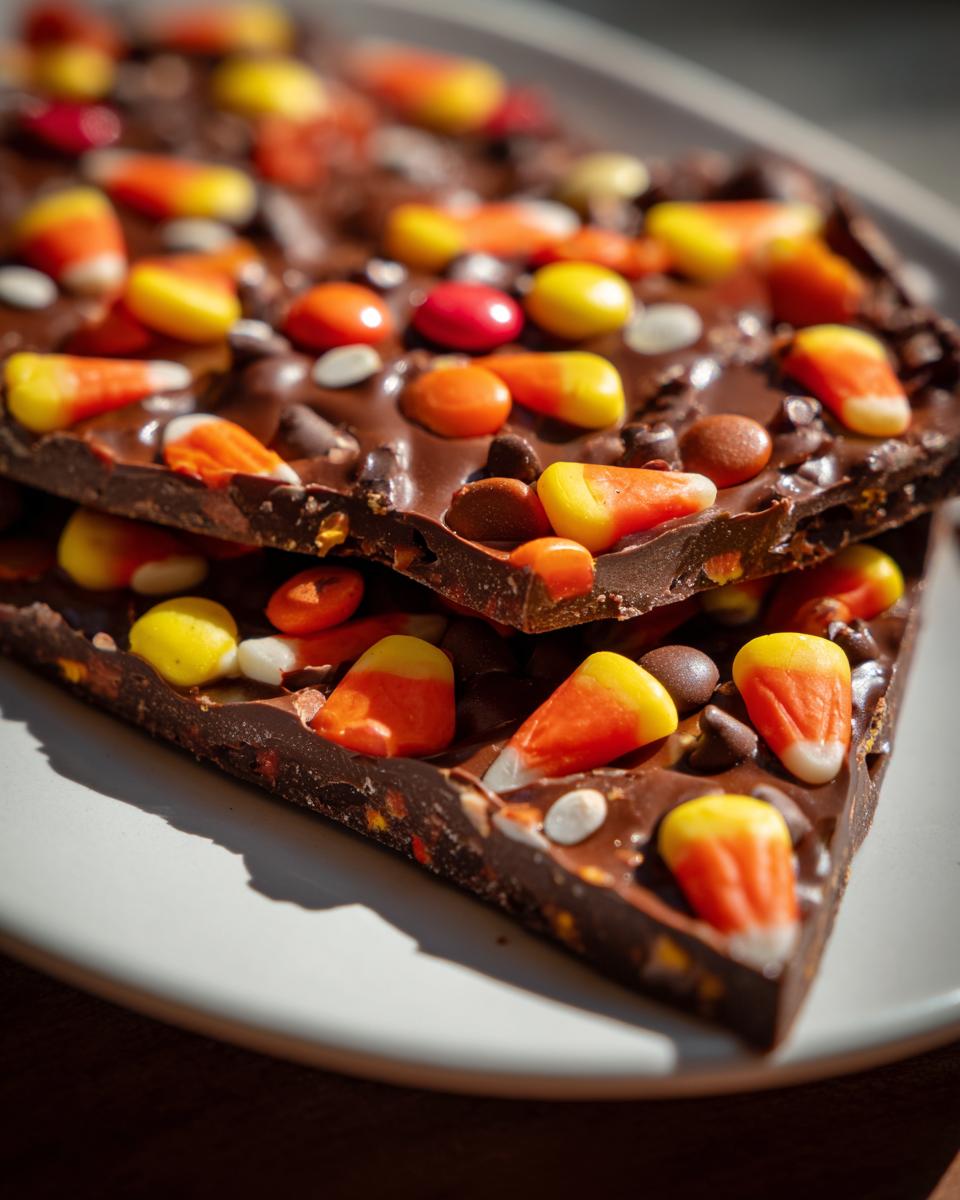
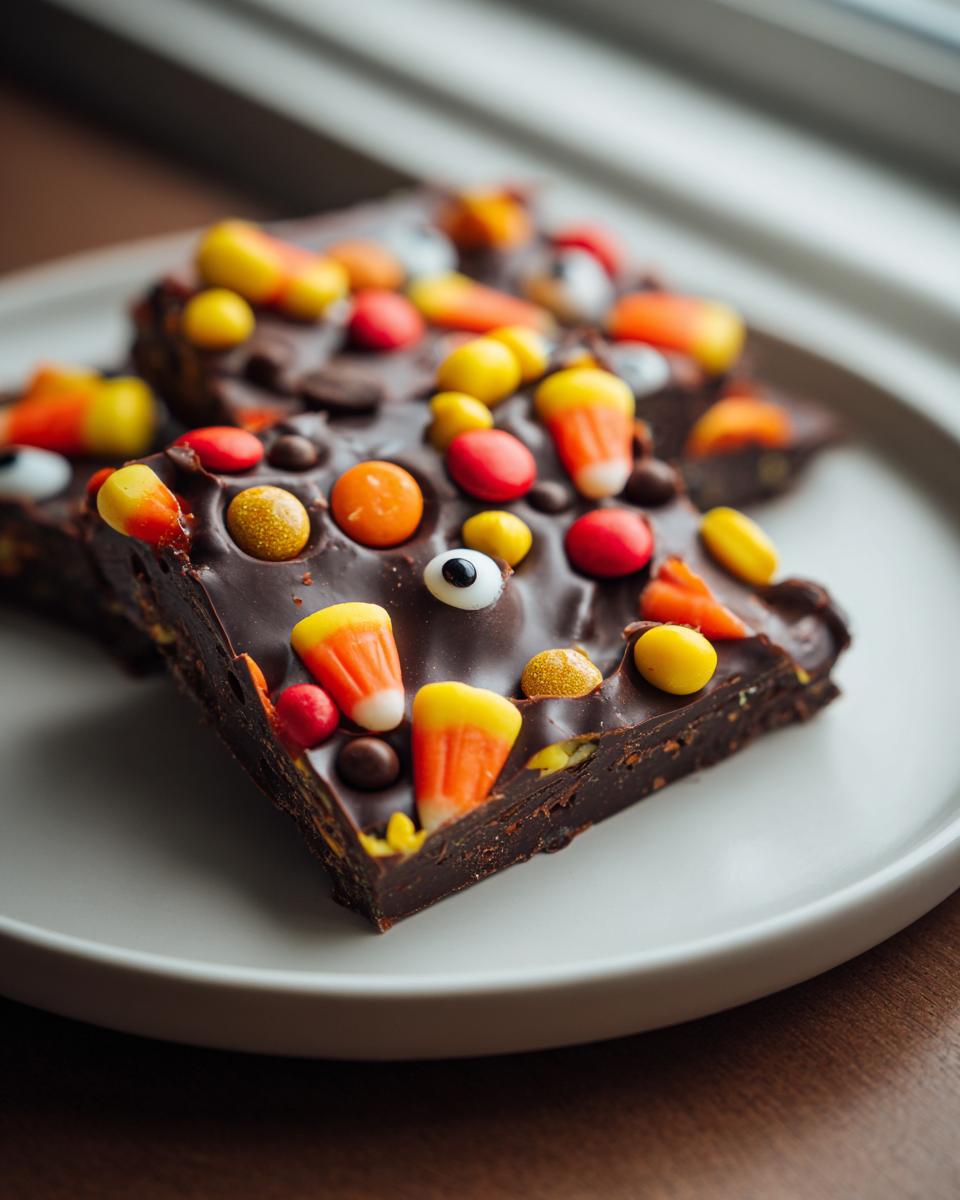
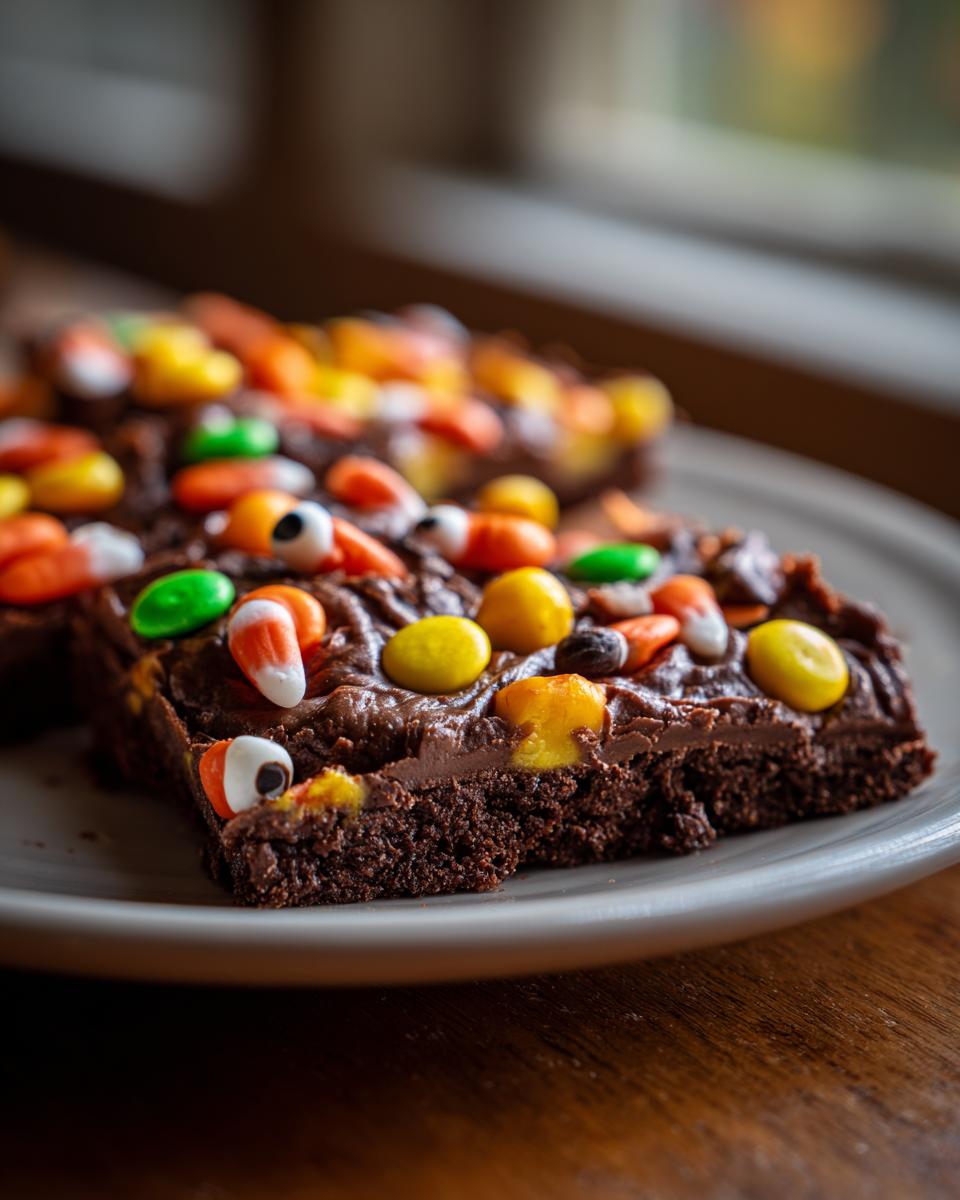
Now for the best part – decorating! As soon as your chocolate is spread out, it’s time to go wild with the toppings. This is where you get to be super creative and really make it your own spooky masterpiece. Pile on that candy corn chocolate bark is a classic! Those cute little candy eyes are a must for that spooky look. Sprinkles, chopped Halloween cookies, mini chocolate chips, pretzels – anything goes! For a cool effect, you can melt two different kinds of chocolate (like white and dark) and pour them on side-by-side, then swirl them with a toothpick before adding your toppings to get that fun white and dark chocolate swirl bark. To make sure those candy eyes and sprinkles really stick, press them down gently into the still-wet chocolate. They’ll adhere perfectly as it sets!
Tips for the Best Halloween Chocolate Bark
You know, even with something as simple as chocolate bark, a few little tricks can make it truly spectacular. If your chocolate isn’t setting up right, don’t panic! First, make sure you used good quality melting chocolate – sometimes regular chocolate chips can be a bit stubborn. Also, did you make sure everything was bone dry when you melted it? Even a drop of water can mess with it. For those gorgeous swirls, melt two colors separately and pour them semi-side-by-side on your parchment, then use a toothpick to gently drag the colors into each other. It’s like edible art! And for a super clean break when you’re done, just pop the whole thing in the fridge for about 10 minutes until it’s really firm. I learned that trick ages ago making classic apple pies – chilling is key!
Storing Your Spooky Halloween Chocolate Bark
So, you’ve made this amazing Halloween chocolate bark and now you need to keep it perfect, right? The number one thing to remember is that chocolate really doesn’t like heat! So, the best way to store your halloween chocolate bark is in an airtight container. If your house is pretty cool, you can probably keep it on the counter. But if it’s warm, or you’re worried about melting, pop it in the fridge! Just make sure that container is sealed tight so it doesn’t pick up any weird smells. It’ll stay yummy for days!
Frequently Asked Questions about Halloween Chocolate Bark
Got questions about making the best Halloween chocolate bark? I’ve got answers! So many of you ask if you can use regular chocolate chips instead of melting chocolate, and my honest answer is… it can be tricky! Regular chips often have stabilizers that make them harder to melt smoothly, and they might not set up as firmly. It’s best to use candy melts or good quality chocolate specifically designed for melting or candy making. You’ll have much better luck! If you ever need more help or have other questions, don’t hesitate to reach out via my contact page!
Can I use regular chocolate chips?
While you *can* try using regular chocolate chips, it’s not always ideal for bark. They often contain emulsifiers that can make them seize up or not set as hard. For the smoothest melting consistency and a nice, clean snap, I really recommend using good quality melting wafers or chocolate specifically designed for candy making. It makes all the difference!
How do I get that cool swirl effect?
Oh, the swirls! It’s so easy and looks super impressive. Just melt two different colors of chocolate separately, maybe white and dark, or orange and black! Pour them onto your parchment paper side-by-side, or in dollops. Then, take a toothpick or a skewer and gently drag it through the colors to create swirls. Don’t overmix, or you’ll just muddy the colors! Do this right before you add your toppings, so everything sticks into place.
Can this be made ahead of time?
Absolutely! This is one of my favorite make-ahead Halloween treats. You can easily make this bark a day or two before a party, or even a few days ahead if you store it properly. Just make sure it’s completely set, then break it into pieces and store it in an airtight container at room temperature (if it’s cool enough) or in the fridge. It’s the perfect stress-free addition to any dessert platter!
Estimated Nutritional Information
Just a little heads-up, the nutrition info for this Halloween chocolate bark is an estimate, of course! It totally depends on the type of chocolate you use and, most importantly, all those fun toppings! But generally, you’re looking at around 150 calories, 9 grams of fat, and about 17 grams of carbs per ounce. It’s a fun treat, so enjoy it in moderation!
Share Your Festive Creations!
I would absolutely LOVE to see what spooky masterpieces you all create with this Halloween chocolate bark recipe! Seriously, seeing your colorful swirls and fun toppings makes my day. Please share your photos below in the comments, or tag me on social media! And if you give it a try, a quick star rating or a little note about how it turned out would be amazing. It helps other bakers know what to expect. You can learn more about my own kitchen adventures over on my about page!
PrintEasy Halloween Chocolate Bark
A simple and festive Halloween treat made with melted chocolate and your favorite toppings. Perfect for parties and kids.
- Prep Time: 10 min
- Cook Time: 5 min
- Total Time: 15 min
- Yield: 16 servings 1x
- Category: Dessert
- Method: No-Bake
- Cuisine: American
- Diet: Vegetarian
Ingredients
- 12 ounces good quality melting chocolate (milk, dark, or white)
- 1/2 cup Halloween-themed candies (candy corn, candy eyes, sprinkles, chopped cookies)
Instructions
- Line a baking sheet with parchment paper.
- Melt the chocolate according to package directions. You can use a microwave or a double boiler.
- Pour the melted chocolate onto the prepared baking sheet.
- Spread the chocolate into an even layer using a spatula.
- Immediately sprinkle your chosen Halloween candies over the melted chocolate.
- Let the chocolate bark set completely at room temperature or in the refrigerator for about 15-20 minutes.
- Once firm, break the bark into pieces.
Notes
- For a swirl effect, melt two types of chocolate and pour them onto the baking sheet side-by-side, then swirl them together with a toothpick before adding toppings.
- Ensure your bowl and utensils are completely dry when melting chocolate to prevent seizing.
- Store chocolate bark in an airtight container at cool room temperature or in the refrigerator to prevent melting.
Nutrition
- Serving Size: 1 ounce
- Calories: 150
- Sugar: 15g
- Sodium: 10mg
- Fat: 9g
- Saturated Fat: 6g
- Unsaturated Fat: 3g
- Trans Fat: 0g
- Carbohydrates: 17g
- Fiber: 1g
- Protein: 2g
- Cholesterol: 5mg