 Skip to content
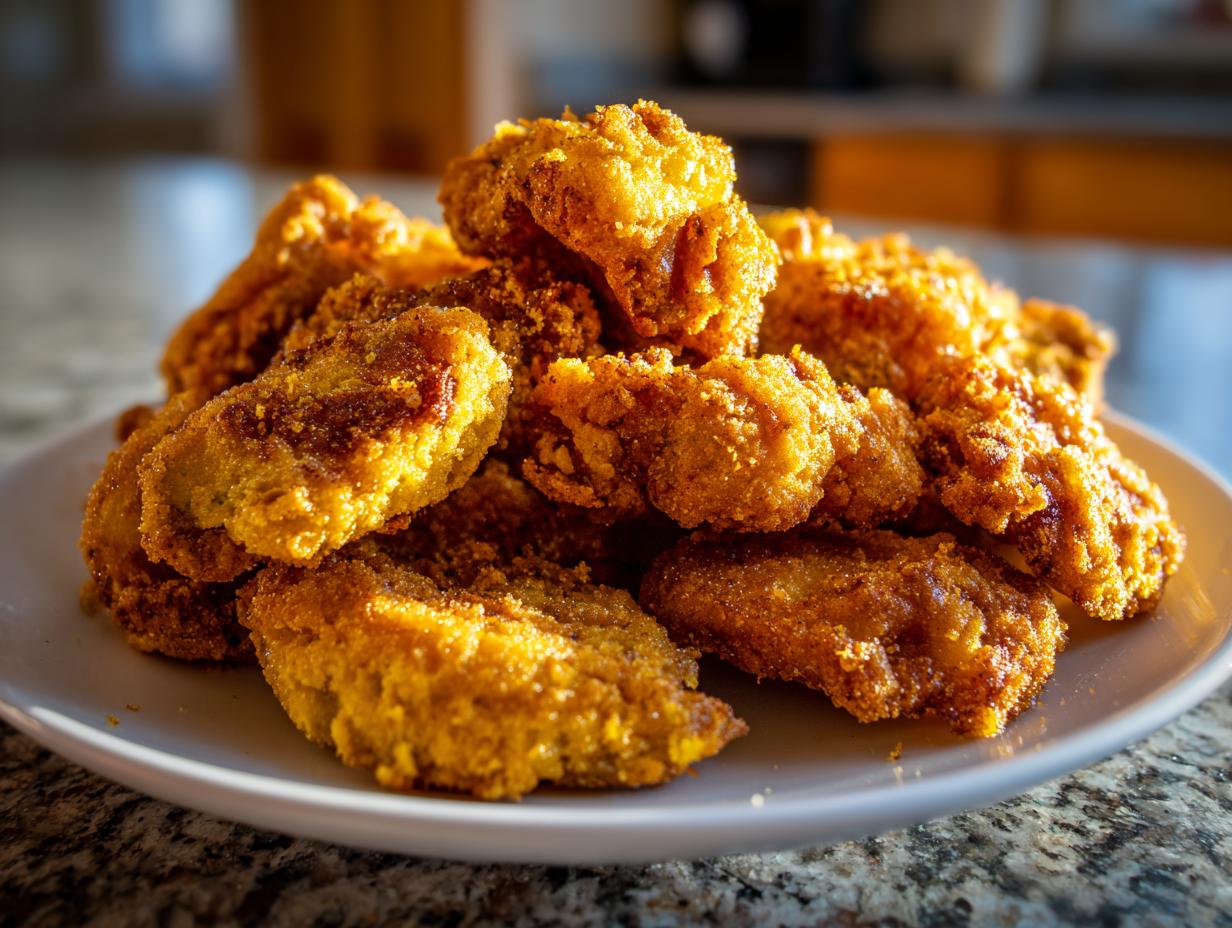

Oh, the fair! Just thinking about those bright lights and fun sounds makes me crave a classic fair food snack, don’t you think? For me, it’s always the fried pickles. There’s just something magical about that perfect crunch followed by a burst of tangy dill pickle. They’re totally addictive! I remember one summer, we went to this local county fair, and I swear I ate about three orders of them myself. They were piping hot, perfectly crispy, and served with the creamiest ranch dip. It got me thinking – why can’t we have that awesome fair food joy right in our own kitchens? So, I got to tinkering, and trust me, making your own fried pickles at home is way easier (and just as delicious!) as you might think. Get ready to bring that fun fair vibe to your next get-together!


- Why You'll Love This Fried Pickles Recipe
- Gather Your Ingredients for Crispy Fried Pickles
- Essential Equipment for Making Fried Pickles
- Step-by-Step Guide to Perfect Fried Pickles
- Tips for the Best Fried Pickles
- Serving Suggestions for Your Fair Food Snack
- Storing and Reheating Leftover Fried Pickles
- Frequently Asked Questions About Fried Pickles
- Nutritional Information for Fried Pickles
Why You’ll Love This Fried Pickles Recipe
Honestly, what’s not to love? These aren’t just any fried pickles, they’re:
- Super Quick to Make: Seriously, you can have these ready in no time!
- Irresistibly Crunchy: That satisfying *snap* when you bite in? Pure joy!
- Perfectly Tangy: That classic dill pickle flavor you crave, just better.
- Your New Go-To Snack: Amazing for game nights, parties, or just a Tuesday.
- Made With Pantry Staples: No fancy stuff needed, just simple ingredients you probably already have.
Gather Your Ingredients for Crispy Fried Pickles
Alright, to get started on these amazing fried pickles, you just need a few simple things from your pantry. You’ll want about 2 cups of your favorite dill pickle slices or spears – make sure they’re nice and firm! For the coating, we’ll grab 1 cup of all-purpose flour, 2 large eggs, a quarter cup of milk, and 1 cup of panko breadcrumbs. For that perfect savory kick, we’ll also need 1 teaspoon of salt, half a teaspoon of black pepper, and a quarter teaspoon each of garlic powder and paprika. And of course, have some vegetable oil ready for frying and your favorite ranch dressing for dipping!
Essential Equipment for Making Fried Pickles
To make these awesome fried pickles, you don’t need anything too wild. Just grab a heavy-bottomed pot for frying (a Dutch oven works great!), a slotted spoon to safely get those pickles in and out of the hot oil, and a wire rack set over a baking sheet to let them drain and stay super crispy. Oh, and don’t forget three shallow dishes – one for the flour, one for the egg wash, and one for the panko breadcrumbs. Easy peasy!
Step-by-Step Guide to Perfect Fried Pickles
Alright, let’s get these bad boys made! Making perfect fried pickles is mostly about getting your setup ready and moving quickly. Trust me, the payoff is SO worth it. First things first, grab those pickle slices – and this is super important – pat them *really* dry with a paper towel. Seriously, the drier they are, the crispier they’ll get. Nobody wants soggy pickles, right? Make sure to have your favorite fried pickle dip ready to go for when these are done!

Preparing the Breading Station for Fried Pickles
Now for the assembly line! You need three shallow dishes. In the first one, mix up your flour with the salt, pepper, garlic powder, and paprika. This is our flavor base. In the second dish, whisk up those two eggs with the milk. This is our binder to make everything stick. And in the third, just put your panko breadcrumbs. Having everything prepped like this means you can go from wet pickle to crispy coating without missing a beat, and that’s key for amazing fried pickles.
Coating the Pickles for Maximum Crisp
Okay, time to get your hands a little messy (it’s the best part!). Take a dried pickle slice and give it a good dredge in the seasoned flour, making sure it’s coated all over, then shake off any extra. Next, dip it into that egg wash, letting the excess drip back into the dish. Lastly, and this is where the magic happens, press it *firmly* into the panko breadcrumbs. Really make sure it’s covered all around. For an extra-crispy crunch – like, next-level crunch – you can totally do a double dip: back into the egg, and then into the panko again. It makes a world of difference!

Frying Your Crispy Dill Pickles to Golden Perfection
Here’s where we get them golden and delicious! Heat about two inches of vegetable oil in your pot until it hits 375°F (190°C). Using a thermometer is best, but you can also test by dropping a tiny bit of panko in; if it sizzles right away, you’re good to go. Carefully place a few coated pickle slices into the hot oil. Don’t crowd the pot – seriously, this is a cardinal rule for crispy results! Fry them for maybe 2-3 minutes per side, until they’re a beautiful golden brown. They cook fast, so keep an eye on them! Once they’re perfect, use a slotted spoon to lift them out and place them on that wire rack to drain. This keeps the bottoms from getting soggy, which is exactly what we want for these crispy dill pickles.
Tips for the Best Fried Pickles
Making amazing fried pickles really comes down to a few key things, and trust me, I’ve learned them through trial and error (mostly delicious error!). First off, always, *always* pat those pickle slices super dry with paper towels. This is your secret weapon against sogginess. Also, keeping your oil at that perfect 375°F is crucial. If it’s too cool, they get greasy; too hot, and they burn before they’re crispy. And please, please serve them right away! That incredible crunch is fleeting, like a happy memory from the fair. For more tangy goodness, you might also love my quick pickled red onions or these quick pickled jalapeños!

Serving Suggestions for Your Fair Food Snack
Okay, so you’ve got these amazing, hot, crispy fried pickles – what do you dip ’em in, right? Ranch dressing is the absolute classic for a reason; it’s cool, creamy, and totally pairs with that tangy pickle crunch. But why stop there? You could totally jazz things up with a spicy aioli, maybe a zesty blue cheese dip if you’re feeling fancy, or even my crowd-pleasing jalapeno popper dip! And if you want another easy party dip option, this guacamole always disappears fast. These make any gathering feel like a fun fair!
Storing and Reheating Leftover Fried Pickles
Okay, so if by some small miracle you have leftover fried pickles (seriously, how?!), storing them is pretty easy. Just let them cool completely, then pop them into an airtight container or a zip-top bag. Keep them in the fridge for up to 2 days. Now, for reheating to get that crunch back? Your absolute best bet is the oven or an air fryer. Skip the microwave – trust me, soggy pickles are nobody’s friend! A quick crisp-up in a hot oven (around 400°F or 200°C) for about 5-10 minutes should do the trick. They’re just SO much better fresh, though!
Frequently Asked Questions About Fried Pickles
Making the best fried pickles is pretty straightforward, but I get that you might have a few little questions pop up! Don’t worry, I’ve totally got you covered so you can make these crispy delights perfectly every time. If you’ve ever wondered about making them healthier or what kind works best, keep reading!
Can I bake these fried pickles?
You know, you *can* bake them to cut down on the oil, but honestly? They just won’t be the same. Frying gives them that signature super-crispy golden-brown crunch that is just unbeatable. Baking them will get you something… well, less crispy. If you do try baking, make sure to preheat your oven to 425°F (220°C) and bake on a wire rack over a baking sheet for about 20 minutes, flipping halfway through. It’s a different kind of snack, though! Maybe check out my recipe for air fryer mozzarella sticks if you’re looking for a baked/air-fried option!
What type of pickles are best for frying?
My go-to is always a good, firm dill pickle. Whether you use slices or spears is totally up to you – spears give you more pickle in every bite, while slices get extra crispy all around! Just make sure they aren’t super sweet or mushy. If you can get your hands on some really crunchy, fresh-pack dill pickles, even better! You can even make your own homemade dill pickles if you’re feeling ambitious!
Nutritional Information for Fried Pickles
Okay, friends, let’s talk numbers! This is just an estimate, of course, since everyone’s pickles and frying style can be a little different. But roughly, a serving of these delicious fried pickles is about 350 calories, with around 25g of fat (mostly from that glorious frying oil and panko!). You’re looking at about 25g of carbs and a decent 5g of protein. It’s your classic, indulgent fair food snack, so enjoy it guilt-free as a fun treat!
PrintCrispy Fried Pickles

Enjoy these tangy, crispy fried pickle chips, a fun fair food snack perfect for any occasion. They are coated in a seasoned batter and fried until golden brown and crunchy.
- Prep Time: 15 min
- Cook Time: 10 min
- Total Time: 25 min
- Yield: 4 servings 1x
- Category: Appetizer
- Method: Frying
- Cuisine: American
- Diet: Vegetarian
Ingredients
- 2 cups dill pickle slices or spears
- 1 cup all-purpose flour
- 1 teaspoon salt
- 1/2 teaspoon black pepper
- 1/4 teaspoon garlic powder
- 1/4 teaspoon paprika
- 2 large eggs
- 1/4 cup milk
- 1 cup panko breadcrumbs
- Vegetable oil for frying
- Ranch dressing for serving
Instructions
- In a shallow dish, whisk together the flour, salt, pepper, garlic powder, and paprika.
- In another shallow dish, whisk the eggs and milk together.
- Place the panko breadcrumbs in a third shallow dish.
- Pat the pickle slices dry with a paper towel.
- Dredge each pickle slice first in the flour mixture, shaking off any excess.
- Dip the floured pickle slice into the egg mixture, letting any excess drip off.
- Coat the pickle slice thoroughly with panko breadcrumbs, pressing gently to adhere.
- Place the coated pickle slices on a plate or baking sheet.
- Heat about 2 inches of vegetable oil in a heavy-bottomed pot or deep fryer to 375°F (190°C).
- Carefully add the coated pickle slices to the hot oil in batches, being careful not to overcrowd the pot.
- Fry for 2-3 minutes per side, or until golden brown and crispy.
- Remove the fried pickles with a slotted spoon and place them on a wire rack set over a baking sheet to drain.
- Serve immediately with ranch dressing for dipping.
Notes
- For extra crispiness, you can double-coat the pickles: after the first breading, dip them back into the egg mixture and then into the panko again.
- Ensure your oil is at the correct temperature before frying to prevent soggy pickles.
- These are best served immediately after frying.
Nutrition
- Serving Size: 1/4 of recipe
- Calories: 350
- Sugar: 3g
- Sodium: 1200mg
- Fat: 25g
- Saturated Fat: 3g
- Unsaturated Fat: 22g
- Trans Fat: 0g
- Carbohydrates: 25g
- Fiber: 2g
- Protein: 5g
- Cholesterol: 50mg