 Skip to content
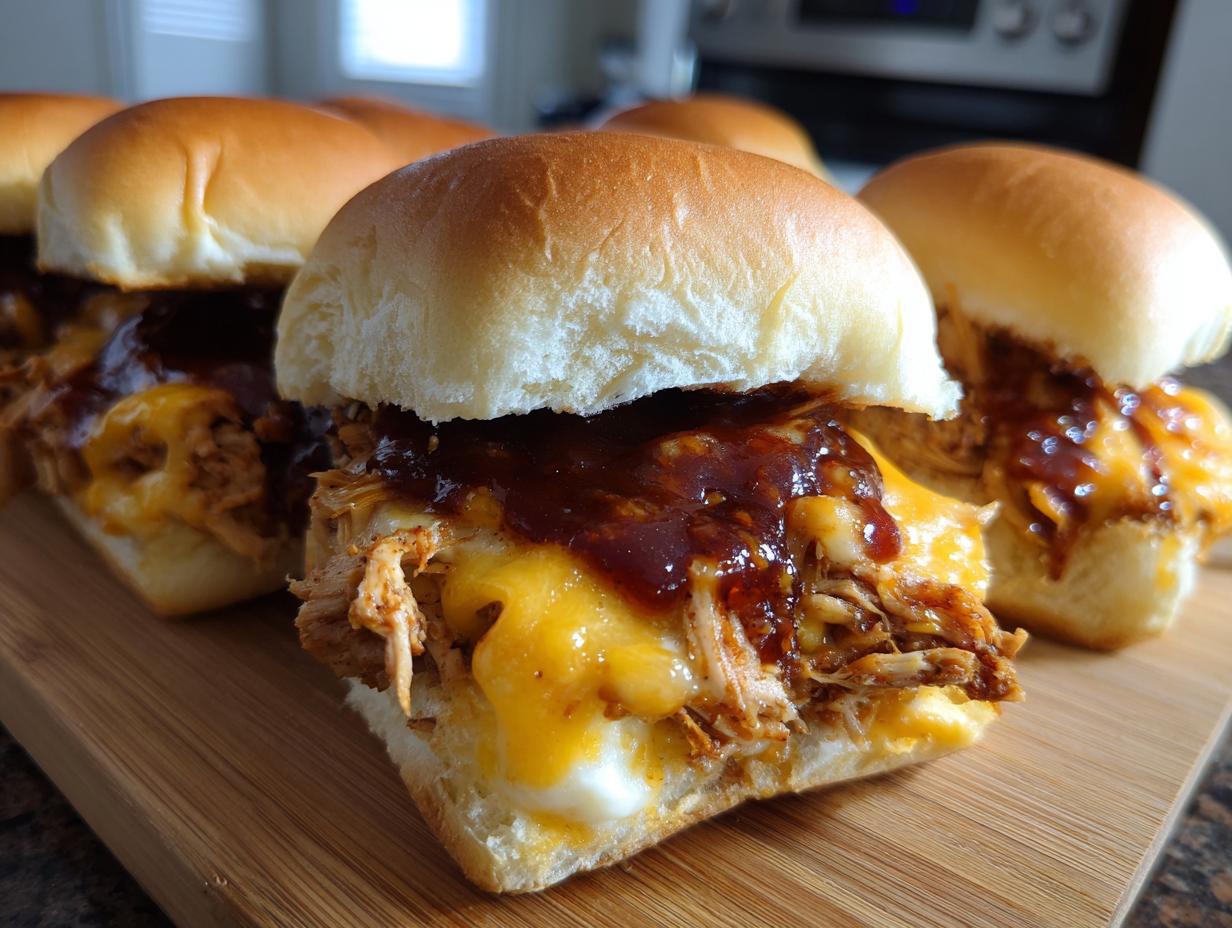

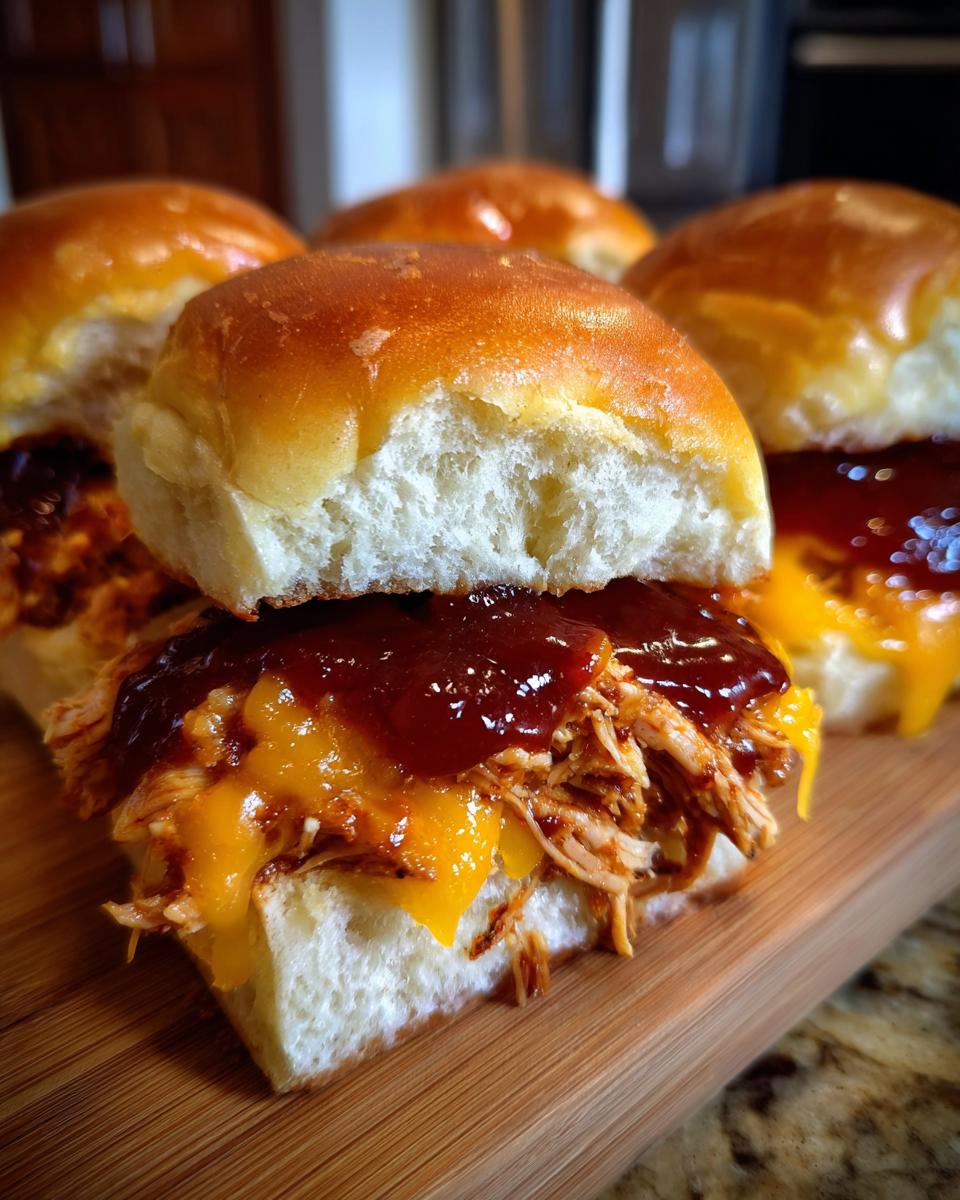
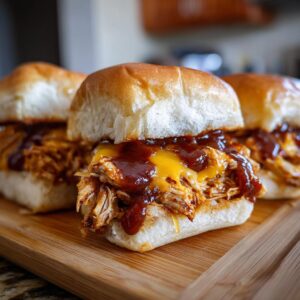
You wouldn’t believe the panic I felt seven minutes before kickoff when first hosting my husband’s fantasy football crew—until I remembered my triple batch of BBQ chicken sliders waiting in the oven. The scent of sweet, sticky sauce mingling with warm Hawaiian rolls had everyone huddled around the kitchen island before I even pulled them out. Game-day hunger doesn’t wait politely, but these sliders? They saved me every time.

What I love most (besides the rave reviews) is how forgiving this recipe is. Need to prep early? Assemble everything the night before and just pop them in the oven when guests arrive. Want melt-in-your-mouth chicken without babysitting the stove? Your slow cooker does all the work while you tackle other things (like finally hanging those team pennants). These BBQ chicken sliders aren’t just delicious—they’re your secret playbook for stress-free hosting.
- Why You’ll Love These BBQ Chicken Sliders
- BBQ Chicken Sliders Ingredients
- How to Make BBQ Chicken Sliders
- Expert Tips for Perfect BBQ Chicken Sliders
- Make-Ahead and Storage Tips
- Serving Suggestions for BBQ Chicken Sliders
- BBQ Chicken Sliders Variations
- BBQ Chicken Sliders Nutrition Information
- BBQ Chicken Sliders FAQs
Why You’ll Love These BBQ Chicken Sliders
Listen, I know how chaotic game day can get—between the cheers, the spills, and that one friend who always shows up starving. These BBQ chicken sliders have saved my sanity more times than I can count, and here’s why they’ll become your MVP too:
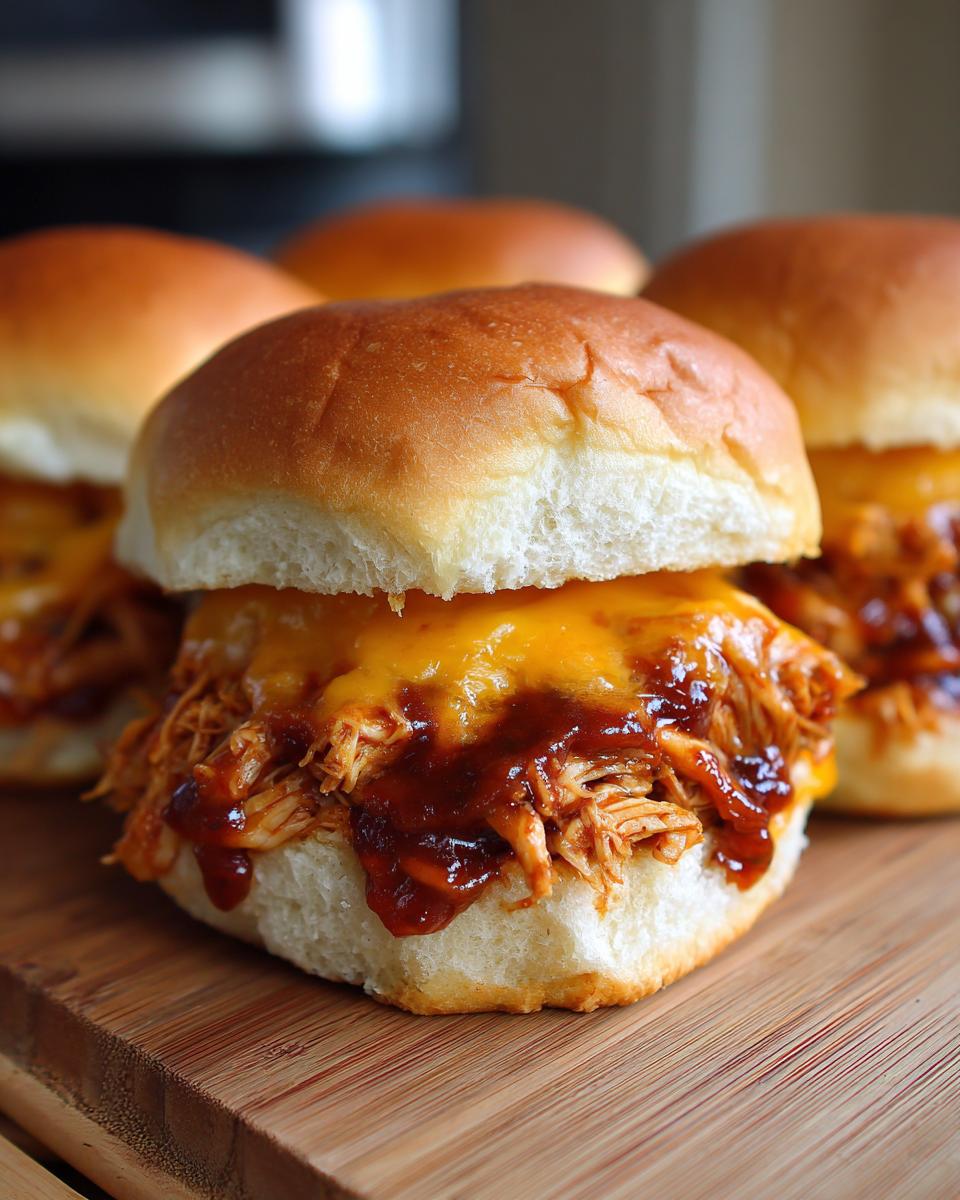
- Crowd-pleasing magic: The combo of sweet Hawaiian rolls and smoky BBQ sauce makes these disappear faster than nachos at halftime. Even picky eaters (yes, I’m looking at you, Uncle Joe) go back for seconds.
- Almost no prep: With just 10 minutes of hands-on time, you’re basically cheating at hosting. Rotisserie chicken? Store-bought sauce? I won’t tell—sometimes shortcuts taste genius.
- Dress ’em up or down: Pile on pickles for crunch, extra cheese for indulgence, or jalapeños for heat. They’re like a blank canvas for your cravings.
- Freezer MVP: Make a double batch and freeze unbaked sliders—they’re better than any gluten-free meal delivery when hunger strikes unexpectedly (hello, impromptu poker nights).
Last Thanksgiving, my sister-in-law actually ditched her fancy meal planning app when she tried these. “Why pay for premium services,” she said, mouth full, “when you’ve got sliders this good?” High praise from the queen of overcomplicating things.
BBQ Chicken Sliders Ingredients
Here’s the beauty of these sliders—you probably have half these ingredients sitting in your pantry right now! I’ve tested dozens of variations over the years, but this combo never fails me. Just remember: better ingredients mean better sliders (Grandma’s golden rule). Here’s what you’ll need:
- 3 cups shredded cooked chicken – Rotisserie chicken works wonders here, but leftovers from last night’s roast? Even better. No time? Grab a grocery store rotisserie and shred away!
- 1 cup BBQ sauce – My family swears by Sweet Baby Ray’s, but use whatever makes your taste buds dance. For a sugar-free twist, try G Hughes’ sugar-free sauce—it caramelizes surprisingly well.
- 12 Hawaiian rolls – King’s Hawaiian are my go-to. Gluten-free friends? Kinnikinnick makes an amazing gluten-free version that holds up beautifully.
- 1 cup packed shredded cheddar cheese – Buy blocks and shred them yourself—it melts better without those weird anti-caking agents. Sharp cheddar gives the best flavor punch.
For the garlic butter glaze (trust me, don’t skip this!):
- 1/4 cup melted butter – Real butter only, please! Margarine just doesn’t give that rich sheen.
- 1 tablespoon brown sugar – Helps the tops caramelize into golden perfection.
- 1 teaspoon garlic powder – Fresh minced garlic burns easily, so powder’s your best friend here.
See? Nothing fussy or fancy—just simple ingredients that come together like magic. Now, let’s get cooking!
How to Make BBQ Chicken Sliders
Watching these BBQ chicken sliders come together is almost as satisfying as watching your team score a touchdown. I’ve made this recipe more times than I can count, and I’ve got the technique down to a science. Follow these steps, and you’ll have golden, gooey sliders ready before the second quarter!
- Preheat your oven to 350°F. No need to wait for it to fully heat before starting—these sliders are quick!
- Prep your chicken mixture. See my pro tips below for shredding secrets. Mix your chicken with BBQ sauce until every strand is coated. You want it saucy but not swimming—like a good BBQ sandwich.
- Slice your Hawaiian rolls horizontally. Keep them connected—it makes assembly a breeze! Place the bottom halves in your baking dish (I use a 9×13″ because who has time for fancy slider trays?).
- Spread that glorious chicken evenly. Use a fork to distribute it—fingers get too messy. Leave about 1/4″ around the edges so nothing spills during baking.
- Cheese avalanche time! Sprinkle shredded cheddar evenly—no clumps! The cheese acts like edible glue holding everything together.
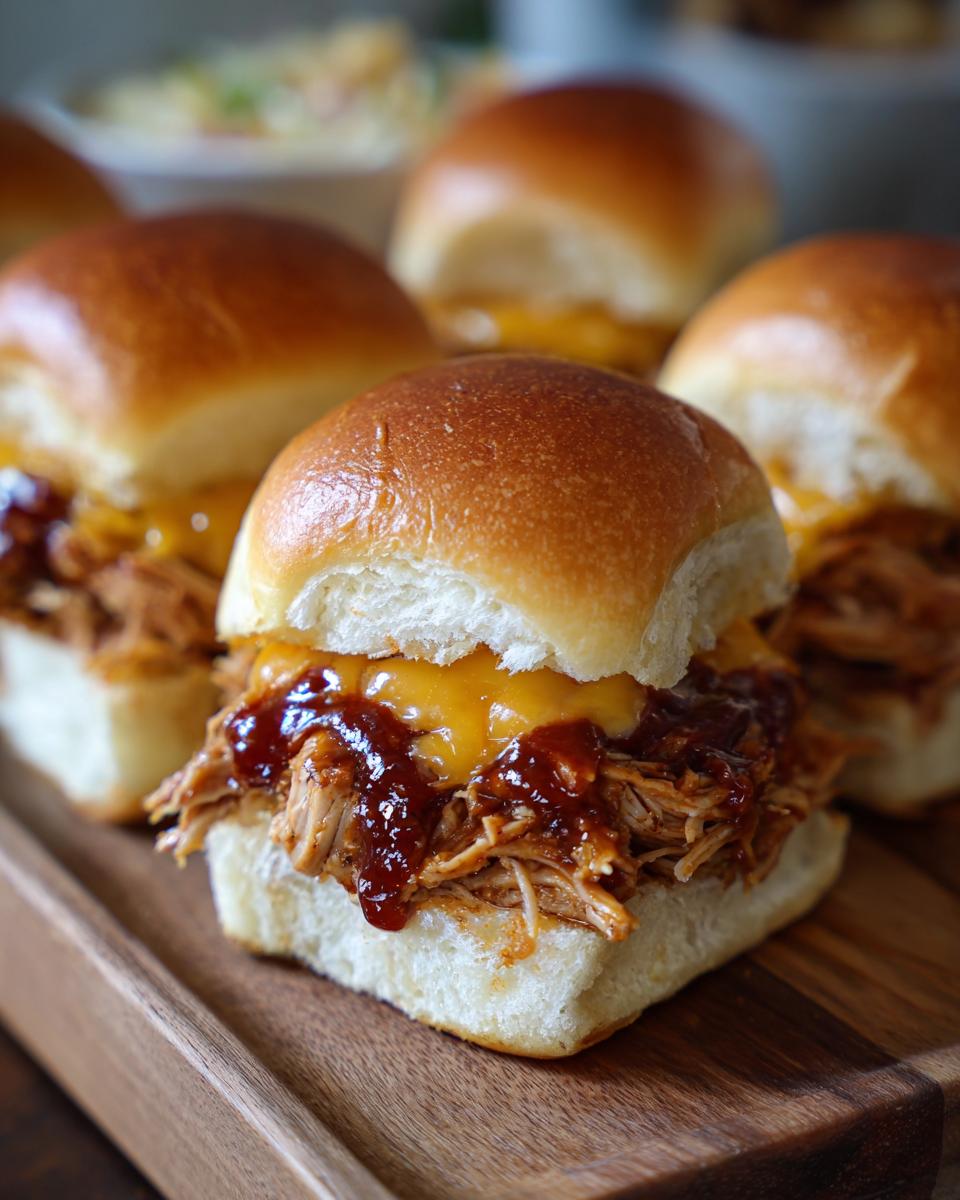
- Top with the roll crowns. Press gently so everything nestles together. They should look like a giant sandwich waiting to be sliced.
- Brush on the garlic butter magic. That mixture we made? Slather it generously over the tops. Gets into all the nooks and crannies for maximum flavor.
- Bake for 13-15 minutes. You’ll know they’re ready when the cheese starts peeking out the sides and the tops turn that perfect golden-brown.
Slow cooker fans: You can cook your chicken right in there! Just add 2 lbs of boneless chicken breasts with 1/2 cup of broth and cook on LOW for 6 hours. The meat practically shreds itself with a fork!
Prepping the Chicken
Here’s where you decide—homemade hero or smart shortcut taker? Either way works!
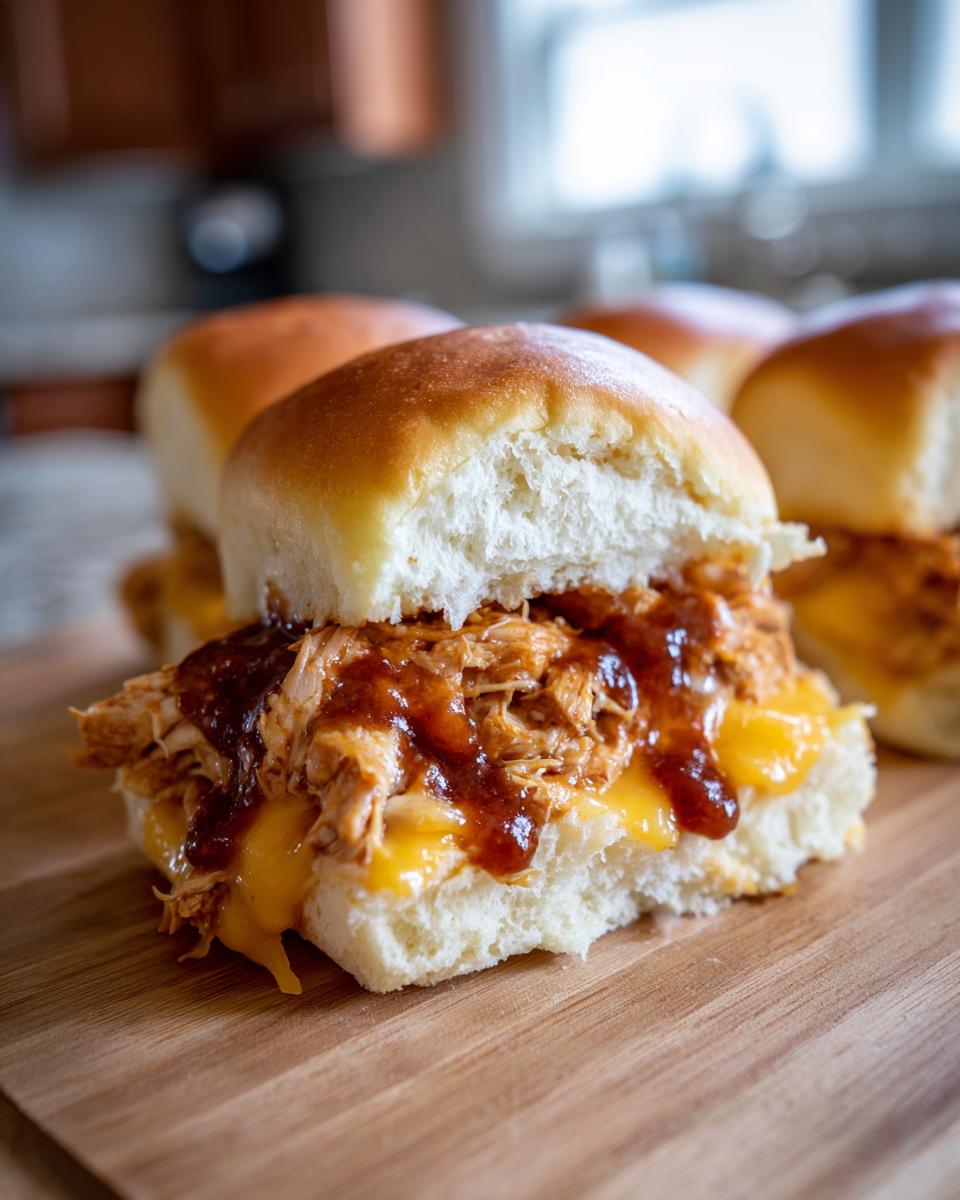
For perfect shreds, use two forks to pull apart warm chicken (freshly cooked or reheated). Going full barbarian with your hands works too—just wait until it’s cool enough to handle. My ratio secret: 3 cups chicken to 1 cup BBQ sauce creates that ideal saucy-but-not-sloppy balance. Rotisserie chicken? Absolutely yes—I grab one every Thursday when grocery shopping. Remove the skin, shred while slightly warm, and toss with sauce. Done in 5 minutes flat!
Assembling the Sliders
Assembly is like building a flavor sandwich fortress—structure matters!
Layer order is crucial: rolls first (bottom halves), then saucy chicken, then cheese. Why? The rolls act as a moisture barrier, preventing sogginess. Cheese on top melts downward, sealing in the goodness. When brushing the garlic butter glaze, get those sides! The butter will seep between rolls giving you crispy-edged perfection. One warning—don’t overstuff! Too much chicken makes them hard to eat neatly (and we all know game-day stains are harder to explain than the final score).
Expert Tips for Perfect BBQ Chicken Sliders
After making these sliders more times than I can count (and fixing every possible mistake along the way), I’ve got some game-changing tricks up my sleeve. These aren’t just tips—they’re your secret weapons for slider domination!
Toast those rolls first! A quick 3-minute toast in your oven before assembling prevents soggy bottoms—that crunch makes all the difference. It’s the same principle sous-vide precision cooker fans swear by: texture contrasts elevate every bite.
Serrated knife = clean cuts. Trying to slice these with a regular knife is like using spaghetti to cut steak—messy business. A gentle sawing motion with a serrated blade gives you picture-perfect sliders without squashing them.
Let them rest 5 minutes. I know it’s torture letting them sit there all steamy and cheesy, but patience pays off! That brief wait lets the cheese set slightly so fillings don’t go sliding out when you bite in.
BTW – if your glaze pools in the pan? That’s liquid gold! Use a spoon to drizzle it back over the cut sliders—instant flavor boost worthy of a touchdown dance.
Make-Ahead and Storage Tips
Listen, between meal planning for the week and prepping for game day, life gets hectic—that’s why these BBQ chicken sliders are lifesavers when it comes to doing things ahead of time. Want to know my favorite trick? Assemble them completely (right up to the butter glaze step), cover tightly with plastic wrap, and refrigerate overnight. The rolls actually soak up some of that saucy goodness, making them even more flavorful when baked fresh the next day.
Freezing? Oh honey, I always stash an extra batch in my freezer for desperate moments (emergency potlucks anyone?). Just wrap the unbaked tray tightly in two layers of foil—they’ll keep beautifully for up to 3 months. When hunger strikes, no need to thaw—pop them straight into a cold oven, crank it to 325°F, then bake for 25-30 minutes (covered for the first 15 to prevent drying out). Add 5 more minutes uncovered if you want extra crispy tops.
Leftovers (like that ever happens!) keep surprisingly well. Store cooled sliders in an airtight container for up to 3 days. The best way to reheat? Wrap stacks of 4 in foil and warm at 300°F for about 10 minutes—the foil keeps them moist while the low temp prevents the cheese from turning rubbery. Way better than any gluten-free meal delivery when you need a quick bite!
Serving Suggestions for BBQ Chicken Sliders
Okay folks, here’s where we turn these already-amazing BBQ chicken sliders into a full-on MVP spread! Trust me, I’ve served these at everything from Super Bowl parties to backyard picnics, and these pairings never disappoint. Game day or not, these combos make your slider tray look like you hired a caterer (shh—I won’t tell how easy it really was).
-
- Creamy coleslaw: The cool crunch cuts through the rich BBQ sauce perfectly. Buy it pre-made or whip up my 5-minute version with bagged cabbage mix, mayo, and a squirt of lemon.
- Zesty pickles:
Bread-and-butter chips add sweetness, while spicy dill spears bring the heat. Pro tip? Toss some pickled jalapeños on the side for daring guests.
- Crispy sweet potato fries: Bake a frozen batch while your sliders cook—their natural sweetness mirrors the Hawaiian rolls beautifully. Dunk them in ranch for bonus points!
For lighter options (hey, we’ve all got that friend counting macros), serve with cucumber salad or carrot sticks. Two sliders plus veggies make a satisfying ~500-calorie meal—perfect if you’re balancing indulgences while on weight loss programs. Just watch portion sizes (my husband learned the hard way that finishing an entire tray counts as “meal prep” only in his dreams).
BBQ Chicken Sliders Variations
You know why I love this recipe so much? Because it’s like my grandma’s famous chocolate cake—utterly foolproof but flexible enough to make it your own. Over the years, I’ve tried every swap imaginable (some intentional, some because I forgot ingredients at the store!). Here are my absolute favorite twists that’ll make these sliders suit any crowd—even the pickiest eaters or those on keto meal plans!
- Spice it up: Swap regular BBQ sauce for a spicy version (try Stubb’s Spicy) or add 1/2 teaspoon cayenne to your sauce mixture. My brother-in-law insists on adding chopped chipotle peppers—just warn guests before serving!
- Turkey twist: Rotisserie turkey works beautifully instead of chicken—especially after Thanksgiving. The darker meat stays extra juicy. My sister swears smoked turkey takes these to competition-worthy levels.
- Keto magic: Use Chaffle-style keto rolls (just 3 ingredients!) and sugar-free BBQ sauce. My neighbor on Ozempic for weight loss says this version satisfies cravings without the carb crash.
- Southern style: Add 1/4 cup crispy bacon bits to the chicken mix and use pepper jack cheese instead of cheddar. Game changer!
For gluten-free friends, Kinnikinnick gluten-free rolls work beautifully here. Or if you’re short on time, several gluten-free meal delivery services actually offer slider-style Hawaiian rolls now—just check ingredient labels carefully since some contain dairy. Whatever variation you choose, remember: the best sliders are the ones that make your people gather around the table, laughing and reaching for seconds.
BBQ Chicken Sliders Nutrition Information
Alright, let’s talk numbers—because even the most delicious sliders shouldn’t be a total mystery! Based on my trusty food scale and calculator (and countless taste tests), here’s the breakdown per slider:
- Calories: 220
- Protein: 12g (thanks to all that chicken!)
- Carbs: 25g (mostly from those pillowy Hawaiian rolls)
- Sugar: 10g (blame the BBQ sauce—worth every bite)
- Fat: 8g (hello, melty cheddar and butter glaze!)
Important note: These values can vary based on your specific ingredients—like sugar-free sauce or low-fat cheese. Always check your labels if you’re tracking macros closely. My motto? Enjoy every flavorful bite, then balance it out with an extra lap around the backyard during halftime!
BBQ Chicken Sliders FAQs
Okay, friends—time for the burning questions I get asked every time I serve these sliders! Let me spill all my saucy secrets so you can make these with complete confidence. Trust me—if I’ve screwed it up, I’ve found the fix, so you don’t have to learn the hard way.
Can I use bottled BBQ sauce?
Absolutely! I keep a bottle of Sweet Baby Ray’s in my pantry for emergencies (like surprise guests during playoff season). But here’s the deal—if you’ve got 10 extra minutes, my quick homemade sauce takes these from good to “can I get your recipe?” status. Just mix 1 cup ketchup, 2 tbsp each brown sugar and apple cider vinegar, 1 tsp smoked paprika, and a pinch of garlic powder. Bottled works, but homemade? That’s where the magic happens.
How long do leftovers last?
In our house? Maybe 3 hours if I hide them well! But realistically, store cooled sliders in an airtight container for up to 3 days in the fridge. The rolls soften a bit, but that garlic butter glaze keeps them delicious. Pro tip: Reheat them wrapped in foil at 300°F for 10 minutes—they’ll taste practically fresh-baked.
Can I make these keto-friendly?
You bet! Swap Hawaiian rolls for keto-friendly alternatives (I love the Chaffle-style ones—just eggs, cheese, and almond flour), and use a sugar-free BBQ sauce. My neighbor on Ozempic for weight loss makes this version monthly for her meal planning—she says they satisfy cravings without knocking her out of ketosis. Bonus: add crispy bacon bits for extra flavor without carbs!
And hey—if your question isn’t here? Slide into my DMs on Instagram. I’ve probably tested it (and maybe messed it up) so you don’t have to!
PrintBBQ Chicken Sliders
Easy pulled BBQ chicken sliders on soft Hawaiian rolls, perfect for game day or make-ahead meals.
- Prep Time: 10 min
- Cook Time: 15 min
- Total Time: 25 min
- Yield: 12 sliders 1x
- Category: Appetizer
- Method: Baking
- Cuisine: American
- Diet: Low Calorie
Ingredients
- 3 cups shredded cooked chicken
- 1 cup BBQ sauce
- 12 Hawaiian rolls
- 1 cup shredded cheddar cheese
- 1/4 cup melted butter
- 1 tbsp brown sugar
- 1 tsp garlic powder
Instructions
- Preheat oven to 350°F.
- Mix shredded chicken with BBQ sauce in a bowl.
- Slice Hawaiian rolls in half and place the bottom halves in a baking dish.
- Spread the BBQ chicken mixture evenly over the rolls.
- Sprinkle shredded cheddar cheese on top.
- Place the top halves of the rolls over the cheese.
- Mix melted butter, brown sugar, and garlic powder, then brush over the rolls.
- Bake for 15 minutes or until golden brown.
Notes
- Use a slow cooker for tender pulled chicken.
- Make ahead and refrigerate before baking.
Nutrition
- Serving Size: 1 slider
- Calories: 220
- Sugar: 10g
- Sodium: 450mg
- Fat: 8g
- Saturated Fat: 4g
- Unsaturated Fat: 3g
- Trans Fat: 0g
- Carbohydrates: 25g
- Fiber: 1g
- Protein: 12g
- Cholesterol: 40mg