 Skip to content
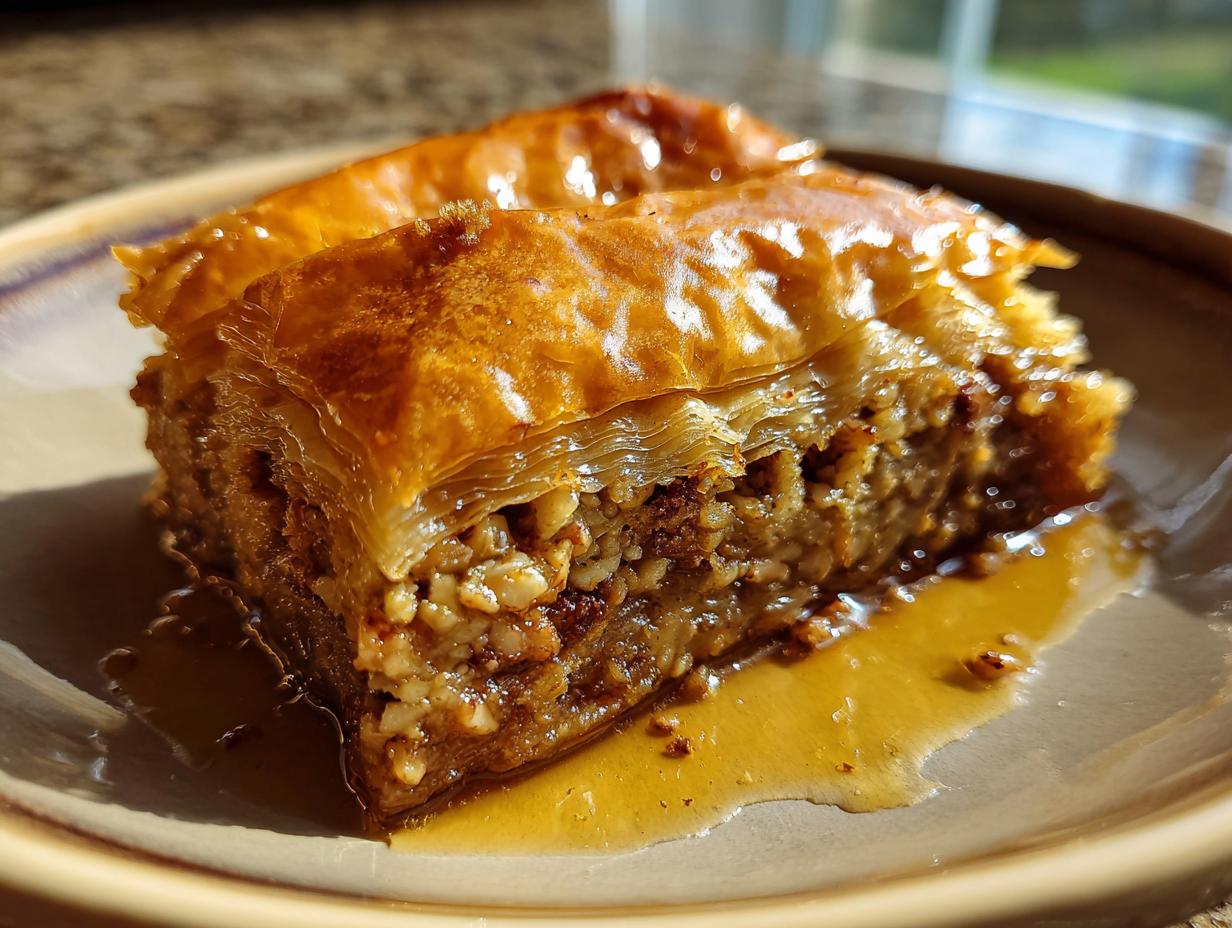

Oh, baklava! Just saying the word makes me think of those special moments, doesn’t it? That incredible stack of impossibly thin, flaky pastry, loaded with nuts and drenched in the most luscious sweet syrup. It’s not just a dessert; it’s a celebration, a tradition, a little bite of pure bliss that feels so special, especially around holidays like Diwali. For the longest time, I thought making authentic baklava at home was way beyond my reach. I pictured myself wrestling with angry sheets of phyllo dough that just refused to cooperate, ending up with a dry, crumbly mess instead of that melt-in-your-mouth piece of heaven. But trust me, after a few kitchen adventures (and maybe a little flour-powered therapy, just like my Grandma used to do!), I’ve figured out the secrets to getting that perfect, delicate texture and rich, nutty sweetness every single time. This is the kind of recipe that makes cooking feel like an actual superpower, turning simple ingredients into something absolutely magical for your family.


Why You’ll Love This Baklava Recipe
You’re going to adore making this baklava, seriously! Here’s why it’s about to become your go-to:
- It’s Surprisingly Easy: Don’t let the fancy name fool you. With my tips, handling the phyllo dough is a breeze, and you’ll be amazed at how simple it is.
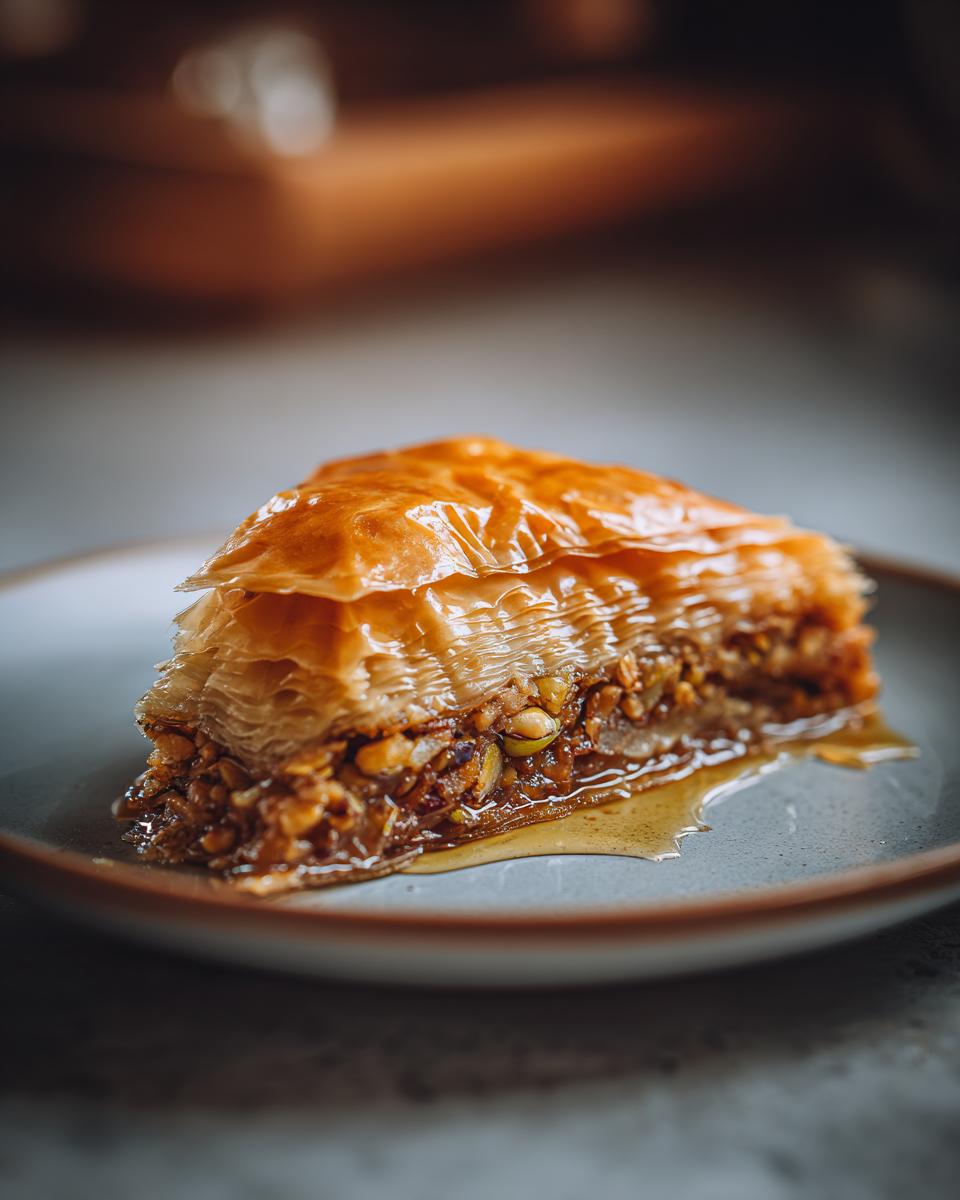
- Pure Blissful Flavor: We’re talking layers of golden, flaky pastry with a warm, spiced nut filling and that unforgettable sweet syrup soaking into every bite. It’s total perfection!
- That Perfect Texture: Get ready for that signature crispiness that melts in your mouth. No more dry or chewy baklava here!
- Perfect for Any Celebration: Whether it’s Diwali, a holiday gathering, or just a Tuesday that needs a little sparkle, this baklava is always a crowd-pleaser. It’s a showstopper that tastes as good as it looks.
Essential Ingredients for Authentic Baklava
Alright, before we get our hands messy with this amazing phyllo pastry dessert, let’s talk ingredients. Getting these right is totally key to that authentic, melt-in-your-mouth texture we’re after for our honey nut pastry. You’ll need a pound of phyllo dough, and trust me, make sure it’s thawed! That’s super important. We’ll also need a cup, which is two sticks, of unsalted butter, all melted so we can brush it on those delicate layers. For the filling and the syrup, we’re going with about 4 cups of gorgeous chopped walnuts or pistachios – I love using pistachios for that pop of green! Then, for that warm spice we all love, we’ll grab 2 teaspoons of ground cinnamon and 1 teaspoon of ground cloves. And for the syrup, which is basically pure liquid gold, it’s 2 cups of sugar, 1 cup of water, half a cup of honey, a cinnamon stick, a few whole cloves, and a strip of lemon peel for brightness.
Mastering the Art of Making Baklava
Okay, deep breaths! Making this gorgeous baklava from scratch is totally doable, and honestly, really rewarding. It’s all about a few key steps and a little bit of patience, like my grandmother always taught me about good food. First things first, get that oven preheating to 350°F (175°C). While it’s warming up, lightly grease your 9×13 inch baking pan. This will help the baklava release beautifully after all that soaking time.
Preparing the Nut Filling for Your Baklava
Now for the heart of our baklava! In a medium bowl, just toss together your chopped nuts (I’m partial to pistachios for their color, but walnuts are fantastic too!), cinnamon, and cloves. Give it a good mix so all those nuts are coated in those warm, fragrant spices. It’s this simple mix that gives baklava its signature cozy flavor!
Layering Phyllo for Perfect Baklava Crispness
This is where the magic really happens, and also where you might feel a *tiny* bit intimidated, but don’t be! Unroll your phyllo dough carefully and immediately cover it with a piece of plastic wrap and then a slightly damp kitchen towel. This is the MOST important step to keep it from drying out. Seriously, it’s like babying delicate lace! Lay down one sheet of phyllo in your pan, brush it GENEROUSLY with your melted butter. Then, carefully place another sheet on top, butter again. Repeat this 7 more times, so you have 8 buttered layers. You want every single layer to be kissed with butter!
Crafting the Sweet Syrup for Your Honey Nut Pastry
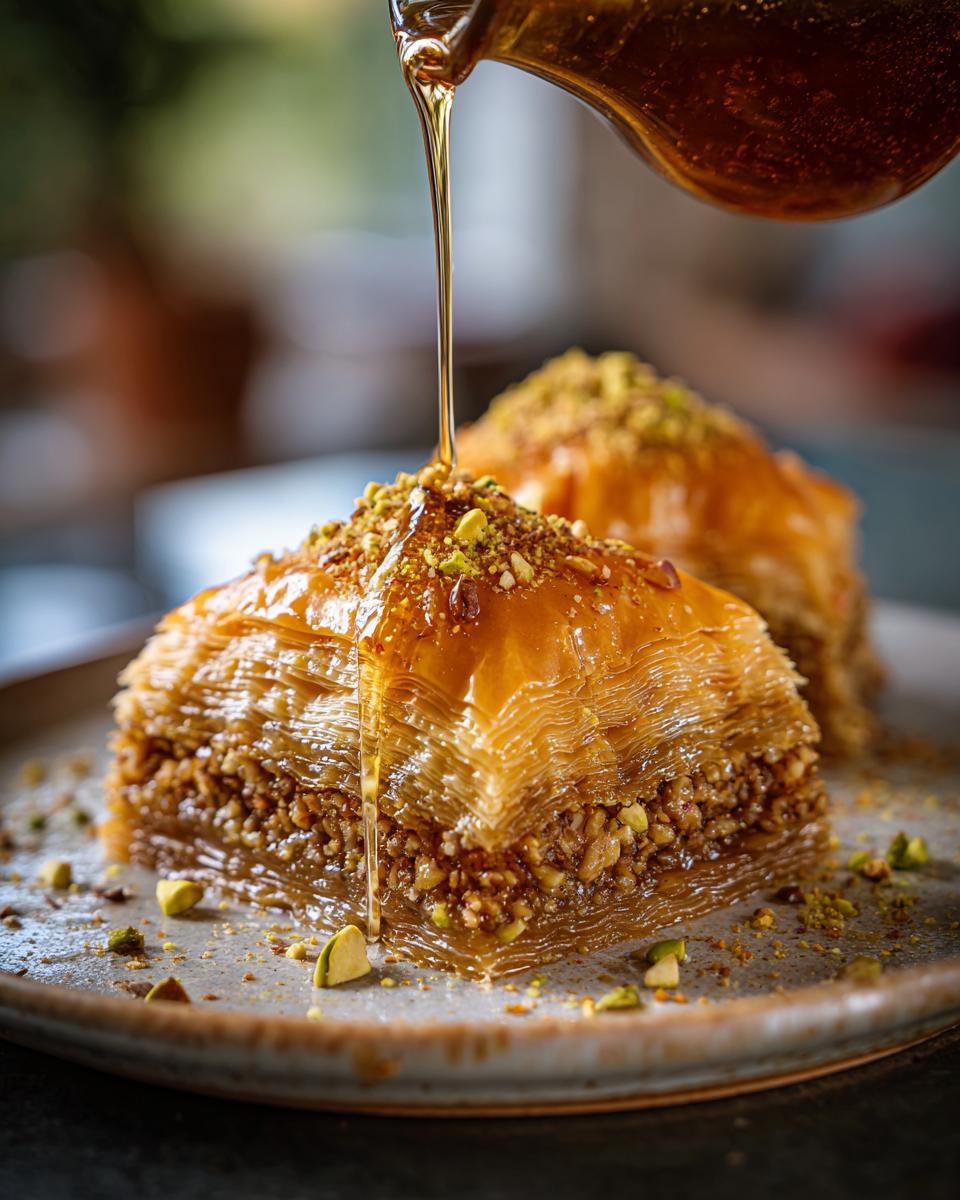
While you’re busy layering, let’s get that luscious syrup going. In a medium saucepan, combine the sugar, water, honey, cinnamon stick, cloves, and that strip of lemon peel. Bring this all to a boil over medium heat, stirring just until the sugar dissolves. Once it’s boiling, reduce the heat and let it simmer for about 10-15 minutes. You want it slightly thickened, like a light syrup. Don’t make it too thick or it won’t soak in properly. Once it’s ready, carefully remove the cinnamon stick, cloves, and lemon peel. Let it cool just a bit while the baklava finishes baking.
Baking and Soaking Your Layered Nut Baklava
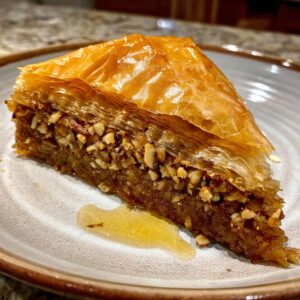
Once you’ve layered your final phyllo sheets and the top is beautifully buttered, it’s time to get those cuts in. Using a really sharp knife, cut the baklava into diamond or square shapes. You need to cut ALL the way through to the bottom layer – this is crucial for soaking! Bake it for about 45-55 minutes, or until the top is a glorious golden brown and looks super crisp. As SOON as it comes out of the oven, carefully pour that warm syrup evenly all over the hot baklava. Yes, it’s supposed to sizzle, that’s the sound of deliciousness happening! Now, here’s the hardest part: you HAVE to let this layered nut baklava cool completely in the pan, for at least 4 hours or even better, overnight. This allows all that syrupy goodness to soak in perfectly.

Tips for the Best Baklava
Making something this amazing from scratch can feel a little daunting, but trust me, a few little tricks can make all the difference! It’s really about paying attention to the details, and that’s something I learned from watching my own grandmother work her kitchen magic. You want that perfect shatter of crisp phyllo and that deep, sweet nuttiness, right? Here are a few things I always keep in mind to make sure my baklava turns out just right. You can find more of my baking adventures over on my blog!
Ingredient Notes and Substitutions for Baklava
For the best flavor, always try to use good quality nuts – freshly toasted ones really do make a difference! While walnuts and pistachios are traditional and absolutely divine, don’t be afraid to try pecans or even almonds if that’s what you have on hand. They’ll give you a slightly different, but still delicious, twist. And for the syrup, while honey is beautiful, a good quality pure maple syrup can also work in a pinch for a different kind of sweetness.
Ensuring Your Phyllo Pastry Dessert Stays Fresh
Ah, storage! This is where your gorgeous phyllo pastry dessert can go from crisp to a little sad if you’re not careful. Once your baklava is *completely* cool and the syrup is fully soaked in, store it in an airtight container at room temperature. Seriously, don’t refrigerate it! The fridge can make it soggy. It’ll stay wonderfully delicious for at least 3-4 days, but honestly, it rarely lasts that long in my house!
Frequently Asked Questions About Baklava
Got questions about making this delicious baklava recipe? I totally get it! It’s one of those desserts that feels a little fancy, but I promise, once you get the hang of it, you’ll wonder why you ever waited. Here are a few things people often ask.
What is the best way to cut baklava?
Oh, the cutting! For those perfect, neat diamond shapes everyone loves, use a really sharp knife. You want to slice ALL the way through to the bottom. A serrated knife can sometimes help with the sticky syrup, but a thin, sharp chef’s knife works wonders too!
Can I make baklava ahead of time?
Yes, absolutely! This is the perfect make-ahead dessert. In fact, I think it tastes even better after sitting for a day. Just make sure it’s stored properly at room temperature in an airtight container so it stays nice and crisp.
Why is my baklava soggy?
A soggy bottom usually happens for a couple of reasons. Either the syrup was too hot or too thick when you poured it on, or maybe it didn’t get enough cooling time for it to soak in properly. Also, storing it in the fridge can make it soggy, so always keep this phyllo pastry dessert at room temperature in an airtight container!
Share Your Baklava Creations!
Now that you’ve whipped up this incredible baklava, I’d absolutely LOVE to hear about it! Did it turn out perfectly flaky? Were your family and friends raving about it? Drop a comment below, give the recipe a star rating if you loved it, or better yet, share a picture on social media and tag me! You can always reach out through my contact page too. Happy baking!
PrintClassic Baklava Recipe
Learn to make authentic baklava with layers of flaky phyllo dough, chopped nuts, and sweet syrup. This recipe guides you through handling phyllo for a perfect, melt-in-your-mouth dessert.
- Prep Time: 45 min
- Cook Time: 55 min
- Total Time: 100 min
- Yield: 24 servings 1x
- Category: Dessert
- Method: Baking
- Cuisine: Mediterranean
- Diet: Vegetarian
Ingredients
- 1 pound phyllo dough, thawed
- 1 cup (2 sticks) unsalted butter, melted
- 4 cups chopped walnuts or pistachios
- 2 teaspoons ground cinnamon
- 1 teaspoon ground cloves
- For the Syrup:
- 2 cups granulated sugar
- 1 cup water
- 1/2 cup honey
- 1 cinnamon stick
- 3 whole cloves
- 1 strip lemon peel
Instructions
- Preheat your oven to 350°F (175°C). Grease a 9×13 inch baking pan.
- In a bowl, combine the chopped nuts, cinnamon, and cloves. Mix well.
- Carefully unroll the phyllo dough. Keep the phyllo covered with a damp towel to prevent it from drying out.
- Place one sheet of phyllo in the prepared pan. Brush generously with melted butter. Repeat this process with 7 more sheets of phyllo, buttering each layer.
- Sprinkle about one-third of the nut mixture evenly over the phyllo.
- Layer 4 more buttered sheets of phyllo on top of the nuts.
- Spread another third of the nut mixture over the phyllo.
- Layer 4 more buttered sheets of phyllo.
- Spread the remaining nut mixture over the phyllo.
- Top with the remaining phyllo sheets, buttering each layer generously. Ensure the top layer is well-buttered.
- Using a sharp knife, cut the baklava into diamond or square shapes, cutting all the way through to the bottom layer.
- Bake for 45-55 minutes, or until the top is golden brown and crisp.
- While the baklava bakes, prepare the syrup. In a saucepan, combine sugar, water, honey, cinnamon stick, cloves, and lemon peel.
- Bring the mixture to a boil over medium heat, stirring until sugar dissolves. Reduce heat and simmer for 10-15 minutes, until slightly thickened. Remove cinnamon stick, cloves, and lemon peel. Let the syrup cool slightly.
- Once the baklava is out of the oven, immediately pour the warm syrup evenly over the hot baklava. You should hear it sizzle.
- Let the baklava cool completely in the pan for at least 4 hours, or preferably overnight, to allow the syrup to soak in.
- Serve at room temperature.
Notes
- For a richer flavor, you can toast the nuts lightly before chopping.
- If you don’t have walnuts or pistachios, pecans or almonds can also be used.
- Ensure your phyllo is completely thawed before starting.
- Work quickly when layering phyllo to prevent it from drying out.
- The syrup should be warm when poured over hot baklava for best absorption.
Nutrition
- Serving Size: 1 piece
- Calories: 350
- Sugar: 30g
- Sodium: 50mg
- Fat: 20g
- Saturated Fat: 8g
- Unsaturated Fat: 12g
- Trans Fat: 0g
- Carbohydrates: 40g
- Fiber: 2g
- Protein: 5g
- Cholesterol: 30mg