 Skip to content
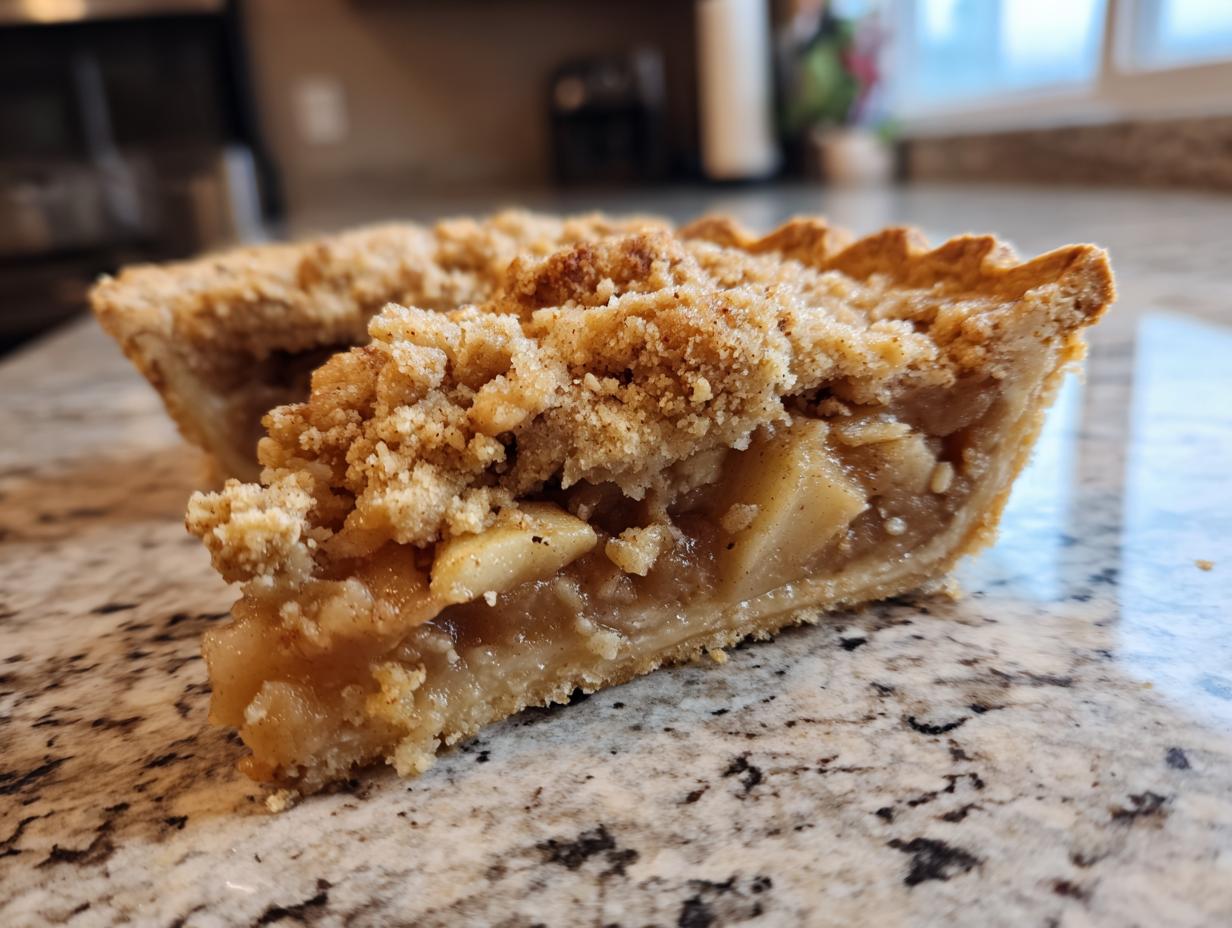

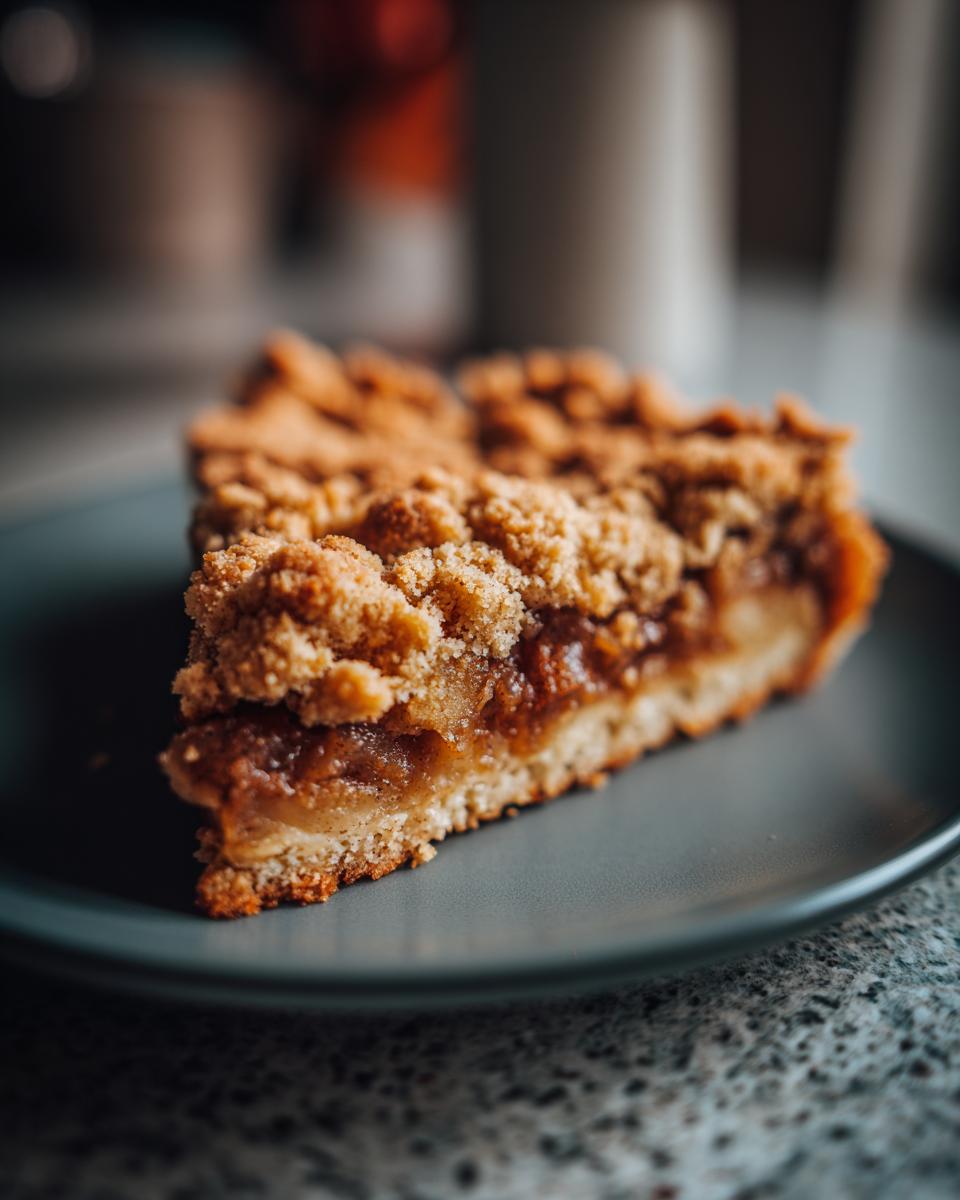
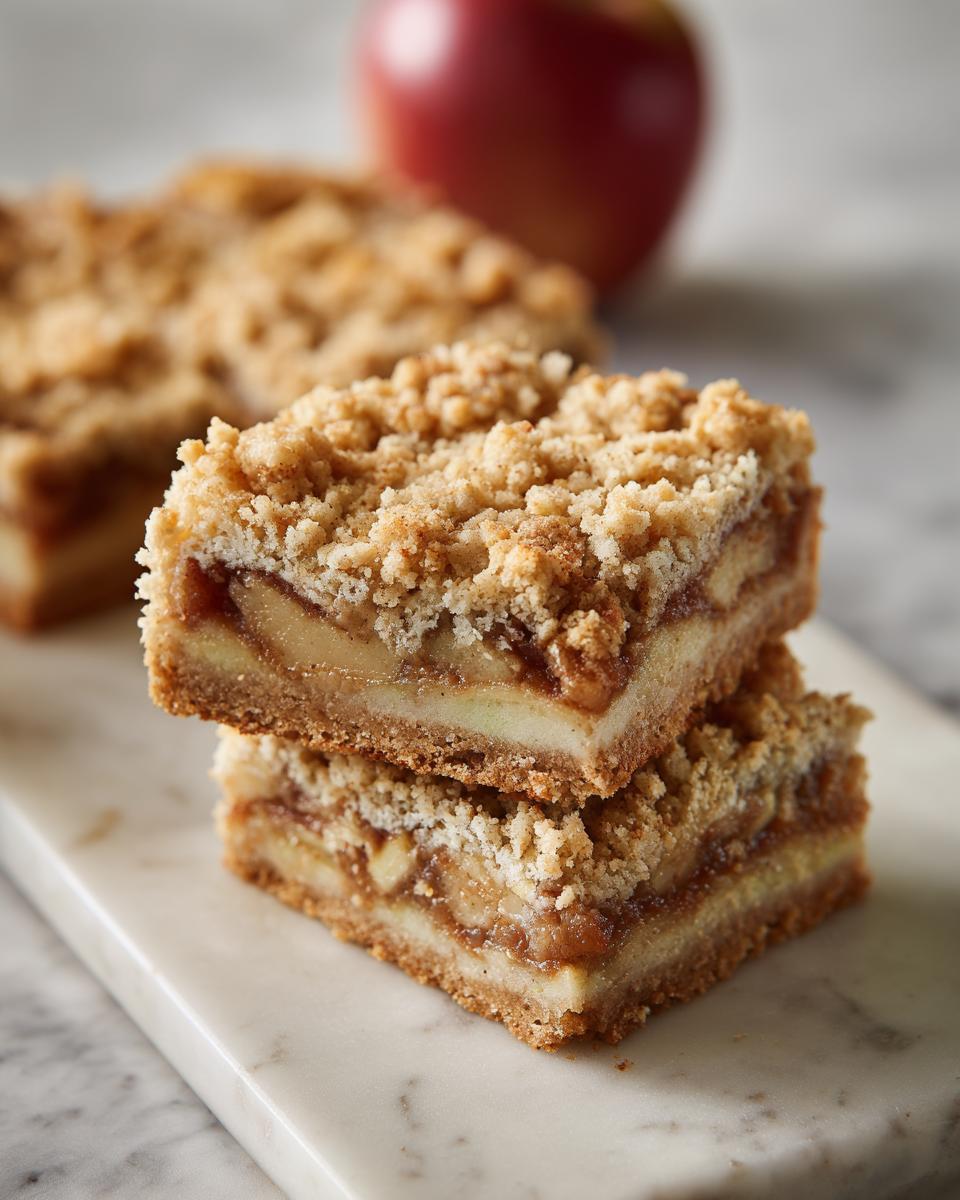
Oh, apple pie, but make it easy, right? That’s exactly what these apple pie bars are all about! Seriously, who doesn’t love apple pie? But sometimes, you just need something a little more… portable. Something you can grab and go, or bring to a potluck without a second thought. That’s where these gems come in! We start with this totally dreamy, buttery shortbread crust – my grandmother taught me a thing or two about a good shortbread, and that sweet, crumbly base is just divine. Then we pile on this warm, fall-spiced apple filling, and top it all off with a crunchy, sweet crumble. It’s all the cozy flavors of apple pie, but in a super convenient bar that’s perfect for any gathering, or even just a Tuesday afternoon pick-me-up. My kitchen is all about simple, joyful, delicious food that fits into our busy lives, and these bars totally nail that. They’re tested, they’re easy, and they bring that comforting homemade taste without a fuss. Trust me, you’ll want to bookmark this one!

- Why You'll Love These Apple Pie Bars
- The Best Apples for Apple Pie Bars
- Ingredients for Apple Pie Bars with Shortbread Crust
- How to Make Apple Pie Bars: Step-by-Step
- Tips for Perfectly Baked Apple Pie Bars
- Make-Ahead and Storage for Apple Pie Bars
- Variations: Salted Caramel Apple Pie Bars
- Serving Suggestions for Your Apple Pie Bars
- Frequently Asked Questions about Apple Pie Bars
- Estimated Nutritional Information
- Share Your Apple Pie Bar Creations!
Why You’ll Love These Apple Pie Bars
You’re going to adore these apple pie bars for so many reasons!
- So Easy to Make: Skip the fussy pie crust! These bars come together with a simple press-in shortbread base and a quick crumble topping, making them true easy dessert squares.
- All the Apple Pie Flavor: You get that wonderful spiced apple filling and cozy crumb topping you crave, all packed into a convenient bar.
- Perfect for Sharing: They slice up beautifully for bake sales, potlucks, or holiday dessert trays. Plus, they’re way easier to serve than a whole pie!
- Make-Ahead Magic: These are fantastic make-ahead dessert bars; whip them up a day or two in advance and they’re ready when you are.
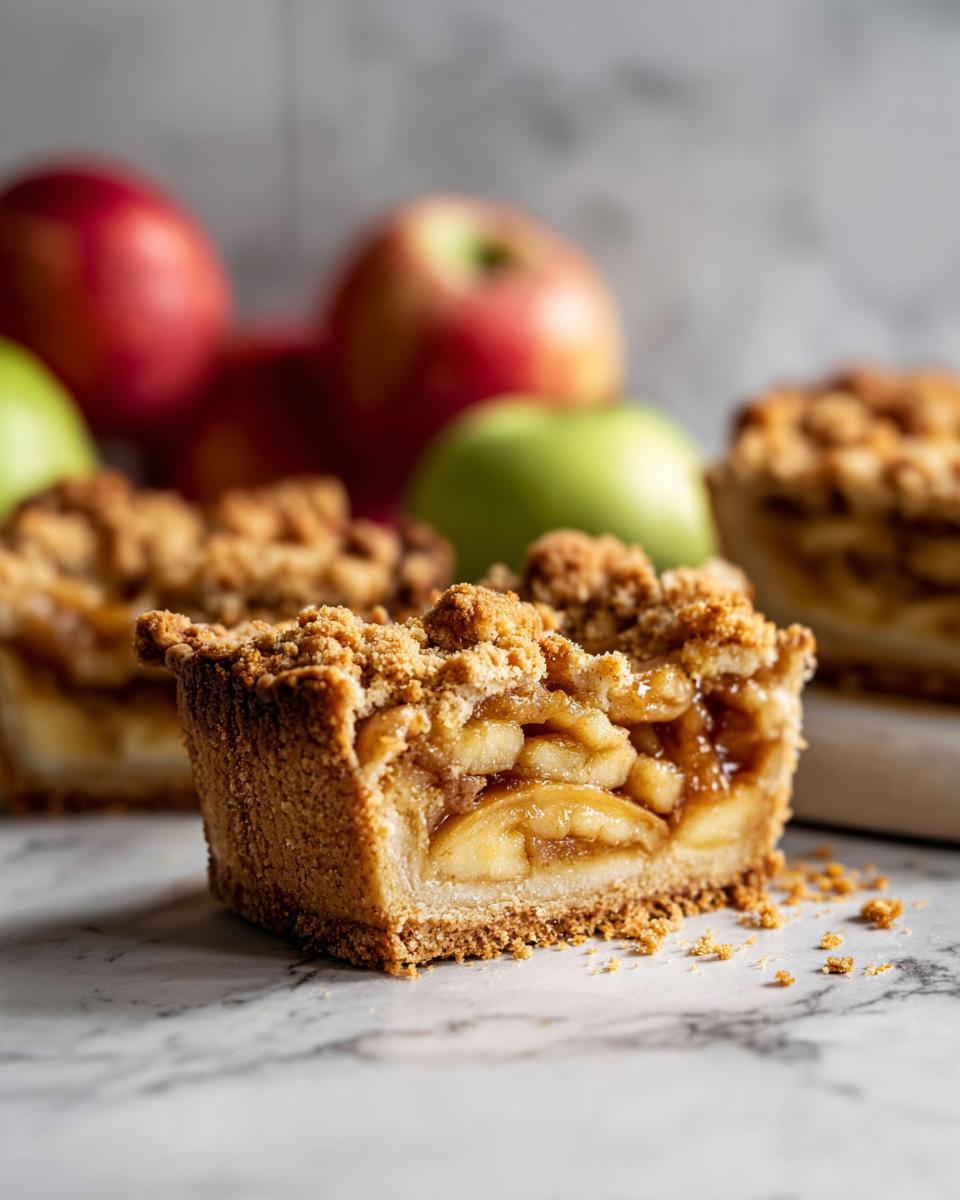
The Best Apples for Apple Pie Bars
Okay, let’s talk apples because this is where the magic really happens for the perfect apple pie bars! You don’t want apples that turn into mush, right? My go-to for these bars are varieties like Honeycrisp, Fuji, or Gala. Honeycrisp is amazing because it stays so firm and has that fantastic sweet-tart balance that apple pie dreams are made of. Fuji and Gala are also wonderful choices – they’re both pleasantly sweet with just enough tang, and they hold their shape beautifully when baked. This is super important for getting those nice, defined bites of apple instead of just apple goo. Picking the right apple really makes all the difference in texture and that classic apple pie flavor we love. For more tips on apple perfection, check out my apple pie secrets!
Ingredients for Apple Pie Bars with Shortbread Crust
Gathering your ingredients is the first fun step! For these delightful apple pie bars, you’ll need:
- 1 cup (2 sticks) unsalted butter, softened
- 1/2 cup granulated sugar
- 1 teaspoon vanilla extract
- 2 1/2 cups all-purpose flour
- 1/4 teaspoon salt
- 4-5 medium apples (Honeycrisp, Fuji, or Gala recommended), peeled, cored, and diced
- 1/2 cup packed light brown sugar
- 1 tablespoon all-purpose flour
- 1 teaspoon ground cinnamon
- 1/4 teaspoon ground nutmeg
- 1/4 teaspoon ground allspice
- 2 tablespoons lemon juice
- 1/4 cup chopped pecans or walnuts (optional)
- Salted caramel sauce, for drizzling (optional)
Make sure your butter is nice and soft – it makes all the difference for that lovely shortbread crust!
How to Make Apple Pie Bars: Step-by-Step
Alright, let’s get these delicious apple pie bars into the oven! It’s actually super straightforward, and before you know it, your kitchen will smell amazing.
Preparing the Shortbread Crust
First things first, preheat your oven to 375°F (190°C) and get your 9×13 inch baking pan ready – a little grease and flour works wonders. For the crust, grab your softened butter and granulated sugar in a big bowl. Cream them together until they’re nice and fluffy, then beat in that vanilla. Now, whisk your flour and salt together in a separate bowl, and then slowly add it to the butter mixture. Mix it until it just comes together. Take about two-thirds of this dough and press it really firmly and evenly into the bottom of your pan. Don’t be shy; pressing it down well helps prevent that dreaded soggy bottom!
Creating the Spiced Apple Filling
Now for the heart of our apple pie bars! In another bowl, toss your diced apples with the packed light brown sugar, a tablespoon of flour (this helps thicken the juices!), cinnamon, nutmeg, allspice, and that little splash of lemon juice for brightness. Give it all a gentle toss to coat everything evenly. Spread this lovely spiced apple mixture right over your pressed-in crust. If you’re using nuts, sprinkle those on top of the apples now!
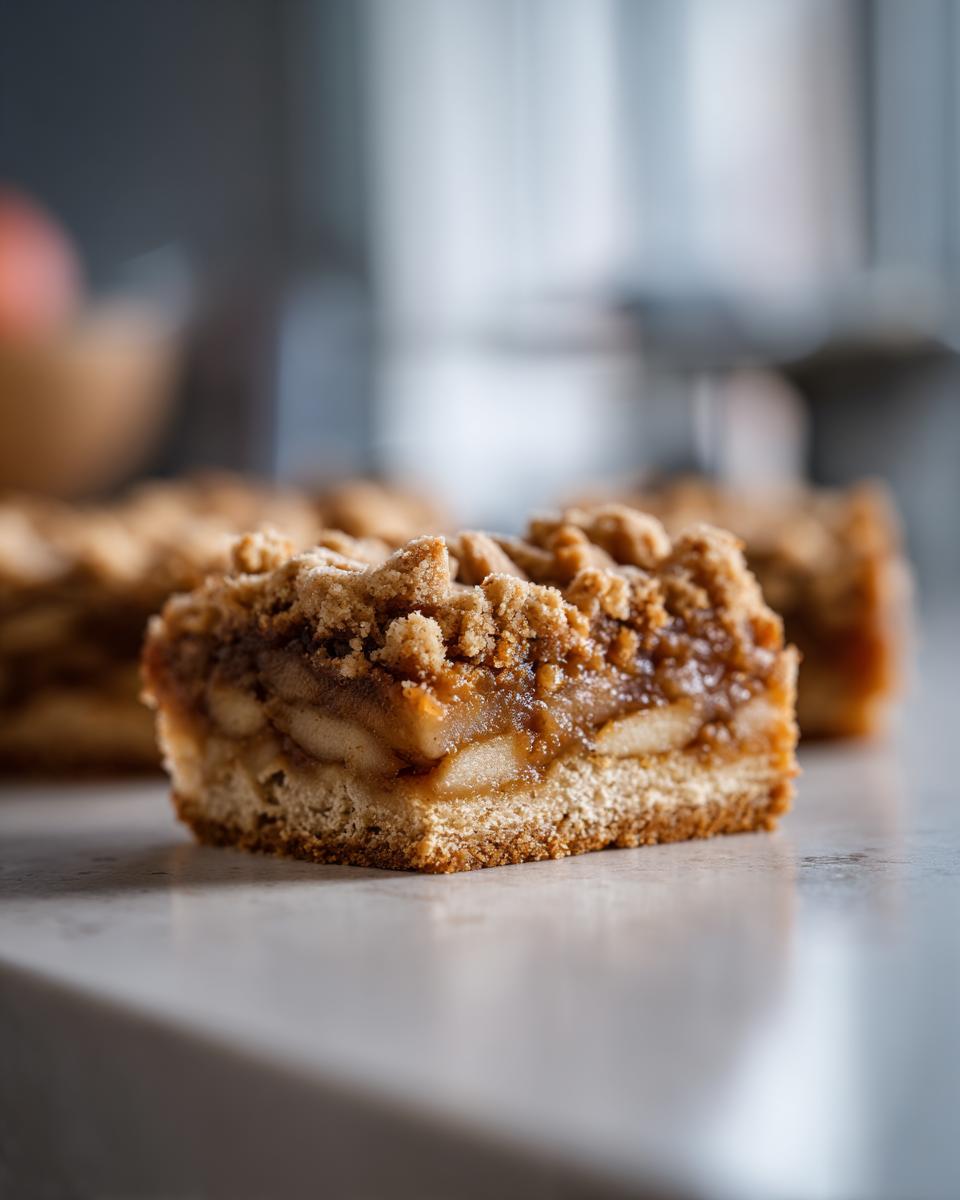
Assembling the Crumb Topping Apple Bars
This is the super easy part! Take the remaining one-third of your dough, and just crumble it evenly over the apple filling. You want to get it distributed all over, like a lovely blanket of deliciousness. These are truly the best crumb topping apple bars!
Baking and Cooling Your Apple Pie Bars
Time to bake! Pop the pan into your preheated oven for about 40-50 minutes. You’re looking for that crumb topping to turn a lovely golden brown, and the apples underneath should be tender when you poke them. Once they’re out, and oh, that smell… let them cool completely in the pan on a wire rack. This is super important, I can’t stress it enough! Cutting them while they’re hot will just make a mess, and nobody wants that. Patience here is key for those perfect, clean cuts later.
Tips for Perfectly Baked Apple Pie Bars
Okay, so you’ve got your apple pie bars assembled, but let’s make sure they bake up like a dream! A little known secret for preventing that dreaded soggy bottom is to really press that shortbread crust down firmly into the pan. Seriously, give it a good pat! Also, don’t shy away from letting the topping get nice and golden brown in the oven; that golden finish means the apples underneath are perfectly tender. And for those super clean slices, which makes these crumb topping apple bars look extra professional at your next gathering, let them cool *completely*. I mean it! If you’re in a rush, pop them in the fridge for about 30 minutes before cutting. It makes a world of difference, trust me!
Make-Ahead and Storage for Apple Pie Bars
One of the best things about these apple pie bars is how perfectly they fit into the ‘make-ahead dessert bars’ category! You can totally bake these a day or two in advance. Just let them cool completely on a wire rack, then cover the pan tightly with plastic wrap. They’ll stay fresh and delicious at room temperature for up to 2 days, making them ideal for busy weeknights or getting a head start on party prep. Seriously, they’re just as good, if not better, the next day! Wanna see more make-ahead ideas? Check out my make-ahead breakfast burritos!
Variations: Salted Caramel Apple Pie Bars
Now, if you really want to take these apple pie bars to a whole new level of awesome, have you considered a little drizzle of salted caramel sauce? Oh my goodness, it’s a game-changer! Once your bars have cooled down completely – remember, *completely* – you just take your favorite store-bought or homemade salted caramel sauce and drizzle it all over the top. That little hit of saltiness cuts through the sweetness of the apples and the buttery crust, making these truly irresistible salted caramel apple pie bars. It adds a lovely richness and a touch of elegance that’s just perfect for special occasions or when you want to really impress somebody!
Serving Suggestions for Your Apple Pie Bars
These apple pie bars are so darnversatile! Of course, they’re wonderful on their own, but imagine them warm with a scoop of creamy vanilla ice cream melting over the top – pure heaven! Or, a simple dusting of powdered sugar can make them look extra special. They’re truly fantastic as dessert squares for any get-together, a total lifesaver for bake sale favorites, and just perfect for picnic desserts because they travel so well. Honestly, they’re a hit everywhere!
Frequently Asked Questions about Apple Pie Bars
Got questions about whipping up these amazing apple pie bars? I’ve got answers!
Can I use different types of apples for these apple pie bars?
Oh, absolutely! While I really love Honeycrisp, Fuji, or Gala for their firm texture and sweet-tart flavor, you can definitely experiment. Just make sure you’re using apples that hold their shape well when baked – you don’t want mushy apples! Granny Smith is great for a bit of tang if you like things a little more tart.
How do I prevent a soggy bottom in my apple pie bars?
This is a big one! The key is a well-pressed crust. Make sure you press that shortbread dough firmly into the pan – really pack it down! Also, baking until the edges are golden brown and the filling is bubbling helps ensure the crust gets nice and crispy underneath. Don’t skip that important cooling step, either!
How long do apple pie bars last?
These apple pie bars are pretty sturdy and can be made ahead! Stored in an airtight container at room temperature, they’re usually good for about 2 days. They’re honestly just as delicious the next day, maybe even better!
Can I freeze these apple pie bars?
Yep, you sure can! Let the bars cool completely, then wrap them well in plastic wrap, and then pop them into a freezer-safe container or bag. They’ll keep beautifully in the freezer for up to 2-3 months. Just thaw them overnight in the fridge, or on the counter for a few hours, and they’re good to go!
Estimated Nutritional Information
Just a heads-up, the nutritional info for these apple pie bars is an estimate, and it can totally vary depending on the exact ingredients and brands you use. But, generally speaking, you can expect each bar to have around 350 calories, 18g of fat (with about 11g saturated), 3g of protein, 45g of carbs, 25g of sugar, 3g of fiber, and 150mg of sodium. Enjoy!
Share Your Apple Pie Bar Creations!
I just love hearing from you! If you try these apple pie bars, I’d be thrilled if you dropped a comment below with what you think, or maybe even shared a picture on social media. You can always reach me through my contact page too!
PrintApple Pie Bars with Shortbread Crust

Enjoy these easy apple pie bars with a buttery shortbread crust, spiced apple filling, and a sweet crumb topping. They are perfect for gatherings and can be made ahead.
- Prep Time: 25 min
- Cook Time: 50 min
- Total Time: 1 hour 15 min
- Yield: 16-20 servings 1x
- Category: Dessert
- Method: Baking
- Cuisine: American
- Diet: Vegetarian
Ingredients
- 1 cup (2 sticks) unsalted butter, softened
- 1/2 cup granulated sugar
- 1 teaspoon vanilla extract
- 2 1/2 cups all-purpose flour
- 1/4 teaspoon salt
- 4–5 medium apples (Honeycrisp, Fuji, or Gala recommended), peeled, cored, and diced
- 1/2 cup packed light brown sugar
- 1 tablespoon all-purpose flour
- 1 teaspoon ground cinnamon
- 1/4 teaspoon ground nutmeg
- 1/4 teaspoon ground allspice
- 2 tablespoons lemon juice
- 1/4 cup chopped pecans or walnuts (optional)
- Salted caramel sauce, for drizzling (optional)
Instructions
- Preheat your oven to 375°F (190°C). Grease and flour a 9×13 inch baking pan.
- For the crust: In a large bowl, cream together the softened butter and granulated sugar until light and fluffy. Beat in the vanilla extract.
- In a separate bowl, whisk together the flour and salt. Gradually add the flour mixture to the butter mixture, mixing until just combined.
- Press 2/3 of the dough evenly into the bottom of the prepared baking pan to form the crust.
- For the filling: In a large bowl, combine the diced apples, brown sugar, flour, cinnamon, nutmeg, allspice, and lemon juice. Toss gently to coat the apples evenly.
- Spread the apple filling evenly over the crust. Sprinkle with pecans or walnuts, if using.
- Crumble the remaining 1/3 of the dough evenly over the apple filling.
- Bake for 40-50 minutes, or until the topping is golden brown and the apples are tender.
- Let the bars cool completely in the pan on a wire rack before cutting into squares. Drizzle with salted caramel sauce, if desired.
Notes
- For best results, use a mix of firm, tart apples and sweet apples.
- To prevent a soggy bottom, ensure your crust is pressed firmly into the pan and bake until the edges are golden.
- These bars can be made up to 2 days in advance and stored in an airtight container at room temperature.
- For a cleaner slice, chill the bars for at least 30 minutes before cutting.
Nutrition
- Serving Size: 1 bar
- Calories: 350
- Sugar: 25g
- Sodium: 150mg
- Fat: 18g
- Saturated Fat: 11g
- Unsaturated Fat: 7g
- Trans Fat: 0g
- Carbohydrates: 45g
- Fiber: 3g
- Protein: 3g
- Cholesterol: 45mg