 Skip to content
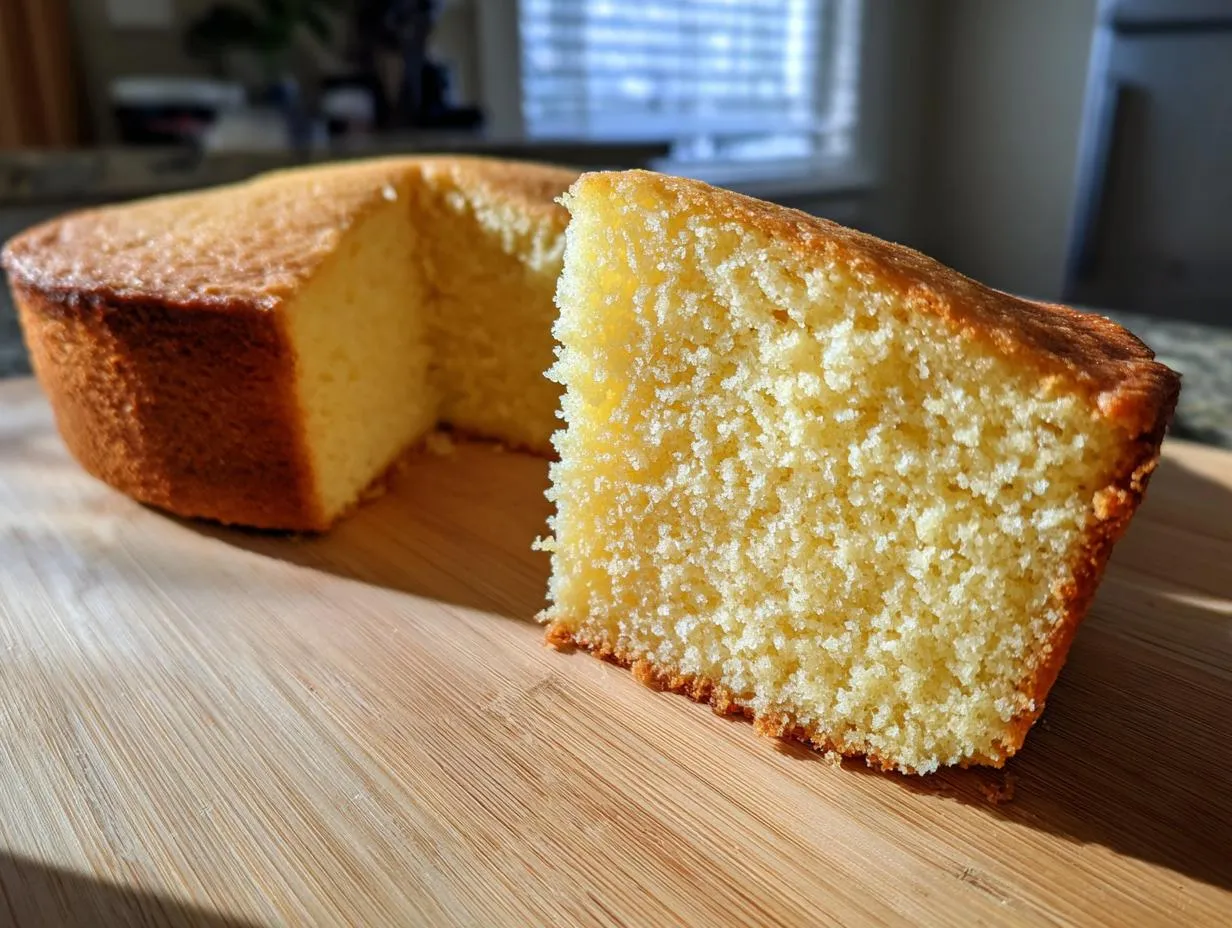

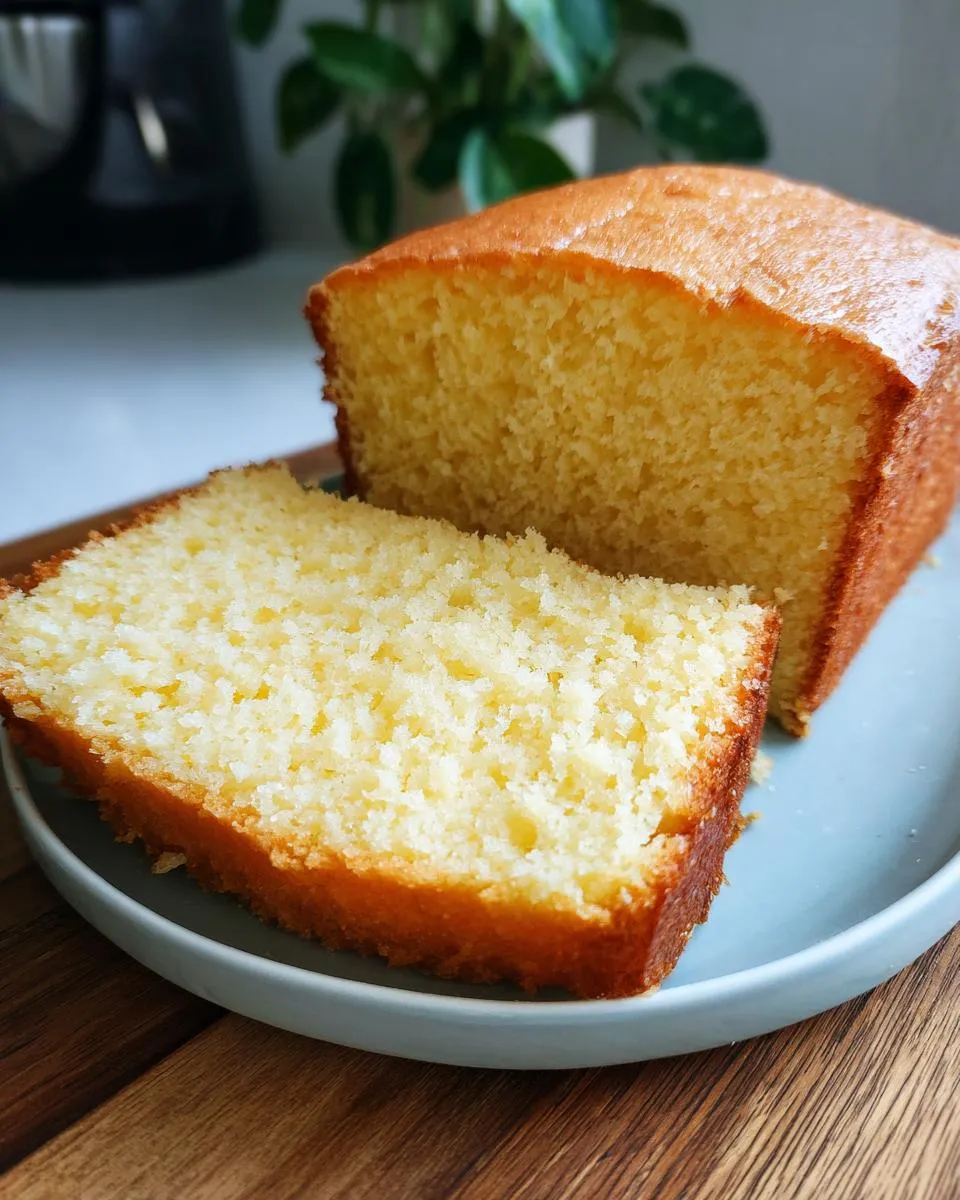
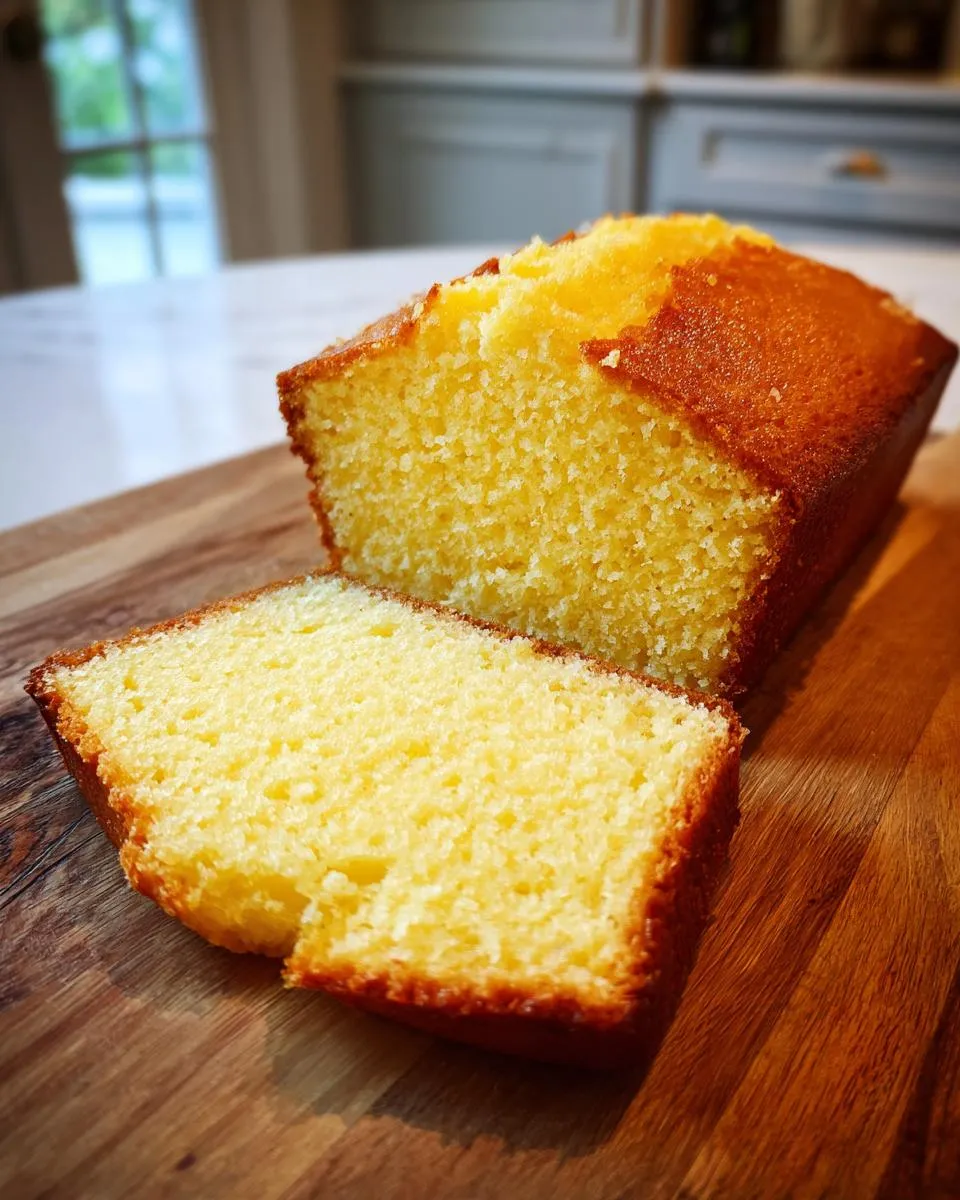
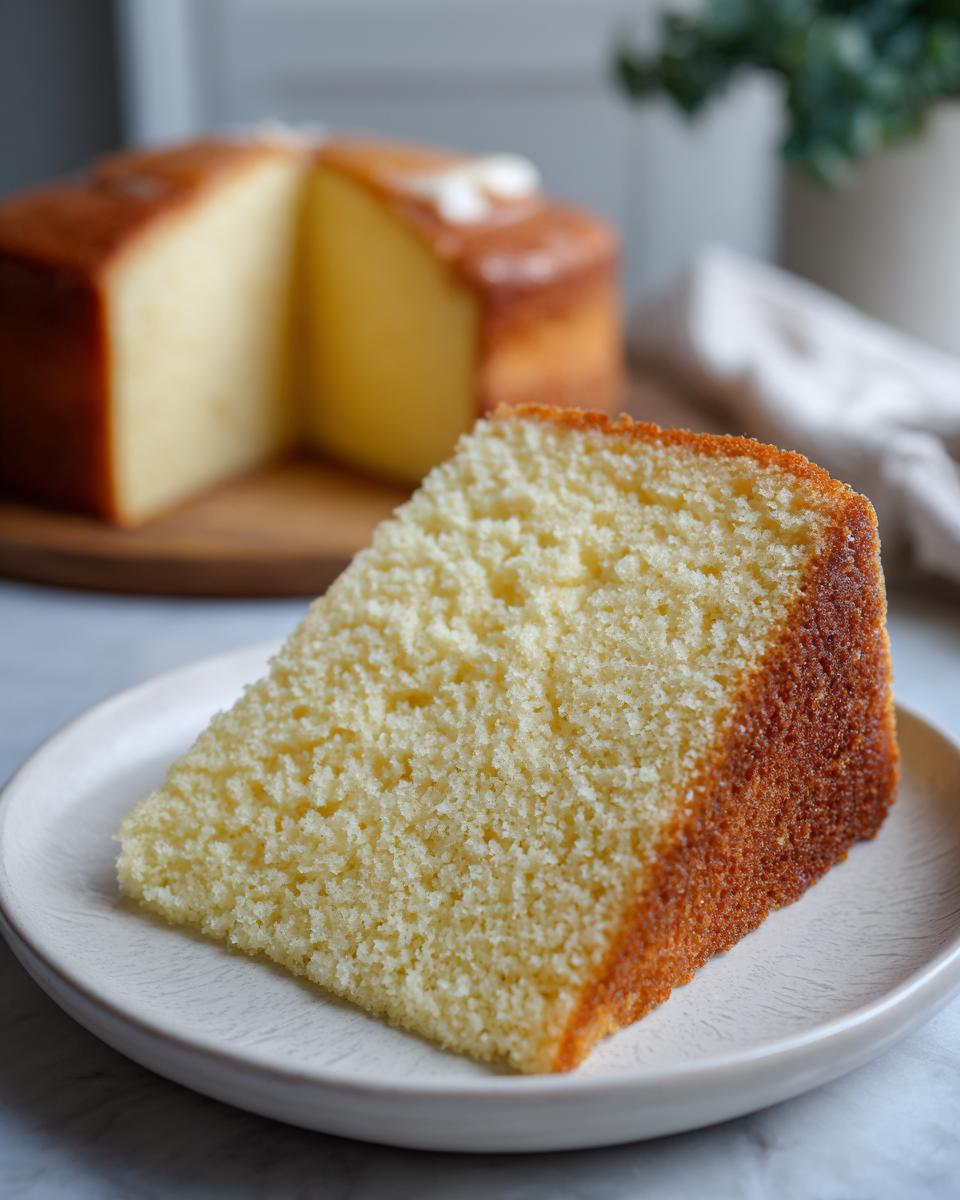
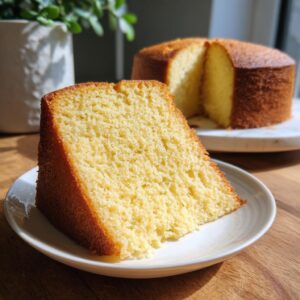
Oh, vanilla cake! Is there anything more comforting or classic than a slice of perfectly tender, buttery yellow cake? It’s like a cozy hug in dessert form, isn’t it? This is the kind of cake that reminds me of standing on a stool in my grandmother’s kitchen, flour dusting my nose, watching her whip up something magical. This vanilla cake recipe is exactly that – a gem I’ve tinkered with, aiming for that melt-in-your-mouth crumb and pure vanilla flavor I remember. It’s wonderfully straightforward, just the right amount of fuss-free for a weeknight treat or a showstopper for any celebration. Seriously, it’s the recipe that unlocked so many possibilities for me, and I just know it’ll do the same for you!

- Why You'll Love This Classic Vanilla Cake
- Ingredients for Your Perfect Vanilla Cake
- Essential Equipment for Baking Your Vanilla Cake
- How to Make a Classic Vanilla Cake: Step-by-Step
- Tips for the Best Buttery Birthday Cake
- Ingredient Notes and Substitutions for Your Vanilla Cake
- Serving Suggestions for Your All-Purpose Celebration Cake
- Storage and Reheating Instructions
- Frequently Asked Questions About Classic Vanilla Cake
- Estimated Nutritional Information
- Share Your Vanilla Cake Creations!
Why You’ll Love This Classic Vanilla Cake
Honestly, what’s not to adore about this cake? It’s your ultimate baking buddy for so many reasons:
- Super Easy to Make: Even if you’re just starting out, this recipe is totally foolproof.
- Deliciously Tender & Buttery: That fine, melt-in-your-mouth crumb is pure heaven.
- Endlessly Versatile: It’s the perfect canvas for any frosting, fruit, or filling you can dream up.
- Pure Comfort: It brings all those warm, nostalgic feelings of home baking.
Ingredients for Your Perfect Vanilla Cake
Here’s what you’ll need for a truly delightful cake:
- 1 cup (that’s 2 sticks) unsalted butter, softened just right
- 1 and 3/4 cups granulated sugar
- 2 large eggs, at room temperature is best
- 2 teaspoons of pure vanilla extract – don’t skimp here!
- 2 and 1/2 cups all-purpose flour
- 2 and 1/2 teaspoons baking powder
- 1/2 teaspoon salt
- 1 cup milk, whole milk gives the richest flavor
Essential Equipment for Baking Your Vanilla Cake
To make sure your cake turns out perfectly, you’ll want a few key things on hand:
- Two 8-inch round cake pans – these are great for even baking!
- An electric mixer (handheld or stand mixer) makes creaming butter and sugar a breeze.
- A whisk for your dry ingredients.
- A spatula for scraping down the bowl.
- Measuring cups and spoons, of course!
- A wire cooling rack for letting those cakes cool down just right.
How to Make a Classic Vanilla Cake: Step-by-Step
Alright, let’s get baking! This is where the magic really happens. Don’t worry if you’re new to this, because we’re going to walk through it together, just like my Grandma taught me.
- Get That Oven Ready! First things first, preheat your oven to 350°F (175°C). While it’s warming up, grab your two 8-inch round cake pans and give them a good grease and flour. This little step is crucial for easy release later – trust me! You can also use this handy easy cake batter trick if you have it.
- Creaming is Key! In a big bowl, toss in your softened butter and sugar. Now, beat them together until they’re light and fluffy. This can take a few minutes, especially if you’re doing it by hand, but it’s so worth it. It’s basically whipping air into the batter, which helps make our vanilla cake super light.
- Eggs and Vanilla Time! Beat in your eggs, one at a time, making sure each one is fully incorporated before adding the next. Then, stir in that pure vanilla extract. Make sure it’s the good stuff – it really makes a difference in the final flavor!
- Whisk Up the Dry Stuff! In a separate bowl, give your flour, baking powder, and salt a good whisk. This just makes sure everything is evenly distributed, so you don’t end up with pockets of baking powder in your cake.
- Combining Wet and Dry – Slowly! Now for the delicate part. We’re going to add the dry ingredients to the butter-sugar mixture alternately with the milk. Start and end with the dry ingredients. So, a little bit of dry, mix, a little bit of milk, mix, more dry, mix, more milk, mix, and finish with the rest of the dry. Mix until it’s *just* combined. Seriously, don’t go crazy here! Overmixing is the enemy of a tender crumb.
- Divide and Conquer! Pour that lovely batter evenly into your prepped cake pans. Try to get them as close to the same amount as possible so they bake evenly.
- Bake to Perfection! Pop those pans into your preheated oven. Bake for about 30-35 minutes. You’ll know they’re ready when a wooden skewer you stick right in the center comes out clean – no wet batter clinging to it!
- Cool Down! Let the cakes hang out in their pans for about 10 minutes. This gives them a chance to firm up a bit. Then, gently flip them out onto a wire cooling rack. Let them cool completely before you even *think* about frosting them. Patience, my friends!
Tips for the Best Buttery Birthday Cake
Making a truly fantastic vanilla cake is all about a few little tricks, you know? It elevates it from just okay to absolutely amazing, especially when you want that perfect buttery birthday cake experience. My Grandma always said the secret is in the details!
First off, ingredient temperature is HUGE. Make sure your butter is softened but not melty – you want it to give a little when you press it, not ooze. Same goes for your eggs and milk; room temperature makes everything combine so much smoother, helping to avoid a dense texture. When you’re mixing, remember what I said about not overdoing it after the flour goes in? That’s probably the MOST important tip for a tender vanilla cake. Just mix until you don’t see big flour streaks. Also, ovens can be a little quirky! If your oven tends to run hot, you might want to reduce the baking time by a few minutes or even use a thermometer to be sure. This way, you won’t end up with that dreaded dry cake!
Ingredient Notes and Substitutions for Your Vanilla Cake
Sometimes we all need to make a little swap in the kitchen, right? For our vanilla cake, the quality of your vanilla extract really shines through, so try to use pure vanilla extract if you can. The imitation stuff just doesn’t have that same depth of flavor. If you’re out of whole milk, don’t panic! You can use 2% or even skim, but the cake might be a smidge less rich. Sometimes I even use buttermilk for a little tang, which is super yummy too!
Serving Suggestions for Your All-Purpose Celebration Cake
This vanilla cake really is the star of the show, no matter what you dress it up with! It’s perfect as an all-purpose celebration cake for birthdays, anniversaries, or just because. Try leveling the cooled layers and spreading a generous amount of fluffy buttercream frosting between them. A simple swirl of cream cheese frosting is heavenly too, especially if you add a touch of lemon zest! Or, keep it super simple and just dust it with powdered sugar and serve alongside fresh berries and a dollop of whipped cream. It’s also the perfect base if you’re itching to try making something like vanilla cupcakes, or even want to pair it with a richer flavor like chocolate or a different chocolate cake recipe!

Storage and Reheating Instructions
Got leftovers? Lucky you! This vanilla cake stays wonderfully moist. Store any unfrosted cake wrapped tightly in plastic wrap at room temperature for up to 3 days. If it’s frosted, especially with cream cheese frosting, pop it in the fridge. To bring it back to life, a quick (like, 10-15 second) zap in the microwave makes it wonderfully soft again!
Frequently Asked Questions About Classic Vanilla Cake
Got questions about our vanilla cake? I totally get it! Baking is an adventure, and sometimes you just need a little nudge in the right direction. That’s why I’ve put together some answers to common questions from my kitchen and beyond!
Why is my classic vanilla cake so dry?
Oh no, a dry cake is the worst! Usually, this happens from over-baking. Make sure you’re watching it closely towards the end and pull it out as soon as a skewer comes out with just a few moist crumbs. Over-measuring your flour can also be a culprit, so try spooning it into the cup and leveling it off rather than scooping directly from the bag. Sometimes, too much baking powder can affect moisture too! For more general baking tips, you can check out my about page!
Can I make this vanilla cake ahead of time?
Absolutely! This is one of the best things about this recipe. You can totally bake the layers a day or two in advance. Just let them cool completely, wrap them up tight, and keep them at room temperature. Then, frost and decorate when you’re ready to serve. It’s a lifesaver for busy bakers!
What’s the best frosting for vanilla cake?
Honestly, vanilla cake is like a blank canvas! My personal favorite is a classic American buttercream – it’s simple, sweet, and complements the cake perfectly. A tangy cream cheese frosting is also divine, especially with a little lemon zest mixed in. And of course, you can never go wrong with a simple dusting of powdered sugar and some fresh berries. It really depends on your mood!
Troubleshooting Common Vanilla Cake Issues
We’ve all been there! If your cake sinks in the middle, it might be from opening the oven door too early or not baking it quite long enough. A dense crumb usually points to overmixing after the flour is added. And if it’s uneven, your oven might be hotter on one side. Try rotating the pans halfway through baking!
Estimated Nutritional Information
Now, I know you’re curious about the numbers! For a slice of this beautiful vanilla cake, you’re looking at roughly:
- Calories: Around 300
- Fat: About 15g (with 9g saturated)
- Carbohydrates: Roughly 38g (with 30g sugar)
- Protein: Around 4g
This is just an estimate, of course! It can change depending on the exact ingredients you use and how you frost it. But hey, it gives you a good idea!
Share Your Vanilla Cake Creations!
Did you bake up this delicious vanilla cake? Oh, I truly hope you did and that it brought some joy to your kitchen! I’d absolutely LOVE to hear all about it. Drop a comment below and tell me how it turned out, or if you tried any fun frosting combinations. And please, if you shared a picture on social media, tag me! Seeing your baking adventures makes my day. For any final questions or just to connect, feel free to reach out via my contact page. Happy baking!
PrintClassic Vanilla Cake Recipe
A tender, buttery yellow cake with a fine crumb and true vanilla flavor, perfect for any occasion. This easy recipe is a versatile foundation for your favorite fillings and frostings.
- Prep Time: 20 min
- Cook Time: 35 min
- Total Time: 55 min
- Yield: 12 servings 1x
- Category: Dessert
- Method: Baking
- Cuisine: American
- Diet: Vegetarian
Ingredients
- 1 cup (2 sticks) unsalted butter, softened
- 1 3/4 cups granulated sugar
- 2 large eggs
- 2 teaspoons vanilla extract
- 2 1/2 cups all-purpose flour
- 2 1/2 teaspoons baking powder
- 1/2 teaspoon salt
- 1 cup milk
Instructions
- Preheat your oven to 350°F (175°C). Grease and flour two 8-inch round cake pans.
- In a large bowl, cream together the softened butter and granulated sugar until light and fluffy.
- Beat in the eggs one at a time, then stir in the vanilla extract.
- In a separate bowl, whisk together the flour, baking powder, and salt.
- Add the dry ingredients to the wet ingredients alternately with the milk, beginning and ending with the dry ingredients. Mix until just combined; do not overmix.
- Divide the batter evenly between the prepared cake pans.
- Bake for 30-35 minutes, or until a wooden skewer inserted into the center comes out clean.
- Let the cakes cool in the pans for 10 minutes before inverting them onto a wire rack to cool completely.
Notes
- For a finer crumb, ensure your butter is properly softened but not melted.
- Creaming butter and sugar well incorporates air, which helps create a lighter cake.
- Avoid overmixing the batter once the flour is added, as this can lead to a dense cake.
- This cake is a great base for various frostings and fillings, such as buttercream, cream cheese frosting, or fresh fruit.
Nutrition
- Serving Size: 1 slice
- Calories: 300
- Sugar: 30g
- Sodium: 200mg
- Fat: 15g
- Saturated Fat: 9g
- Unsaturated Fat: 6g
- Trans Fat: 0g
- Carbohydrates: 38g
- Fiber: 1g
- Protein: 4g
- Cholesterol: 50mg