 Skip to content
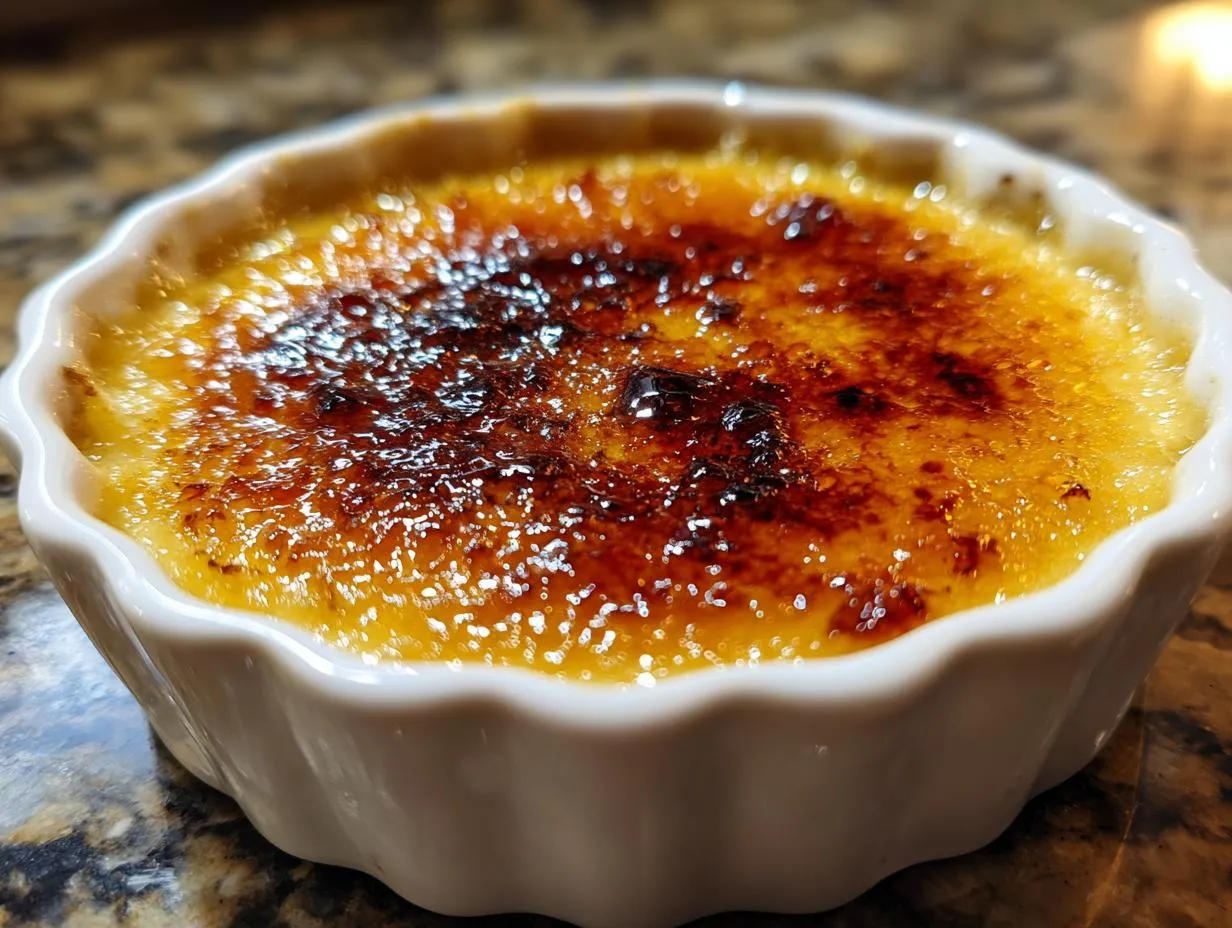

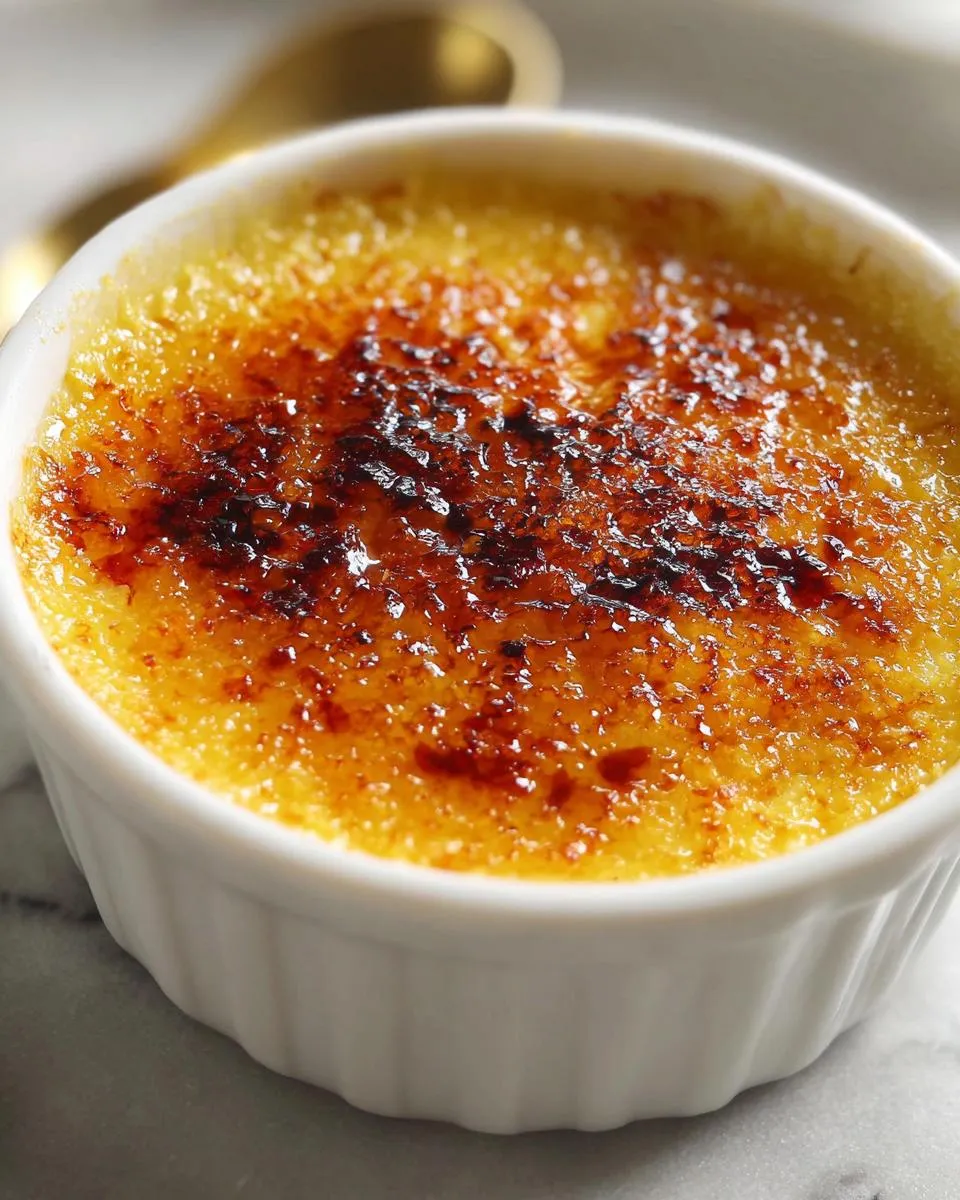
Oh, creme brulee! Just saying the words makes me feel fancy, doesn’t it? There’s something so utterly magical about that shattering crack of caramelized sugar giving way to a silky, cool vanilla custard beneath. It feels like a special occasion dessert, like something you’d order at a swanky restaurant, and honestly, I used to think it was super complicated to make at home. But trust me, once you get the hang of it, this classic French dessert is surprisingly simple and oh-so-rewarding! My first attempt at creme brulee was a bit wobbly—literally, the custard never quite set right—but after a few tries and a lot of learning, I’ve nailed down the secrets to that perfect, delicate jiggle topped with that show-stopping glassy crust. Get ready, because we’re about to make some serious dessert magic happen right in your kitchen!

- Why You'll Love This Classic Creme Brulee
- Ingredients for the Perfect Creme Brulee
- Essential Equipment for Making Creme Brulee
- Step-by-Step Guide to Making Creme Brulee
- Tips for Crème Brûlée Success
- Variations on This Elegant French Dessert
- Serving and Storing Your Creme Brulee
- Frequently Asked Questions About Creme Brulee
- Nutritional Estimate for This Vanilla Custard Dessert
- Share Your Creme Brulee Creations!
Why You’ll Love This Classic Creme Brulee
Honestly, what’s not to love? This classic creme brulee is the definition of elegant simplicity. You get that unbelievably rich, creamy vanilla custard hugging your spoon, but the real star is that crackly, burnt sugar topping—it’s a texture party and a flavor explosion all in one! Plus, it looks absolutely stunning on any table. And the best part? It’s way easier to whip up than you think. Get ready to impress everyone (including yourself!).
Ingredients for the Perfect Creme Brulee
Alright, let’s talk ingredients! For this dreamy vanilla custard dessert, you really don’t need much, but good quality stuff makes all the difference. You’ll need five large egg yolks – don’t toss those whites, seriously, save them for meringues or an omelet! Then, a half cup of granulated sugar, plus a little extra for that magic caramelized sugar topping. For the rich, creamy base, grab two cups of heavy cream. A teaspoon of pure vanilla extract is a must for that classic flavor, and just a pinch of salt to make everything pop. Simple, right?
Essential Equipment for Making Creme Brulee
Okay, before we dive into making this gorgeous dessert, let’s make sure you’ve got the right tools. You’ll need six 4-ounce ramekins – these are perfect for individual servings. A sturdy baking dish is essential for our water bath, and trust me, a fine-mesh sieve makes a world of difference for getting that super smooth custard. And for that show-stopping crackly top? A kitchen torch is your best friend here. It’s not strictly required, but it’s the easiest way to get that perfect, glassy crust!
Step-by-Step Guide to Making Creme Brulee
Alright, let’s get our hands dirty and make some magic happen! Making this classic French dessert is all about a few key techniques, but once you’ve got them down, it’s a breeze. Don’t worry if it feels a little fussy at first, the results are totally worth it. We’re going from basic ingredients to a restaurant-worthy treat right here.
Preparing the Custard Base
First things first, let’s get that gorgeous custard base going. Grab a medium bowl and whisk those lovely egg yolks with about half a cup of sugar until they look pale and a little fluffy – like sunshine in a bowl. Now, in a saucepan, gently heat up your heavy cream over medium heat. You just want it to get nice and warm, with tiny bubbles starting to form around the edges; absolutely no boiling, okay? This is super important! Slowly, and I mean *slowly*, whisk about half of that hot cream into your egg yolk mix. This is called tempering, and it stops those yolks from turning into scrambled eggs. Once that’s well combined, pour this sunny mixture back into the saucepan with the rest of the cream. Keep stirring it constantly over low heat, using a wooden spoon, until it thickens just enough to coat the back of the spoon. Ta-da! Now, stir in your vanilla extract and that tiny pinch of salt.
Baking the Vanilla Custard Dessert
Okay, for this part, we need to be a little gentle, just like in my dessert recipes. Strain that beautiful custard through a fine-mesh sieve into a pitcher or another clean bowl. This gets rid of any tiny bits of cooked egg and makes your creme brulee super smooth. Now, preheat your oven to a nice, gentle 325°F (160°C). Get a baking dish ready and place your individual ramekins (about six 4-ounce ones work perfectly) inside. Carefully pour that strained custard into each ramekin, filling them up evenly. Here comes the water bath! Carefully pour hot water into the baking dish, right around the ramekins, so it comes about halfway up their sides. This helps the custard bake so evenly and prevents those pesky little cracks. Pop it all into the oven for about 30-40 minutes. You’re looking for the edges to be set, but the center should still have a little wiggle, like jelly. Let them cool completely on a wire rack, then pop some plastic wrap over them and chill them in the fridge for at least 4 hours, or even better, overnight. Don’t rush this chilling step!
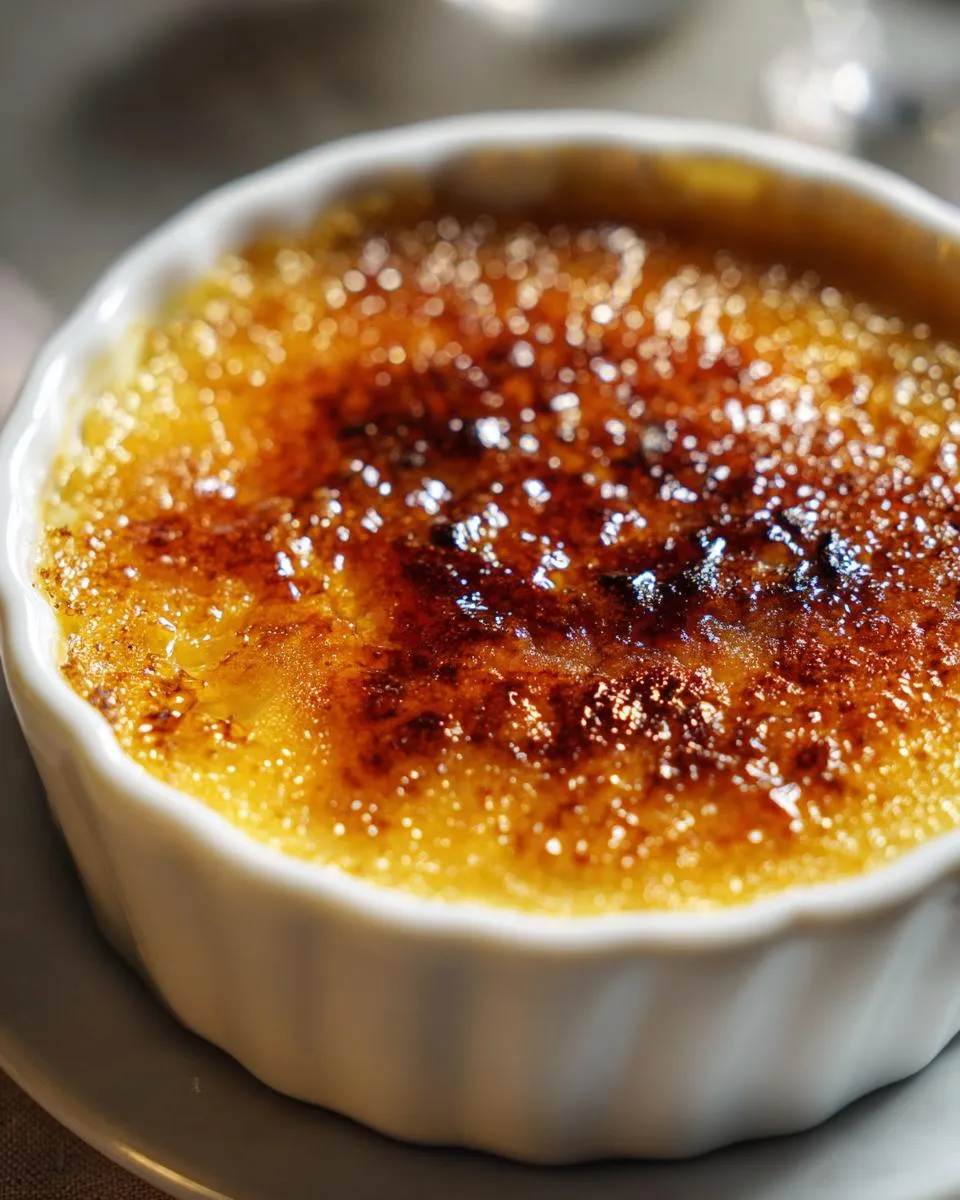
Achieving the Perfect Caramelized Sugar Topping
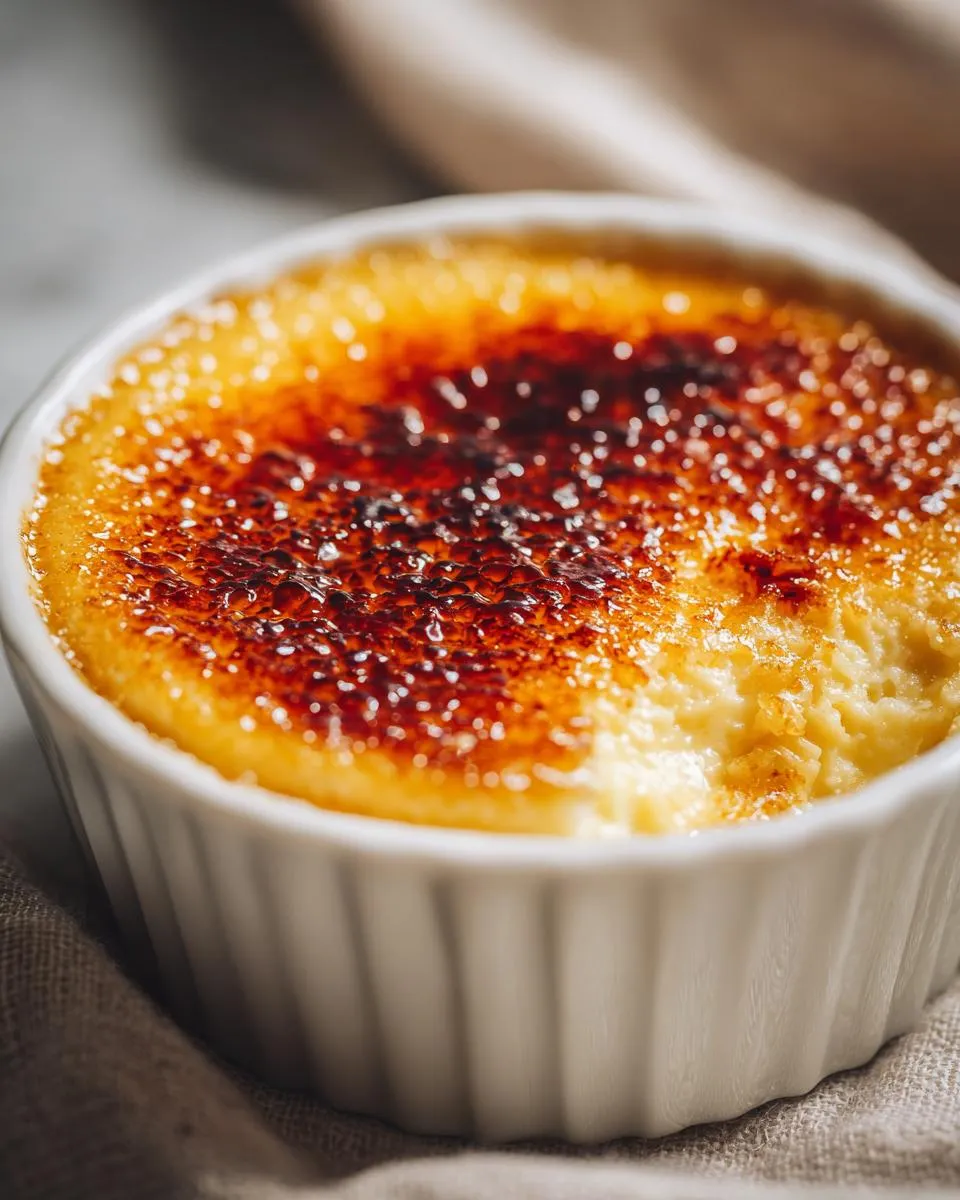
This is the moment we’ve all been waiting for – that iconic crackle! Get your chilled custards out of the fridge. Sprinkle about 1-2 teaspoons of granulated sugar evenly over the top of each one. Make sure you get a nice, even layer; this is what creates that glassy crust. Now, grab your kitchen torch. Hold it a few inches away and move it constantly in circles over the sugar. You’ll see it start to melt, bubble, and turn a beautiful amber color. Keep going until the whole surface is caramelized and looks like a hard, shiny sheet. If you don’t have a torch, don’t despair! You can try carefully placing the ramekins under a very hot broiler for a minute or two, but watch them like a hawk – they can burn super fast! Let them sit for just a minute to let that sugar harden up before you dive in.
Tips for Crème Brûlée Success
Okay, so making the perfect crème brûlée is totally doable, but there are a couple of little secrets that really make it shine. I’ve learned a thing or two over the years, often through a few… interesting results, let’s say! But these little tips I’m about to share will help you skip the mistakes and go straight to dessert perfection. Honestly, it’s all about paying attention to the details! You can read more about my kitchen adventures on my about page.
Ingredient Quality Matters
This is one of those recipes where you *really* notice the difference good ingredients make. Splurge a little on good quality heavy cream and pure vanilla extract. The cream gives you that luscious, rich mouthfeel, and good vanilla just makes everything taste so much more vibrant. Trust me, it makes your vanilla custard dessert sing!
Water Bath Technique Explained
That water bath thing might seem like extra work, but oh boy, is it worth it! It’s basically a gentle hug for your ramekins. It ensures the custard cooks super evenly and slowly, preventing those rubbery bits or a weirdly textured dessert. Just fill your baking dish with hot water until it comes halfway up the sides of the ramekins. It’s the secret to that silky smooth texture we’re all after in our classic creme brulee.
Variations on This Elegant French Dessert
While I absolutely adore a classic vanilla crème brûlée, sometimes it’s fun to play around and put your own spin on things! You can totally jazz up this elegant French dessert. Try adding a half teaspoon of almond extract along with the vanilla, or maybe some orange or lemon zest infused into the cream. You could even warm up the cream with a cinnamon stick or a few cardamom pods for a few minutes before you start, then strain them out. For something fruity, a thin layer of raspberry or passionfruit puree at the bottom of the ramekin before adding the custard is divine! It’s all about making it your own!
Serving and Storing Your Creme Brulee
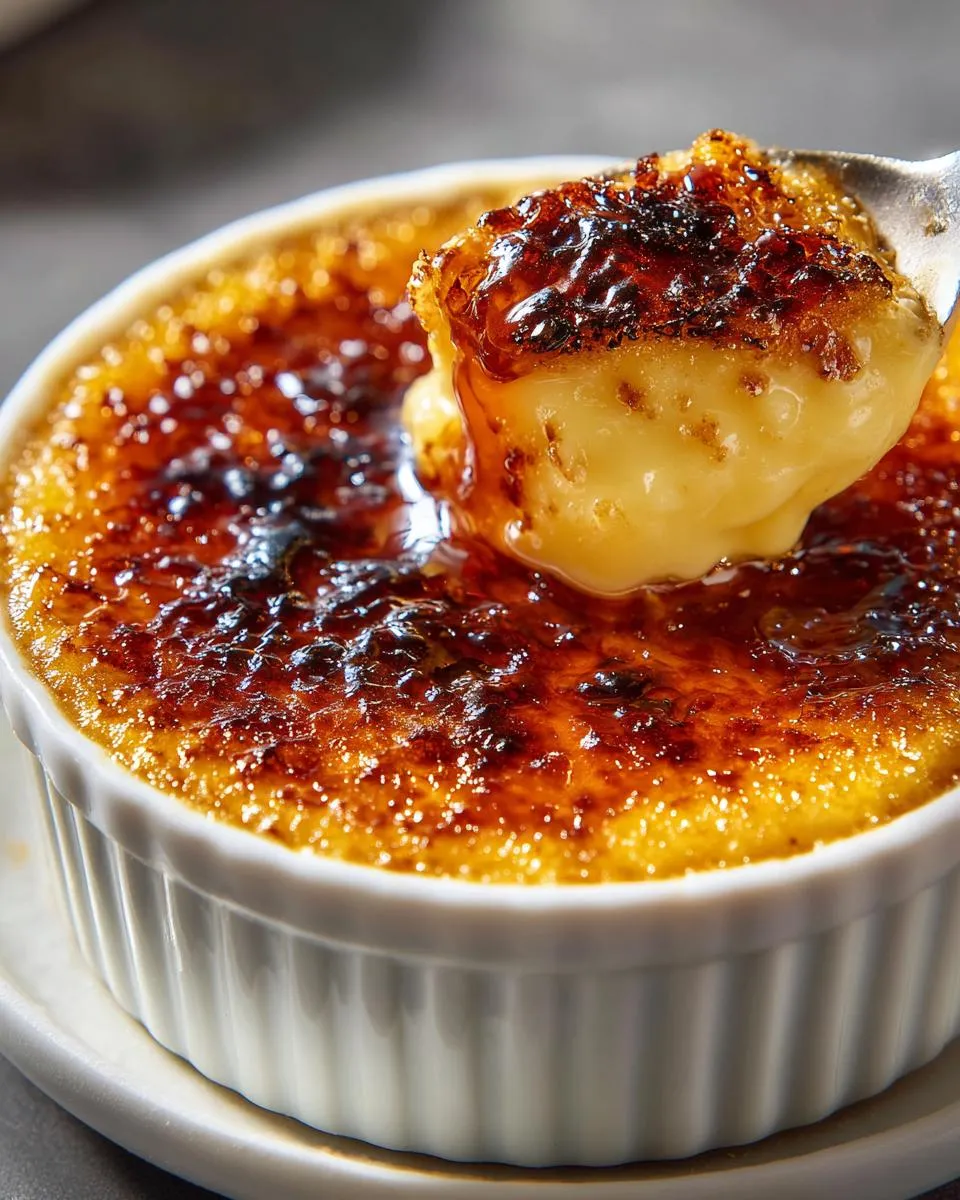
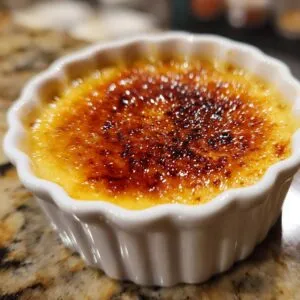
Okay, the moment of truth! You’ve just torched that sugar topping to perfection. The absolute best way to serve your crème brûlée is right away, while the custard is still cool and the caramel is warm and brittle. That contrast is just divine! Grab a spoon, tap gently, enjoy that glorious crackle, and then dive into that silky vanilla custard. If somehow, by some remote chance, you have leftovers (which rarely happens in my house!), you can cover them tightly with plastic wrap and pop them back in the fridge for a day or two. Just know that the caramelized sugar topping might soften a bit as it sits, so for the freshest crunch, it’s always best to re-torch it briefly before serving again, though it’s a little tricky!
Frequently Asked Questions About Creme Brulee
Got questions about making this amazing dessert? You’re not alone! This classic French dessert is a stunner, but a few little things can sometimes trip us up. Let’s clear up some of the most common sticky points right here in my recipe blog so your creme brulee dreams come true!
Can I make creme brulee ahead of time?
Yes, you absolutely can! Make the custard base and get it chilled. It’s actually better if it’s nicely cold. But for that amazing crispy topping, you’ll want to sprinkle and torch the sugar *just* before you serve it. That way, you get the best contrast between cold custard and warm, crunchy caramel!
What if I don’t have a kitchen torch for my creme brulee?
No torch? No problem! You can carefully use your oven’s broiler. Just sprinkle the sugar on top, place the ramekins on a baking sheet (and watch them like a hawk!), and broil for a minute or two until it’s caramelized. Keep that broiler door slightly ajar and rotate them often so they don’t burn!
Why is my creme brulee watery?
A watery finish usually means it was either underbaked or the water bath wasn’t quite right. Make sure the center still has a *slight* jiggle when you take it out – it’ll firm up as it chills. Also, ensure your water bath water isn’t boiling vigorously in the oven; a gentle simmer is best for a smooth, creamy vanilla custard dessert.
Nutritional Estimate for This Vanilla Custard Dessert
Now, let’s talk numbers! Keep in mind these are just estimates, because who really measures out every single milligram for a home-baked treat? But per serving, you’re likely looking at around 450 calories, roughly 35 grams of fat (don’t worry, that’s mostly good stuff!), about 7 grams of protein, and around 25 grams of carbs, with about 30 grams of that being sugar. Delicious, yes, but definitely a treat!
Share Your Creme Brulee Creations!
Alright, dessert adventurers! I’ve shared all my secrets for this fabulous classic creme brulee, and now it’s your turn! Did you try making it? How did it turn out? I’d absolutely LOVE to hear all about it! Drop a comment below, give it a rating if you can, or even better, share a photo of your gorgeous creation on social media – tag me so I can see your masterpiece! Let’s fill the internet with beautiful, crackly creme brulee! If you have any questions or want to share your baking journey, feel free to reach out via my contact page!
PrintClassic Crème Brûlée
A simple recipe for classic French crème brûlée with a rich vanilla custard and a perfectly caramelized sugar topping.
- Prep Time: 15 min
- Cook Time: 40 min
- Total Time: 55 min
- Yield: 6 servings 1x
- Category: Dessert
- Method: Baking
- Cuisine: French
- Diet: Vegetarian
Ingredients
- 5 large egg yolks
- 1/2 cup granulated sugar, plus more for topping
- 2 cups heavy cream
- 1 teaspoon vanilla extract
- Pinch of salt
Instructions
- Preheat your oven to 325°F (160°C). Arrange six 4-ounce ramekins in a baking dish.
- In a medium bowl, whisk together the egg yolks and 1/2 cup granulated sugar until pale and slightly thickened.
- In a saucepan, heat the heavy cream over medium heat until it just begins to simmer. Do not boil.
- Slowly temper the egg yolks by gradually whisking about half of the hot cream into the yolk mixture.
- Pour the tempered yolk mixture back into the saucepan with the remaining cream. Cook over low heat, stirring constantly with a wooden spoon, until the custard thickens enough to coat the back of the spoon. Do not let it boil.
- Remove from heat and stir in the vanilla extract and salt.
- Strain the custard through a fine-mesh sieve into a clean bowl or pitcher.
- Pour the custard evenly into the prepared ramekins.
- Carefully pour hot water into the baking dish around the ramekins, reaching about halfway up their sides. This is your water bath.
- Bake for 30-40 minutes, or until the custards are set but still have a slight jiggle in the center.
- Remove the ramekins from the water bath and let them cool completely on a wire rack. Then, cover with plastic wrap and refrigerate for at least 4 hours, or preferably overnight.
- Just before serving, sprinkle about 1-2 teaspoons of granulated sugar evenly over the top of each custard.
- Using a kitchen torch, caramelize the sugar until it forms a hard, glassy crust. Let sit for a minute before serving.
Notes
- For the best results, use a kitchen torch to caramelize the sugar. If you don’t have one, you can place the ramekins under a hot broiler for a minute or two, watching very carefully to prevent burning.
- Ensure your oven temperature is accurate. An oven thermometer can be helpful.
- Do not overbake the custard, or it will become rubbery. The slight jiggle is key.
- Chill the custards thoroughly before torching the sugar for the best contrast in temperature and texture.
Nutrition
- Serving Size: 1 ramekin
- Calories: 450
- Sugar: 30g
- Sodium: 50mg
- Fat: 35g
- Saturated Fat: 22g
- Unsaturated Fat: 13g
- Trans Fat: 1g
- Carbohydrates: 25g
- Fiber: 0g
- Protein: 7g
- Cholesterol: 250mg