 Skip to content
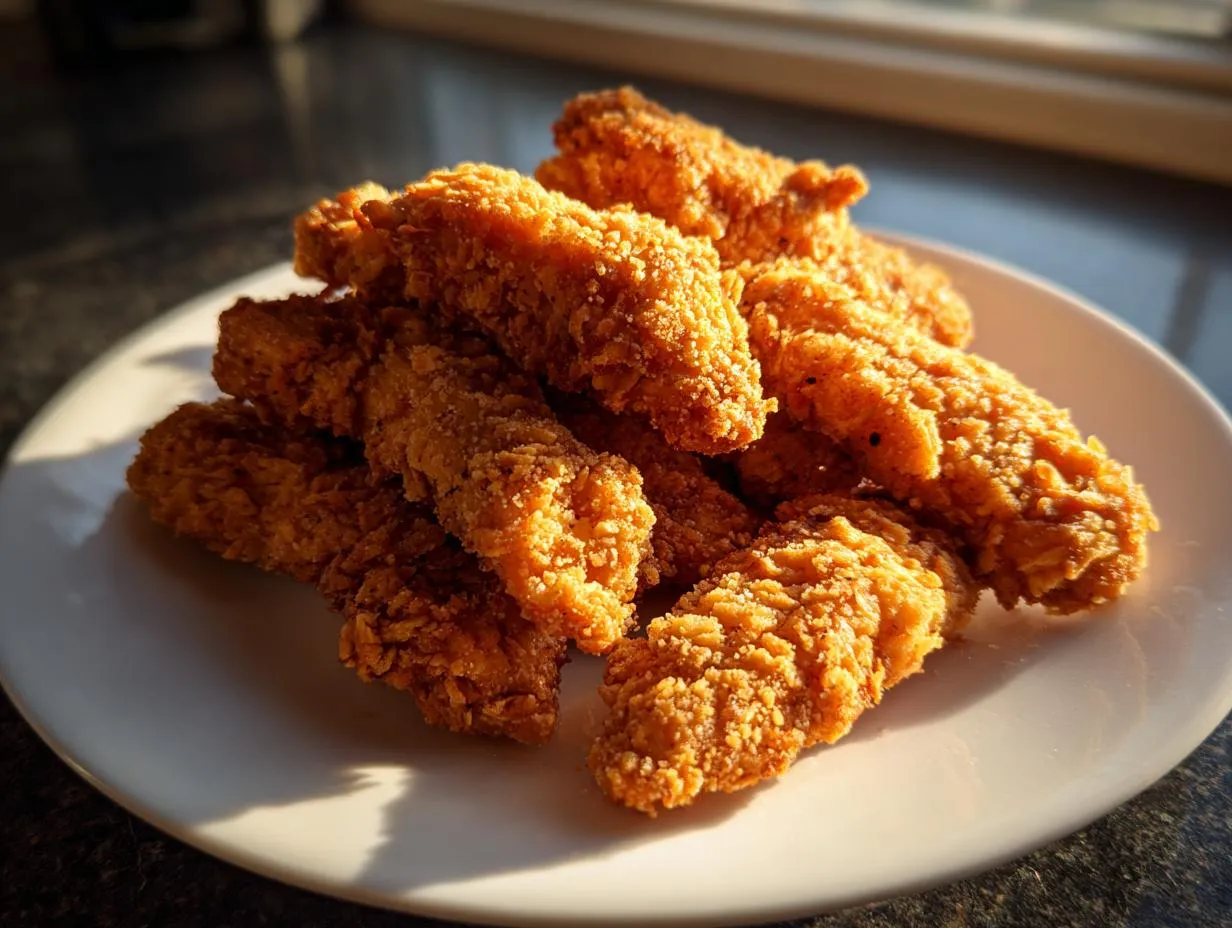

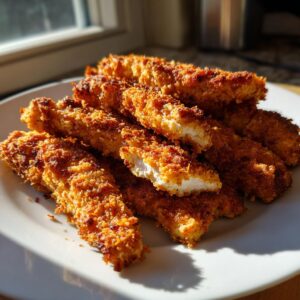
Oh, chicken tenders! Just the thought brings me right back to those carefree days. There’s something about that perfect, golden crunch and the tender, juicy chicken inside that just screams comfort and fun, right? For me, it always takes me back to my Grandma’s kitchen. She’d make these amazing chicken tenders that disappeared faster than you could say “seconds, please!” And guess what? You can absolutely make that same restaurant-quality magic happen right in your own kitchen with this recipe. Forget the soggy bottoms and bland coatings. We’re talking seriously crispy, flavorful chicken tenders that will make you feel like a total hero. Let’s get cooking!

- Why You'll Love These Crispy Chicken Tenders
- Gather Your Ingredients for Perfect Chicken Tenders
- Essential Equipment for Making Chicken Tenders
- Step-by-Step Guide to Crispy Chicken Tenders
- Chef Carla's Tips for the Best Chicken Tenders
- Ingredient Notes and Substitutions for Your Chicken Tenders
- Serving Suggestions for Homemade Chicken Fingers
- Storage and Reheating Your Delicious Chicken Tenders
- Frequently Asked Questions about Chicken Tenders
- Nutritional Information for Homemade Chicken Tenders
- Share Your Crispy Chicken Tender Creations!
Why You’ll Love These Crispy Chicken Tenders
Okay, so why are these the chicken tenders you NEED in your life? Well, for starters, they are ridiculously easy to make. Like, weeknight-dinner-hero easy. Plus, they taste SO much better than any frozen stuff you can buy – that authentic homemade goodness is just unbeatable. And let’s not forget the kiddos (or the kid in all of us!) – these are guaranteed crowd-pleasers. The best part? That amazing feeling of pulling off incredibly crispy, tender chicken strips right from your own kitchen. It just doesn’t get much better than that!
Gather Your Ingredients for Perfect Chicken Tenders
Alright, let’s get our ducks in a row, or should I say, our chicken tenderloins! To make these awesome chicken tenders, you’ll want to grab a few things from your pantry and fridge. Trust me, these simple ingredients are the key to that amazing crispy goodness. You’ll need about 1.5 pounds of boneless, skinless chicken tenderloins – the star of the show, of course! For our magical coating, we’ve got 1 cup of all-purpose flour, a couple of large eggs (give ’em a good whisk with about 1 tablespoon of water), and for that ultimate crunch, 2 whole cups of panko breadcrumbs. Don’t forget our flavor boosters: 1 teaspoon each of salt, black pepper, garlic powder, and paprika. And for that golden-fried finish, you’ll need some vegetable oil. Easy peasy!
Essential Equipment for Making Chicken Tenders
Before we get our hands all floured and eggy, let’s make sure we’ve got the right tools ready to go for our chicken tenders. You’ll want about three shallow dishes or pie plates – these are perfect for setting up our dredging station. A good whisk for beating those eggs is a must. Then, you’ll need a large skillet for frying, or a decent-sized baking sheet if you’re going the oven route, maybe with a wire rack on top to keep things super crispy. Oh, and a pair of tongs will be super handy for safely flipping those beauties in the hot oil!
Step-by-Step Guide to Crispy Chicken Tenders
Alright, let’s get down to business and make some seriously amazing chicken tenders! This is where the magic really happens, and trust me, it’s easier than you think. Follow these steps, and you’ll have golden, crispy perfection in no time.
Preparing the Chicken for Breading
First things first, grab those tenderloins. Pat them *really* dry with paper towels. This is super important, guys! If they’re wet, the breading just won’t stick properly, and that’s the quickest way to a less-than-crispy tender. You want a clean, dry surface for all that delicious coating to cling to.
The Double-Dredge Technique for Maximum Crunch
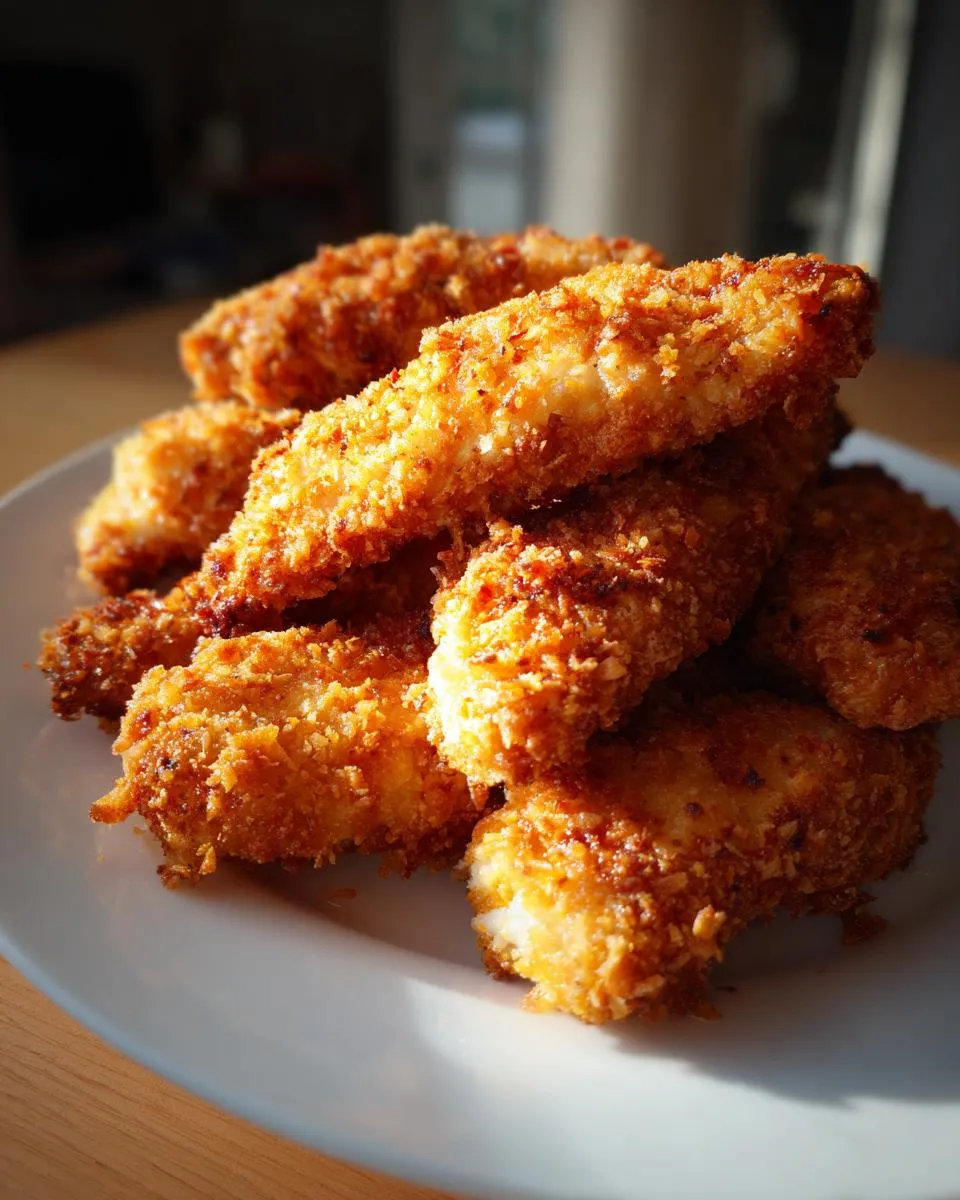
Now for the fun part – the breading! Grab your three shallow dishes. The first one has your seasoned flour (that’s flour mixed with salt, pepper, garlic powder, and paprika – yum!). The second has your beaten eggs with a splash of water. And the third is loaded with panko breadcrumbs. Take one tenderloin, dredge it in the flour, give it a little shake, then dip it into the egg, making sure it’s fully coated. Finally, press it into the panko, getting it nice and covered. For *extra* crunch, I sometimes give them a second dip in the egg and then back into the panko! It really makes a difference for truly epic chicken tenders.
Frying Your Homemade Chicken Fingers to Golden Perfection
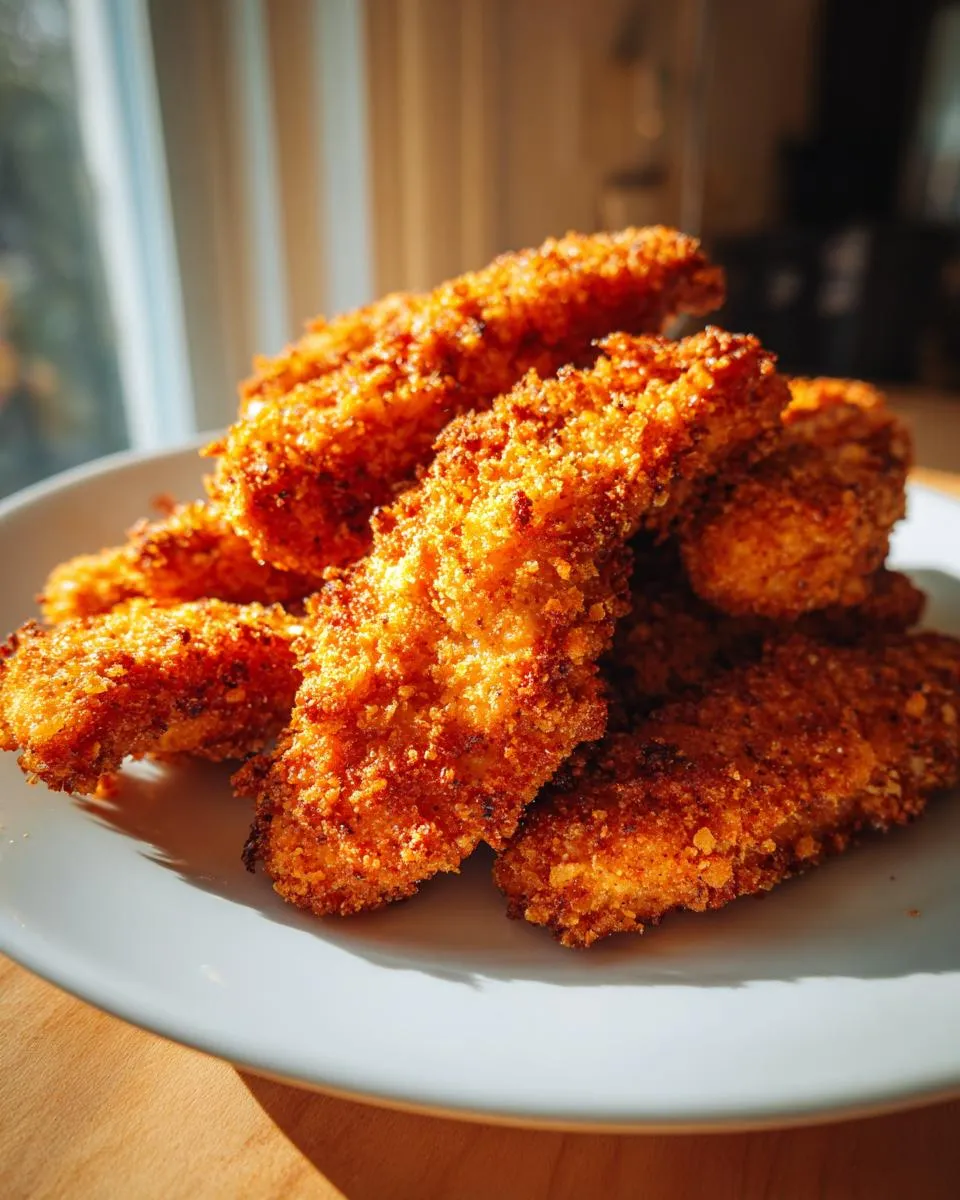
Time to get that golden crust! Pour about half an inch of vegetable oil into a large skillet. Heat it over medium-high heat until it shimmers – you’re looking for around 350°F (175°C). Carefully, and I mean *carefully*, lay a few breaded chicken fingers into the hot oil. Don’t crowd the pan, or they won’t get crispy! Let them fry for about 3-4 minutes per side. You’re looking for that beautiful golden-brown color. To make sure they’re cooked through, the internal temperature should hit 165°F (74°C). Once they’re done, lift them out with tongs and place them on a wire rack set over a baking sheet to drain. This keeps them from getting soggy underneath. Repeat with the rest of your chicken tenders, making sure the oil comes back up to temp between batches.
Achieving Crispy Tenders: Baking and Air Frying Options
If frying isn’t your jam, no worries! You can still get amazing results. For baking, preheat your oven to 400°F (200°C). Place your breaded tenders on a parchment-lined baking sheet and bake for about 15-20 minutes, flipping them halfway through. They’ll get nice and golden. Or, if you have an air fryer, even better! Arrange your breaded tenders in a single layer in the basket and cook them at 380°F (190°C) for about 10-12 minutes, flipping halfway. You’ll get that signature crispiness without all the oil. Honestly, all these methods make fantastic chicken tenders! For more on getting them super crispy in an air fryer, check out my air fryer chicken tenders recipe.
Chef Carla’s Tips for the Best Chicken Tenders
Okay, so making amazing chicken tenders is all about a few little secrets I’ve picked up over the years. First off, that oil temperature? It’s *crucial*. If it’s too cool, your tenders will soak up grease and get soggy, and nobody wants that. Too hot, and they’ll burn before the inside cooks. I always keep a close eye on it, maybe adding a tiny breadcrumb to test. If it sizzles immediately, you’re golden! Also, don’t overcrowd the pan! Seriously, give those beautiful chicken tenders some space to swim. It makes all the difference for that perfect, even crisp. And for seasoning? Don’t be shy on the salt and pepper in the flour – it’s your main flavor base! These little tricks are what turned my homemade chicken tenders from “okay” to “wow!” It’s all about building that E-E-A-T, you know? Experience, Expertise, Authoritativeness, and Trustworthiness – but mostly, just loving what you’re cooking! For more on my kitchen philosophy, you can read about it here.
Ingredient Notes and Substitutions for Your Chicken Tenders
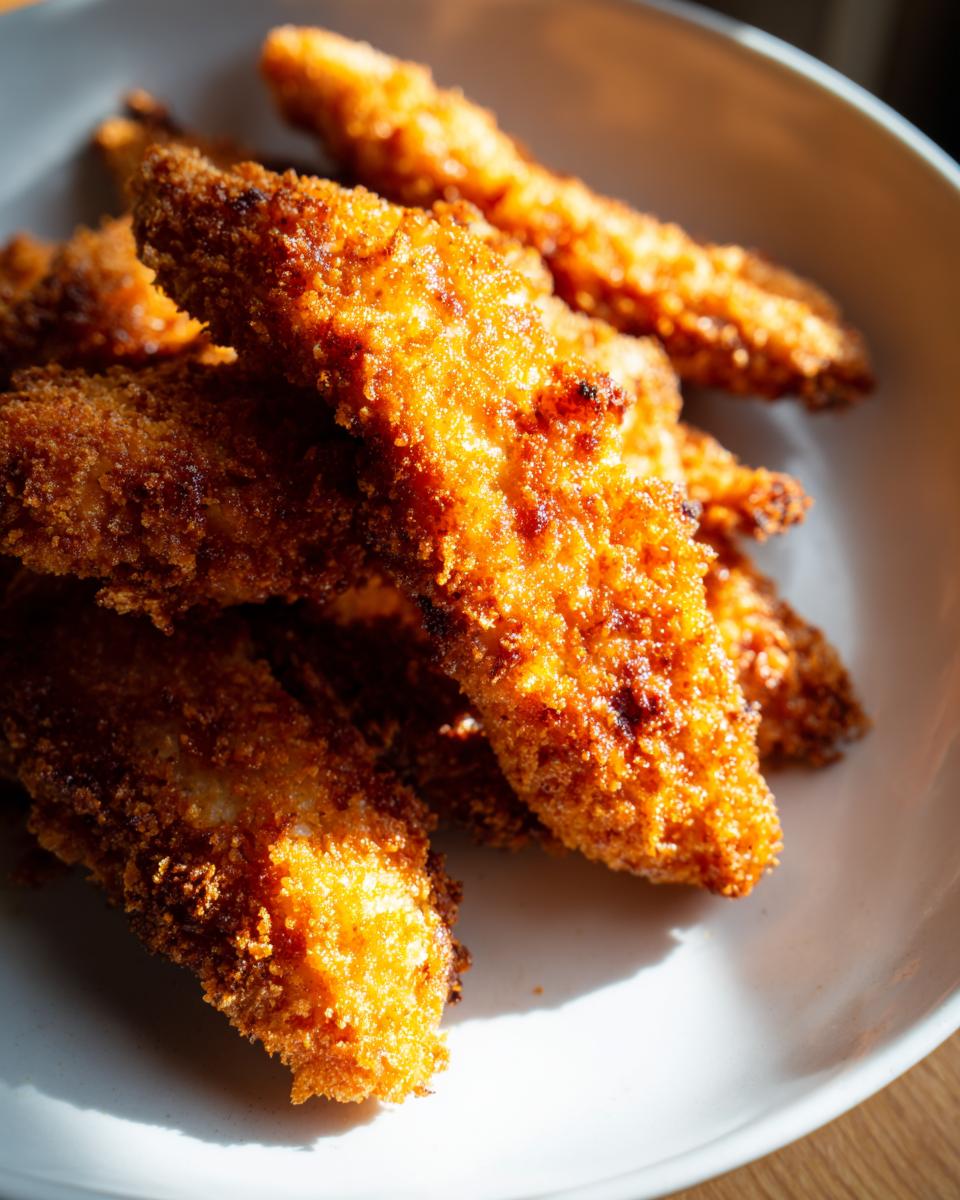
Let’s talk ingredients for these chicken tenders, because sometimes you need to make a little swap! Panko breadcrumbs are my absolute go-to because they’re super light and airy, giving you that unbeatable crunch. But if you can’t find panko, regular breadcrumbs will work, they just won’t be *quite* as crispy. For the flour, all-purpose is totally fine, but if you’re going gluten-free, a good gluten-free blend will do the trick just swap it out 1:1. As for the oil, I usually grab vegetable oil because it’s affordable and does the job, but canola or peanut oil are also fantastic choices. Whatever you use, just make sure it can handle medium-high heat to get those tenders golden and delicious!
Serving Suggestions for Homemade Chicken Fingers
Now that you’ve got these gorgeous, crispy homemade chicken fingers, what do we serve them with? Oh, the possibilities! Of course, you can never go wrong with the classics – a big pile of golden french fries or some creamy coleslaw, like my favorite Southern Coleslaw, makes for a perfect pairing. And don’t forget the sauces! Honey mustard, BBQ, ranch, ketchup, or even a little spicy sriracha mayo – whatever your heart desires! A side of my easy guacamole is also a surprisingly fantastic addition!

Storage and Reheating Your Delicious Chicken Tenders
So, you managed to have leftovers? Good for you! First, let those delicious chicken tenders cool down completely. Then, pop them into an airtight container or a sturdy zip-top bag. They’ll keep nicely in the fridge for about 3 to 4 days. When you’re ready to reheat and bring back that glorious crisp, here’s my trick: skip the microwave! It makes them sad and soggy. Instead, pop them into a hot oven (around 375°F or 190°C) for about 5-10 minutes, or give them a quick go in the air fryer. That’s the best way to revive their crunch!
Frequently Asked Questions about Chicken Tenders
Got questions about making the best chicken tenders? I get it! It’s a classic, and we want it *perfect*. Let’s dive into some common queries.
Can I make these chicken tenders healthier?
Absolutely! While frying gives that iconic crisp, remember you can bake these or use your air fryer for a lighter touch. I’ve got tips on how to do that in the air fryer chicken tenders recipe section. Choosing leaner cuts of chicken is also an option, though the tenderloin is pretty lean already!
What’s the secret to extra crispy breading?
The secret is all in the layers and the crunch! Using panko breadcrumbs is a huge help because they’re lighter and more irregular than regular breadcrumbs, creating more surface area for crispiness. Also, really pack that panko onto the chicken. For an extra-crispy coating on your chicken tenders, try that double-dip method – flour, egg, panko, *then* egg again, and back into the panko. It builds a fantastic crust!
Can I freeze uncooked breaded chicken tenders?
You sure can! It’s a great way to have homemade chicken tenders ready to go. Just bread them like usual, place them in a single layer on a baking sheet, and freeze until solid. Once they’re frozen, transfer them to a freezer-safe bag. You can cook them straight from frozen, just add a few extra minutes to your cooking time. Easy peasy!
Nutritional Information for Homemade Chicken Tenders
Just a heads-up, the nutritional info for these homemade chicken tenders is estimated, since everyone’s ingredients and cooking methods can vary a bit. On average, a serving (about 4 oz) will typically have around 450 calories, 25g of fat, 25g of protein, and about 30g of carbohydrates. Remember, this can change depending on the exact oil you use and how much you end up eating!
Share Your Crispy Chicken Tender Creations!
Alright, now that you’ve made these incredible chicken tenders, I’d absolutely LOVE to hear all about it! Did your family devour them? Did they turn out super crispy? Please, leave a comment below and tell me all your cooking adventures. If you snap some pics, tag me on social media – seeing your creations makes my day! You can also reach out through my contact page. Happy cooking!
PrintCrispy Homemade Chicken Tenders
Learn how to make perfectly crispy and tender chicken tenders at home. This recipe uses a simple double-dredging technique for maximum crunch and is great for a family-friendly meal.
- Prep Time: 15 min
- Cook Time: 15 min
- Total Time: 30 min
- Yield: 4 servings 1x
- Category: Dinner
- Method: Frying
- Cuisine: American
- Diet: Vegetarian
Ingredients
- 1.5 lbs boneless, skinless chicken tenderloins
- 1 cup all-purpose flour
- 1 tsp salt
- 1 tsp black pepper
- 1 tsp garlic powder
- 1 tsp paprika
- 2 large eggs
- 1 tbsp water
- 2 cups panko breadcrumbs
- Vegetable oil, for frying
Instructions
- Pat the chicken tenderloins dry with paper towels. This helps the breading stick.
- In a shallow dish, whisk together the flour, salt, pepper, garlic powder, and paprika.
- In another shallow dish, whisk the eggs with 1 tablespoon of water.
- In a third shallow dish, place the panko breadcrumbs.
- Working with one tenderloin at a time, dredge it in the seasoned flour, shaking off any excess.
- Dip the floured tenderloin into the egg mixture, ensuring it’s fully coated.
- Finally, press the tenderloin into the panko breadcrumbs, coating all sides. Place the breaded tenderloin on a plate and repeat with the remaining chicken.
- Pour enough vegetable oil into a large skillet to reach about 1/2 inch depth. Heat the oil over medium-high heat until it shimmers (about 350°F or 175°C).
- Carefully place a few breaded chicken tenders into the hot oil, being careful not to overcrowd the skillet.
- Fry for 3-4 minutes per side, or until golden brown and cooked through. The internal temperature should reach 165°F (74°C).
- Remove the cooked tenders from the skillet and place them on a wire rack set over a baking sheet to drain any excess oil.
- Repeat with the remaining chicken tenders. Serve hot with your favorite dipping sauces.
Notes
- For extra crispy tenders, you can double-dip: after the first breading, dip again in egg and then panko.
- If you prefer baking, preheat your oven to 400°F (200°C). Place breaded tenders on a baking sheet lined with parchment paper. Bake for 15-20 minutes, flipping halfway through, until golden and cooked through.
- Air frying is another option. Place breaded tenders in a single layer in your air fryer basket and cook at 380°F (190°C) for 10-12 minutes, flipping halfway, until golden and crispy.
Nutrition
- Serving Size: 4 oz
- Calories: 450
- Sugar: 2g
- Sodium: 500mg
- Fat: 25g
- Saturated Fat: 5g
- Unsaturated Fat: 20g
- Trans Fat: 0g
- Carbohydrates: 30g
- Fiber: 2g
- Protein: 25g
- Cholesterol: 100mg