 Skip to content
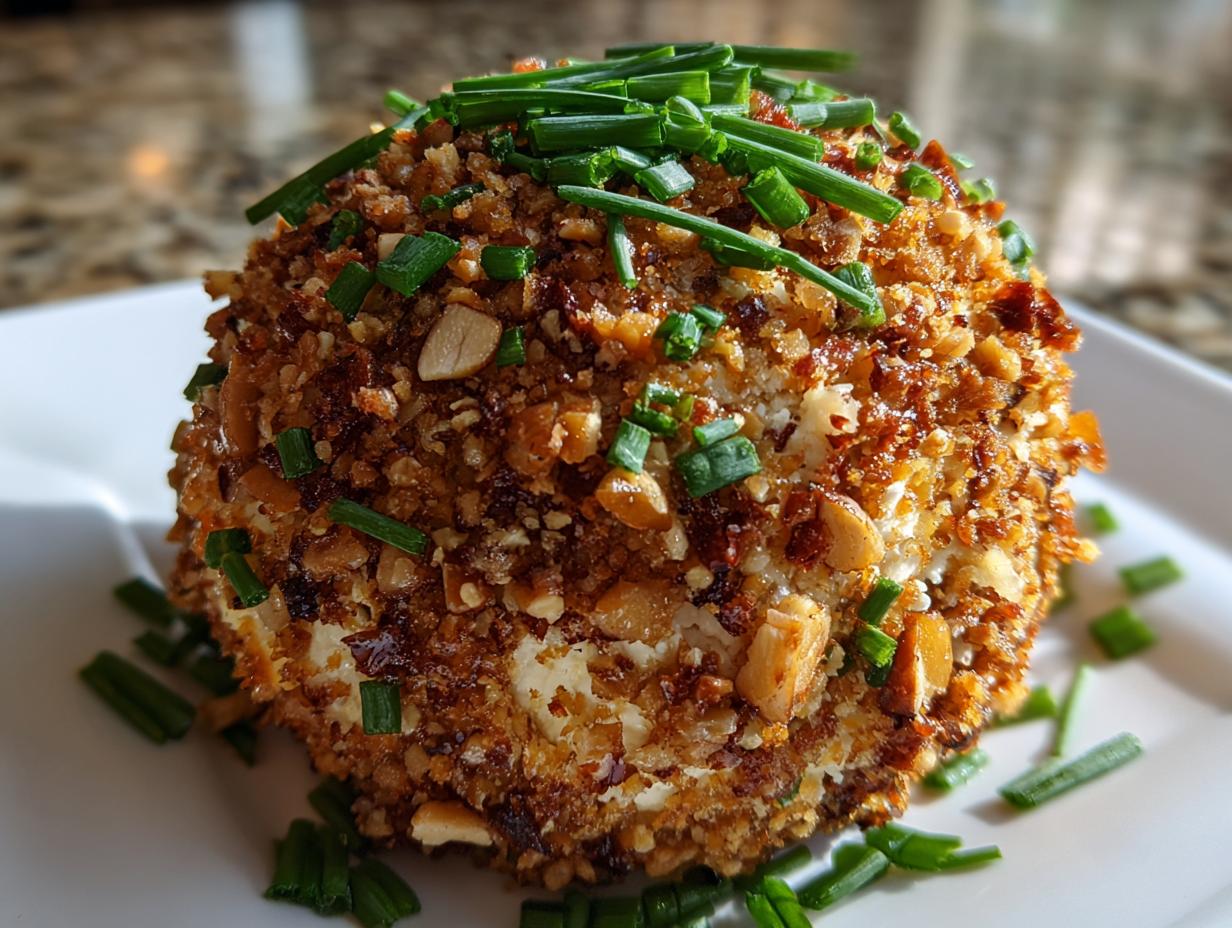

Oh, the cheese ball! Just saying the words brings back memories of holiday parties and my grandma’s amazing appetizer spread, doesn’t it? It’s one of those classic, retro treats that just screams “celebration!” Seriously, what’s better than a creamy, dreamy cheese ball just begging to be scooped up with a perfect cracker? This recipe is my go-to because it’s completely foolproof. Even if you’re not usually a whiz in the kitchen, you can whip this up and have everyone thinking you’re a total pro. It’s the ultimate crowd-pleaser, perfect for everything from a casual get-together to your most festive holiday bash. My kitchen is all about simple, joyful food, and this cheese ball absolutely fits the bill. It’s proof that sometimes, the most delicious things are also the easiest!

- Why You'll Love This Classic Cheese Ball Recipe
- Ingredients for the Best Cheese Ball
- How to Make a Foolproof Cheese Ball
- Tips for the Ultimate Cheese Ball
- Serving Suggestions for Your Cheese Ball
- Make-Ahead and Storage for Your Cheese Ball
- Frequently Asked Questions about Cheese Balls
- Nutritional Information
- Share Your Cheese Ball Creations!
Why You’ll Love This Classic Cheese Ball Recipe
Trust me, this cheese ball is a total keeper! Here’s why it’s my absolute favorite:
- So incredibly easy: Seriously, you just mix everything up and shape it. No baking required!
- Packed with amazing flavor: The sharp cheddar and savory seasonings make it irresistible.
- Perfect for any party: It looks fancy but takes hardly any effort – a win-win!
- Super versatile: You can roll it in nuts, herbs, or whatever you fancy.
- Always a hit: It’s one of those appetizers that disappears *fast*.
Ingredients for the Best Cheese Ball
You really don’t need much for this star appetizer! Just grab these simple things:
- 8 ounces cream cheese, make sure it’s softened so it whips up nicely
- 4 ounces sharp cheddar cheese, shredded (I like to shred it myself!)
- 2 tablespoons fresh chives, chopped, divided (plus a little extra for garnish if you want!)
- 1 teaspoon Worcestershire sauce, for that little bit of savory magic
- 1/2 teaspoon garlic powder
- 1/4 teaspoon onion powder
- 1/4 teaspoon salt
- 1/8 teaspoon black pepper
- 1 cup chopped pecans or walnuts (toasted tastes amazing!)
How to Make a Foolproof Cheese Ball
Alright, let’s get to the fun part – making this gorgeous cheese ball! It’s really as simple as mixing things up and shaping them. My kitchen is all about making delicious food feel accessible, and this recipe is proof. No fancy techniques needed, just a little mixing and shaping. This is honestly one of the easiest appetizers you can make for any party or holiday gathering.
Combining the Cheese Mixture
First things first, let’s get all those yummy flavors together. In a medium bowl, combine your softened cream cheese (make sure it’s truly soft, this makes a world of difference!), the shredded sharp cheddar, half of your fresh chives, the Worcestershire sauce, garlic powder, onion powder, salt, and pepper. Now, you can totally use a sturdy spoon if you’re feeling strong, but I sometimes grab my hand mixer for this step. It just makes sure everything is super smooth and well combined. Give it a good mix until there are no streaks of cream cheese left and it all looks beautifully blended.
Shaping and Rolling Your Cheese Ball
Once your cheese mixture looks perfect, it’s time to get your hands a little messy! Gently scoop the mixture out and shape it into a nice, round ball. Don’t worry if it’s not perfectly uniform; that’s part of its charm! Now, spread your chopped nuts (pecans or walnuts are my favorites) out onto a plate or into a shallow dish. Carefully but firmly, roll the cheese ball in those nuts, kind of pressing as you go to make sure they stick all over. You want a nice, even coating so every bite has that yummy nutty crunch.

Chilling for the Perfect Cheese Ball
This step is super important, so don’t skip it! Once your cheese ball is all coated and looking beautiful, wrap it up snugly in plastic wrap. Pop it into the refrigerator to firm up for at least an hour. This really helps everything meld together and makes the cheese ball much easier to handle and serve. Plus, it’s the perfect time to finish up any other party prep!
Tips for the Ultimate Cheese Ball
Alright, now that you know the basics, let’s chat about taking your cheese ball from great to absolutely legendary! A little tweak here and there, and you’ll have a party appetizer that people will rave about. It’s all about those little secrets I learned from my grandma and through my own kitchen adventures. Remember, the best food comes from a happy heart and a little bit of know-how, right? You can always find more of my kitchen philosophy over on my About page!
Ingredient Substitutions for Your Cheese Ball
Don’t be afraid to play around with the ingredients! If pecans aren’t your jam, you can totally swap them out for toasted walnuts, slivered almonds, or even some crunchy sunflower seeds if you want to keep it nut-free. For the herbs, if fresh chives are hard to find, dried chives work just fine – just use about a third of the amount. And if you’re feeling adventurous, a tiny pinch of cayenne pepper mixed into the cheese blend can give it a little kick! This recipe is super forgiving, which is exactly what I love about it.
Creative Coating Ideas for Your Cheese Ball
While the nuts are classic and delicious, and I just adore them, there are so many other fun ways to coat your cheese ball! For a pop of color and freshness, try rolling it in finely chopped fresh parsley or even a mix of parsley and a little bit of dill. A sprinkle of smoked paprika gives it a beautiful reddish hue and a hint of smoky flavor. Some people even mix in a little bacon bit with their nuts for an extra savory crunch! Whatever you choose, make sure it looks as good as it tastes.
Serving Suggestions for Your Cheese Ball
Now that you’ve got this gorgeous cheese ball ready to go, what are you going to serve it with? My absolute favorite is a big ol’ pile of buttery crackers – you know, the water crackers or maybe some Ritz. But don’t stop there! A platter of crunchy baguette slices, a bowl of salty pretzels, or even some yummy breadsticks all get along famously with this cheese ball. And for a touch of freshness, I love adding some crisp veggie sticks like celery, carrots, or bell peppers. You can even check out some of my side dish ideas for more complementary pairings! It’s all about creating a delicious experience!
Make-Ahead and Storage for Your Cheese Ball
One of the best things about this cheese ball recipe is how easy it is to get a head start. You can totally make it a day or two before your party! Just wrap it up nice and tight in plastic wrap. It’ll keep beautifully in the fridge. And honestly, I think it tastes even better after chilling overnight, so the flavors really have time to mingle. No reheating needed here, just pull it out of the fridge about 15-20 minutes before you’re ready to serve so it’s not rock solid. Perfect for taking the stress out of party day!
Frequently Asked Questions about Cheese Balls
Got questions about making the absolute best cheese ball? I’ve got you covered! It’s one of my favorite appetizers, and like any good recipe, sometimes you just need a little extra guidance. It’s always a good idea to reach out if you have more questions, you can always contact me!
Can I make this cheese ball ahead of time?
Absolutely! This is one of the best parts. You can totally make it a day or two before your party. Just wrap it up tight and keep it chilled. It even tastes better!
What are the best nuts for a cheese ball?
Pecans and walnuts are my tried-and-true favorites for that classic flavor and crunch. Toasted almonds or even some slivered ones work great too if you like something different!
How do I prevent my cheese ball from getting too soft?
Make sure your cream cheese and cheddar are nice and cold when you mix them, and definitely don’t skip the chilling step! Wrapping it up well helps it firm up perfectly in the fridge.
Nutritional Information
Just to give you a heads-up, here’s an estimate of what you’ll find in each serving of this delicious cheese ball. Keep in mind these numbers can wiggle a bit depending on the exact brands and types of ingredients you use. It’s all approximate, but gives you a good idea!
Serving Size: 1/10 of cheese ball
- Calories: 150
- Fat: 14g
- Saturated Fat: 7g
- Sodium: 200mg
- Carbohydrates: 3g
- Fiber: 1g
- Sugar: 1g
- Protein: 5g
- Cholesterol: 30mg
Share Your Cheese Ball Creations!
I just love hearing from you all! Have you tried this easy cheese ball recipe? Did you switch up the nuts or coatings? I’d be thrilled if you’d leave a comment below and tell me all about it, or even give it a star rating. Sharing your successes and delicious twists really makes my day and helps other home cooks too! And if you have any extra questions after trying it, don’t hesitate to reach out!
PrintClassic Cheese Ball Recipe

A foolproof, crowd-pleasing cheese ball recipe perfect for parties and holidays. This retro appetizer is easy to make and always a hit.
- Prep Time: 15 min
- Cook Time: 0 min
- Total Time: 15 min
- Yield: 1 cheese ball (serves 8-10) 1x
- Category: Appetizer
- Method: No-Cook
- Cuisine: American
- Diet: Vegetarian
Ingredients
- 8 ounces cream cheese, softened
- 4 ounces shredded sharp cheddar cheese
- 2 tablespoons chopped fresh chives, divided
- 1 teaspoon Worcestershire sauce
- 1/2 teaspoon garlic powder
- 1/4 teaspoon onion powder
- 1/4 teaspoon salt
- 1/8 teaspoon black pepper
- 1 cup chopped pecans or walnuts
Instructions
- In a medium bowl, combine the softened cream cheese, shredded cheddar cheese, 1 tablespoon of the chives, Worcestershire sauce, garlic powder, onion powder, salt, and pepper. Mix until well combined and smooth.
- Shape the cheese mixture into a ball.
- Place the chopped nuts on a plate or shallow dish.
- Gently roll the cheese ball in the nuts, pressing lightly to coat evenly on all sides.
- Sprinkle the remaining 1 tablespoon of chives over the top of the cheese ball for garnish.
- Wrap the cheese ball tightly in plastic wrap and refrigerate for at least 1 hour to firm up before serving.
- Serve with crackers, pretzels, or vegetable sticks.
Notes
- For a smoother texture, you can use a hand mixer to combine the ingredients.
- If you don’t have fresh chives, you can substitute with 1 teaspoon of dried chives.
- Other coating options include chopped parsley, paprika, or a combination of herbs and spices.
- This cheese ball can be made up to 2 days in advance and kept refrigerated.
Nutrition
- Serving Size: 1/10 of cheese ball
- Calories: 150
- Sugar: 1g
- Sodium: 200mg
- Fat: 14g
- Saturated Fat: 7g
- Unsaturated Fat: 7g
- Trans Fat: 0g
- Carbohydrates: 3g
- Fiber: 1g
- Protein: 5g
- Cholesterol: 30mg