 Skip to content
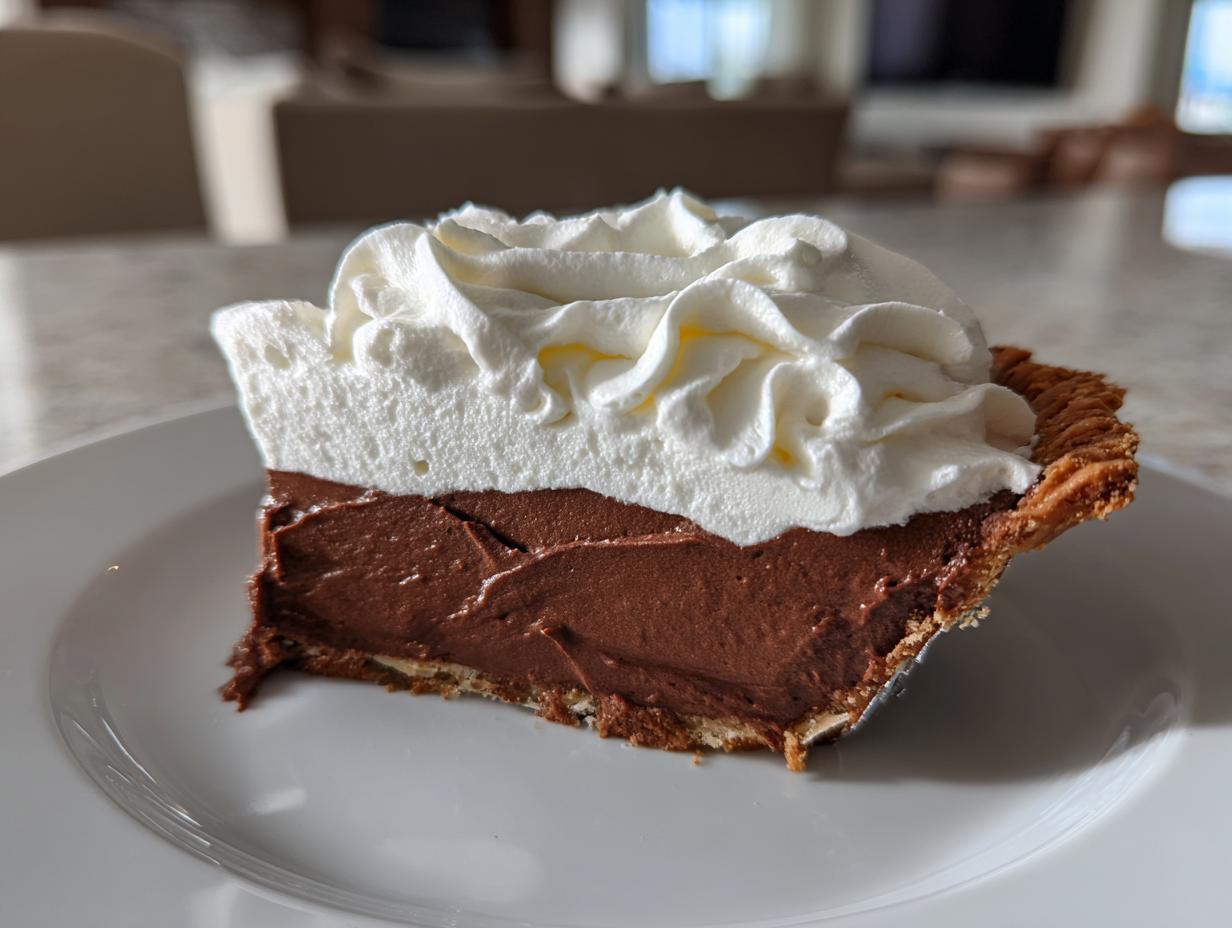

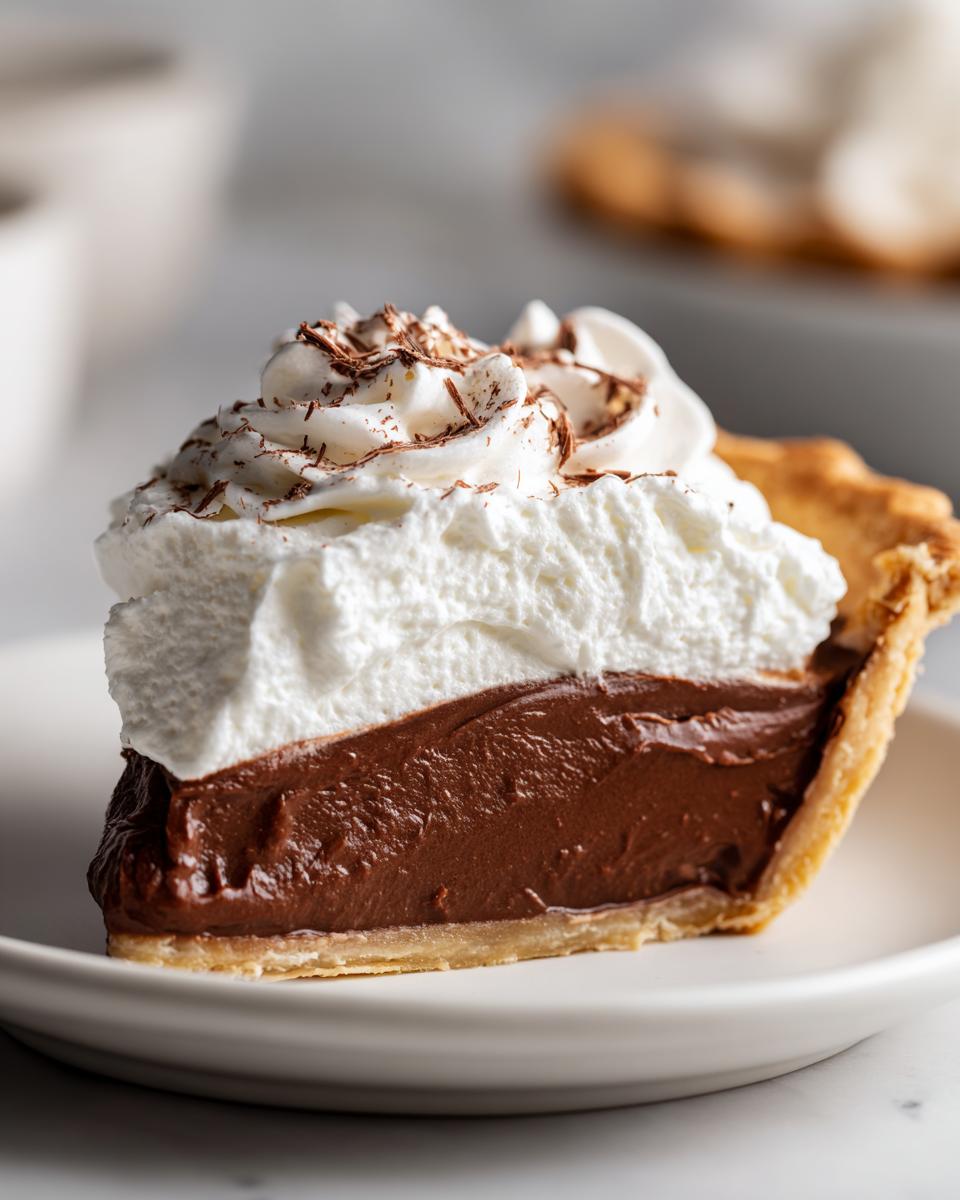
Oh, you know those nights when only a slice of pure, unadulterated comfort food will do? That’s exactly when my mind goes straight to a classic chocolate cream pie. It’s got that old-school diner magic – a perfectly crisp crust, a filling so smooth and chocolatey it practically melts in your mouth, all topped with a glorious cloud of whipped cream. My grandmother used to make a version of this that still makes my heart skip a beat when I think about it. Trust me, this recipe is totally foolproof, and the result is just… well, decadent slices of chocolatey heaven that’ll make everyone happy.

- Why You'll Love This Classic Chocolate Cream Pie
- Ingredients for the Best Chocolate Pie
- How to Make a Foolproof Chocolate Cream Pie
- Tips for the Perfect Chocolate Cream Pie
- Ingredient Notes and Substitutions for Your Homemade Pudding Pie
- Frequently Asked Questions About Chocolate Cream Pie
- Nutritional Information (Estimate)
- Share Your Decadent Slices of Chocolatey Heaven!
Why You’ll Love This Classic Chocolate Cream Pie
Seriously, who *doesn’t* love a good chocolate cream pie? This recipe is a winner for so many reasons:
- It’s surprisingly easy to make, even if you’re new to baking pies.
- The chocolate custard filling is oh-so-silky smooth and packed with rich chocolate flavor.
- It’s a total crowd-pleaser – perfect for holidays, potlucks, or just because!
- You get that amazing contrast between the creamy filling and fluffy whipped cream topping.
Ingredients for the Best Chocolate Pie
Getting this pie just right starts with good ingredients, and thankfully, it uses a lot of pantry staples you probably already have! Here’s what you’ll need to gather:
For the Crust:
- 1 (9-inch) unbaked pie crust
For the Silky Chocolate Filling:
- 1/2 cup granulated sugar
- 1/4 cup unsweetened cocoa powder (use a good quality one, it makes a difference!)
- 1/4 cup cornstarch
- 1/2 teaspoon salt
- 3 cups milk (whole milk makes it extra rich, but 2% works too!)
- 4 large egg yolks (save those whites for meringues or an omelet!)
- 2 tablespoons unsalted butter, cut into pieces
- 1 teaspoon vanilla extract
For the Fluffy Whipped Cream Topping:
- 1 cup heavy cream, nice and cold
- 2 tablespoons powdered sugar (for just the right sweetness)
- 1/2 teaspoon vanilla extract
How to Make a Foolproof Chocolate Cream Pie
Alright, let’s get down to business! Making this classic chocolate cream pie is way easier than you think. My grandmother always said the key is to just take it one step at a time. You preheat the oven, whisk things together, stir the heck out of it… it’s practically therapeutic! And trust me, that silky smooth chocolate custard filling is worth every bit of stirring.
Preparing the Pie Crust
First things first, get that pie crust ready. You’ll want to bake it according to the package directions, or around 375°F (190°C) for about 10-12 minutes, until it’s just lightly golden. Make sure it cools completely before you even *think* about filling it, otherwise, things get a bit messy!
Making the Silky Chocolate Custard Filling
Now for the best part – the chocolate! Grab a medium saucepan and whisk together your granulated sugar, unsweetened cocoa powder, cornstarch, and salt. Then, slowly add the milk, whisking until it’s all nice and smooth. Put that on medium heat and stir, stir, stir! You want it to thicken and come to a boil. Let it bubble for just a minute while you keep stirring – this is important to get rid of that raw cornstarch taste. While that’s going, whisk up your egg yolks in a little bowl. Then, *carefully* ladle about a cup of that hot chocolate mixture into your yolks, whisking constantly. This is called tempering, and it stops your eggs from scrambling! Pour that back into the main pot with the rest of the chocolate. Cook for another couple of minutes, stirring, just until it thickens up even more. Take it off the heat and stir in your butter and vanilla until it’s all glossy and wonderful. So rewarding, right? This isn’t just any chocolate pie; it’s a true chocolate cupcake worthy filling!
Chilling the Chocolate Cream Pie
Pour that gorgeous chocolate filling into your cooled pie crust. Now, this is tricky but super important: press some plastic wrap directly onto the surface of the filling. This stops that weird skin from forming, and we definitely don’t want that! Pop it in the fridge for at least 3 hours. You need it to be properly firm, so don’t rush this step!
Whipping the Cream Topping
While the pie is chilling, let’s whip up that heavenly topping. Make sure your bowl and beaters are cold – it really helps! Whip the heavy cream, powdered sugar, and vanilla extract until you get nice, stiff peaks. You know, like fluffy clouds that hold their shape.
Assembling and Serving Your Chocolate Cream Pie
The moment of truth! Once your chocolate cream pie is perfectly chilled and firm, grab your whipped cream. Spread it all over the top, making it look pretty with swirls if you like. It’s best to serve this beauty right away after adding the cream, so it stays nice and fluffy. Enjoy your amazing dessert!
Tips for the Perfect Chocolate Cream Pie
Okay, so you’ve got the recipe, and that’s fantastic! But let me tell you, a few little tricks up your sleeve can take your chocolate cream pie from really good to absolutely *spectacular*. Baking has a way of teaching you patience, and I learned early on that a few extra minutes here or a good quality ingredient there makes all the difference. I’ll share some of the secrets I picked up over the years, right here from my kitchen to yours. These tips will help ensure you get that wonderfully smooth, creamy filling every single time – no lumps or runny bits, I promise!
If you ever want to dive deeper into some baking adventures, check out my blog for more tips and tricks!
Ingredient Notes and Substitutions for Your Homemade Pudding Pie
Sometimes you’re in the middle of baking and realize you’re out of something, or maybe you just want to tweak things a bit, right? Don’t you worry! For this classic chocolate cream pie, most of the ingredients are pretty straightforward. If you’re out of whole milk, 2% works just fine, but whole milk does make it extra, extra creamy. And for the cocoa powder? Seriously, use the good stuff if you can. It makes a huge difference in that deep chocolate flavor. If you’re in a pinch and don’t have butter, you *could* use a good quality margarine, but butter really gives it that rich finish.
Frequently Asked Questions About Chocolate Cream Pie
Got questions about making the best chocolate cream pie? I’ve got answers! It’s all about making sure you get that perfect, creamy chocolate dessert every time. If you’re looking for more amazing desserts, you’ve come to the right place!
Can I make this easy chocolate cream pie ahead of time?
You bet! The filling needs to chill for at least 3 hours to set properly, so you can totally make it the day before. Just keep that plastic wrap directly on top to prevent a skin. Add the whipped cream topping right before you plan to serve it, though, so it stays nice and fluffy!
My chocolate custard has lumps! What did I do wrong?
Oh, lumps happen! Usually, it’s because the ingredients weren’t mixed smoothly enough before cooking, or it wasn’t stirred constantly. Don’t panic! You can try to strain the mixture through a fine-mesh sieve once it’s cooked. Next time, really whisk those dry ingredients together well before adding the milk, and stir, stir, stir while it’s on the stove!
Can I use a graham cracker crust instead of a pastry crust?
Absolutely! A graham cracker crust is a fantastic option for a no-bake chocolate cream pie. You’d typically mix about 1 ½ cups of graham cracker crumbs with ¼ cup of melted butter and 2 tablespoons of sugar, then press it into your pie plate and chill it while you make the filling. It’s a yummy variation!
How do I get my whipped cream topping to stay stiff?
The key is using really cold heavy cream and a chilled bowl and beaters. Start whipping on medium speed and slowly increase it. Don’t overbeat it, or you’ll end up with butter! Stop as soon as you see stiff peaks forming that stand straight up.
Can I freeze chocolate cream pie?
Honestly, I don’t really recommend freezing it. The texture of the custard and whipped cream can change quite a bit when thawed, and it might get a bit watery. It’s best enjoyed fresh from the fridge!
Nutritional Information (Estimate)
Just a heads-up, these numbers are estimates and can change depending on the exact ingredients and brands you use. But for a typical slice of this glorious chocolate cream pie, you’re probably looking at around 350 calories, 20g of fat (about 12g of that is saturated), 40g of carbs, and 5g of protein. Enjoy it, you deserve it!
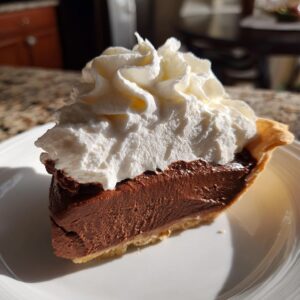
Share Your Decadent Slices of Chocolatey Heaven!
I truly hope you bake up this chocolate cream pie and absolutely love every single bite! If you do, please consider leaving a comment below with your thoughts, or even better, rate this recipe. I’d be over the moon to see your creations, so feel free to share photos on social media and tag me! You can always reach out via my contact page too. Happy baking!
PrintClassic Chocolate Cream Pie
A foolproof recipe for a classic diner-style chocolate cream pie with a crisp crust, silky chocolate custard, and fluffy whipped cream.
- Prep Time: 20 min
- Cook Time: 15 min
- Total Time: 3 hr 35 min
- Yield: 8 servings 1x
- Category: Dessert
- Method: Baking
- Cuisine: American
- Diet: Vegetarian
Ingredients
- 1 (9-inch) unbaked pie crust
- 1/2 cup granulated sugar
- 1/4 cup unsweetened cocoa powder
- 1/4 cup cornstarch
- 1/2 teaspoon salt
- 3 cups milk
- 4 large egg yolks
- 2 tablespoons unsalted butter
- 1 teaspoon vanilla extract
- 1 cup heavy cream
- 2 tablespoons powdered sugar
- 1/2 teaspoon vanilla extract
Instructions
- Preheat your oven to 375°F (190°C). Bake the pie crust for 10-12 minutes, or until lightly golden. Let it cool completely.
- In a medium saucepan, whisk together the granulated sugar, cocoa powder, cornstarch, and salt.
- Gradually whisk in the milk until smooth.
- Cook over medium heat, stirring constantly, until the mixture thickens and comes to a boil. Boil for 1 minute, stirring constantly.
- In a small bowl, whisk the egg yolks. Gradually whisk about 1 cup of the hot chocolate mixture into the egg yolks to temper them.
- Pour the tempered egg yolk mixture back into the saucepan with the remaining chocolate mixture. Cook, stirring constantly, for 2 more minutes. Do not boil.
- Remove from heat and stir in the butter and 1 teaspoon of vanilla extract until the butter is melted and the filling is smooth.
- Pour the chocolate filling into the cooled pie crust. Press plastic wrap directly onto the surface of the filling to prevent a skin from forming. Chill for at least 3 hours, or until firm.
- In a chilled bowl, beat the heavy cream, powdered sugar, and 1/2 teaspoon vanilla extract with an electric mixer until stiff peaks form.
- Spread the whipped cream over the chilled chocolate filling just before serving.
Notes
- For an extra rich chocolate flavor, use a good quality cocoa powder.
- Ensure you stir the custard constantly to prevent lumps.
- Chill the pie thoroughly for the best texture.
Nutrition
- Serving Size: 1 slice
- Calories: 350
- Sugar: 30g
- Sodium: 150mg
- Fat: 20g
- Saturated Fat: 12g
- Unsaturated Fat: 8g
- Trans Fat: 0g
- Carbohydrates: 40g
- Fiber: 2g
- Protein: 5g
- Cholesterol: 80mg