 Skip to content
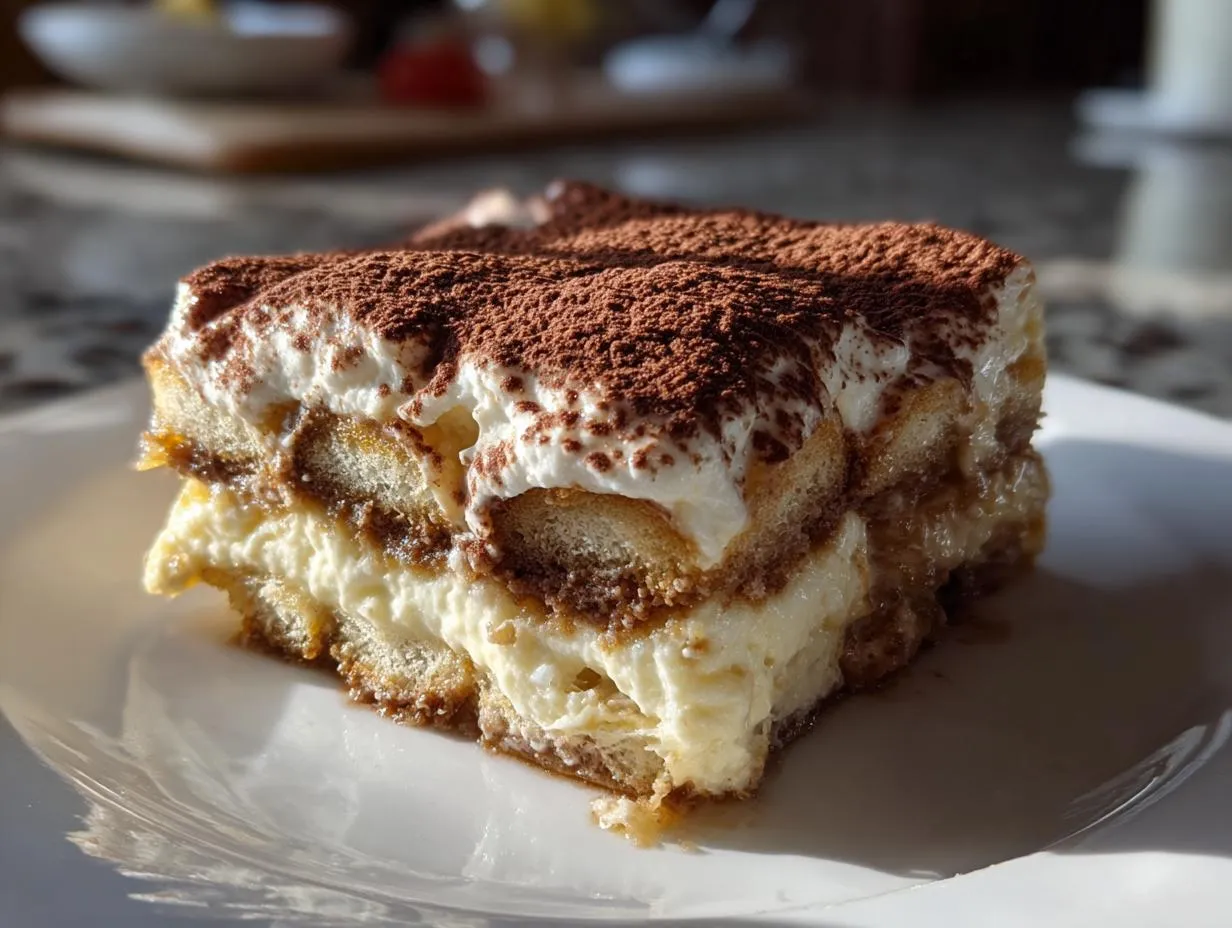

Oh, Tiramisu! Just saying the name brings a little smile to my face. It’s one of those desserts that just feels special, doesn’t it? Like you’re almost transporting yourself straight to Italy with every forkful. I remember my Grandma Carla used to make it for really big family dinners, and the whole house would just light up when she brought it out. That rich, coffee-kissed ladyfinger goodness layered with the creamiest mascarpone… pure magic! And guess what? You don’t need to be a pastry chef to whip up this classic. I’ve got a foolproof recipe for an authentic Italian Tiramisu that’s going to knock your socks off. It’s the perfect dish for when you want to impress without *all* the fuss. Trust me, this is the one you’ll want to keep tucked away!

- Why You'll Love This Authentic Tiramisu Recipe
- Gather Your Ingredients for Classic Tiramisu
- Step-by-Step Guide: How to Make Tiramisu
- Tips for the Best Tiramisu
- Ingredient Notes and Substitutions for Tiramisu
- Frequently Asked Questions About Tiramisu
- Serving and Storing Your Tiramisu
- Estimated Nutritional Information
- Share Your Tiramisu Creations!
Why You’ll Love This Authentic Tiramisu Recipe
Honestly, if you’re looking for a dessert that hits all the right notes without making you sweat, this is it! This Tiramisu recipe is truly a winner for so many reasons:
- Super Easy to Make: Seriously, no fancy techniques required. You can whip this up with minimal fuss, and it tastes like you spent hours in the kitchen.
- Authentic Italian Flavor: We’re talking the real deal here – that unmistakable coffee, mascarpone, cocoa deliciousness that makes Tiramisu so famous.
- Crowd-Pleaser Guaranteed: Bring this to any gathering, and watch it disappear! It’s almost always the first dessert to go.
- Impressive Results: Even though it’s easy, it looks so elegant and professional. It’s perfect for special occasions or just when you want to treat yourself.
Gather Your Ingredients for Classic Tiramisu
Alright, let’s get our mise en place ready! To make my go-to Tiramisu, you’ll need a few specific things. Don’t worry, they’re all pretty easy to find:
- 6 large egg yolks (make sure they’re fresh!)
- 3/4 cup granulated sugar
- 16 ounces mascarpone cheese, softened (this is key for smoothness!)
- 1 1/2 cups strong brewed coffee or espresso, cooled completely
- 1/4 cup coffee liqueur (like Kahlúa or Tia Maria), this is optional but gives it *such* a lovely kick
- About 24 ladyfingers (Savoiardi are the traditional kind)
- 1/4 cup unsweetened cocoa powder, for that beautiful dusting on top
Having everything measured out and ready to go makes the whole process so much smoother, trust me. Cold coffee is a must so your ladyfingers don’t turn to mush!
Step-by-Step Guide: How to Make Tiramisu
Alright, let’s get into the fun part! Making this Tiramisu is easier than you think, and watching it come together is almost as rewarding as the first bite. Just follow along, and you’ll have a showstopper in no time. For more inspiration and tips, you can always peek at my latest blog posts!
Preparing the Mascarpone Cream
First things first, we need that luscious cream! You’ll want to use a heatproof bowl set over some gently simmering water. Whisk your egg yolks and sugar together in that bowl. Keep whisking, and I mean constantly, until the mixture gets thick, pale, and beautiful, like a creamy yellow ribbon. This usually takes about 5 to 7 minutes. Once it’s done, take it off the heat and let it cool a little. Then, in a separate bowl, give your softened mascarpone cheese a quick beat until it’s super smooth. Now, gently fold that lovely cooled yolk mixture into the mascarpone until it’s all combined. Don’t overmix; we want it rich and creamy!
Soaking the Ladyfingers for Tiramisu
This step is crucial, so pay attention! Get a shallow dish and pour in your cooled coffee and that optional coffee liqueur. Now, you’re going to dip each ladyfinger into this mixture very quickly. Just a quick dip – think one Mississippi, two Mississippi, then pull it out. They should be nicely moistened but definitely not falling apart. Soggy ladyfingers are the enemy of a great Tiramisu, so be brave and fast!
Assembling Your Tiramisu Layers
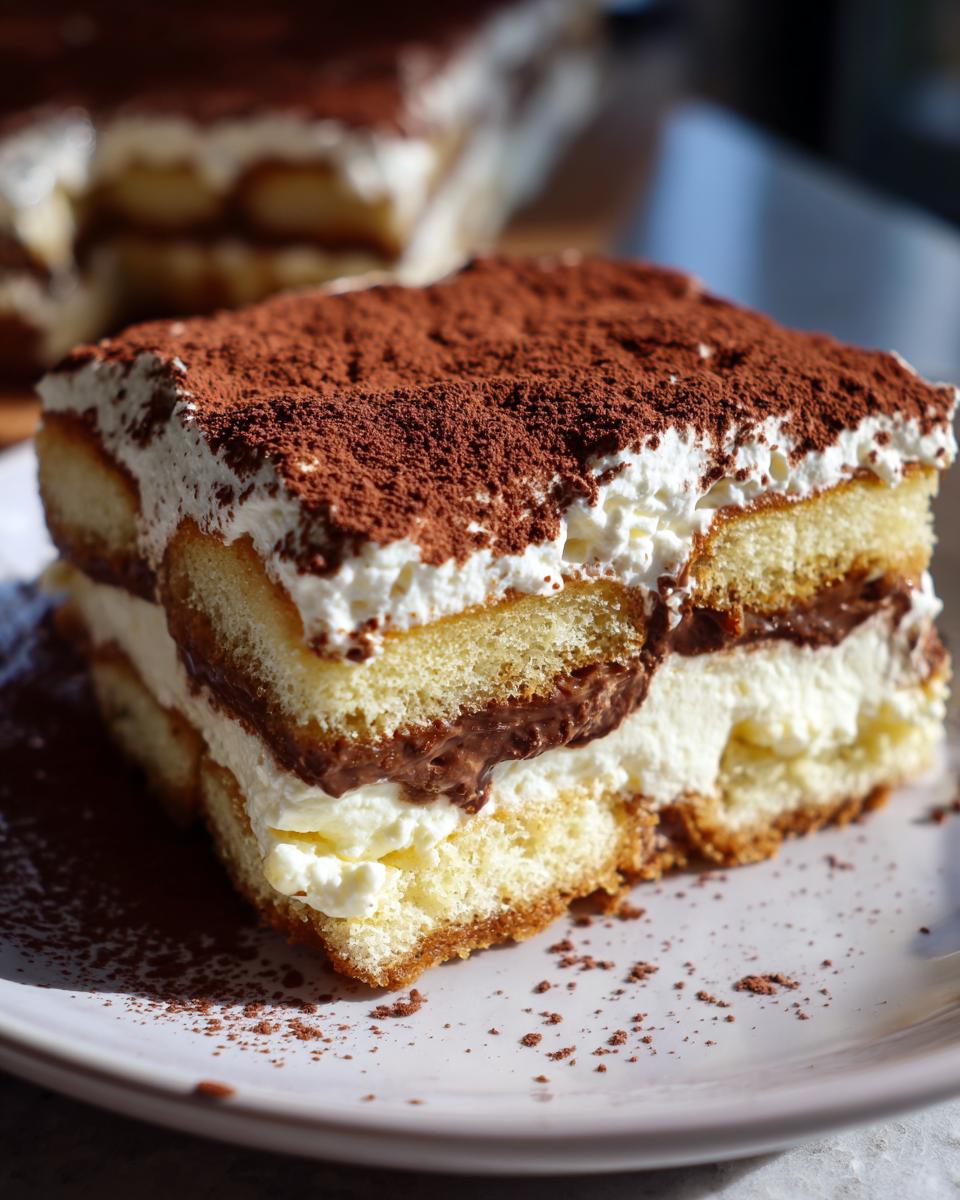
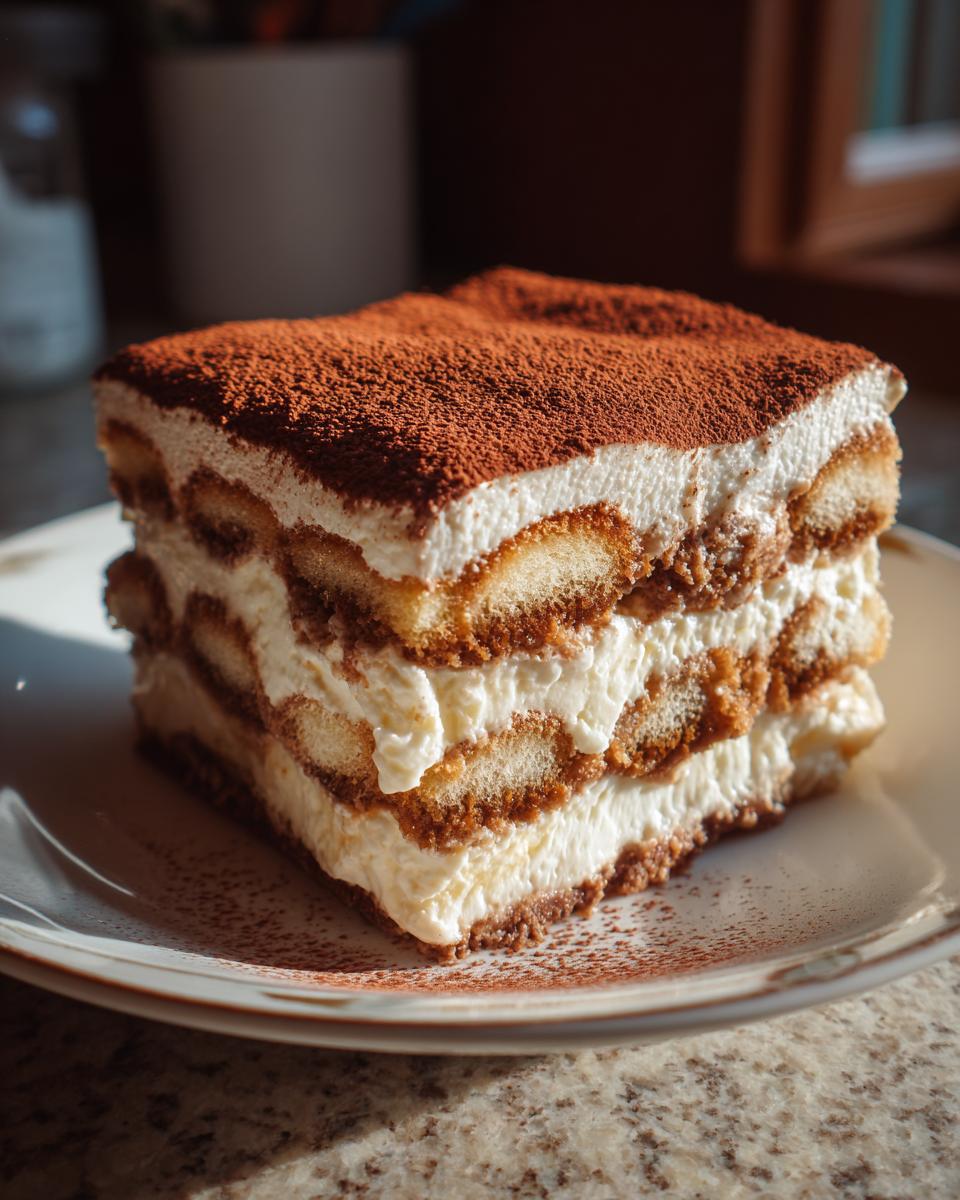
Time to build! Grab an 8×8 inch baking dish (or something similar). Lay down your first layer of those coffee-dipped ladyfingers. Make sure they fit snugly. Then, spread half of that fabulous mascarpone cream mixture evenly over the top. Don’t be shy with it! After that, repeat the process: another layer of dipped ladyfingers, and top it off with the rest of the mascarpone cream. Smoothe it all out real nice.

Chilling and Finishing Your Tiramisu
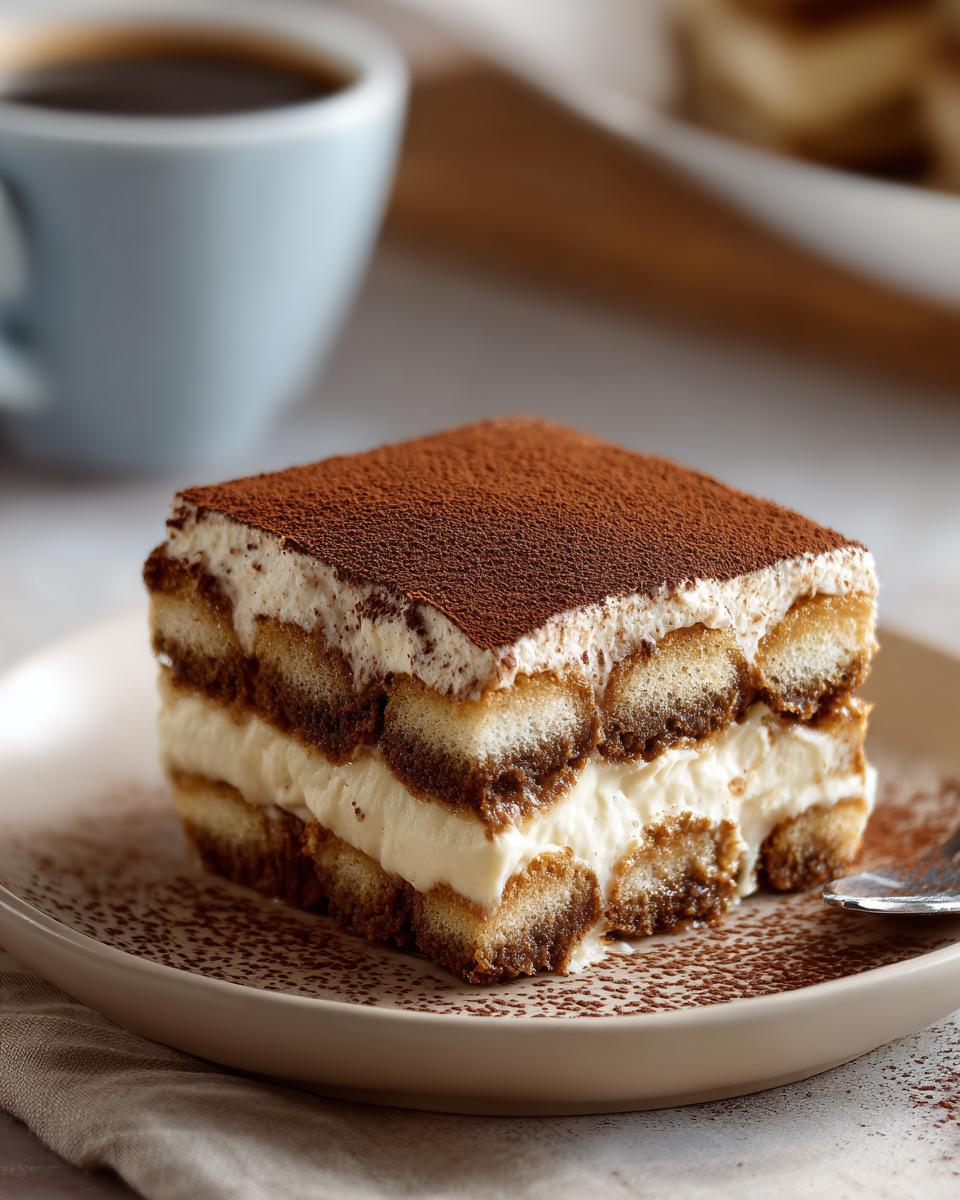
Now for the hardest part: waiting! Cover your luscious creation tightly with plastic wrap. Pop it into the fridge for at least 4 hours, but honestly, overnight is even better. This time lets all those amazing flavors meld together and gives the Tiramisu that perfect, set texture. When you’re ready to serve, just dust the top generously with unsweetened cocoa powder using a fine-mesh sieve. It looks so elegant and gives it that classic finish.
Tips for the Best Tiramisu
Making a truly amazing Tiramisu isn’t just about following steps; it’s about a little bit of love and knowing a few tricks. My Grandma Carla always said good ingredients are key, and I totally agree! For this recipe, using good quality mascarpone cheese makes a world of difference – it’s so much creamier. And please, use real espresso or at least super strong coffee; that coffee flavor is *everything* here! Don’t be afraid of the coffee liqueur, either; even a little bit adds such a lovely depth. Remember my philosophy about shortcuts? Well, for Tiramisu, the biggest “shortcut” is really just using the best ingredients you can find and giving it enough time to chill. That cooling period is where all the magic happens, letting those coffee-soaked ladyfingers and creamy mascarpone really get to know each other. For more about my kitchen adventures and how I make things work for busy lives, check out my About Me page!
Ingredient Notes and Substitutions for Tiramisu
Let’s chat a bit about the stars of our Tiramisu show! Good ingredients really make this dessert sing. For the mascarpone, try to get the good stuff – like a full-fat, good quality brand. It’s way creamier and makes for a much silkier filling. If you can’t find it, some people have had luck with a mix of cream cheese and heavy cream, but honestly, mascarpone is worth seeking out! As for the ladyfingers, Savoiardi are the classic choice, but if you can only find softer ones, just be super quick with the coffee dip. And about those eggs – if you’re worried about using raw eggs, don’t sweat it! My recipe notes explain how to make a cooked zabaglione (that’s the fancy name for the cooked yolk mixture) right on the stovetop. It’s a little extra step, but gives you peace of mind and still tastes amazing!
Frequently Asked Questions About Tiramisu
Got Tiramisu questions? I’ve got answers! It’s a total showstopper, and since I want you to have the best experience making this easy Tiramisu, let’s clear up anything that might be puzzling.
Can I make Tiramisu without raw eggs?
YES, absolutely! If you’re a bit hesitant about raw eggs, no worries at all. My recipe notes give you the scoop on how to make a cooked sabayon over the stove. It’s still wonderfully rich and creamy, and it gives you that authentic Tiramisu flavor with total peace of mind.
How long does Tiramisu need to chill?
This is super important for the best texture! You really need to let your Tiramisu chill for at least 4 hours. But honestly, if you can wait until the next day, that’s even better. It lets everything meld together perfectly and makes it slice like a dream.
What kind of coffee is best for Tiramisu?
For that classic, bold Italian flavor, you really want to use a strong brewed coffee or, even better, espresso! It needs to have a good kick to stand up to the creamy mascarpone and cocoa. Just make sure it’s completely cooled before you dip those ladyfingers, okay?
Serving and Storing Your Tiramisu
Serving this glorious Tiramisu is almost as fun as making it! Just before you slice into it, give that top a final, generous dusting of that lovely cocoa powder. Use a sharp knife – warm it under hot water and dry it quickly between cuts if you want really clean slices. For storing, just cover it tightly with plastic wrap and pop it back in the fridge. It’ll be good for about 3-4 days, but honestly, it rarely lasts that long in my house!
Estimated Nutritional Information
Here are the estimated nutritional values for one serving of our delicious Tiramisu. Please keep in mind these are approximate and can vary a bit depending on the specific ingredients and brands you use!
Serving Size: 1/8th of dish
Calories: 350
Sugar: 25g
Fat: 20g
Protein: 7g
Carbohydrates: 30g
Share Your Tiramisu Creations!
Alright, now it’s YOUR turn to shine! I just love seeing your kitchen triumphs. If you make this Tiramisu, I’d be absolutely thrilled if you’d leave a comment below to tell me how it turned out! Did your family devour it? Did you discover any new little Tiramisu tricks? And if you happen to snap a gorgeous photo, please share it with me on social media – I promise to admire it! You can also reach out via my contact page. Happy baking!
PrintClassic Tiramisu Recipe

A foolproof recipe for authentic Italian tiramisu, featuring coffee-soaked ladyfingers and a rich mascarpone cream.
- Prep Time: 25 min
- Cook Time: 10 min
- Total Time: 250 min
- Yield: 8 servings 1x
- Category: Dessert
- Method: No-Bake
- Cuisine: Italian
- Diet: Vegetarian
Ingredients
- 6 large egg yolks
- 3/4 cup granulated sugar
- 16 ounces mascarpone cheese, softened
- 1 1/2 cups strong brewed coffee or espresso, cooled
- 1/4 cup coffee liqueur (optional)
- 24 ladyfingers
- 1/4 cup unsweetened cocoa powder, for dusting
Instructions
- In a heatproof bowl set over a saucepan of simmering water, whisk together the egg yolks and granulated sugar. Cook, whisking constantly, until the mixture is thick and pale yellow, about 5-7 minutes. Remove from heat and let cool slightly.
- In a separate bowl, beat the mascarpone cheese until smooth. Gently fold the cooled egg yolk mixture into the mascarpone until well combined.
- In a shallow dish, combine the cooled coffee and coffee liqueur (if using).
- Quickly dip each ladyfinger into the coffee mixture, ensuring they are moistened but not soggy. Arrange a single layer of soaked ladyfingers in the bottom of an 8×8 inch baking dish.
- Spread half of the mascarpone mixture evenly over the ladyfingers.
- Repeat with another layer of coffee-soaked ladyfingers, followed by the remaining mascarpone mixture.
- Cover the dish with plastic wrap and refrigerate for at least 4 hours, or preferably overnight, to allow the flavors to meld and the dessert to set.
- Just before serving, dust the top generously with unsweetened cocoa powder using a fine-mesh sieve.
Notes
- For a richer flavor, use espresso instead of brewed coffee.
- If you prefer not to use raw eggs, you can make a sabayon by cooking the egg yolks and sugar over a double boiler until thickened, then cooling it before mixing with the mascarpone.
- Ensure your mascarpone cheese is at room temperature for easier mixing.
- Chill the tiramisu sufficiently to achieve the best texture.
Nutrition
- Serving Size: 1/8th of dish
- Calories: 350
- Sugar: 25g
- Sodium: 50mg
- Fat: 20g
- Saturated Fat: 12g
- Unsaturated Fat: 8g
- Trans Fat: 0g
- Carbohydrates: 30g
- Fiber: 1g
- Protein: 7g
- Cholesterol: 150mg