 Skip to content
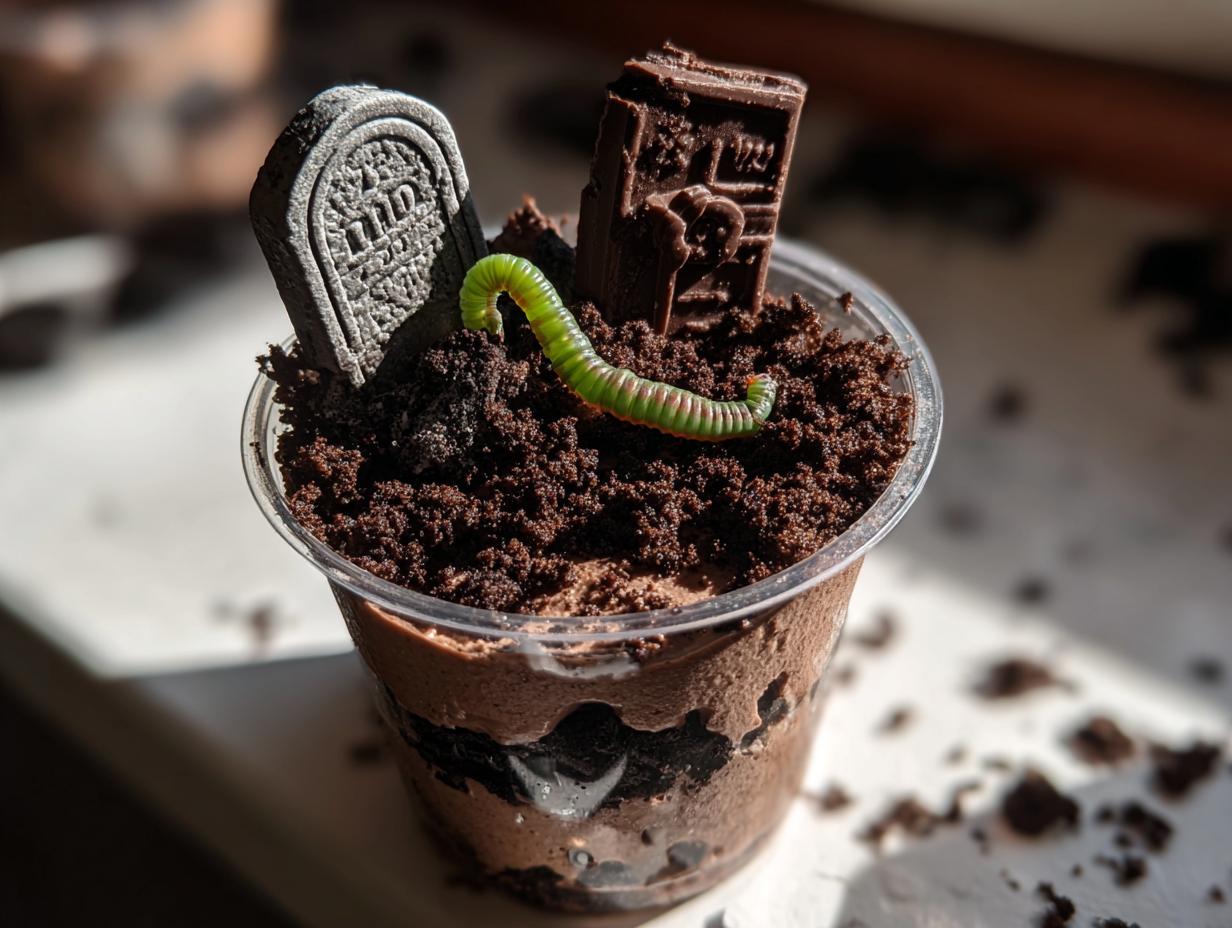

Alright, get ready for some serious Halloween fun because I’m about to share something that’s always a HUGE hit with the little ones (and let’s be honest, the grown-ups too!): graveyard pudding cups! These little treats are just the cutest, spookiest things you can whip up without even turning on your oven. You know how much I love bringing that same joy to your kitchen that my grandma brought to hers, turning simple stuff into something special. After my crazy marketing days, finding that magic again in my own kitchen was a game-changer, and these pudding cups totally capture that spirit. They’re a super-easy assembly project, but wow, the spooky impact is out of this world! Plus, who can resist rich, chocolatey pudding topped with cookie ‘dirt’ and fun little surprises? Get ready to make some tasty, edible Halloween memories!

- Why You'll Love These Graveyard Pudding Cups
- Gather Your Spooky Ingredients for Graveyard Pudding Cups
- Step-by-Step Guide to Making Graveyard Pudding Cups
- Tips for Spooktacular Graveyard Pudding Cups
- Frequently Asked Questions about Graveyard Pudding Cups
- Estimated Nutritional Information
- Share Your Spooky Creations!
Why You’ll Love These Graveyard Pudding Cups
Seriously, these are a no-brainer for Halloween! Here’s why:
- Super Easy to Make: We’re talking assembly only, no baking required! Perfect for when you’re short on time.
- Kid-Friendly Fun: Kids absolutely love helping put these together and, of course, eating them!
- Spooky Cute Appeal: They look SO festive and fun, making them a total showstopper for any Halloween party or treat.
- Deliciously Chocolatey: That creamy chocolate pudding base is a winner all on its own!
- Quick Prep Time: You can have a whole batch ready to chill in under 20 minutes. Talk about efficient!
Gather Your Spooky Ingredients for Graveyard Pudding Cups
Okay, first things first, let’s get all our spooky treasures ready. Think of this like setting up your creative station! For these fantastic graveyard pudding cups, you’ll need just a few key players:
- Instant Chocolate Pudding Mix: One standard package, usually around 3.9 ounces. Instant is key here for speed!
- Cold Milk: You’ll need 2 cups to get that pudding perfectly set. Make sure it’s cold; that helps it thicken up nicely.
- Cream Cheese: Grab an 8-ounce block, and make sure it’s softened. I usually leave mine on the counter for about an hour before I start. It makes it SO much easier to mix.
- Powdered Sugar: Just a half cup for a hint of sweetness in our creamy filling.
- Vanilla Extract: One teaspoon adds that lovely background note that just makes everything taste better.
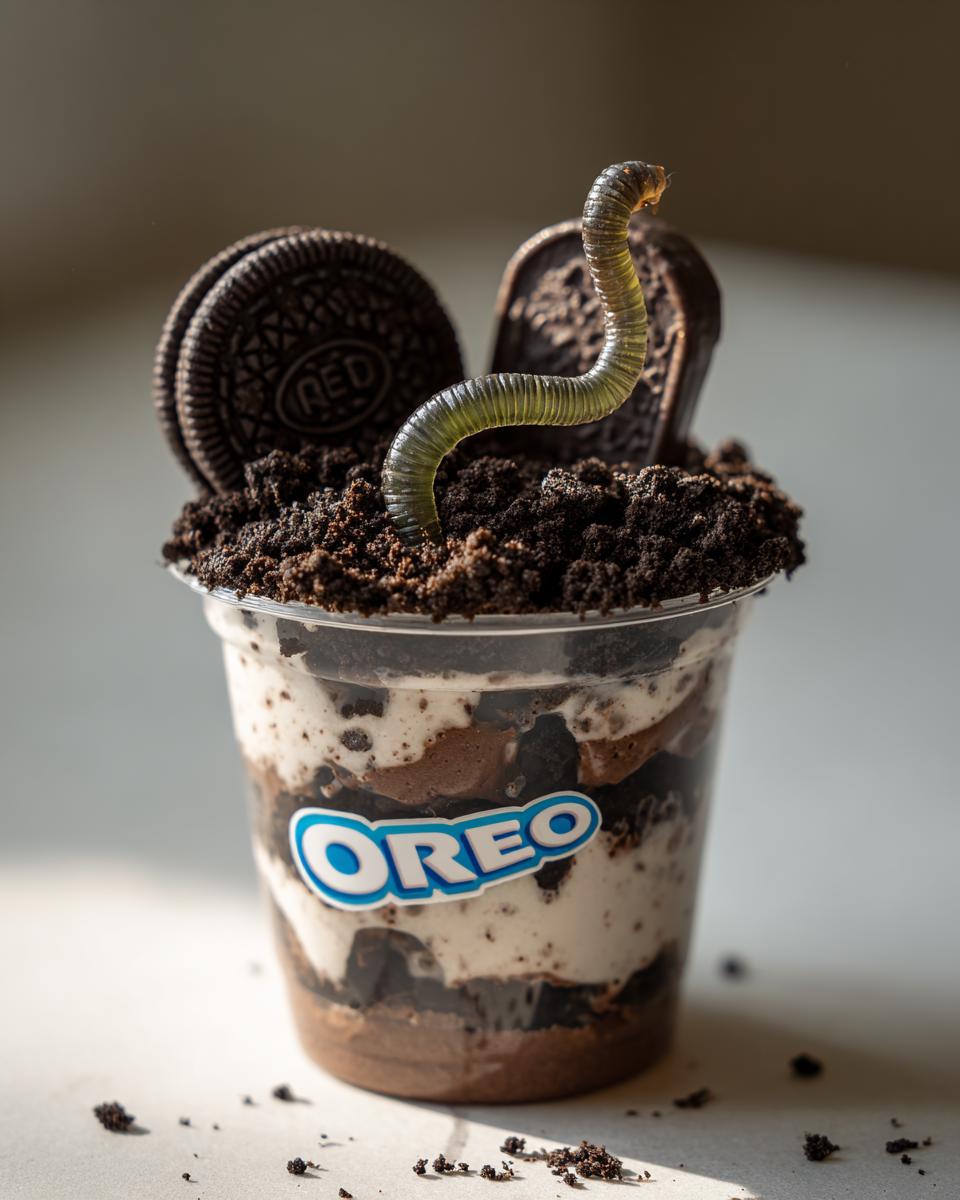
- Crushed Oreo Cookies: About 1 cup, which is usually around 14 cookies. This is our yummy “dirt” topping. Just give ’em a good crush!
- Chocolate Wafer Cookies or Milano Cookies: Grab 12 of these. They’re perfect for our little tombstones!
- Gummy Worms: You’ll need 12 of these wiggly guys. The longer, the better, so they look like they’re really crawling out!
- Black Edible Marker (Optional): If you want to write ‘RIP’ or draw little spooky faces on your tombstones, this is your tool.
Just having everything prepped and measured makes the assembly process a breeze, trust me!
Step-by-Step Guide to Making Graveyard Pudding Cups
Alright, let’s get down to business and make these spooky little treats! My recipes are all about being forgiving, so don’t stress if things aren’t perfect. The fun is in the making, and these graveyard pudding cups are a blast to put together. We’ll go from ingredients to edible Halloween art in no time!
Preparing the Chocolate Pudding Base
First up, let’s get that chocolate pudding going. Grab a nice-sized bowl and whisk together your instant chocolate pudding mix with 2 cups of cold milk. Give it a good whisk for about 2 minutes, then just let it sit there for 5 minutes to get nice and thick. Easy peasy!
Creating the Creamy Filling
While the pudding is doing its thing, let’s whip up our creamy filling. In a separate bowl, beat your softened 8-ounce cream cheese until it’s super smooth – like silk! Then, beat in the 1/2 cup of powdered sugar and 1 teaspoon of vanilla extract until it’s all blended together perfectly.
Combining Pudding and Cream Cheese
Now for the magic step! Gently fold that luscious cream cheese mixture into the thickened chocolate pudding. Be tender with it – you don’t want to deflate all that lovely airiness. Just fold until you don’t see any streaks of cream cheese anymore. It should be one gorgeous, chocolatey dream.
Assembling Your Graveyard Pudding Cups
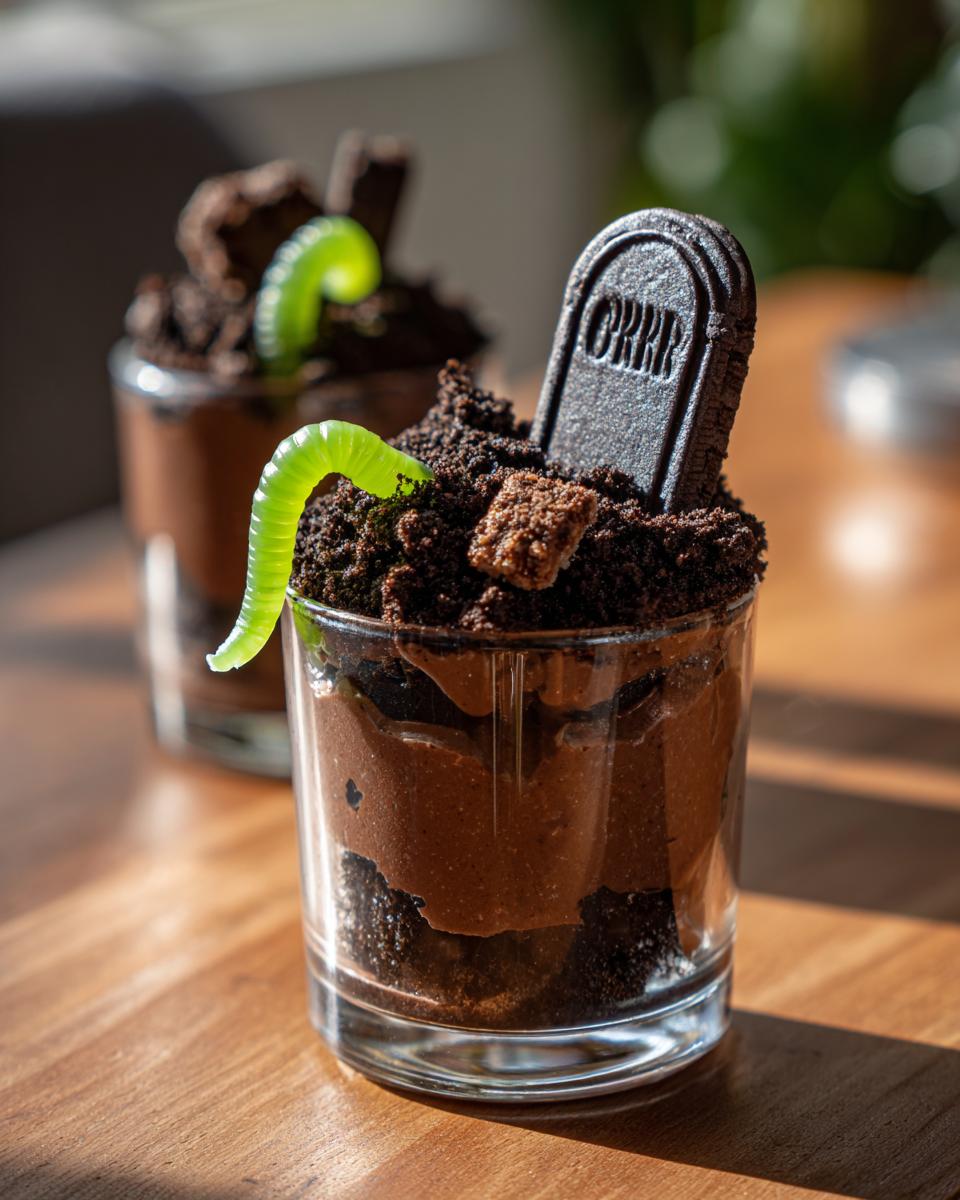
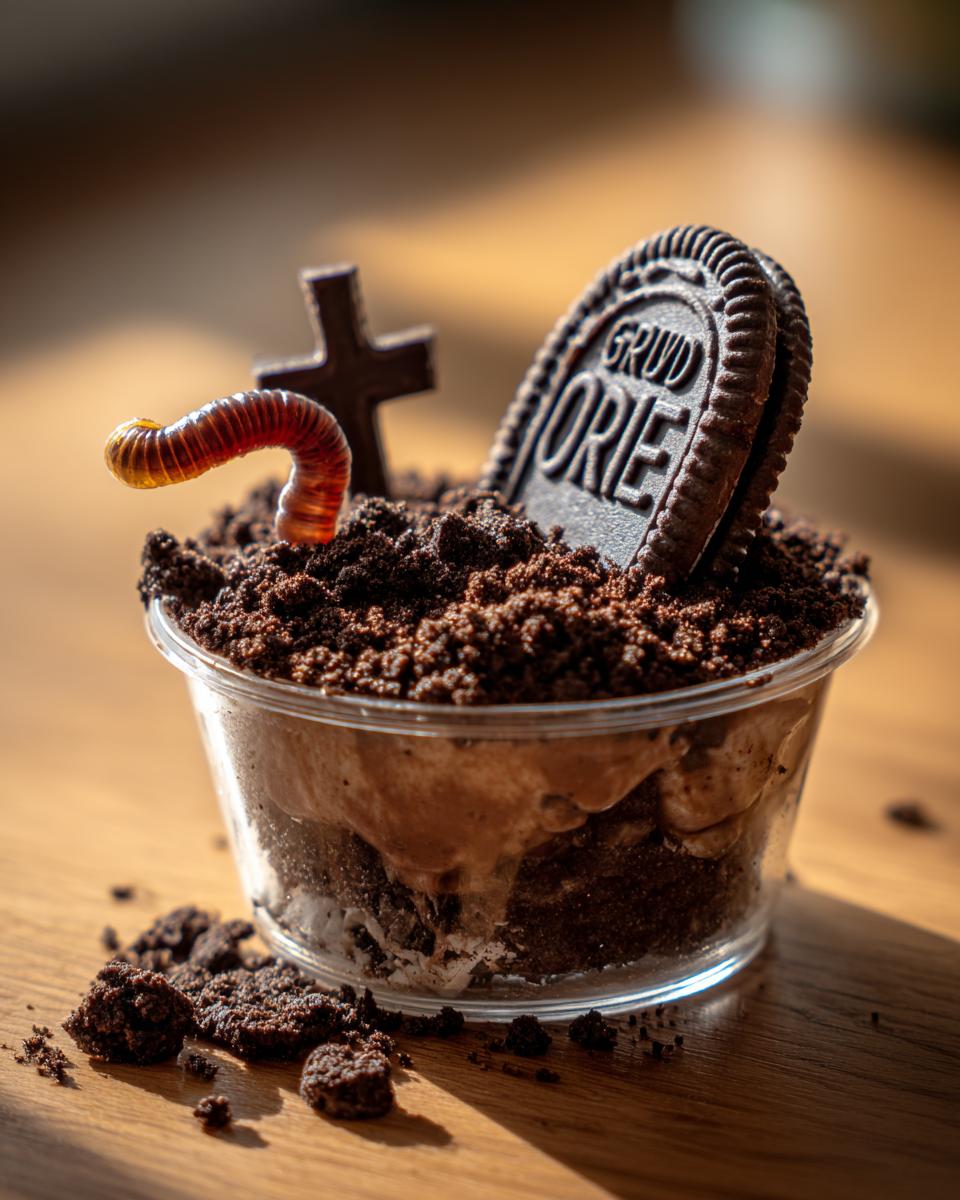
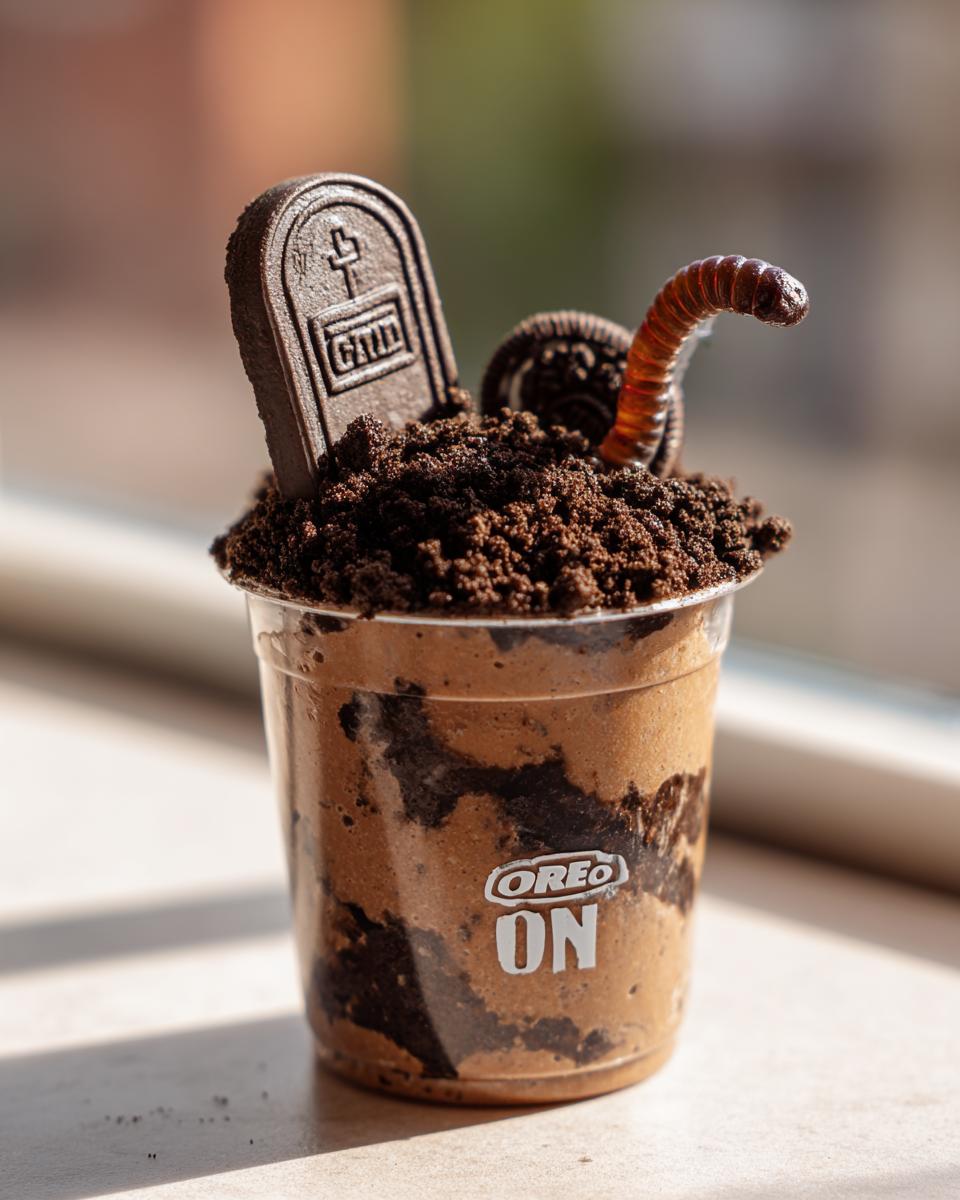
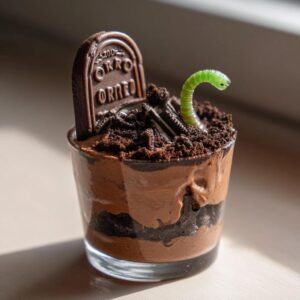
Time to build our mini graveyards! Spoon that chocolatey goodness evenly into your 6 serving cups or little jars. Now, sprinkle a generous layer of those crushed Oreo cookies all over the top. This is our spooky soil! If you’re using the edible marker, scribble ‘RIP’ on your 12 chocolate wafer or Milano cookies now – they’re our tombstones! Gently stick one cookie into the pudding in each cup. To finish the look, place a gummy worm so it looks like it’s wriggling right out of the dirt. How fun is that?!
Chilling for Perfect Texture
Pop these little graveyards into the fridge for at least 30 minutes. This lets everything set up perfectly and makes them extra delicious. You can even find more fun Halloween dirt cup ideas here if you’re feeling extra creative!
Tips for Spooktacular Graveyard Pudding Cups
Want to make your graveyard pudding cups even more over-the-top spooky and fun? I love using what I already have in the pantry to make things special, and these little graveyard scenes are no exception! A few easy tweaks can really elevate them. For more fun snack ideas, check out my appetizers and snacks!)
Creative Tombstone Ideas
Beyond those Milano cookies, try using chocolate graham crackers or even some round vanilla cookies as tombstones. You can write ‘RIP’ with that black edible marker, or even more fun names like ‘Boo!’ or ‘Grave Digger’ – whatever makes you giggle!
Extra Halloween Decorations
Don’t stop at just worms and tombstones! Sprinkle on some candy pumpkins, festive Halloween sprinkles, or even those spooky candy bones for extra graveyard vibes. If you’re feeling really adventurous, check out my ideas for Halloween jello worms or even Halloween candy bark for more spooky inspiration!
Frequently Asked Questions about Graveyard Pudding Cups
Got questions about these spooky little graveyard wonders? I’ve got answers!
Can I prepare graveyard pudding cups in advance?
You totally can! Make them up to a day ahead and keep them chilled in the fridge. The cookie ‘dirt’ might soften a little, but they’ll still be delicious and spooky for your party!
What if I don’t have instant chocolate pudding?
While instant is super speedy, you *can* use regular chocolate pudding mix, but you’ll need to cook it according to the package directions and let it fully cool before mixing in the cream cheese. It’ll take a little longer, but it works!
Are there gluten-free options for these Halloween pudding dessert cups?
Absolutely! Just grab some gluten-free chocolate sandwich cookies for the ‘dirt’ and a gluten-free wafer cookie for the tombstone. You can easily make these delicious Halloween pudding desserts fit your dietary needs!
Estimated Nutritional Information
Just a heads-up, like most homemade treats so full of goodness, the nutrition can vary a bit depending on the exact brands and ingredients you use. But, as a general idea, each of these delightful graveyard pudding cups packs about:
- Calories: Around 450
- Fat: About 25g
- Protein: Roughly 5g
- Carbohydrates: Around 50g
- Sugar: About 55g
This is a fun treat, so we’re not aiming for a health halo here, but knowing a little bit can’t hurt, right?
Share Your Spooky Creations!
I absolutely LOVE seeing your baking adventures! If you make these fun graveyard pudding cups, please leave a comment below and tell me how they turned out. Did the kids help? Did you try any super creative tombstone messages? Snap a picture and tag me on social media – I can’t wait to see your spooky masterpieces! You can also reach out anytime through my contact page if you have any questions!
PrintGraveyard Pudding Cups
Create spooky and fun individual graveyard pudding cups for a delightful Halloween treat.
- Prep Time: 20 min
- Cook Time: 0 min
- Total Time: 20 min
- Yield: 6 servings 1x
- Category: Dessert
- Method: No-Bake
- Cuisine: American
- Diet: Vegetarian
Ingredients
- 1 package (3.9 oz) instant chocolate pudding mix
- 2 cups cold milk
- 1 package (8 oz) cream cheese, softened
- 1/2 cup powdered sugar
- 1 teaspoon vanilla extract
- 1 cup crushed Oreo cookies (about 14 cookies)
- 12 chocolate wafer cookies or Milano cookies
- 12 gummy worms
- Black edible marker (optional)
Instructions
- Prepare the pudding: Whisk together the instant chocolate pudding mix and cold milk in a bowl. Let it sit for 5 minutes to thicken.
- Make the cream cheese mixture: In a separate bowl, beat the softened cream cheese with an electric mixer until smooth. Add the powdered sugar and vanilla extract, and beat until well combined.
- Combine pudding and cream cheese: Gently fold the cream cheese mixture into the thickened chocolate pudding until no streaks remain.
- Assemble the cups: Spoon the pudding mixture evenly into 6 individual serving cups or small jars.
- Add the ‘dirt’: Sprinkle a generous layer of crushed Oreo cookies over the pudding in each cup.
- Add the tombstones: Write ‘RIP’ on the chocolate wafer cookies using a black edible marker, if desired. Insert one cookie into the pudding in each cup, like a tombstone.
- Add the worms: Place a gummy worm so it looks like it’s crawling out of the ‘dirt’ in each cup.
- Chill: Refrigerate the graveyard pudding cups for at least 30 minutes before serving.
Notes
- For a richer flavor, you can use chocolate pudding made with milk and a bit of heavy cream.
- Candy pumpkins or bone sprinkles can be added for extra decoration.
- Ensure your gummy worms are long enough to create a crawling effect.
Nutrition
- Serving Size: 1 cup
- Calories: 450
- Sugar: 55g
- Sodium: 300mg
- Fat: 25g
- Saturated Fat: 15g
- Unsaturated Fat: 10g
- Trans Fat: 0g
- Carbohydrates: 50g
- Fiber: 2g
- Protein: 5g
- Cholesterol: 60mg