 Skip to content
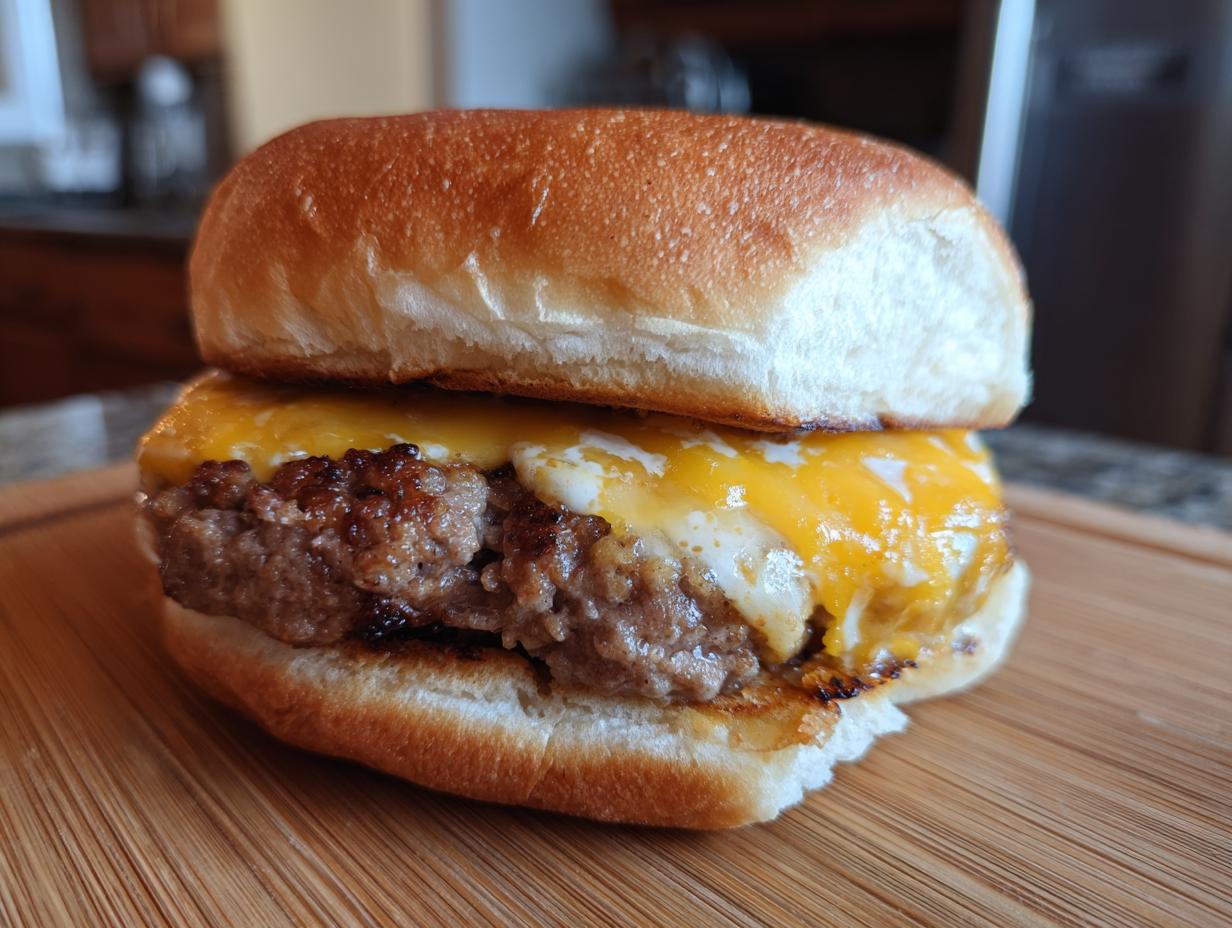

Oh, that craving! You know the one – that irresistible pull for a classic drive-thru cheeseburger, dripping with deliciousness and perfectly melty cheese. Well, guess what? You can absolutely capture that magical, greasy spoon taste right in your own kitchen! I’m Carla, and I believe the best memories are made around the table, something I learned firsthand in my grandmother’s kitchen. She taught me that cooking for people is pure love. I’m so excited to share my own take on the ultimate homemade cheeseburger, inspired by those simple, soulful meals that always hit the spot. Get ready for a juicy, flavorful burger that’ll make you forget all about the drive-thru!

- Why You'll Love This Classic Cheeseburger Recipe
- Ingredients for the Best Cheeseburger
- Tips for Making a Juicy Cheeseburger Patty
- How to Cook Your Cheeseburger to Perfection
- Assembling Your Classic American Burger
- Ingredient Notes and Substitutions for Your Cheeseburger
- Frequently Asked Questions about Cheeseburgers
- Nutritional Information
- Share Your Homemade Cheeseburger Creation!
Why You’ll Love This Classic Cheeseburger Recipe
Let me tell you why this cheeseburger recipe is going to be your new go-to:
- Super Fast: You can go from craving to cooked in about 20 minutes, total! Perfect for those weeknight emergencies.
- Seriously Easy: No fancy tricks here! Just simple techniques that guarantee burger perfection every single time.
- That Classic Flavor: It truly tastes like the best diner burger you’ve ever had – juicy, cheesy, and oh-so-satisfying.
- Homemade Goodness: You get all the indulgence of fast food, made with love and better ingredients in your own kitchen.
Ingredients for the Best Cheeseburger
Here’s what you’ll need to whip up these amazing, juicy cheeseburgers:
- 1 pound ground beef (I like an 80/20 blend for the best flavor and juiciness!)
- 1 teaspoon salt
- 1/2 teaspoon black pepper
- 4 slices American cheese (it just melts perfectly, trust me!)
- 4 hamburger buns
- Butter, for toasting those lovely buns
Tips for Making a Juicy Cheeseburger Patty
Okay, so here’s where the magic really happens for that perfect, craveable cheeseburger: the patty itself! It might seem simple, but a few little tricks make all the difference between a dry, sad burger and one that’s incredibly juicy and flavorful. I learned so much from my grandmother about handling meat gently – she always said you want to respect the ingredients, and that’s especially true for ground beef. We’re aiming for that satisfying bite that makes you close your eyes in bliss, not one that leaves you reaching for a drink!
Choosing the Right Ground Beef for Your Cheeseburger
When you’re picking out your ground beef, don’t shy away from the fat! I always grab an 80/20 blend. That means 80% lean meat and 20% fat. Why? Because fat equals flavor and, more importantly for us, juiciness! This ratio is perfect for getting that classic, slightly rich taste and ensuring your cheeseburger doesn’t dry out while it’s cooking. Leaner grinds just don’t have that same melt-in-your-mouth quality.
Forming the Perfect Cheeseburger Patties
Once you’ve got your beautiful beef, handle it like it’s precious! Gently divide your pound of ground beef into four mostly equal portions. Form each portion into a patty that’s about 3/4 of an inch thick. The most important thing here is *gentle handling*. Overworking the meat will make your cheeseburger tough. My secret weapon? A quick little indentation in the center of each patty with my thumb! This stops the middle from puffing up like a balloon on the heat and keeps your burger beautifully flat.
How to Cook Your Cheeseburger to Perfection
Now for the fun part – cooking these beauties! Whether you’re using a grill outdoors or a trusty skillet on the stovetop, getting that perfect cook on your cheeseburger is key. I usually go for the skillet myself because it’s just so darn convenient, and I can really watch them closely. Remember all that love we put into forming those patties? Resist every urge to press down on them while they cook! Squishing them just squeezes out all those precious juices, and nobody wants a dry cheeseburger. I aim for about 3-4 minutes per side for a nice medium-rare, but truly, cook ’em to whatever peek-a-boo doneness makes you happy!
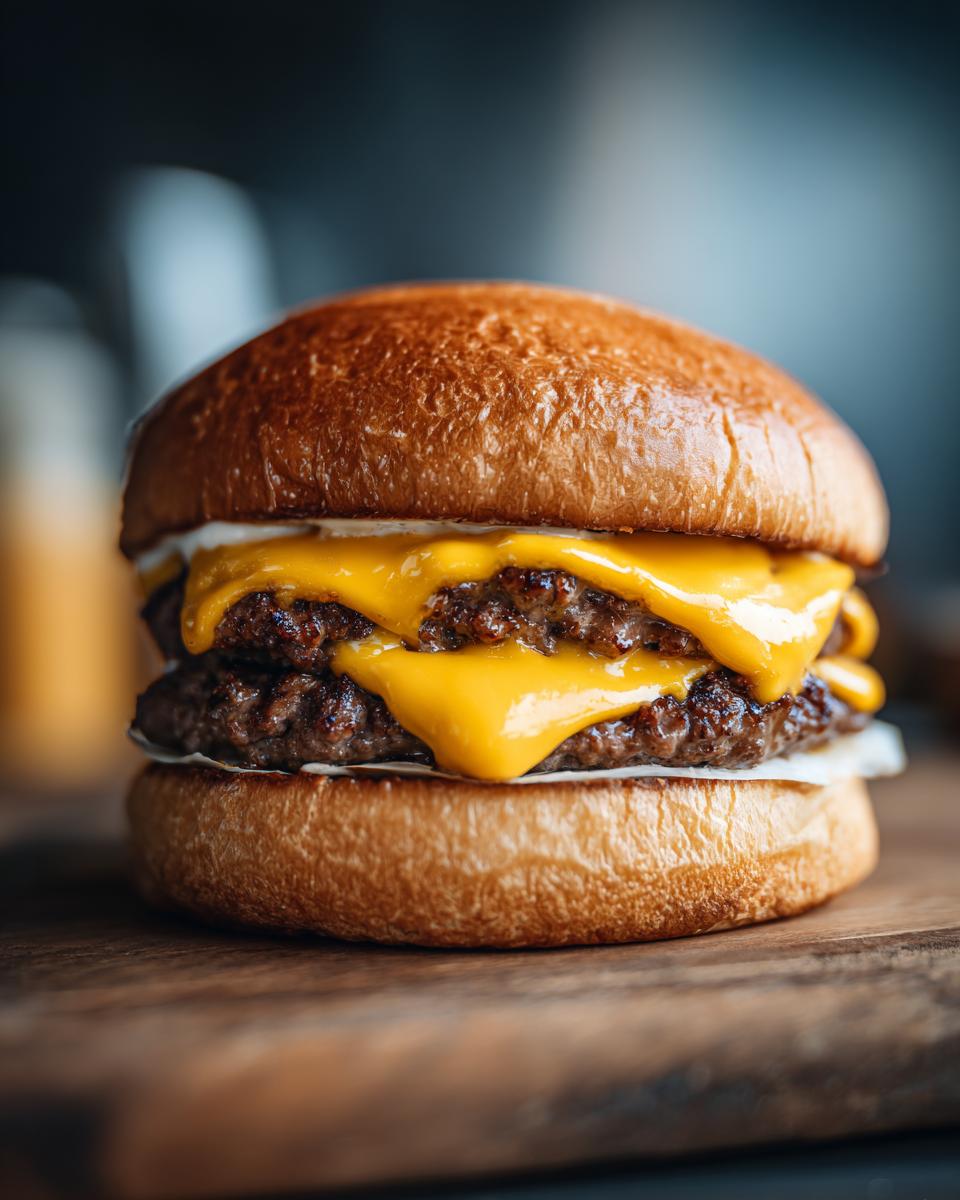
Achieving Melty Cheese on Your Cheeseburger
Ah, the melty cheese! For that glorious, gooey finish on your cheeseburger, all you need to do is lay a slice of American cheese right on top of each patty during the very last minute of cooking. Honestly, American cheese is my favorite here because it melts so beautifully and uniformly, giving you that classic diner experience. If your grill has a lid or your skillet has a cover, pop it on for just about 30 seconds to a minute. It creates just enough steam to get that cheese perfectly drippy and luscious without overcooking the burger.
Toasting the Buns for the Ultimate Cheeseburger
Don’t skip this step, folks! Toasting the buns is a game-changer. It adds this wonderful little crunch and a barrier so your bun doesn’t get soggy from all the delicious burger juices. I just take a little butter – not too much, just enough to lightly coat the cut sides – and spread it on. Then, I pop them onto the grill or into a separate, clean skillet for a minute or two until they’re golden brown and smell amazing. It takes your cheeseburger from great to absolutely spectacular!
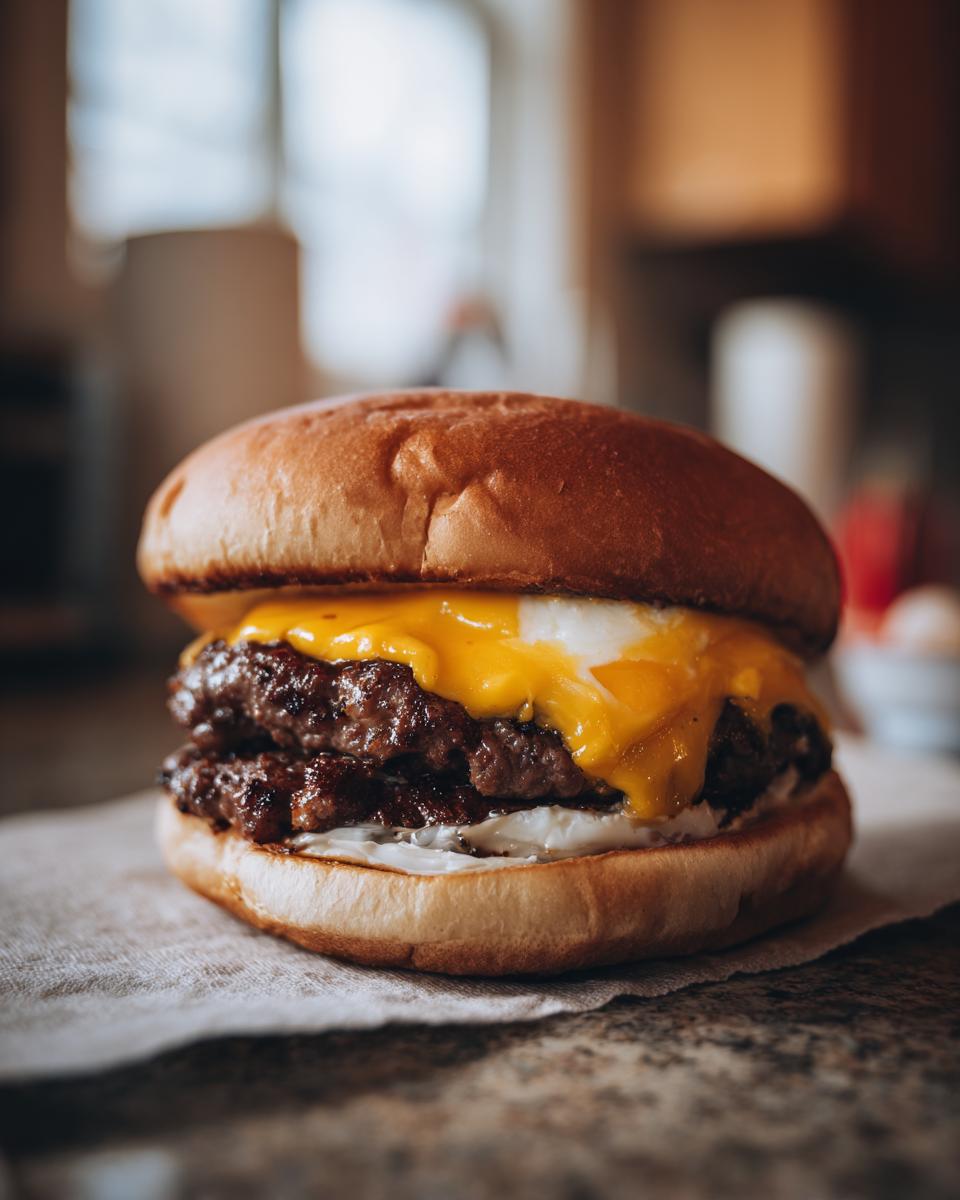
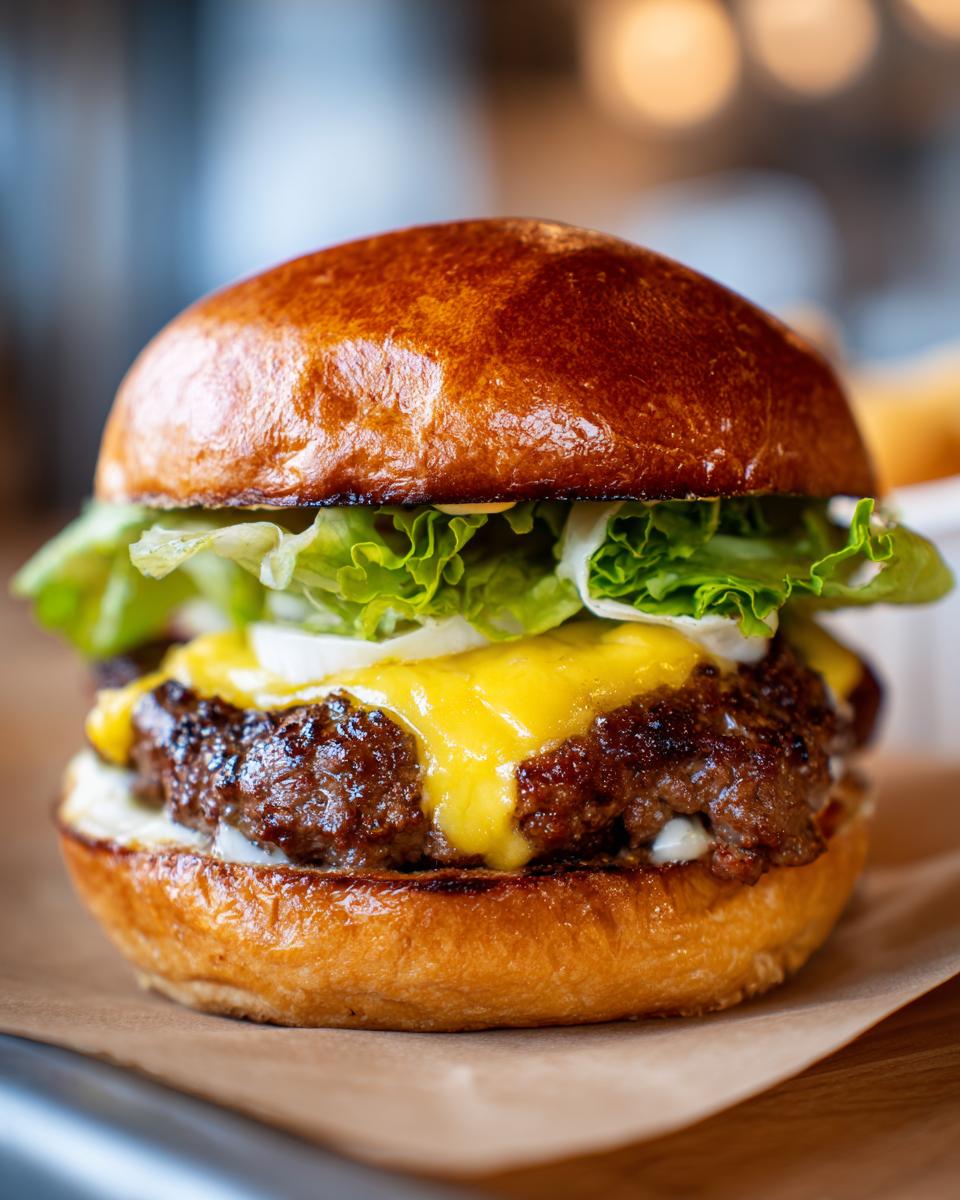
Assembling Your Classic American Burger
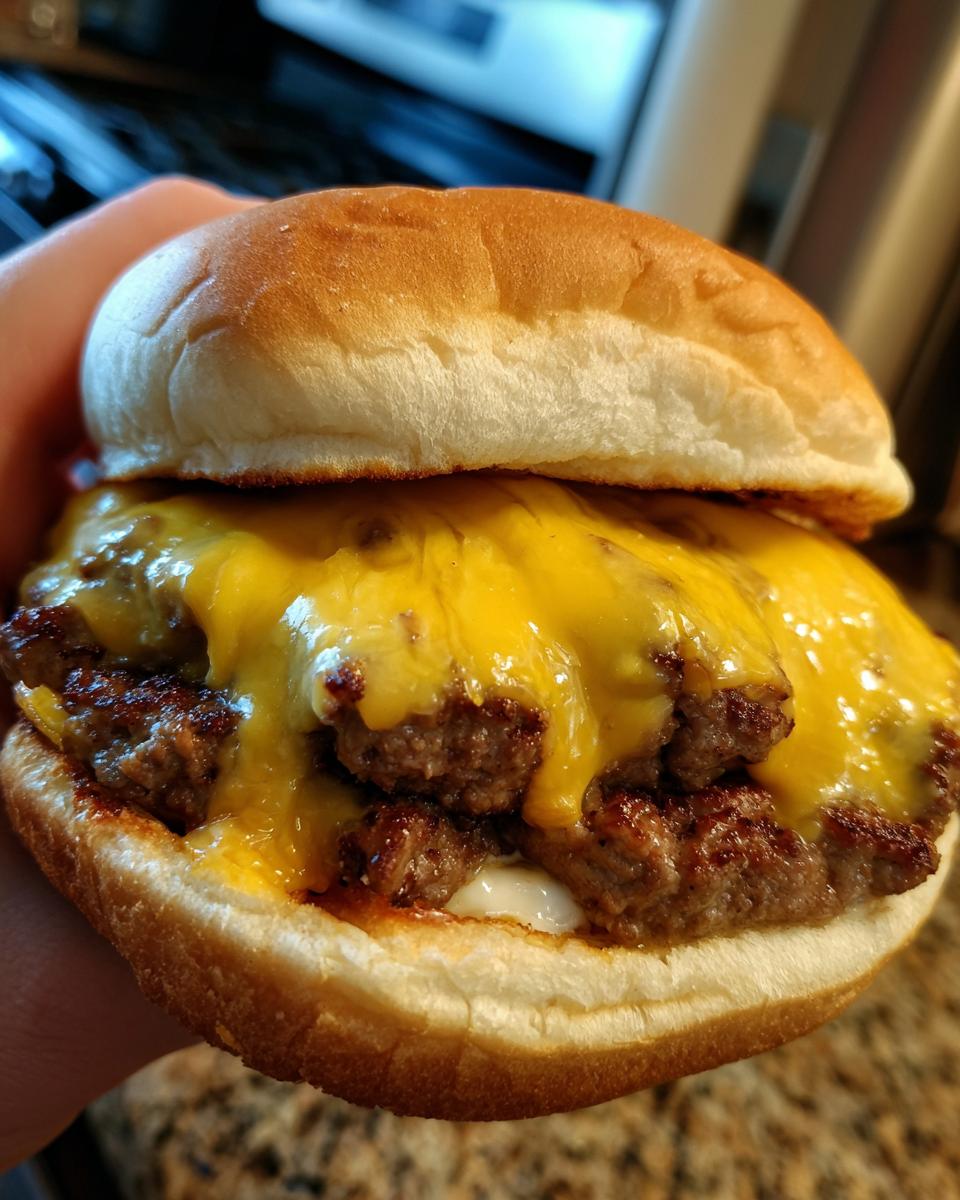
Alright, it’s time for the grand finale – putting your perfect cheeseburger together! Take that beautiful, toasted bottom bun. Gently place your juicy, cheese-covered patty right on top. Now’s your chance to pile on your absolute favorite toppings – maybe some crisp lettuce, ripe tomato slices, tangy pickles, or a little onion. If you’re wondering what to serve ’em with, check out some of my favorite side dishes! Crown it all with the top bun, and there you have it! Your very own, incredibly satisfying classic American cheeseburger, ready to be devoured. It makes you feel good just looking at it, doesn’t it?
Ingredient Notes and Substitutions for Your Cheeseburger
Sometimes you might need to tweak things a bit, and that’s totally okay! For my cheeseburger recipe, the 80/20 ground beef is really the star for juiciness, but if you find yourself with a leaner blend, don’t worry. About a tablespoon of finely chopped onion or a little splash of Worcestershire sauce mixed into the meat before forming patties can really boost the flavor and moisture. And cheese! While American cheese is my go-to for that gooey melt we all love on a classic cheeseburger, feel free to use sharp cheddar, provolone, or even a Monterey Jack if that’s what you have on hand. They all bring their own deliciousness to the party!
Frequently Asked Questions about Cheeseburgers
Got questions about making the best cheeseburger at home? I’ve got you covered! Here are some of the things folks ask me most often:
How thick should my cheeseburger patties be?
I typically aim for about 3/4 of an inch thick. This gives you enough meat for a juicy burger that doesn’t cook too quickly. Anything much thinner can dry out, and much thicker might take too long to cook through evenly on the grill or in the skillet.
What’s the best way to tell if my cheeseburger is cooked?
Trusting your eyes and your sense of touch is key! For a medium-rare, you’re looking at about 3-4 minutes per side. If you want to be super precise, a meat thermometer is your best friend. 130-135°F is medium-rare, 140-145°F is medium, and aiming for 155-160°F gets you medium-well. Just remember to let it rest for a minute after cooking!
Can I add other things to the ground beef for my cheeseburger?
Absolutely! While I love the simplicity of just salt and pepper for that pure beef flavor, feel free to mix in some finely chopped onion, a little garlic powder, or even a dash of Worcestershire sauce before you form your patties. Just be careful not to overmix the meat!
What if I don’t have American cheese? Will my cheeseburger still be good?
Of course! While American cheese melts like a dream for that classic diner cheeseburger, other good melting cheeses like cheddar, provolone, or Monterey Jack work wonderfully too. Each will give your homemade fast food burger a slightly different, but equally delicious, flavor profile.
Nutritional Information
Here’s a little peek at the estimated nutritional info for each of these cheesy delights. Keep in mind, these numbers can bounce around a bit depending on the exact ingredients you use and how you cook them!
- Serving Size: 1 burger
- Calories: 550
- Sugar: 5g
- Sodium: 800mg
- Fat: 35g
- Saturated Fat: 15g
- Unsaturated Fat: 20g
- Trans Fat: 1g
- Carbohydrates: 30g
- Fiber: 2g
- Protein: 25g
- Cholesterol: 100mg
Share Your Homemade Cheeseburger Creation!
Well, there you have it – your very own guide to making a truly fantastic cheeseburger right at home! I always love to see how your recipes turn out. Did you try any fun toppings? How did your burger turn out? Drop a comment below and let me know, or even better, send me a picture! Your feedback and success stories make my day.
PrintClassic American Cheeseburger
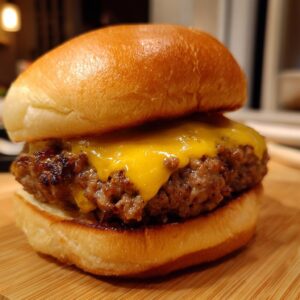
Create a juicy, flavorful cheeseburger at home that rivals your favorite drive-thru. This recipe focuses on a perfectly seasoned patty, melty cheese, and a toasted bun for that ultimate comfort food experience.
- Prep Time: 10 min
- Cook Time: 10 min
- Total Time: 20 min
- Yield: 4 servings 1x
- Category: Main Course
- Method: Grilling or Pan-Frying
- Cuisine: American
- Diet: Vegetarian
Ingredients
- 1 pound ground beef (80/20 blend recommended)
- 1 teaspoon salt
- 1/2 teaspoon black pepper
- 4 slices American cheese
- 4 hamburger buns
- Butter, for toasting buns
Instructions
- Divide the ground beef into four equal portions. Gently form each portion into a patty, about 3/4 inch thick. Make a slight indentation in the center of each patty with your thumb to prevent puffing during cooking.
- Season both sides of each patty generously with salt and pepper.
- Heat a grill or large skillet over medium-high heat.
- Cook the patties for 3-4 minutes per side for medium-rare, or longer for your desired doneness. Avoid pressing down on the patties while they cook, as this squeezes out the juices.
- During the last minute of cooking, place one slice of American cheese on top of each patty. Cover the grill or skillet briefly to help the cheese melt.
- While the cheese melts, lightly butter the cut sides of the hamburger buns. Toast them on the grill or in a separate skillet until golden brown.
- Assemble your cheeseburgers by placing a cheese-covered patty on the bottom half of each toasted bun. Add your favorite toppings and the top bun.
Notes
- For an even juicier burger, you can add a tablespoon of finely chopped onion or a teaspoon of Worcestershire sauce to the ground beef mixture before forming patties.
- If you don’t have American cheese, cheddar or provolone also work well.
- Consider using a meat thermometer to ensure your burger reaches your preferred internal temperature: 130-135°F for medium-rare, 140-145°F for medium, and 155-160°F for medium-well.
Nutrition
- Serving Size: 1 burger
- Calories: 550
- Sugar: 5g
- Sodium: 800mg
- Fat: 35g
- Saturated Fat: 15g
- Unsaturated Fat: 20g
- Trans Fat: 1g
- Carbohydrates: 30g
- Fiber: 2g
- Protein: 25g
- Cholesterol: 100mg