 Skip to content
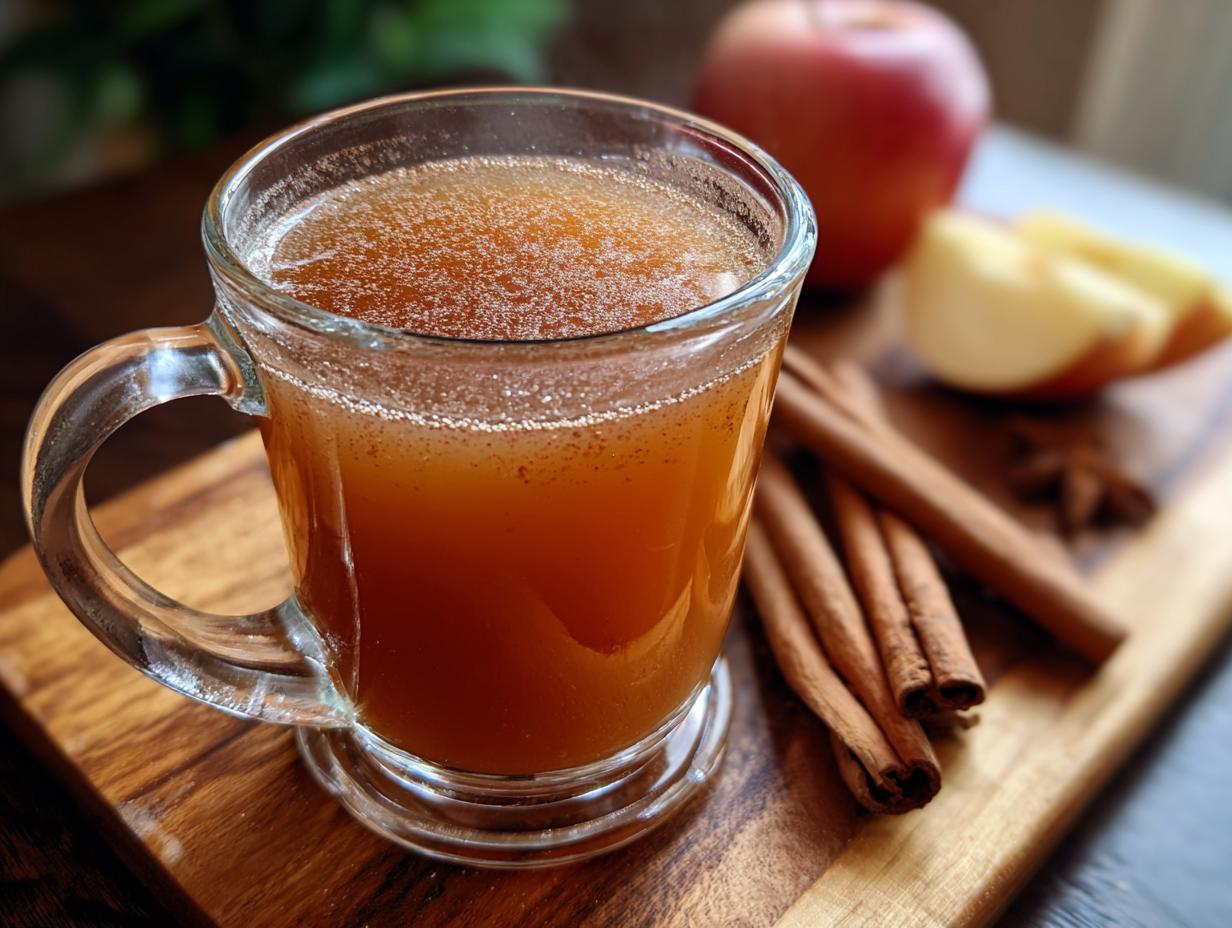

Oh, is there anything better than that first sip of warm, spiced apple cider when the leaves start to turn? It’s like a hug in a mug, seriously! My grandma used to make the most amazing homemade apple cider every fall in her cozy Ohio kitchen, and that happy memory is what inspired this super simple, go-to recipe. It’s honestly one of my favorite ways to welcome the cozy season. The best part? You don’t need fancy equipment. Whether you have a whole afternoon to let it simmer on the stovetop, a slow cooker that does the work for you, or even a speedy Instant Pot, you can whip up this delightfully spiced cider. I’ve spent years perfecting this blend, always keeping my love for simple, joyful cooking in mind, and I just know you’re going to adore it. You can read more about my kitchen philosophy and where this love for simple food comes from over on my about page!

- Why You'll Love This Homemade Apple Cider
- Choosing the Best Apples for Homemade Apple Cider
- Gathering Your Ingredients for Homemade Apple Cider
- How to Make Homemade Apple Cider: Step-by-Step
- Tips for Perfect Homemade Apple Cider
- Serving and Storing Your Homemade Apple Cider
- Frequently Asked Questions about Homemade Apple Cider
- Nutritional Information (Estimate)
- Share Your Homemade Apple Cider Creations!
Why You’ll Love This Homemade Apple Cider
Honestly, what’s not to love?
- It’s SO easy – seriously, just toss everything in and let it do its thing!
- You get that amazing, cozy fall flavor with barely any effort.
- We can totally customize the sweetness, so it’s perfect for *your* taste buds.
- Uses whole apples – no waste here!
- It’s the ultimate cozy drink for any fall gathering or just a quiet afternoon.
Choosing the Best Apples for Homemade Apple Cider
Okay, so you can technically use any apples for this, but trust me, picking the right kind makes ALL the difference! My grandma always said that a good apple cider is like a good marriage – it needs a little bit of everything! That’s why I swear by using a blend. You want that perfect homemade apple cider from scratch taste, right? So, grab a mix of sweet apples like Fuji, Gala, or Honeycrisp, and then toss in a tart one, like a good old Granny Smith. The sweet ones give you that lovely natural sugary flavor, while the tart ones bring a little zing that cuts through it all. It’s really the best apples for cider blend combination. I remember making an apple pie once with only sweet apples, and while it was okay, it was just missing that little bit of brightness! This blend is a tried-and-true winner for that cozy, well-rounded cider flavor you’re craving. You can find more apple inspiration over on my apple pie recipe and my apple crisp recipe pages too!
Gathering Your Ingredients for Homemade Apple Cider
Alright, let’s get our pantry ready for this cozy cider! It’s really straightforward. You’ll need:
- 8 cups of water – This is our base liquid.
- 6 to 8 apples – The star of the show! Make sure they’re cored and quartered. Don’t worry about peeling them; we want all those good bits!
- 2 cinnamon sticks – For that warm, classic cinnamon flavor.
- 1 teaspoon whole cloves – These little guys pack a punch!
- 1 teaspoon whole allspice berries – They add this lovely, complex spice note.
- Optional sweeteners: About 1/4 cup of maple syrup or brown sugar, or even honey, if you like it a bit sweeter. You can totally adjust this to your taste!
How to Make Homemade Apple Cider: Step-by-Step
Alright, making your own homemade apple cider is seriously foolproof, no matter how you slice it! You basically just throw everything into a pot and let the magic happen. Here’s the lowdown on how we get that amazing flavor, whether you’re a stovetop queen, a slow cooker fan, or an Instant Pot wizard.
Stovetop vs Slow Cooker vs Instant Pot Homemade Apple Cider
I love that this recipe is so flexible! If you’re going the stovetop vs slow cooker apple cider route, the stovetop is my go-to when I want it done in a couple of hours. Just get everything in a big pot, bring it to a boil, then turn it down to a gentle simmer for at least an hour, but honestly, three hours if you have the time? Even better! The longer it simmers, the deeper and more mellow the flavors get. If you’ve got a slow cooker, it’s almost easier. Just dump it all in, set it on low for about 4 to 6 hours, or high for 2 to 3 hours, until those apples are super tender. It’s perfect for when you want cider ready by late afternoon. And for the speed demons out there, the Instant Pot apple cider method is your best friend! It’s super quick – just 15 minutes on high pressure, then let it sit for a bit before releasing. All three methods give you that cozy, spiced goodness, but the simmering time really affects the depth of flavor. Don’t forget, if you’re serving this to little ones or anyone with a weaker immune system, you’ll want to make sure it heats up to at least 160°F (71°C) to be safe!
Straining Your Homemade Apple Cider
Once all those yummy spices and apples have done their work, you’ll want to strain everything. I usually use a fine-mesh sieve, but if you want it *extra* clear and smooth, line the sieve with some cheesecloth. It catches all those little bits of spices and apple pulp. Just pour the whole glorious mixture through it into another pot or a heatproof pitcher. Don’t toss those cooked apples and spices right away though – they’re still good for things like granola or even baked into something tasty like apple cinnamon muffins!
Tips for Perfect Homemade Apple Cider
You know, getting that perfect cider flavor is all about tweaking it to your liking! My favorite part of making this is how easy it is to get it just right. If you’re a spice lover like me, don’t be shy with those cinnamon sticks, cloves, or allspice – toss in an extra stick or a few more berries if you want that really deep, mulled flavor. And sweetening? That’s totally up to you! I usually start with a little maple syrup and if it needs more after tasting, I add it in. It’s a lifesaver especially when you’re hosting and want a big batch of Spiced Apple Cider Punch or preparing for a sangria or margarita night. Oh, and a little heads-up: to get the clearest cider, make sure you’re not boiling it too hard after the initial boil. A gentle simmer is key, like my grandma always used to say, “slow and steady wins the flavor race!”
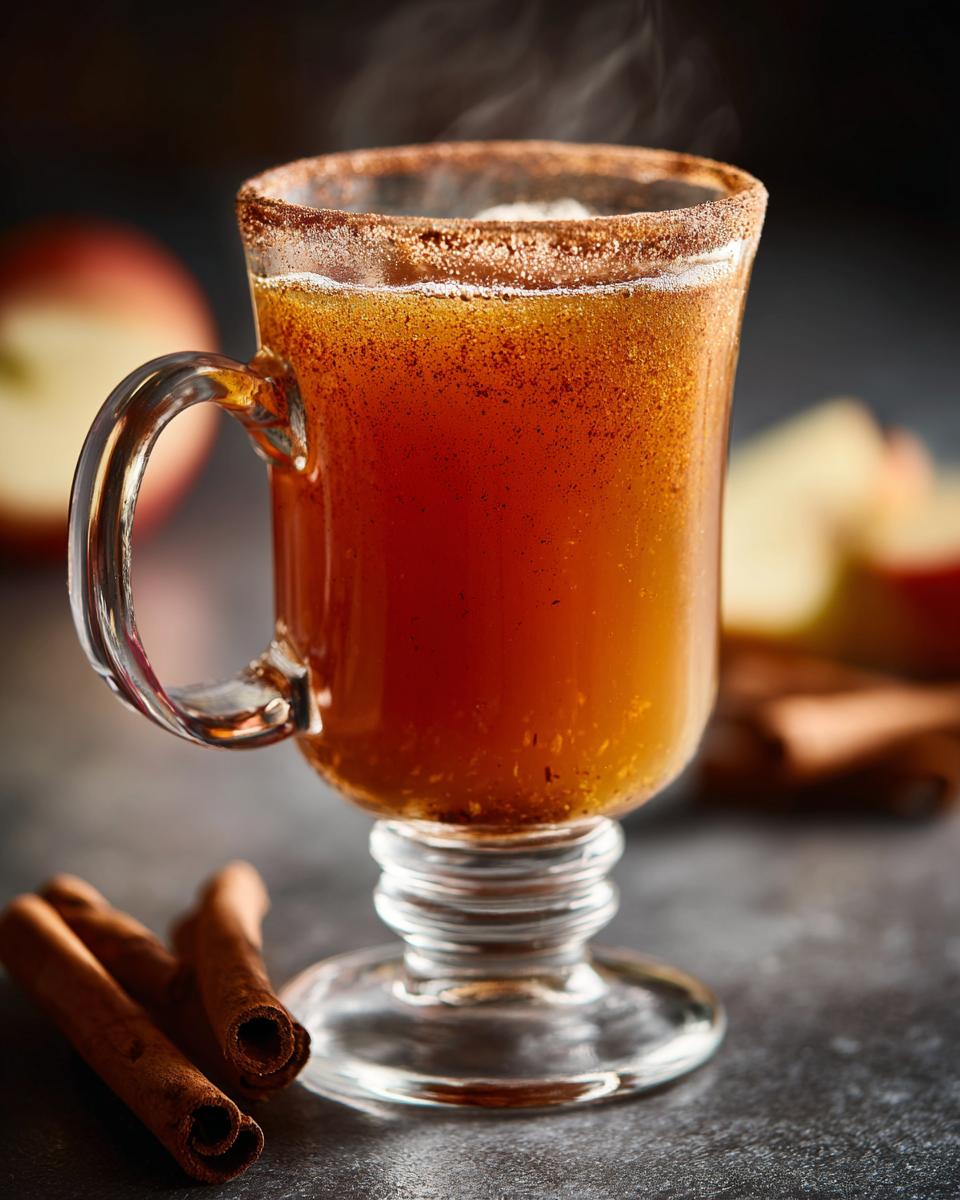
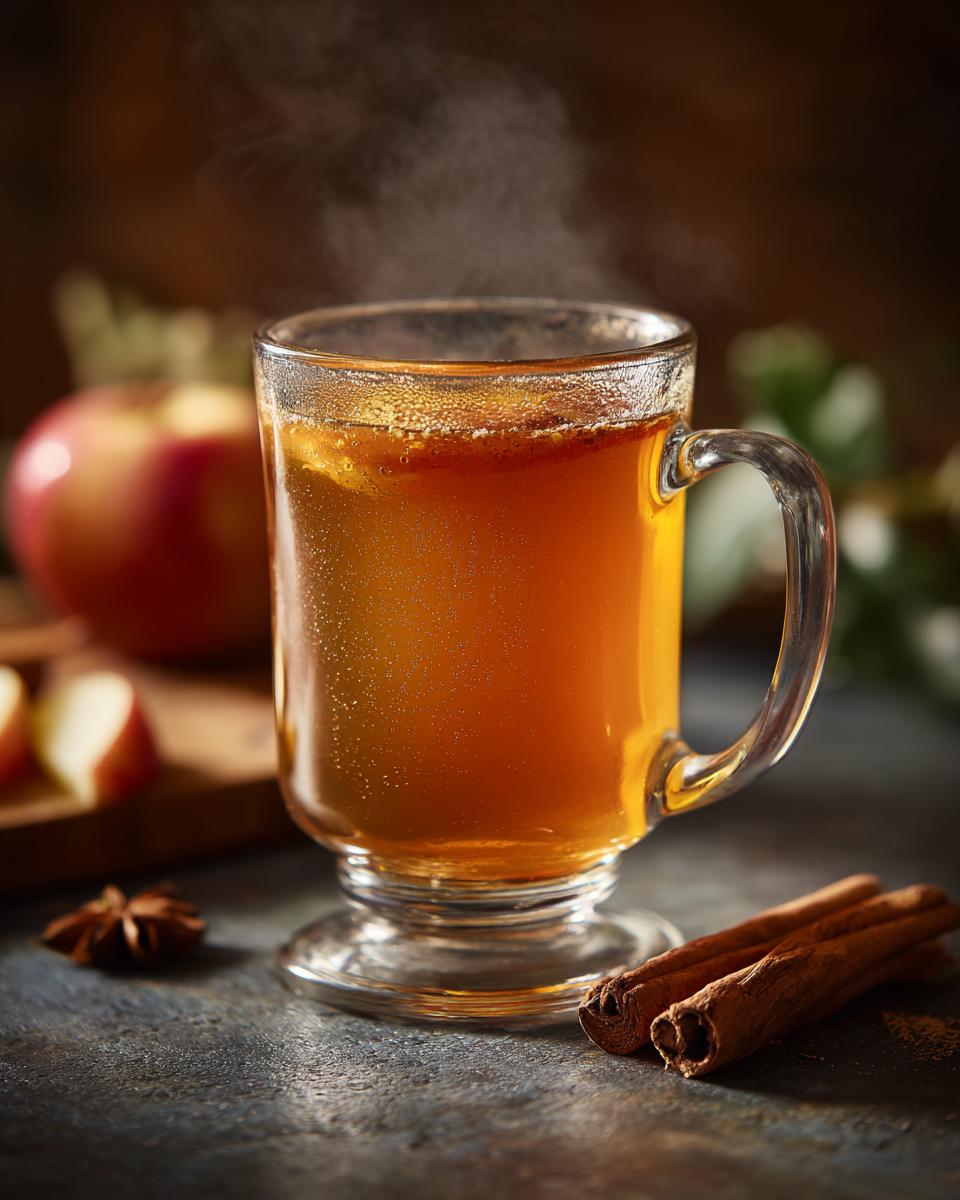
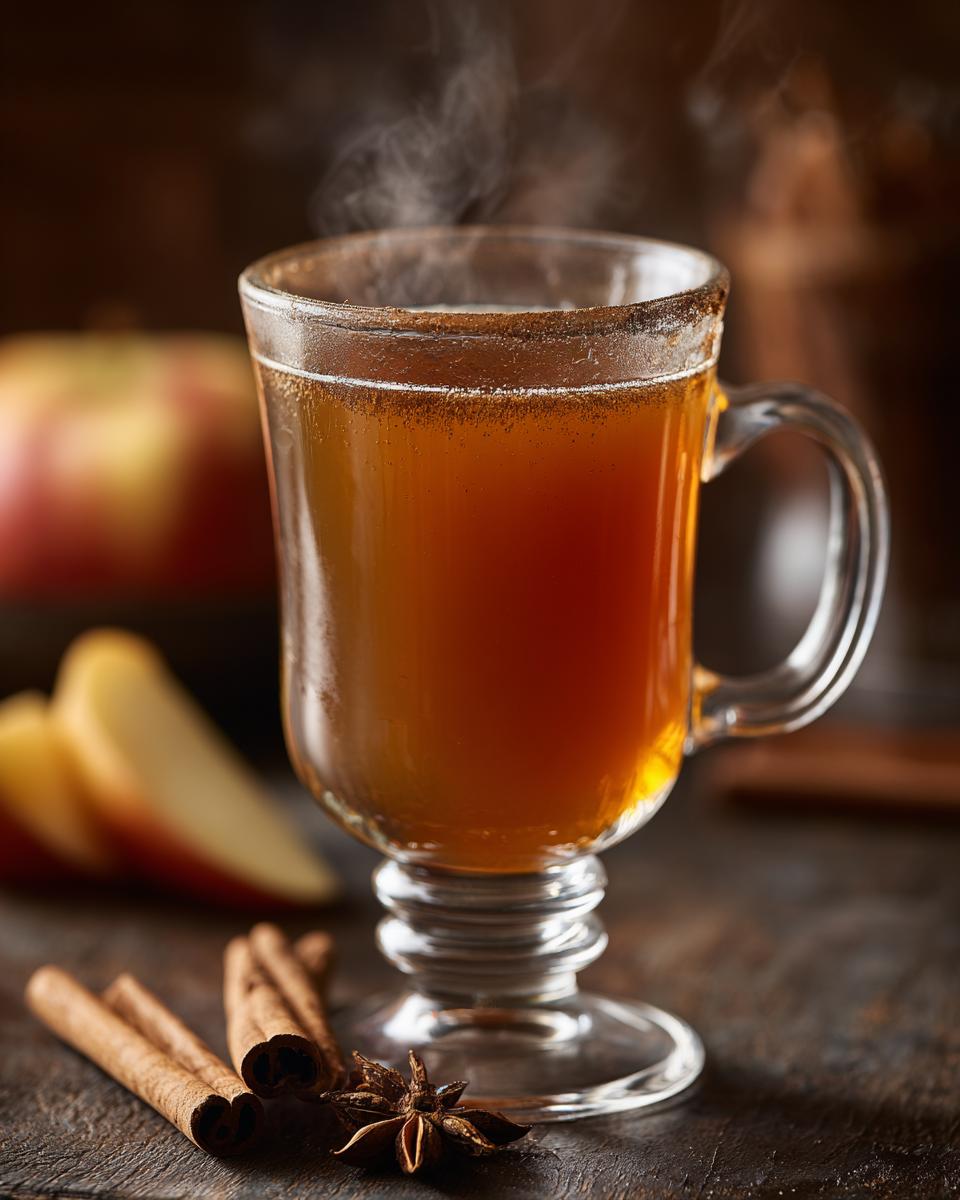
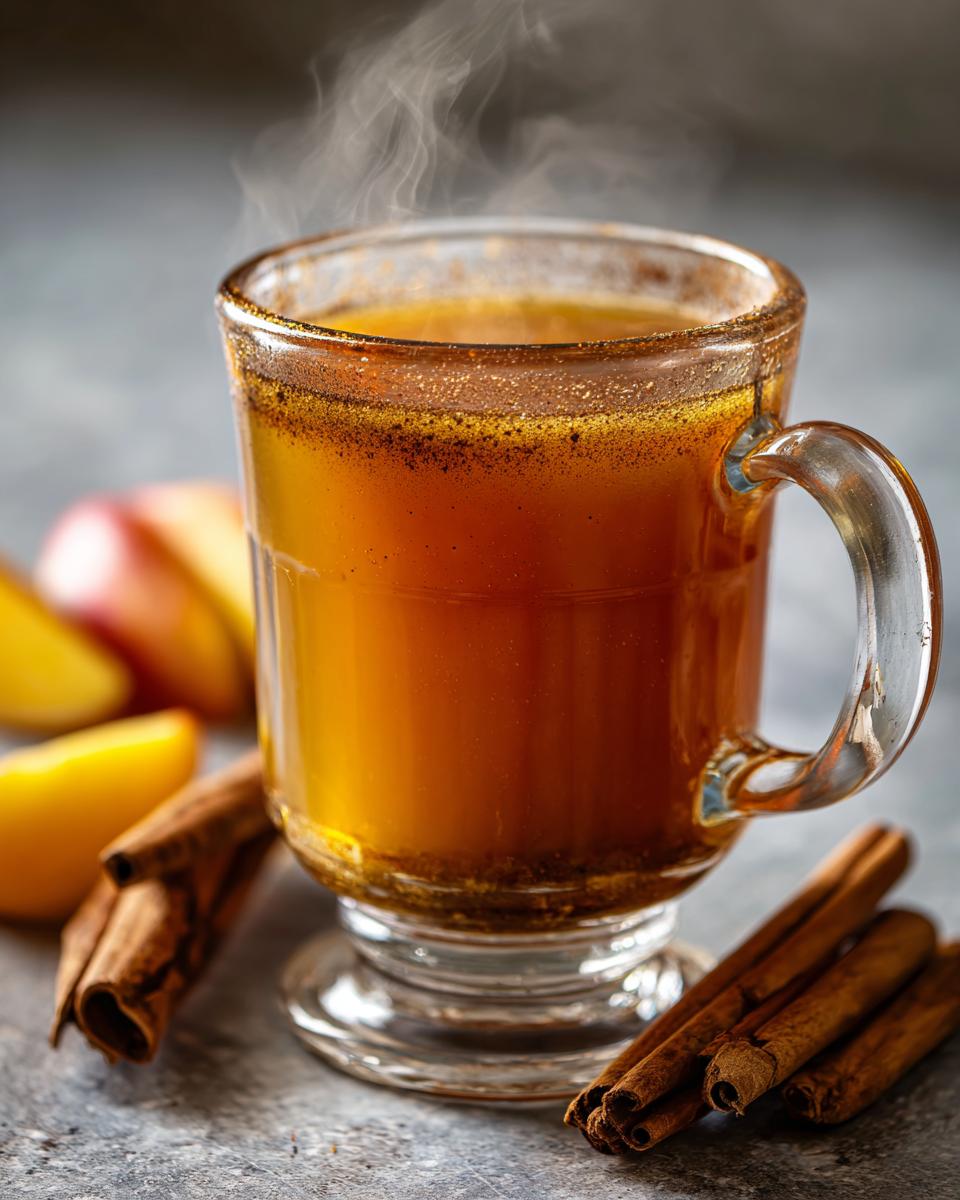
Serving and Storing Your Homemade Apple Cider
This cider is really at its best when it’s served warm. It just brings out all those lovely spices and that comforting apple flavor. For a real treat, especially if you’re setting up a mulled apple cider bar, try garnishing mugs with a cinnamon stick or a thin apple slice. It looks so pretty and smells amazing! If you happen to have any leftovers – which doesn’t happen much in my house! – just pop it into an airtight container in the fridge. It’ll keep nicely for about a week. When you want some more, just gently reheat it on the stovetop or in the microwave. Avoid boiling it again, you just want it nice and cozy, not hot enough to scald. It’s also great as a base for apple butter!
Frequently Asked Questions about Homemade Apple Cider
I get asked so many questions about this simple cider recipe, and I totally get it! It’s easy to get curious when you start making things from scratch. Let me clear a few things up for you!
Can I use pre-sliced apples, or do they have to be whole?
You know, you can use pre-sliced apples if that’s what you have on hand! However, for the absolute best flavor and texture, I really recommend coring and quartering them yourself, just like the recipe says. When you cut them fresh, you release more of that lovely apple juice and flavor straight into the cider. Plus, it sounds silly, but I feel like the apples give a little more *oomph* when they’re quartered instead of just sliced.
Is it really safe to drink homemade apple cider that isn’t pasteurized?
This is such a smart question! When we make cider at home like this, we’re essentially cooking it down, which does help to kill off most of the nasty stuff. However, if you’re making it for young kids, or anyone with a weakened immune system, it’s a really good idea to make sure your cider reaches 160°F (71°C) and stays there for a bit. That temperature is what experts recommend for pasteurization at home, making it safer. My recipe cooks for a good long time, which helps get it up there, but double-checking with a thermometer is always wise if safety is a big concern for your guests.
I’m sensitive to certain spices. Can I adjust the spice blend?
Absolutely! My spice combo – cinnamon, cloves, and allspice – is just a starting point, and personal taste really varies. If cloves or allspice are too potent for you, you can definitely dial them back. Maybe try just one cinnamon stick and a tiny pinch of cloves to start. Or, if you love cinnamon, add another stick! Some folks even add a star anise or a few cardamom pods for a different flavor twist. Just toss them in with the apples and taste as you go!
What if I don’t have any tart apples? Can I still make good cider?
Don’t stress if you can’t find a good tart apple! Your cider will still be delicious! It might end up a little sweeter and less complex in flavor, but it’ll still be that wonderfully comforting spiced apple drink. If you only have sweet apples, you might want to reduce the sweetener a bit, just because the apples themselves are already providing plenty of sugar. It’ll still be a fantastic cup of cozy!
Nutritional Information (Estimate)
Just a heads-up, the nutrition info for this cider can really change depending on the apples you pick and how much sweetener you add! But, as a rough idea, a 1-cup serving usually comes in around 150 calories, with about 35g of sugar and a few grams of carbs. It’s super low in fat and pretty much zero protein, which makes sense because it’s mostly apples and water!
Share Your Homemade Apple Cider Creations!
I just *love* hearing from you all! Have you tried making this cider? I’d be so tickled if you shared your experience, any fun variations you tried, or even a picture of your cozy creation! Drop a comment below or rate the recipe—it really helps other home cooks find their new favorite fall drink. You can also reach out through my contact page!
PrintHomemade Apple Cider

A simple recipe for warm, spiced apple cider perfect for fall. Make it on the stovetop, in a slow cooker, or Instant Pot.
- Prep Time: 15 min
- Cook Time: 1-3 hours
- Total Time: 1 hour 15 min
- Yield: 8 servings 1x
- Category: Beverage
- Method: Stovetop/Slow Cooker/Instant Pot
- Cuisine: American
- Diet: Vegetarian
Ingredients
- 8 cups water
- 6–8 apples, cored and quartered (a mix of sweet and tart like Fuji, Gala, Honeycrisp, and Granny Smith works best)
- 2 cinnamon sticks
- 1 teaspoon whole cloves
- 1 teaspoon whole allspice berries
- Optional: 1/4 cup maple syrup or brown sugar, to taste
Instructions
- Combine water, apples, cinnamon sticks, cloves, and allspice in a large pot or slow cooker.
- If using a stovetop: Bring to a boil, then reduce heat and simmer for at least 1 hour, or up to 3 hours, until apples are very soft and flavors have melded.
- If using a slow cooker: Cook on low for 4-6 hours or on high for 2-3 hours, until apples are very soft.
- If using an Instant Pot: Secure the lid and set the valve to sealing. Cook on high pressure for 15 minutes. Let the pressure release naturally for 10 minutes, then carefully quick release any remaining pressure.
- Strain the cider through a fine-mesh sieve lined with cheesecloth (if desired for a clearer cider) into another pot or heatproof container. Discard the solids.
- Taste and stir in sweetener if desired.
- Serve warm. For safety, ensure cider reaches 160°F (71°C) if serving to children or those with weakened immune systems.
Notes
- For a clearer cider, strain through a fine-mesh sieve lined with cheesecloth.
- Adjust spices to your preference.
- Sweeten to your liking with maple syrup, brown sugar, or honey.
- Store leftover cider in the refrigerator for up to a week. Reheat gently.
Nutrition
- Serving Size: 1 cup
- Calories: 150
- Sugar: 35g
- Sodium: 5mg
- Fat: 0g
- Saturated Fat: 0g
- Unsaturated Fat: 0g
- Trans Fat: 0g
- Carbohydrates: 40g
- Fiber: 2g
- Protein: 0g
- Cholesterol: 0mg