 Skip to content
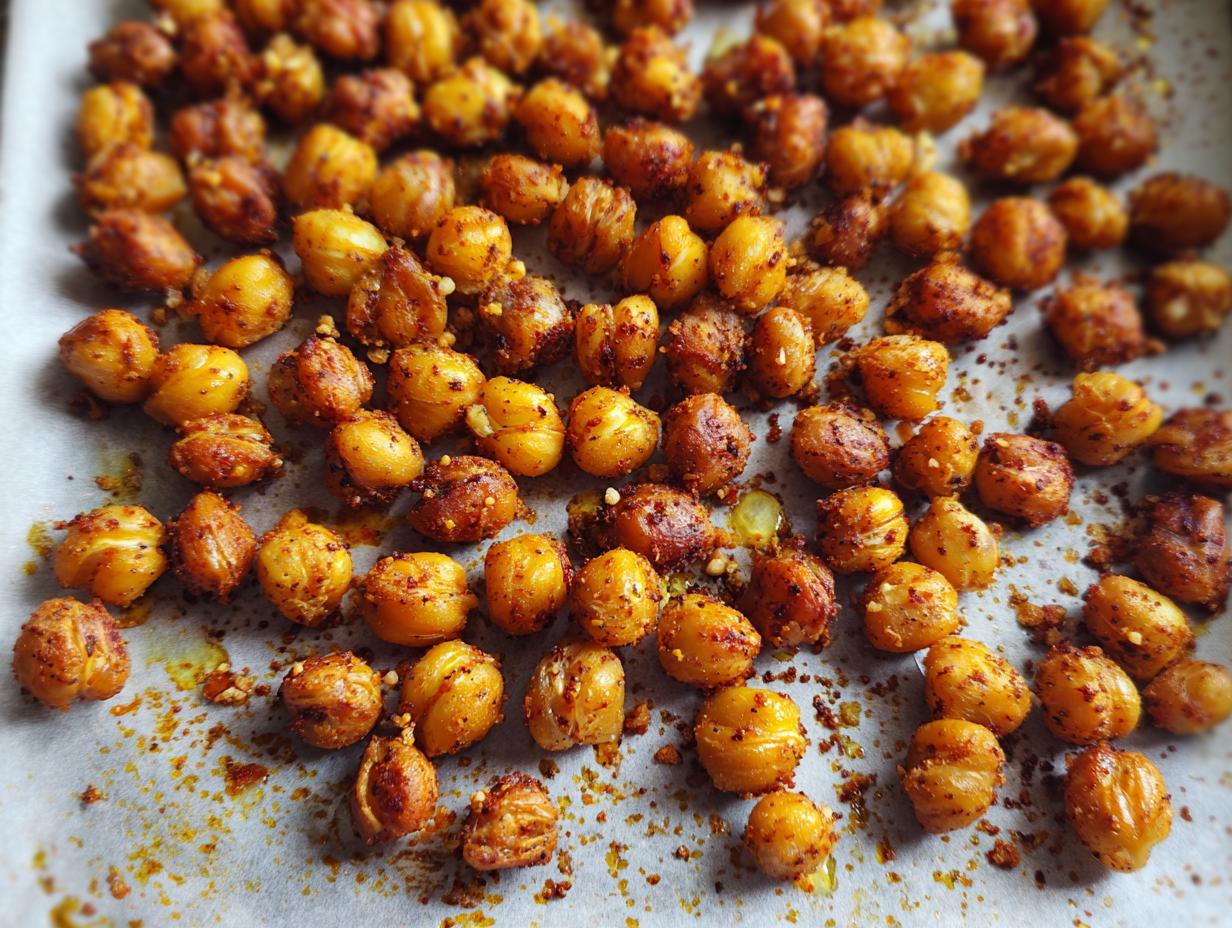

You know those desperate moments when you’re staring into your pantry at 3 PM, trying to find anything to munch on that won’t derail your day? That’s exactly how I discovered the magic of roasted chickpeas. One hectic Wednesday, with deadlines piling up and zero time to cook, I spotted a lonely can of chickpeas—the kind that usually ends up in salads. A little olive oil, some spices, and 20 minutes later? Crispy little nuggets of gold! Now they’re my go-to for everything: quick protein-packed snacks, salad toppers, even a crunchy addition to meal planning containers. Seriously, once you try them, you’ll wonder how you ever snacked without roasted chickpeas.

- Why You’ll Love These Roasted Chickpeas
- Ingredients for Perfect Roasted Chickpeas
- How to Make Roasted Chickpeas in the Oven
- Seasoning Variations for Roasted Chickpeas
- Serving and Storing Roasted Chickpeas
- Nutritional Benefits of Roasted Chickpeas
- Common Questions About Roasted Chickpeas
- Share Your Roasted Chickpeas Creations
Why You’ll Love These Roasted Chickpeas
Listen, I don’t just like these roasted chickpeas—I’m downright obsessed. Here’s why:
- Protein powerhouse: A handful keeps you full forever (well, almost). Perfect for those “hangry” moments when you need a plant-based boost.
- Meal prep magic: They stay crunchy for days, making them ideal for gluten-free meal delivery containers or quick grab-and-go snacks.
- Flavor chameleon: One batch, endless options! Try zesty chili-lime, herby ranch, or stick with my classic garlic-paprika mix.
- Diet-friendly: They’re naturally vegan, packed with fiber, and a great choice if you’re exploring weight loss programs—they keep cravings at bay without the guilt.
Trust me, once these crispy little guys become your fridge staple, you’ll wonder how you ever lived without them.
Ingredients for Perfect Roasted Chickpeas
Here’s what you’ll need to make the crispiest, most addictive roasted chickpeas. I swear by these simple ingredients—they’re pantry staples at my house now!
- 1 can (15 oz) chickpeas, drained and patted dry (Those little guys hold moisture, so really rub them down!)
- 1 tbsp olive oil (My grandmother’s secret—it makes them golden and irresistible)
- 1/2 tsp salt
- 1/2 tsp garlic powder
- 1/2 tsp paprika (Smoky or sweet—your call!)
Note: These are naturally gluten-free, making them perfect for gluten-free meal delivery prep or snacking. Feel free to swap spices based on what’s in your cabinet—I’ve used everything from curry powder to cinnamon when improvising!
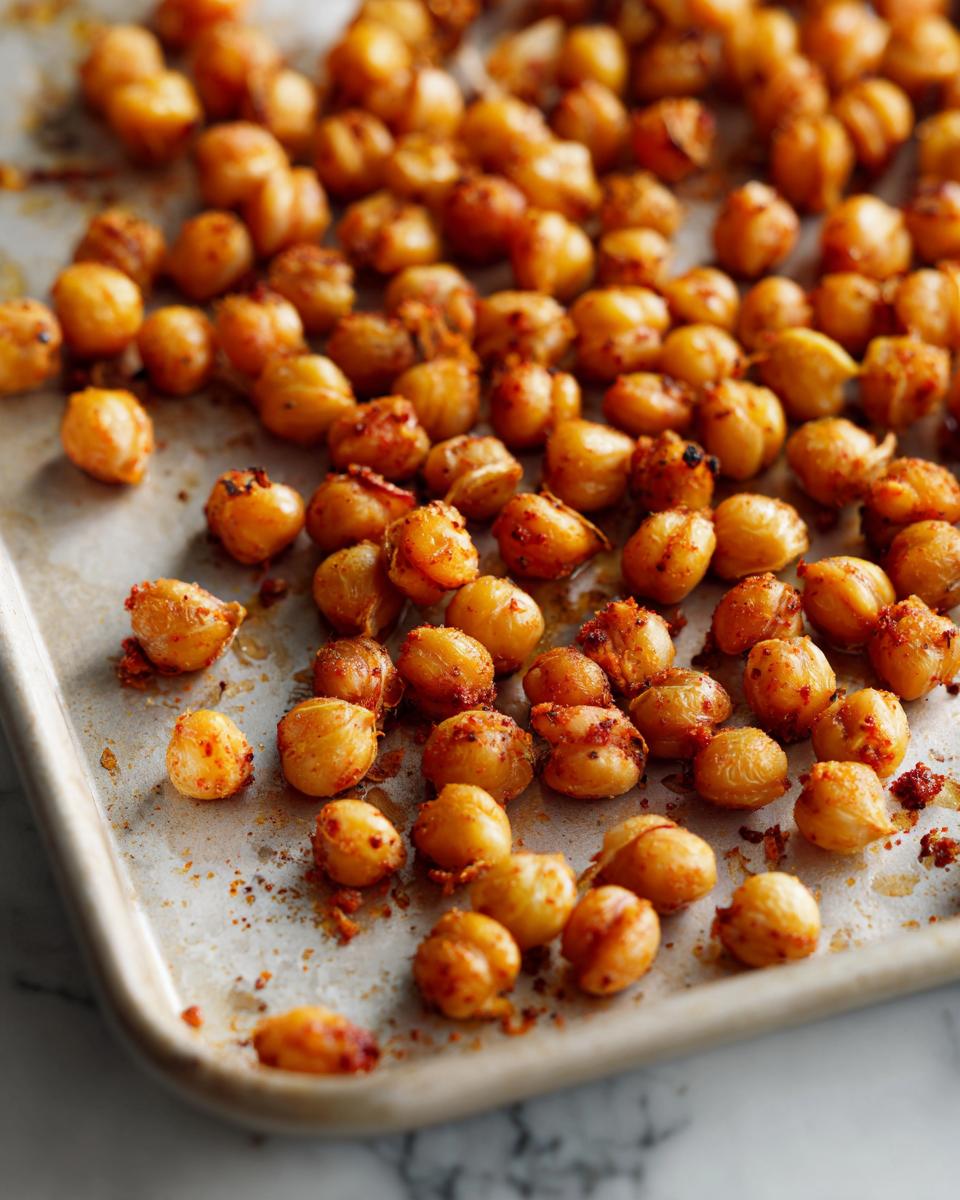
How to Make Roasted Chickpeas in the Oven
This is where the magic happens! Making roasted chickpeas is so easy—my 8-year-old can practically do it—but there are a few tricks I’ve learned over the years to get them perfectly crispy every time. Let me walk you through it:
Step 1: Dry Those Chickpeas Like Your Snack Reputation Depends On It
After draining your chickpeas, roll them between paper towels like you’re giving them a little massage. Pat, press, repeat—those little guys love holding onto water. Trust me, this step makes ALL the difference for crunch factor. I’ve skipped it before (okay, maybe more than once) and ended up with chewy chickpeas. Never again!
Step 2: Spice ‘Em Up!
In a bowl, toss your dry chickpeas with olive oil until lightly coated—about 1 tablespoon does the trick for me. Then shower them with your favorite spices! I usually do salt, garlic powder, and paprika, but you do you. Toss until they look like little flavor nuggets. (Pro tip: Add spices slowly or they’ll clump up… learned that the hard way.)
Step 3: Bake to Perfection
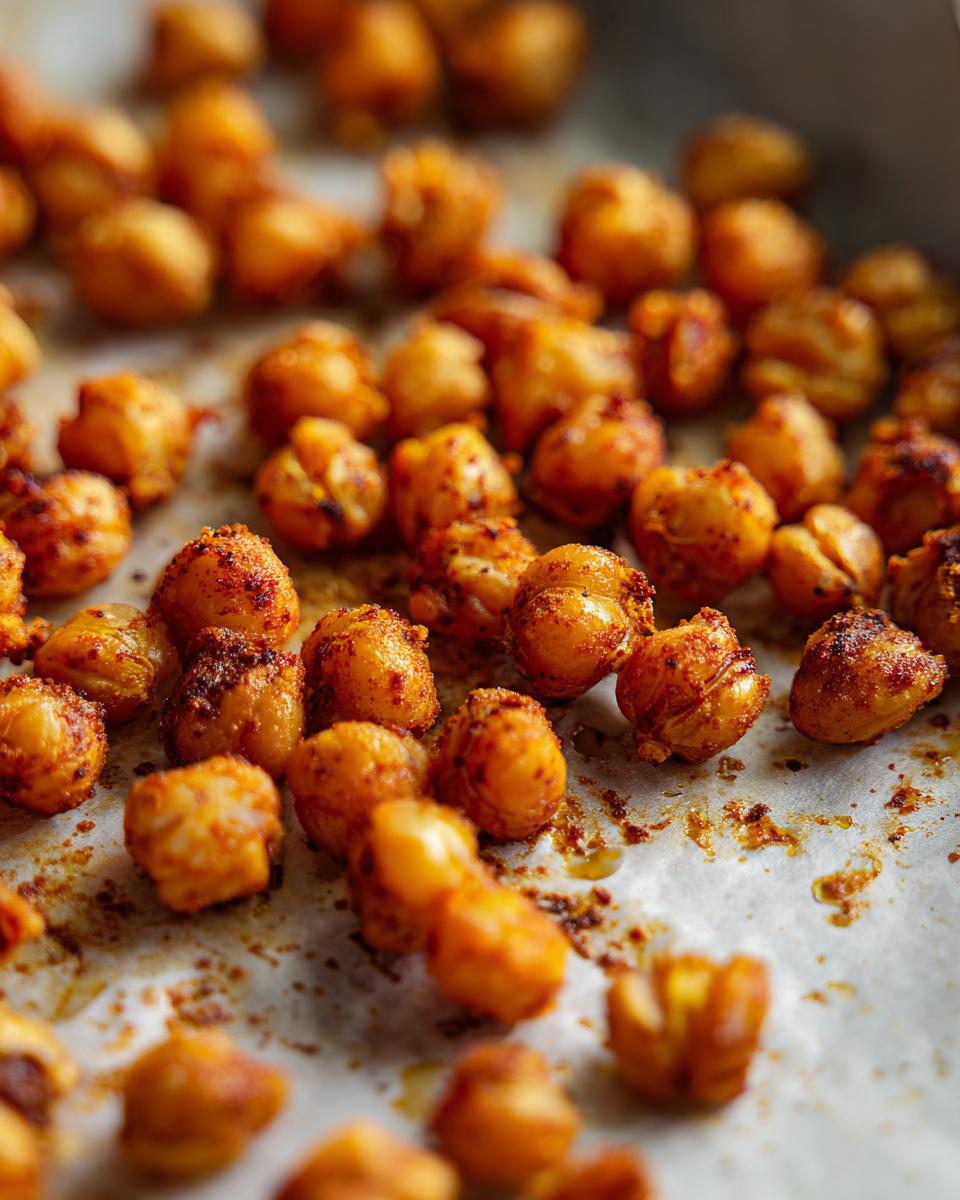
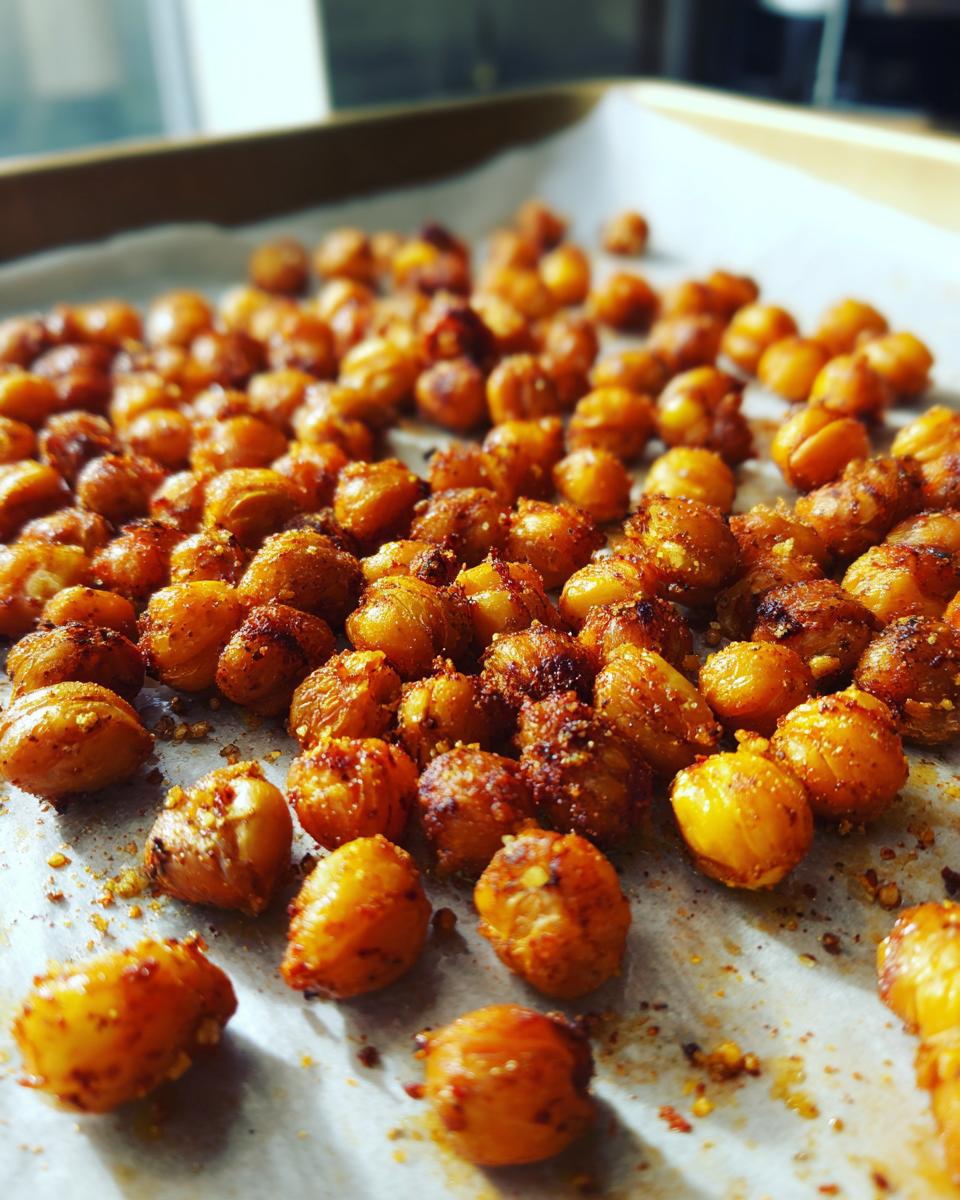
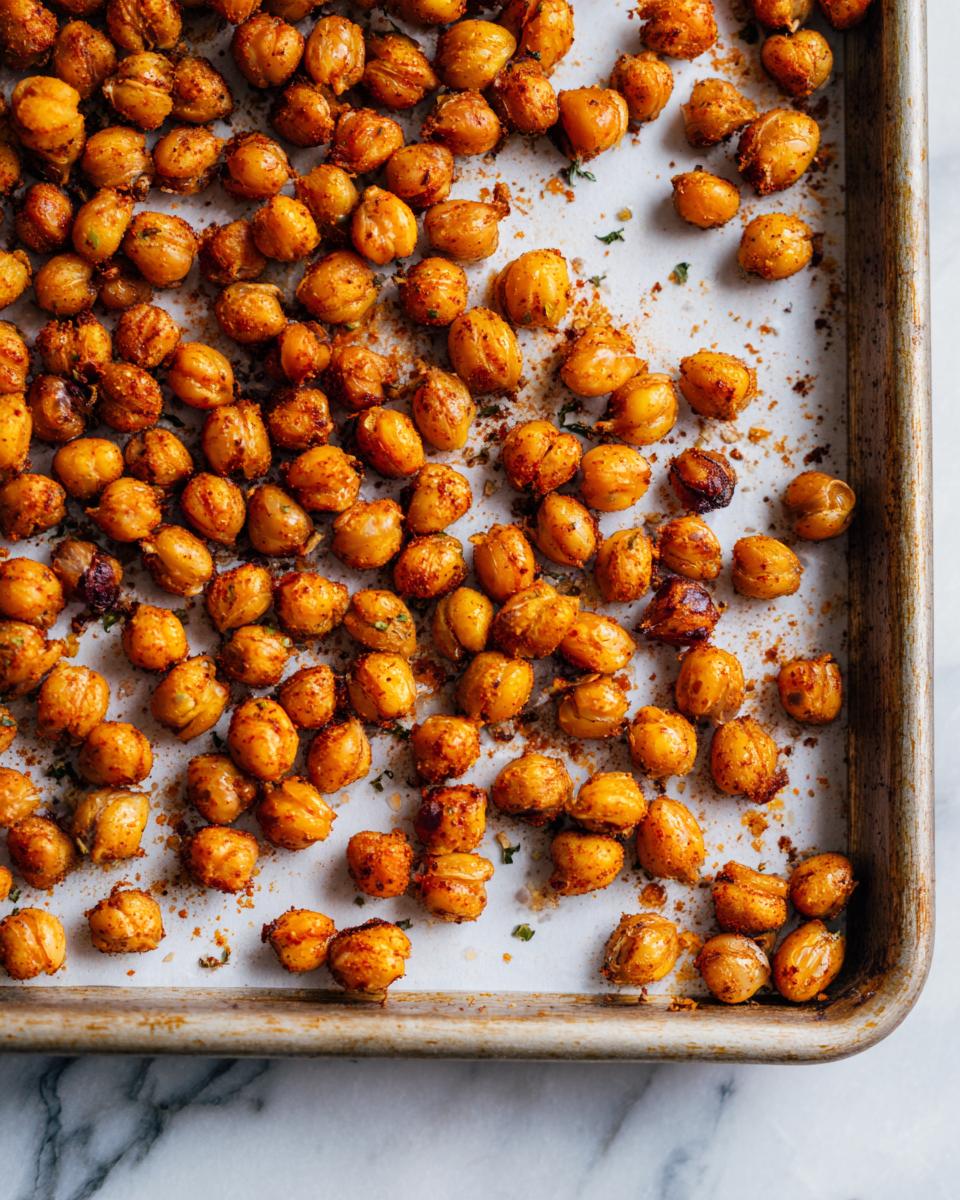
Spread them in a single layer on a baking sheet—no piling!—and pop them in a preheated 400°F oven for 20-25 minutes. Give the pan a good shake halfway through (I pretend I’m a chef on a cooking show during this step). They’re done when golden and crunchy. Let them cool completely—this is when they get their final crispy texture. Try not to eat them all straight off the pan… but no judgment if you do!
Air Fryer Roasted Chickpeas
Short on time? My air fryer makes roasted chickpeas in half the time! Toss them exactly the same way, then cook at 375°F for 12-15 minutes, shaking the basket every 5 minutes. They come out slightly crispier than oven-roasted—perfect for keto meal plan delivery prep or when you need that crunch ASAP!
Seasoning Variations for Roasted Chickpeas
The best part about roasted chickpeas? You can dress them up a million different ways! Here are my three favorite flavor combos that never fail to impress:
Ranch Lover’s Dream
Toss your chickpeas with 1 teaspoon ranch powder (the dry mix from the packet) and 1/4 teaspoon dried dill after coating with oil. These taste like the crunchiest, most addictive salad topper ever—perfect for sprinkling over greens or eating straight from the bowl while binge-watching your favorite show.
Zesty Chili-Lime
For this fiesta in your mouth, mix 1/2 teaspoon chili powder with the zest of one lime right before baking. The lime’s brightness cuts through the richness so beautifully! I throw these into tacos or mix them with nuts for an irresistible party snack.
Smoky Paprika Bliss
Double up on the paprika (use 1 teaspoon smoked paprika instead of regular) and add a pinch of cayenne if you like heat. These are heavenly on soups instead of croutons—just try not to eat them all before serving! The deep, woodsy flavor makes me feel like I’m snacking by a campfire.
Each variation uses the same base recipe—just swap the seasonings! That’s the beauty of roasted chickpeas. One batch, endless possibilities to match your mood or meal plan.
Serving and Storing Roasted Chickpeas
Okay, here’s the thing about these crispy little marvels—they almost never last long enough to store! But when they do (miraculously), here’s how I keep them fresh. Pop them in an airtight container at room temperature, and they’ll stay crunchy for about 5 days—though mine usually disappear by day 3! For meal planning, I love stacking them in cute mason jars layered with nuts and dried fruit for instant grab-and-go snacks. If they lose their snap, just toss them back in a 300°F oven for 5 minutes—good as new!
Nutritional Benefits of Roasted Chickpeas
Let me tell you why I feel *so* good about snacking on these roasted chickpeas! A single 1/4 cup serving packs a serious nutritional punch: 6 grams of plant-based protein and 5 grams of fiber. That’s the kind of combo that keeps me full for hours—no more 3 PM vending machine runs! The fiber content is especially great if you’re exploring weight loss programs, since it helps curb cravings naturally. (Just remember, exact nutrition values can vary slightly based on your ingredients and brands.) These little crispy bites are proof that healthy snacks don’t have to taste like cardboard!
Common Questions About Roasted Chickpeas
I get questions about roasted chickpeas all the time—especially from friends who’ve had their batches turn out soggy (we’ve all been there!). Here are the big ones I hear most often, with all the hard-won tips I’ve picked up:
How do I keep my roasted chickpeas crispy?
Patience is key! Let them cool completely on the baking sheet before storing—I usually leave mine for at least 30 minutes. Rushing this step traps steam, turning your crunchy gems into chewy disappointments. Store them in a paper-towel-lined container to absorb any lingering moisture. If they lose their snap, just pop them back in the oven at 300°F for 5-10 minutes.
Can I use dried chickpeas instead of canned?
Absolutely! I actually prefer dried chickpeas sometimes—they yield an extra-crispy texture. Just soak 1 cup overnight (they’ll plump up to about 3 cups), then simmer until tender (45-60 minutes). Dry them ridiculously well—I sometimes use a salad spinner! Pro tip: Baking soda (1/2 tsp in the soaking water) helps soften the skins for maximum crunch.
What’s the best oil for air fryer roasted chickpeas?
For air frying, I swear by avocado oil—it handles high heat like a champ without smoking. Olive oil works too, but keep it at 375°F max. One unexpected trick? A quick spritz of cooking spray after seasoning helps spices stick without making them greasy. Just avoid coconut oil—it solidifies when cooled and gives a weird waxy texture.
Share Your Roasted Chickpeas Creations
Okay, I need to see how you’re enjoying these crispy little wonders! Snap a pic of your seasoned chickpeas—whether they’re piled on salads, packed in meal prep jars, or devoured straight from the pan—and tag me @CarlasCooking. Try whipping up a batch for your next meal delivery rotation and show me your favorite flavor combos! No fancy photography skills needed—just share the joy (and crunch).
PrintRoasted Chickpeas
Crunchy roasted chickpeas make a high-fiber snack or salad topper. Customize with ranch or chili-lime seasoning. Use an oven or air fryer for crispy results.
- Prep Time: 5 min
- Cook Time: 25 min
- Total Time: 30 min
- Yield: 4 servings 1x
- Category: Snack
- Method: Roasting
- Cuisine: American
- Diet: Vegan
Ingredients
- 1 can (15 oz) chickpeas, drained and rinsed
- 1 tbsp olive oil
- 1/2 tsp salt
- 1/2 tsp garlic powder
- 1/2 tsp paprika
Instructions
- Preheat oven to 400°F (200°C).
- Pat chickpeas dry with a paper towel.
- Toss chickpeas with olive oil, salt, garlic powder, and paprika.
- Spread in a single layer on a baking sheet.
- Bake for 20-25 minutes, shaking the pan halfway, until crispy.
- Let cool before serving.
Notes
- Store in an airtight container for up to 5 days.
- Try ranch seasoning or chili-lime for variety.
- Use an air fryer at 375°F for 12-15 minutes.
Nutrition
- Serving Size: 1/4 cup
- Calories: 120
- Sugar: 2g
- Sodium: 300mg
- Fat: 4g
- Saturated Fat: 0.5g
- Unsaturated Fat: 3g
- Trans Fat: 0g
- Carbohydrates: 18g
- Fiber: 5g
- Protein: 6g
- Cholesterol: 0mg