 Skip to content
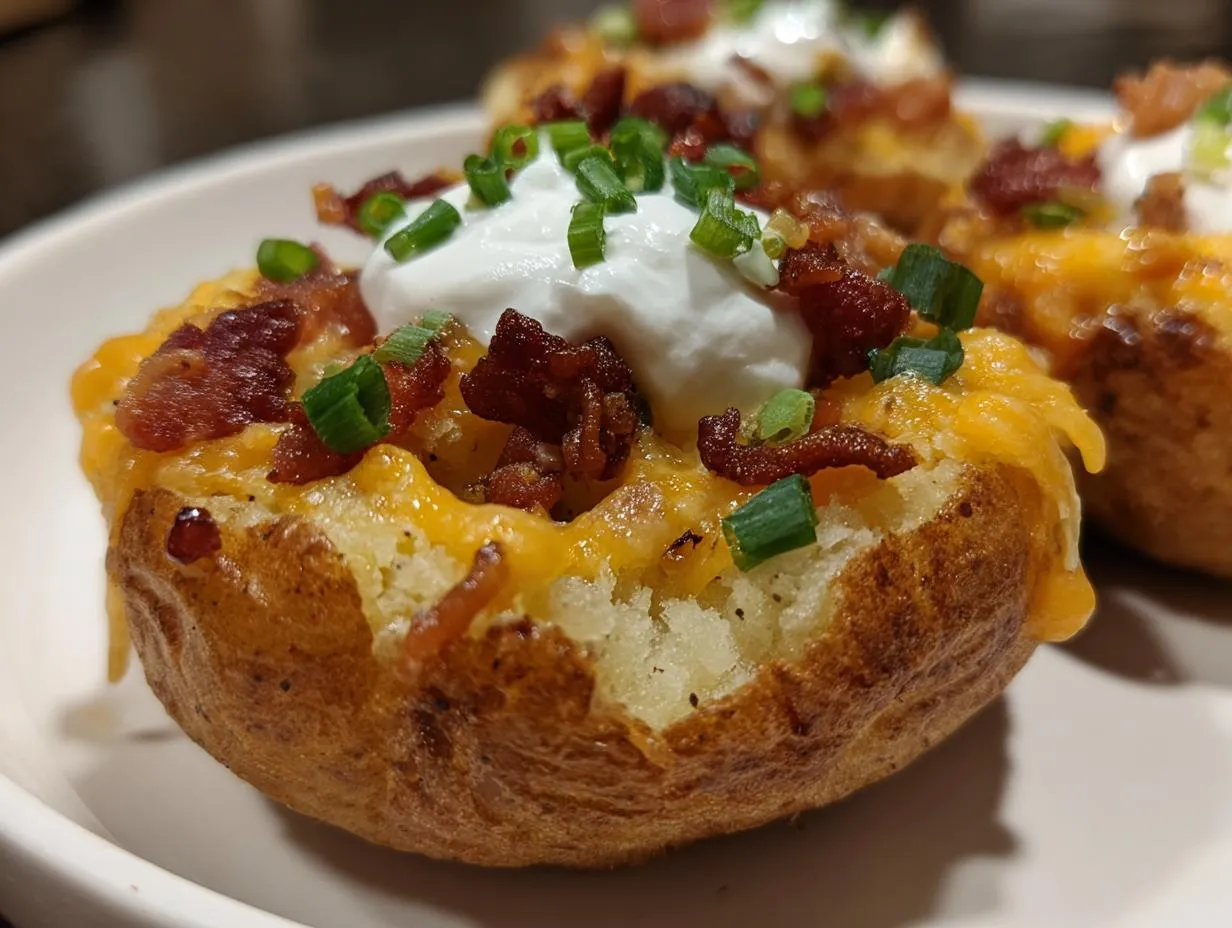

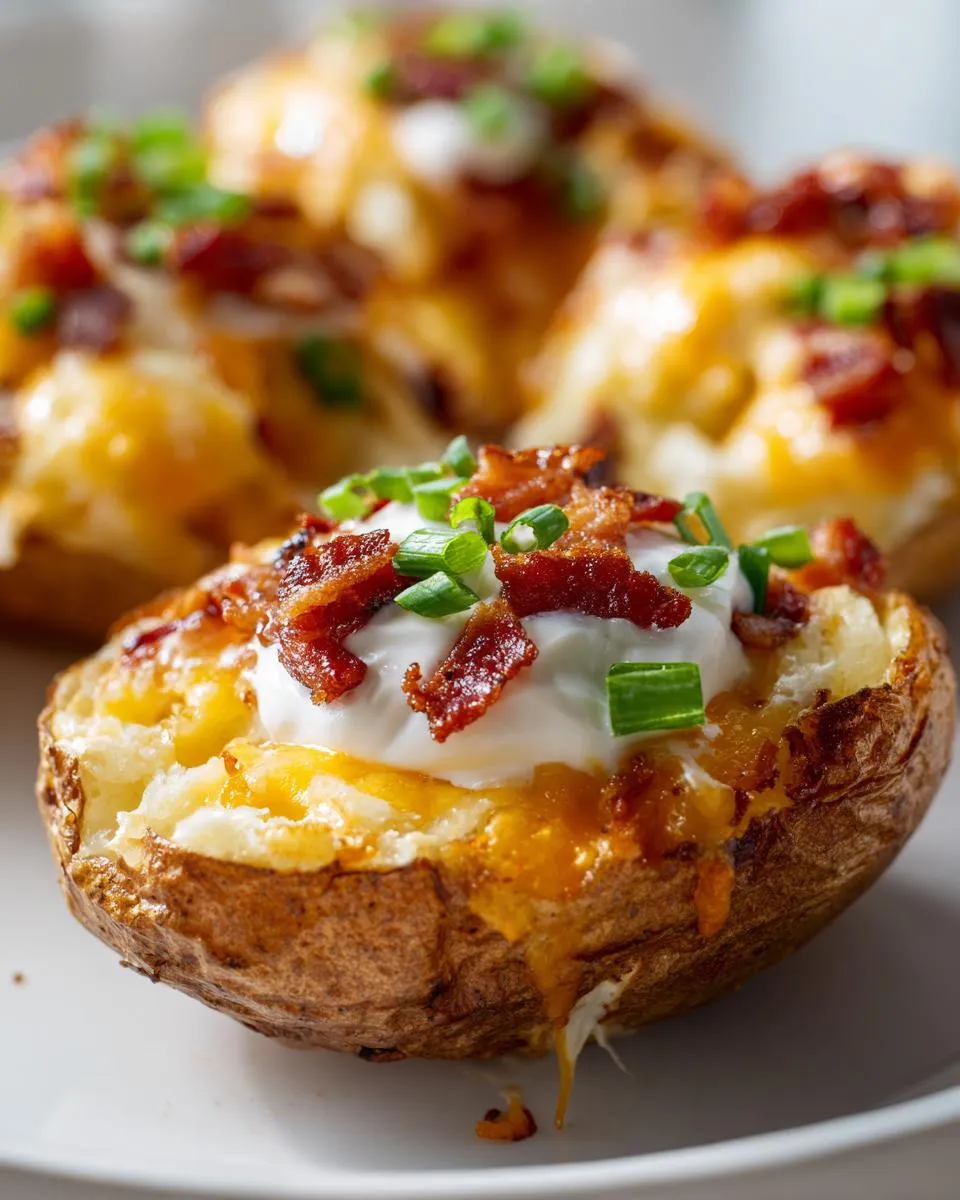
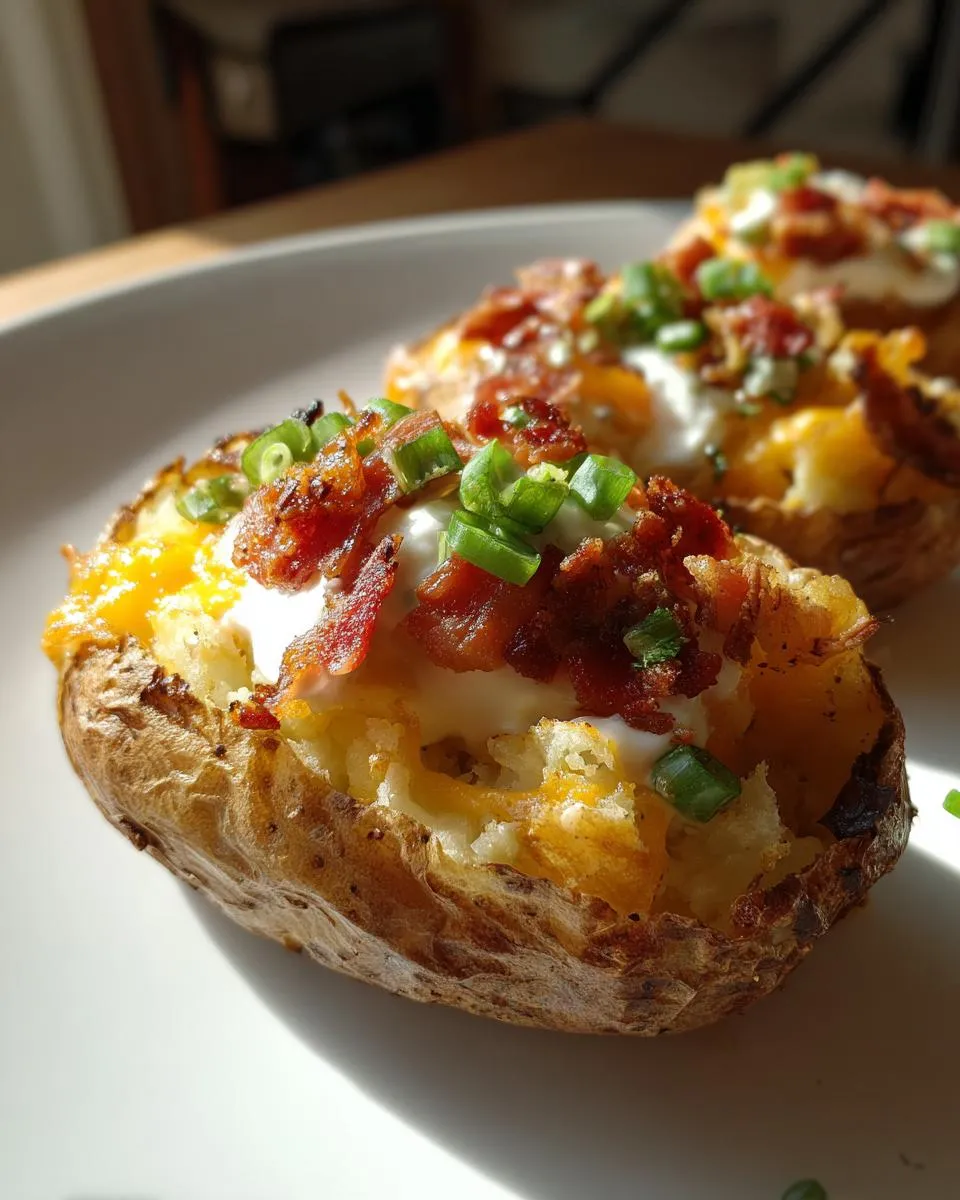
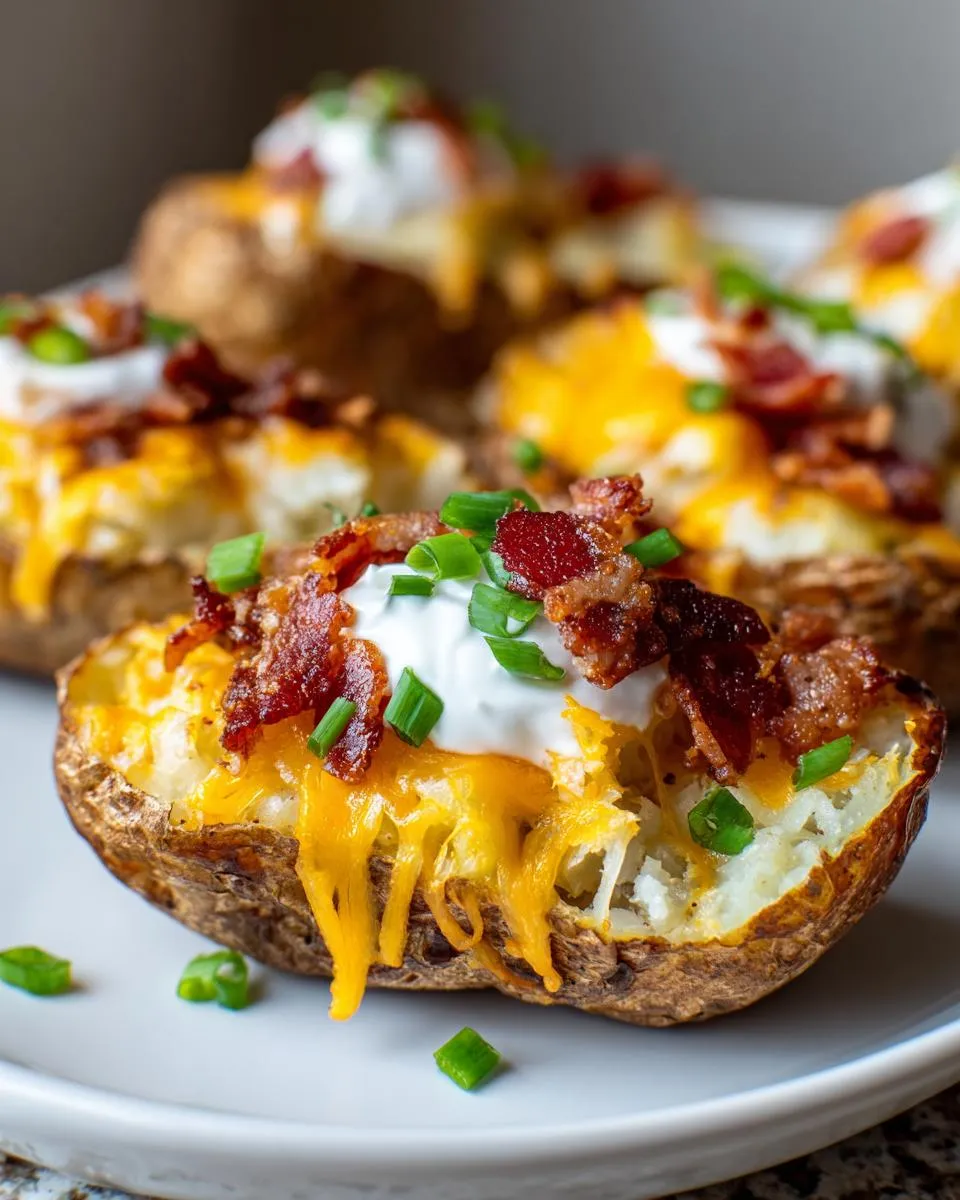
Game day at our house means chaos—screaming fans, spilled drinks, and a countertop overloaded with snacks. But no matter how crazy things get, one thing never changes: the first platter of loaded potato skins always disappears in minutes. I perfected this recipe during my early hosting days, when I desperately needed something crispy, cheesy, and guaranteed to please a crowd. Those golden potato boats—crunchy on the outside, melty with cheddar and bacon inside—quickly became my signature appetizer. Best part? They’re ridiculously easy to prep ahead for meal planning, whether I’m baking them traditionally or popping them in the air fryer for a last-minute crunch fix.

- Why You’ll Love These Loaded Potato Skins
- Ingredients for Perfect Loaded Potato Skins
- How to Make Loaded Potato Skins: Step-by-Step
- Expert Tips for the Best Loaded Potato Skins
- Make-Ahead and Freezer Instructions
- Serving Suggestions for Game Day
- Loaded Potato Skins Variations
- Nutritional Information
- FAQs About Loaded Potato Skins
Why You’ll Love These Loaded Potato Skins
Trust me, these loaded potato skins check all the boxes for game-day magic (or just a Tuesday night craving). Here’s why they’ve earned a permanent spot in my recipe rotation:
- That perfect crunch: Double-baked for maximum crispiness – nobody wants soggy potato skins!
- Customizable toppings: Swap cheeses, go crazy with toppings, or keep it classic like I usually do.
- Air fryer friendly: When I’m short on time (or oven space), 8 minutes in the air fryer works miracles.
- Make-ahead lifesaver: Prep the shells days early – my freezer stash has saved countless last-minute gatherings.
- Universal crowd-pleaser: Kids devour them, guests beg for the recipe, and my husband “tests” at least three before they hit the serving platter.
The best part? They taste like you spent hours when really, it’s just humble potatoes transformed into edible gold.
Ingredients for Perfect Loaded Potato Skins
Here’s what you’ll need to make these irresistible crispy potato boats—and yes, every ingredient matters! I’ve learned through trial and error (and a few too-dry batches) that quality pays off big-time with loaded potato skins. Pro tip: Gather everything before starting because once those crispy shells come out of the oven, assembly goes fast!
For the Potato Shells:
- 4 medium russet potatoes (about 8 oz each), scrubbed clean – russets are starchiest and crisp up best
- 2 tbsp olive oil – helps achieve that golden crunch we love
- 1/2 tsp kosher salt – sticks better to the skins than table salt
- 1/4 tsp black pepper, freshly ground if possible
For the Cheesy Bacon Filling:
- 1 cup sharp cheddar cheese, freshly grated (pre-shredded doesn’t melt as smoothly!)
- 4 slices thick-cut bacon, cooked until crispy and crumbled
- 2 tbsp sour cream, at room temperature – cold sour cream breaks the cheesy magic
- 1 tbsp fresh chives or green onions, finely chopped
A quick note about the bacon—I bake a whole tray on Sundays for meal planning and stash it in the fridge. That way, when potato skin cravings strike (which they always do), I’m halfway done already!
How to Make Loaded Potato Skins: Step-by-Step
Alright, let’s get into the good stuff—turning those humble potatoes into crispy, cheesy masterpieces! I’ve made these so many times I could probably do it in my sleep, but I’ll walk you through each step so yours turn out just as perfect. And don’t worry—if you’re craving that crunch FAST, I’ll share my air-fryer shortcut too!
Prepping the Potatoes
First things first: give those spuds a good scrub under cold water to get rid of any dirt (nobody wants gritty potato skins!). Dry them really well with a kitchen towel—this helps the skins crisp up later. Now poke each potato about 4-5 times with a fork so steam can escape while baking. Rub them all over with olive oil (I use my hands for this—messy but effective!), then sprinkle generously with salt and pepper. The oil is key for that golden, crackly exterior we’re after!
Crisping the Skins
Once your potatoes are fork-tender (about 45-50 minutes at 400°F), let them cool just enough to handle. Here’s my trick: Slice them in half lengthwise, then use a spoon to scoop out most of the flesh, leaving about 1/4-inch of potato attached to the skin—this keeps them sturdy enough to hold all those toppings. Now brush the insides with a little more olive oil (yes, again!) and pop them back in the oven for 10 minutes to get ultra-crispy. You’ll know they’re ready when the edges start curling slightly.
Now the fun part: Load them up with cheese and bacon, then bake for 5 more minutes until the cheese is bubbly. Want restaurant-level crispiness? Switch to broil for 1-2 minutes at the end—just keep an eye on them so they don’t burn! If you’re using an air fryer instead, 375°F for 8-10 minutes gives fantastic results without heating up your whole kitchen.
Expert Tips for the Best Loaded Potato Skins
After making roughly a million potato skins (okay, maybe a few dozen batches), I’ve picked up some game-changing tricks for making them truly unforgettable. Follow these tips and your next batch will be your best yet—I promise!
- Freshly grate that cheese: Pre-shredded bags contain anti-caking agents that make your cheese melt weird—trust me, the extra two minutes of grating from a block is worth it.
- Broil for bubbly glory: Pop them under the broiler for just 90 seconds at the end—those lightly browned cheese bubbles are what potato skin dreams are made of.
- Pat your bacon dry: Blot cooked bacon with paper towels before crumbling so it stays crispy instead of turning your cheese layer soggy.
- Work ahead smarter: On Sundays, I bake extra potatoes just for skins—I scoop and crisp the shells, then freeze them flat on a baking sheet before transferring to bags. Frozen shells go straight to the oven when cravings hit—total meal planning win!

Bonus tip: Save that scooped-out potato flesh for next-day breakfast hash or mix it with egg and fry into crispy pancakes—waste not, want not!
Make-Ahead and Freezer Instructions
Listen, I know game day can get chaotic—that’s why I always prep my potato skins ahead! Here’s how to store them so you’re not stuck in the kitchen when guests arrive:
Fridge storage: After crisping the empty shells, let them cool completely, then layer between parchment paper in an airtight container. They’ll keep beautifully for 2 days. When ready, just add toppings and bake—no extra prep needed!
Freezer hack: Freeze those crispy shells solo (without toppings) for up to 3 months. I wrap pairs back-to-back in plastic wrap, then slide them into freezer bags. You’ll thank yourself later when you pull them out for impromptu gatherings!
Reheating magic: Frozen shells go straight into a 400°F oven for 15 minutes (no thawing!), then load with cheese and bake as usual. For air fryer fans, 375°F for 10 minutes gets them perfectly crisp again. Pro tip: If adding cold toppings, extend bake time by 2-3 minutes so everything gets properly molten!
Serving Suggestions for Game Day
Okay, confession time – I may have once served a whole platter of loaded potato skins as my entire “game day spread” (we won’t talk about how fast they disappeared). But when I’m actually planning ahead, here’s how I turn them into a legendary snack spread:
Perfect pairings: These cheesy bacon skins love company! I always set out bowls of cool ranch dip (my husband’s favorite) and spicy queso (my personal weakness) for dipping. For a full meal vibe, add crispy buffalo wings or a simple veggie platter with ranch – it balances all that cheesy goodness perfectly. If you’re using a meal delivery service for sides, their pre-made slaws or finger foods make awesome no-fuss additions.
Presentation pro-tip: Ditch the boring plates – heap those golden potato skins on a big wooden board with little bowls of toppings (extra bacon bits, jalapeños, sour cream) scattered around. The rustic look makes everyone instinctively gather round and dive in. Bonus: It frees up your good serving platters for other snacks!
Psst—if you’re doing meal planning for a crowd, frozen potato skins plus a meal kit’s prepared sides equals insane host cred with minimal work. Just sayin’!
Loaded Potato Skins Variations
Listen, as much as I adore the classic cheesy bacon version, sometimes even potato skins need a little wardrobe change! Here are my favorite twists that keep things exciting—perfect for dietary needs or just shaking up your meal planning routine:
- BBQ Chicken: Swap bacon for shredded rotisserie chicken tossed in my favorite BBQ sauce (I always keep some in the fridge for meal prep emergencies). Top with cheddar and a drizzle of ranch—trust me, it’s a game-changer!
- Vegetarian Power: Black beans sautéed with smoked paprika make an amazing bacon alternative. Add some roasted corn and avocado crema if you’re feeling fancy—my gluten-free sister-in-law requests this version every time.
- Keto-Friendly: When I’m watching carbs, I roast halved cauliflower heads instead of potatoes—still gets that crave-worthy crispiness when baked twice! Top with all the cheese and bacon you want (because keto!).
Pro tip: These variations freeze beautifully too! The BBQ chicken version is actually my go-to when I order gluten-free meal delivery—I just use their prepped chicken to make assembly lightning fast.
Nutritional Information
Just a heads up—nutrition can vary depending on your toppings (extra cheese, anyone?), but here’s the general breakdown per loaded potato skin based on my classic recipe:
- Calories: About 180
- Fat: 10g (hey, that’s where the flavor lives!)
- Carbs: 15g
- Protein: 7g
Not terrible for such a satisfying snack! Of course, if you’re doing meal planning for specific diets, you can always tweak the toppings—swap in turkey bacon or light cheese to trim things down. But personally? I say game day calls for the full delicious experience!
FAQs About Loaded Potato Skins
Over the years, I’ve gotten so many questions about loaded potato skins that I could probably write a book! Here are the ones that pop up most often—plus my tried-and-true answers after countless batches (and a few happy accidents).
Can I use sweet potatoes instead of russets?
Absolutely! Sweet potato skins are delicious (and pack extra nutrients). Just remember: they’re denser, so bake them 10-15 minutes longer initially until fork-tender. And go easy on toppings—their natural sweetness pairs best with tangy cheeses like goat or feta instead of cheddar.
What’s the best cheese combo for melty perfection?
My gold standard? A 50/50 blend of sharp cheddar and Monterey Jack. The cheddar gives bold flavor while the Jack ensures ultra-smooth melting. Pro tip: Grate it yourself—pre-shredded cheese contains additives that make it grainy when melted.
What’s the best way to reheat leftover potato skins?
Oven all the way! 375°F for 8-10 minutes keeps them crispy. Microwaving turns them rubbery (learned that the hard way). If you’re using an air fryer, 350°F for 5 minutes with a spritz of oil revives them beautifully.
Can I prep these for meal planning?
You bet! I freeze naked crispy shells (without toppings) for up to 3 months. When cravings strike, pop them straight from freezer to oven—just add 5 extra minutes baking time before loading with cheese. Game day genius!
Loaded Potato Skins
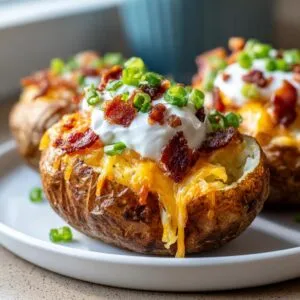
Crispy baked potato skins filled with cheese, bacon, and toppings, perfect for game day or as an appetizer.
- Prep Time: 15 min
- Cook Time: 65 min
- Total Time: 80 min
- Yield: 8 servings 1x
- Category: Appetizer
- Method: Baking
- Cuisine: American
- Diet: Low Calorie
Ingredients
- 4 medium russet potatoes
- 2 tbsp olive oil
- 1/2 tsp salt
- 1/2 tsp black pepper
- 1 cup shredded cheddar cheese
- 4 slices cooked bacon, crumbled
- 2 tbsp sour cream
- 1 tbsp chopped green onions
Instructions
- Preheat oven to 400°F (200°C).
- Scrub potatoes and pat dry. Pierce with a fork.
- Rub potatoes with olive oil, salt, and pepper.
- Bake for 45-50 minutes until tender. Let cool slightly.
- Cut potatoes in half lengthwise and scoop out flesh, leaving a 1/4-inch shell.
- Brush skins with olive oil and bake for 10 minutes until crispy.
- Sprinkle cheese and bacon inside each skin. Bake for 5 minutes until cheese melts.
- Top with sour cream and green onions before serving.
Notes
- For extra crispiness, broil for 1-2 minutes after adding cheese.
- Make ahead: Prepare skins and store in the fridge for up to 2 days before baking.
- Air fryer option: Cook at 375°F for 8-10 minutes after filling.
Nutrition
- Serving Size: 1 potato skin
- Calories: 180
- Sugar: 1g
- Sodium: 250mg
- Fat: 10g
- Saturated Fat: 4g
- Unsaturated Fat: 5g
- Trans Fat: 0g
- Carbohydrates: 15g
- Fiber: 2g
- Protein: 7g
- Cholesterol: 20mg