 Skip to content
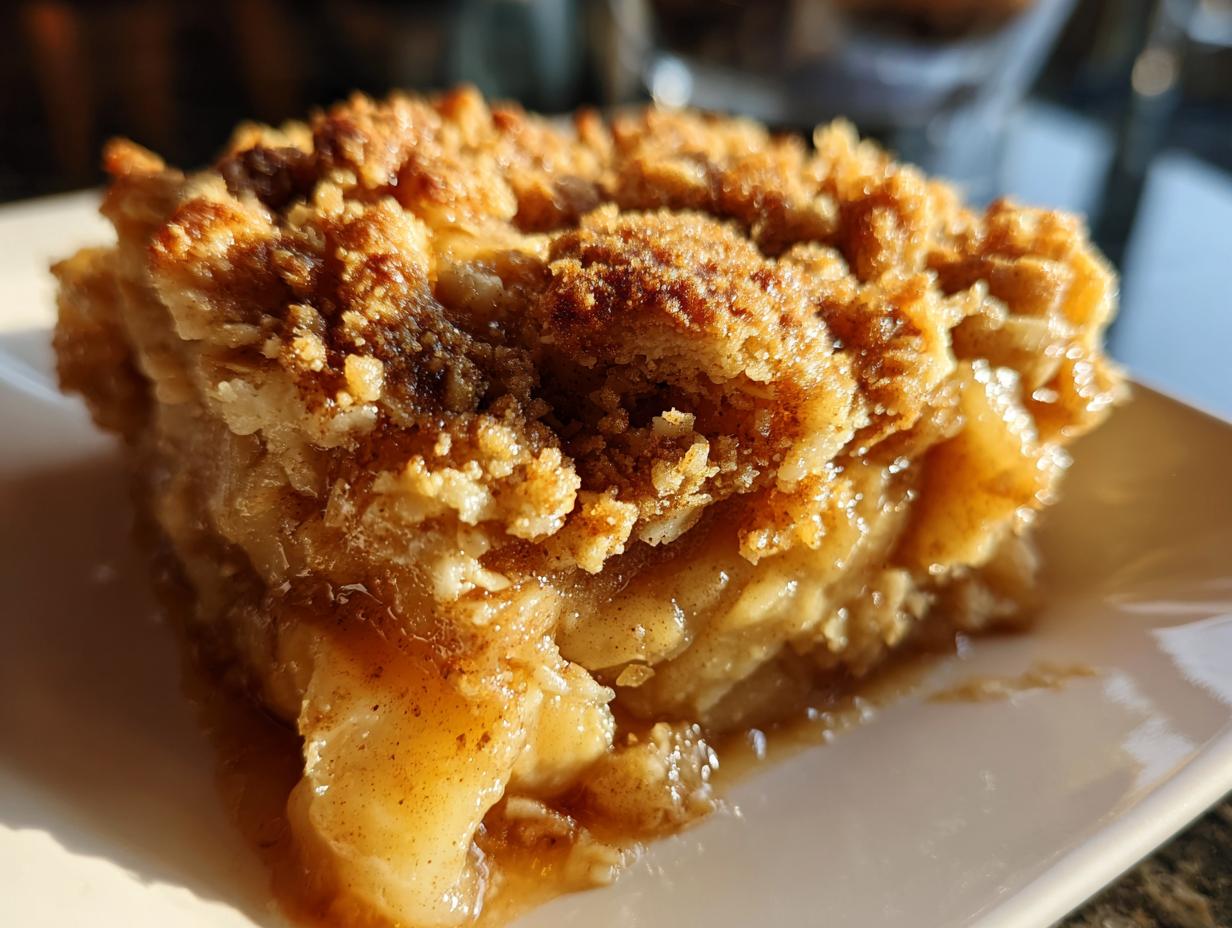

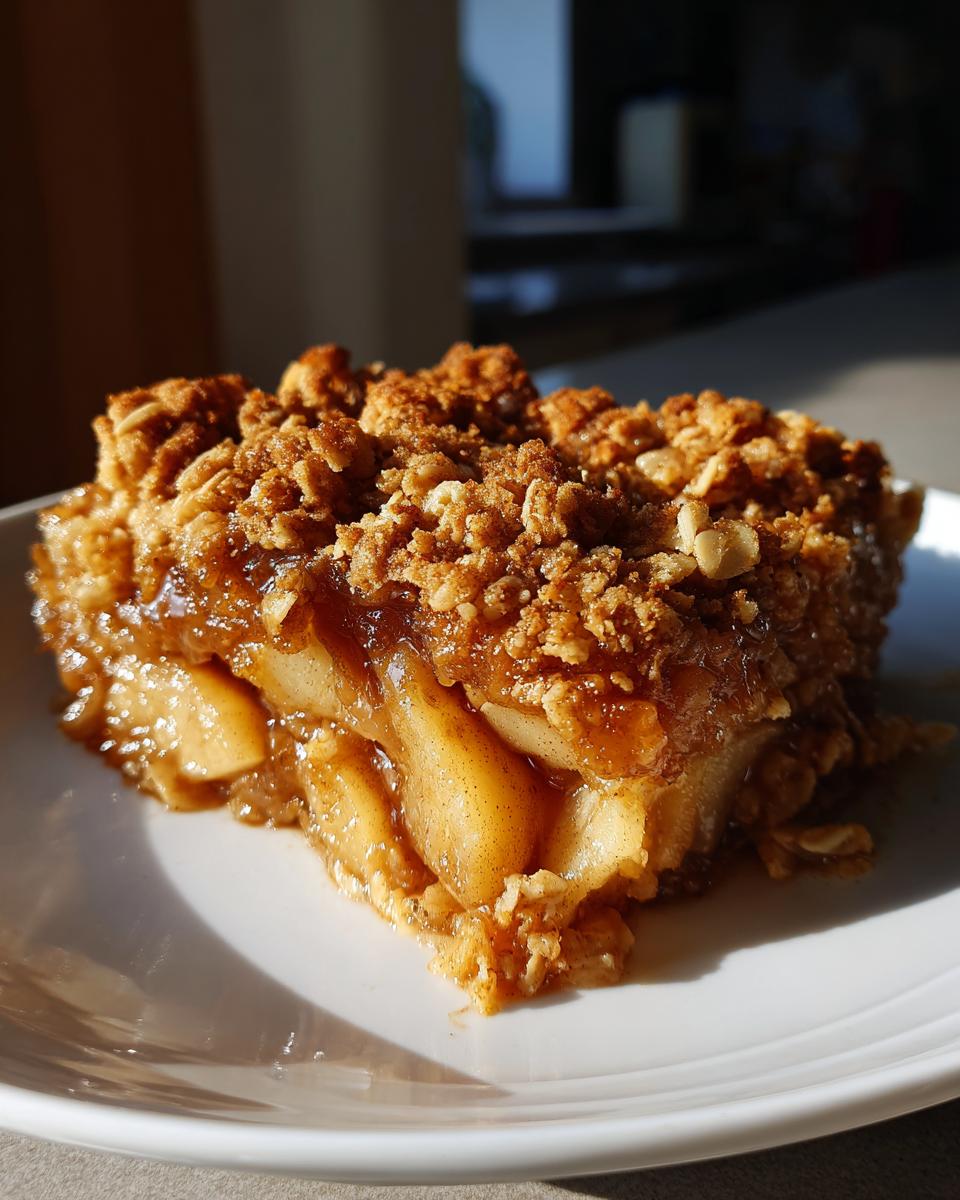
Standing on a wobbly step stool in my grandma’s Ohio kitchen, I’d watch her strong hands transform humble apples into magic—her classic apple crisp, golden and bubbling, filling the house with the coziest cinnamon scent. She’d wink and say, “Carla, this is the secret to happiness: simple ingredients, a hot oven, and enough to share.” Years later, after countless batches (and a few burnt toppings—oops!), I’ve perfected her recipe for busy lives like mine. This classic apple crisp is everything you crave: buttery oat crumble, tender spiced apples, and a gluten-free option that never disappoints. Trust me, it’s survived every family potluck and last-minute dessert emergency!

Why You’ll Love This Classic Apple Crisp
This isn’t just any apple crisp—it’s the dessert that saves my bacon whenever I need something quick, delicious, and guaranteed to disappear fast. Here’s why it’s become my go-to:
- Done in a flash: 15 minutes of prep means you’re just 30 minutes away from dessert magic (perfect for surprise guests!)
- Gluten-free happy: Regular oats work, but my favorite gluten-free oats keep it safe for everyone without sacrificing crunch
- Make-ahead dream: Assemble it in the morning, bake it after dinner—ideal for meal planning or those crazy days
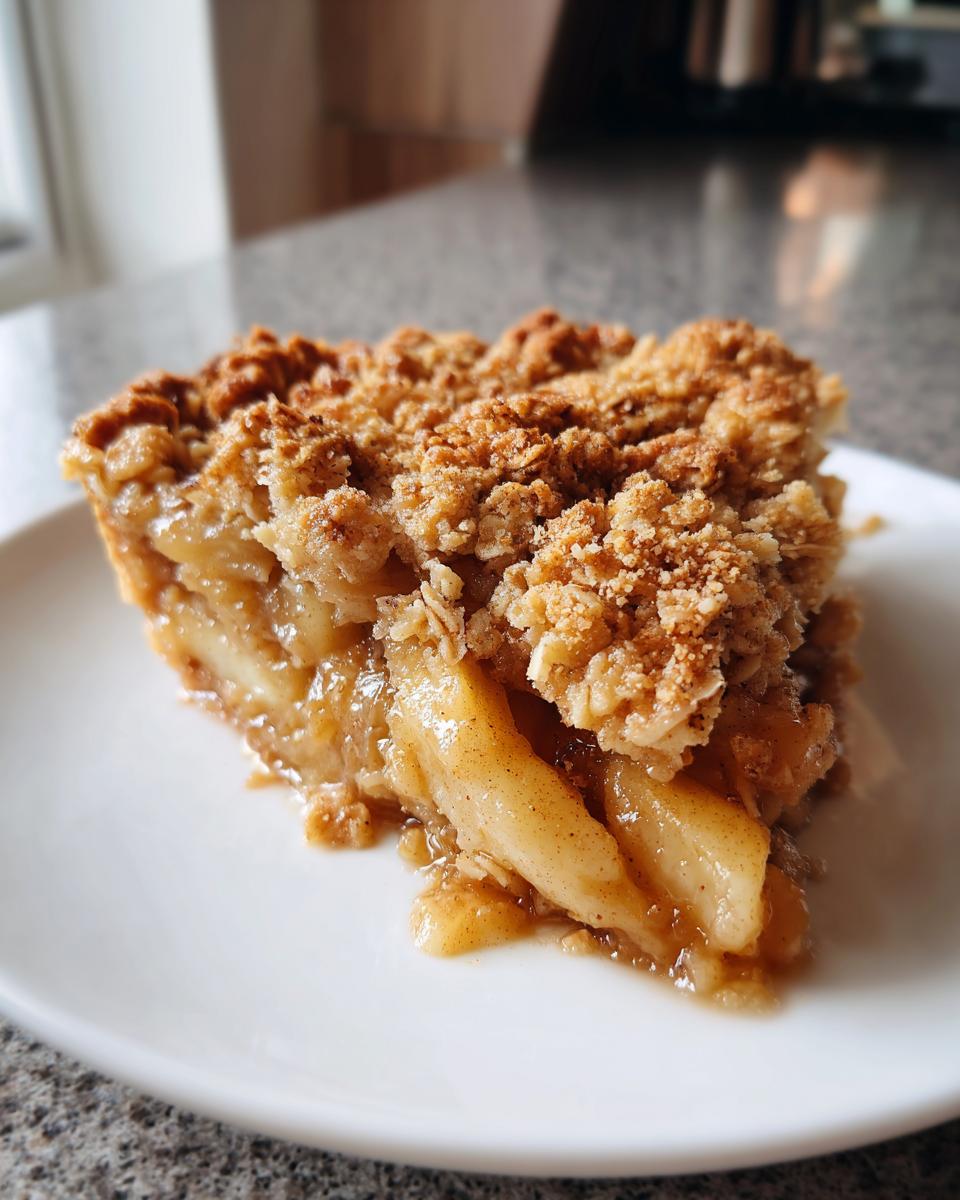
- Crowd-pleaser: The combo of tart apples and that brown sugar oat topping? I’ve never met anyone who could resist seconds
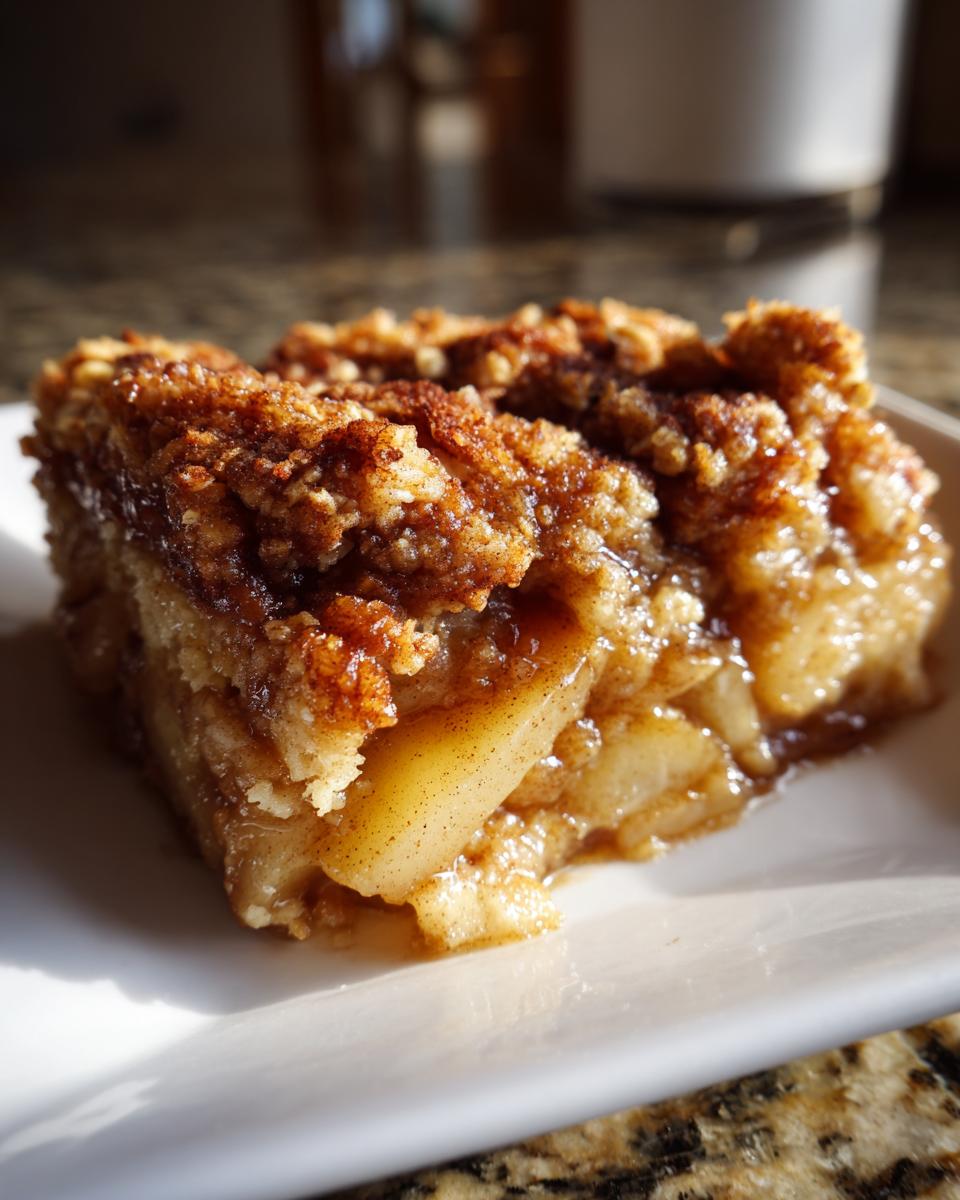
- Cook’s choice: Bake it in grandma’s ceramic dish for tradition, or use a cast iron skillet when you want extra crispy edges (my personal favorite)
Classic Apple Crisp Ingredients
What I love most about this recipe? You probably have most ingredients in your pantry already! Here’s everything you’ll need for that perfect balance of juicy apples and crispy oat topping:
- For the apples:
- 6 cups thinly sliced apples (about 4-5 medium apples)
- ½ cup granulated sugar
- 1 teaspoon ground cinnamon (trust me, use the good stuff!)
- ½ teaspoon nutmeg (freshly grated if you’re feeling fancy)
- For the crumbly magic:
- 1 cup old-fashioned oats (certified gluten-free if needed – see my note below!)
- ½ cup packed brown sugar (dark brown gives extra flavor)
- ¼ cup melted butter (cooled slightly – you’ll see why it matters)
Got dairy concerns? No problem! I’ve made this with coconut oil when my niece visits – just melt it the same way you would butter. The crisp still disappears just as fast.
Ingredient Notes & Subsitutions
After years of testing (and many “oops” moments), here’s what I’ve learned about each component:
Apples: My grandma swore by Granny Smith for their tartness, but I often mix in honeycrisp or pink lady when I want extra sweetness. Just avoid super soft varieties – they turn to mush. Pro tip: slice them about ¼-inch thick – too thin and they’ll disappear, too thick and they won’t soften enough.
Oats: Regular rolled oats give that perfect chew, but if you need gluten-free, Bob’s Red Mill is my go-to brand – they’ve never let me down. Quick oats work in a pinch but will give you a finer, less textured topping.
Butter: Melt it and let it cool for about 5 minutes before mixing – too hot and it’ll make your topping greasy instead of crumbly. For dairy-free, coconut oil works great, but reduce the amount by 1 tablespoon since it’s 100% fat unlike butter.
Sugar: Dark brown sugar makes the topping extra rich, but light brown works too. For a less sweet version, I sometimes do ¼ cup white + ¼ cup brown sugar in the apples. Honey or maple syrup can sub for the granulated sugar if you reduce other liquids slightly.
How to Make Classic Apple Crisp
Alright, friend – let’s get down to business! This classic apple crisp comes together like a dream if you follow my grandma’s method step by step. I’ve made this so many times I could do it in my sleep (and honestly, maybe I have after a long day). Here’s how we turn those humble ingredients into pure comfort:
- Prep those apples: Toss your sliced apples with granulated sugar, cinnamon, and nutmeg in a big bowl. Don’t be shy—get your hands in there to coat every piece evenly. Let it sit while you make the topping—those juices will start mingling with the sugar and spices, creating the most amazing syrup.
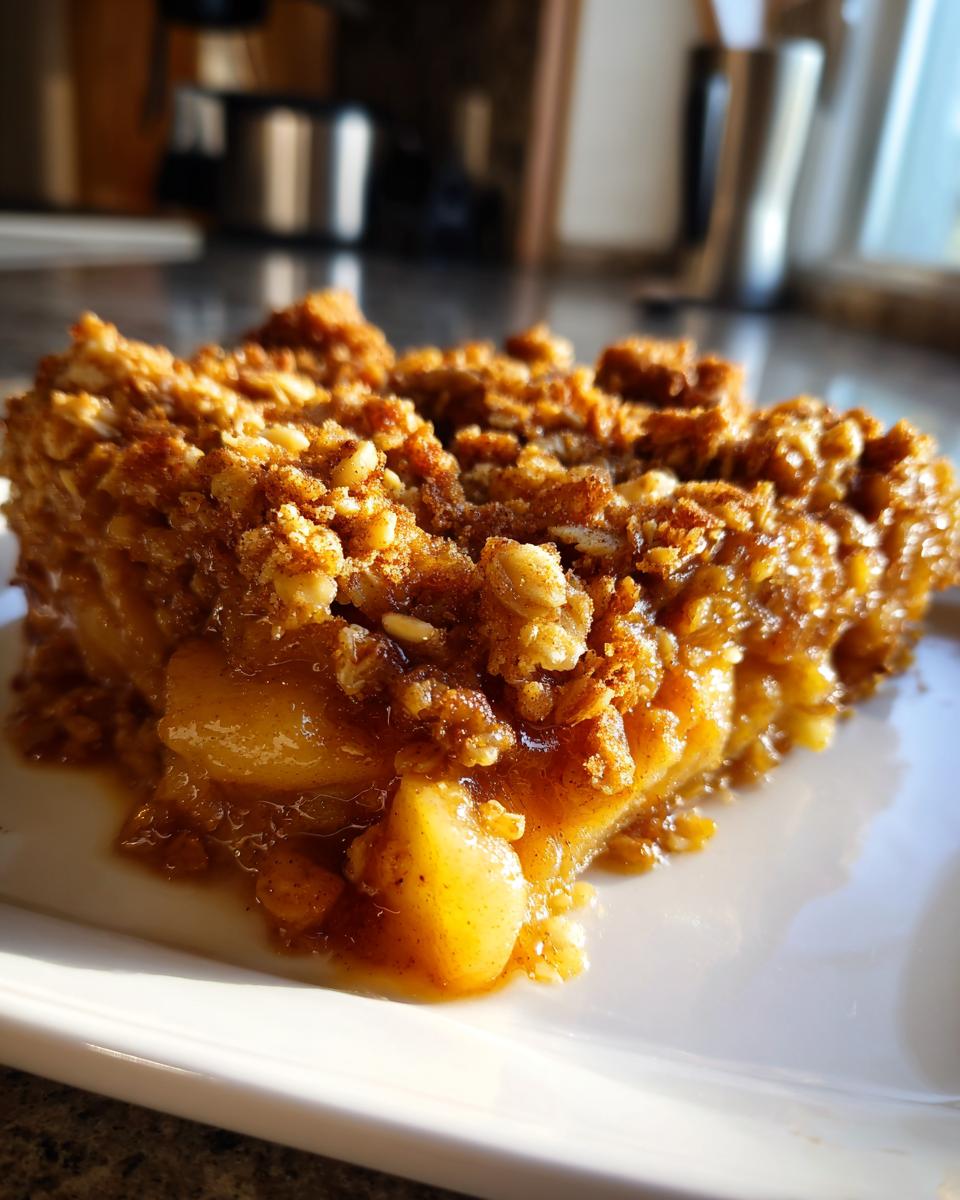
- Mix the magic topping: In another bowl, combine your oats and brown sugar. Pour in the slightly cooled melted butter (careful—hot butter turns oats soggy). Mix just until everything’s moistened but still clumpy—you want texture, not paste!
- Layer with love: Spread your apple mixture in a 9×9 baking dish (or that trusty cast iron skillet if you’re after crispy edges). Sprinkle the oat topping over the apples—don’t press it down, let it stay loose and craggy for maximum crunch.
- Bake to golden perfection: Pop it in a 375°F oven for 30 minutes. You’ll know it’s ready when the topping turns that perfect golden brown color and the apples are bubbling around the edges—that caramelized aroma will hit you like a cozy autumn hug.
Pro tip from my many trials: If you’re using a cast iron skillet, reduce baking time by 5 minutes—the iron holds heat so well it keeps cooking even after you take it out. Either way, let it rest for 10 minutes before serving (I know, the wait kills me too) so the juices thicken just right.
Tips for the Perfect Classic Apple Crisp
After burning more than my share of oat toppings (and salvaging them with creative excuses), here are my hard-earned secrets:
- Uniform apple slices = even cooking: I use a mandoline on the ¼-inch setting—no fancy knife skills needed, and every piece cooks perfectly.
- Less is more with the topping: Stir that oat mixture just until the butter coats everything—overmixing makes dense, cookie-like layers instead of light crumbles.
- My sneaky crunch booster: Add 2 tablespoons of chopped pecans to the topping—they toast up beautifully and give that extra texture everyone raves about.
- The patience payoff: That 10-minute rest isn’t just torture—it lets the apple juices thicken so your crisp stays structural instead of soupy when you scoop.
Make-Ahead & Storage Tips
Here’s the beautiful thing about this classic apple crisp—it practically begs to be made ahead! Whether you’re prepping for a party or just surviving a busy week, these tips have saved my sanity more times than I can count.
Overnight magic: Assemble the whole thing in your baking dish, cover tightly with foil, and refrigerate for up to 24 hours before baking. Just add 5 extra minutes to the baking time since it’ll be chilled.
Freezer friendly: Bake and cool your crisp completely, then wrap individual portions in parchment before freezing in airtight containers. They’ll keep for 3 months—perfect for those nights when you “forgot” to make dessert (wink).
Reheating: For that just-baked taste, reheat refrigerated portions at 350°F uncovered for 15 minutes. Frozen? Thaw overnight in the fridge first, then warm for 20 minutes. The cast iron skillet works brilliantly here!
Meal planning pro tip: I stash single servings in 8-oz glass mason jars—they stack neatly, reheat beautifully, and make me look way more organized than I actually am.
Serving Suggestions for Classic Apple Crisp
Listen, I’ve served this classic apple crisp every which way over the years, and here’s the golden rule – always, always top it while it’s still warm from the oven! My absolute favorite pairing is a huge scoop of vanilla ice cream melting into those buttery oat crumbles. But if you’re feeling fancy (or just particularly hungry), drizzle some warm caramel sauce over whipped cream – trust me, your guests will lose their minds. For breakfast? Hey, no judgment – I’ve been known to dollop Greek yogurt on leftovers and call it “fruit and granola.”
Classic Apple Crisp Variations
Once you’ve mastered this classic apple crisp, the fun really begins! Here are my favorite twists that keep this dessert exciting all season long:
- The Nutty Professor: Stir ½ cup chopped pecans or walnuts into your oat topping – the extra crunch and toasty flavor take it to another level (just be sure your nuts are gluten-free if that’s a concern).
- Pear-fect Pairing: Swap half the apples for ripe but firm Bartlett pears – their honeyed sweetness plays beautifully with the cinnamon. Bonus: pears hold their shape better for next-day leftovers!
- Berry Merry: Toss a handful of fresh cranberries in with the apples for a tart surprise – perfect for holiday dinners and a gorgeous pop of color against that golden topping.
Craving more easy gluten-free desserts? Many great gluten-free meal delivery services now include amazing baked treats in their weekly rotations – a lifesaver when you want variety without the baking!
Nutritional Information
Just between us, I’m no nutritionist – I leave that to the pros! But after years of making this classic apple crisp (and yes, taste-testing every batch), here’s the nutritional scoop per serving based on my recipe testing:
- Calories: 250 (that’s before the ice cream, of course!)
- Sugar: 30g (mostly from the apples and brown sugar – nature’s candy!)
- Fat: 8g (thank you, glorious butter)
Remember, these numbers can change if you tweak ingredients – using coconut oil instead of butter or adding nuts will shift things. But honestly? When that first warm bite hits your tongue, none of us are counting!
Classic Apple Crisp FAQs
After years of making this classic apple crisp (and answering countless questions from friends and family), I’ve heard it all! Here are the most common queries with my tried-and-true answers:
What are the best apples for classic apple crisp?
My grandma always said Granny Smith apples give the perfect balance of tartness and structure, but I love mixing in Honeycrisp or Pink Lady for extra sweetness. The key is avoiding mealy varieties like Red Delicious – they turn to mush! For an easy cast iron apple crisp, firmer apples hold up best against the intense heat.
Can I use quick oats instead of old-fashioned?
You can, but the texture changes! Quick oats make finer crumbs while old-fashioned give that signature chewy-crisp bite. In a pinch, I’ve used half quick oats when I ran out – still delicious, just different. For gluten-free apple desserts, always check your oats are certified GF regardless of type.
How do I prevent a soggy topping?
Two secrets: First, let your melted butter cool slightly before mixing – hot butter steams the oats. Second (this took me years to learn!), don’t pack down the topping when sprinkling – keep it loose and craggy so heat circulates. For fall apple bakes, I sometimes pop it under the broiler for 1 minute at the end – instant crunch!
Are oats really gluten-free?
Naturally, yes – but they’re often processed in facilities with wheat. For true gluten-free needs, look for certified GF brands like Bob’s Red Mill (my favorite). Their purity testing makes all the difference for sensitive tummies. Regular supermarket oats can say “gluten-free” but certification is the gold standard.
How far ahead can I make this old fashioned apple crisp?
The beauty of this recipe? You’ve got options! Assemble it up to 24 hours ahead (keep chilled), freeze baked portions for 3 months, or bake straight away. For meal planning glory, I make 4 mini crisps in ramekins on Sunday – bake one that night, refrigerate the rest for easy weekday treats!
Rate This Recipe
Did this classic apple crisp bring back memories of your grandma’s kitchen too? I’d love to hear how it turned out for you! Leave a star rating below and tell me what you loved (or what you’d tweak next time). Share your photos too—nothing makes me happier than seeing your golden-brown creations. And hey…got questions? I promise to respond faster than that first scoop of ice cream melts on warm crisp. Happy baking, friend!
PrintClassic Apple Crisp

A simple oat-topped baked apple dessert with a gluten-free option.
- Prep Time: 15 min
- Cook Time: 30 min
- Total Time: 45 min
- Yield: 6 servings 1x
- Category: Dessert
- Method: Baking
- Cuisine: American
- Diet: Gluten Free
Ingredients
- 6 cups sliced apples
- 1/2 cup granulated sugar
- 1 tsp cinnamon
- 1/2 tsp nutmeg
- 1 cup gluten-free oats
- 1/2 cup brown sugar
- 1/4 cup melted butter
Instructions
- Preheat your oven to 375°F.
- Mix apples, granulated sugar, cinnamon, and nutmeg in a bowl.
- Spread the apple mixture in a baking dish.
- Combine oats, brown sugar, and melted butter in another bowl.
- Sprinkle the oat mixture over the apples.
- Bake for 30 minutes or until golden brown.
Notes
- Use a cast iron skillet for a crispier topping.
- Make ahead and refrigerate before baking.
Nutrition
- Serving Size: 1 serving
- Calories: 250
- Sugar: 30g
- Sodium: 50mg
- Fat: 8g
- Saturated Fat: 4g
- Unsaturated Fat: 3g
- Trans Fat: 0g
- Carbohydrates: 45g
- Fiber: 4g
- Protein: 2g
- Cholesterol: 15mg